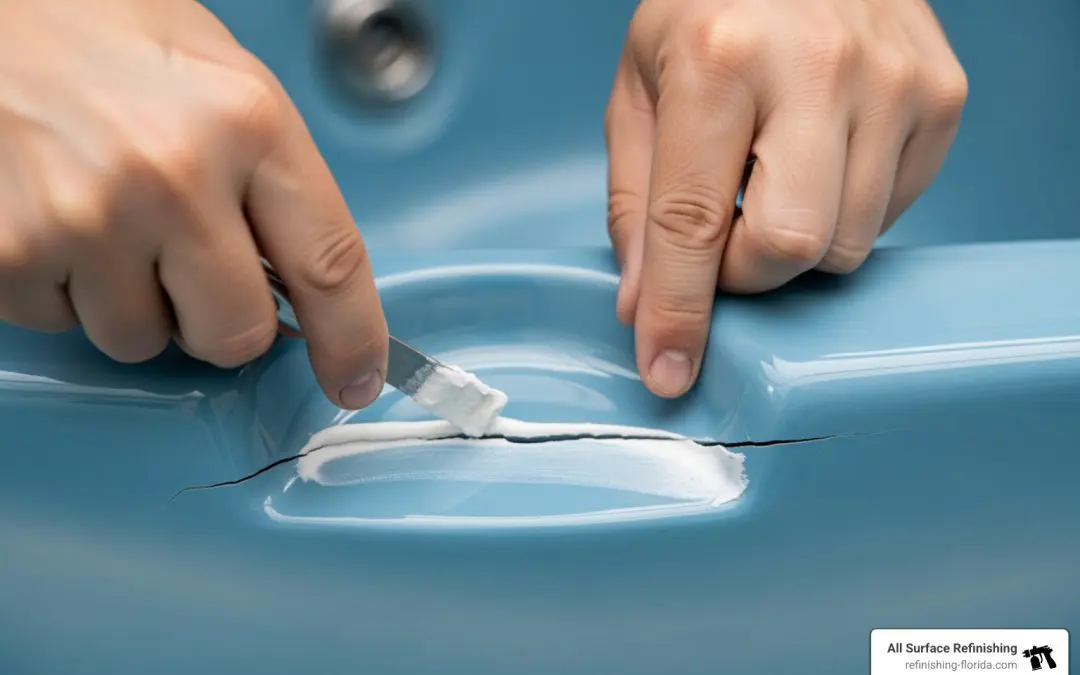
Why Hot Tub Gel Coat Repair Matters for Your Investment
Hot tub gel coat repair is essential when your spa’s surface starts showing signs of damage like chalking, cracks, or discoloration. The gel coat is the protective outer layer on fiberglass hot tubs that keeps water out and maintains that smooth, glossy finish. When it fails, you’re looking at potential water damage, unsightly stains, and a hot tub that’s simply not pleasant to use.
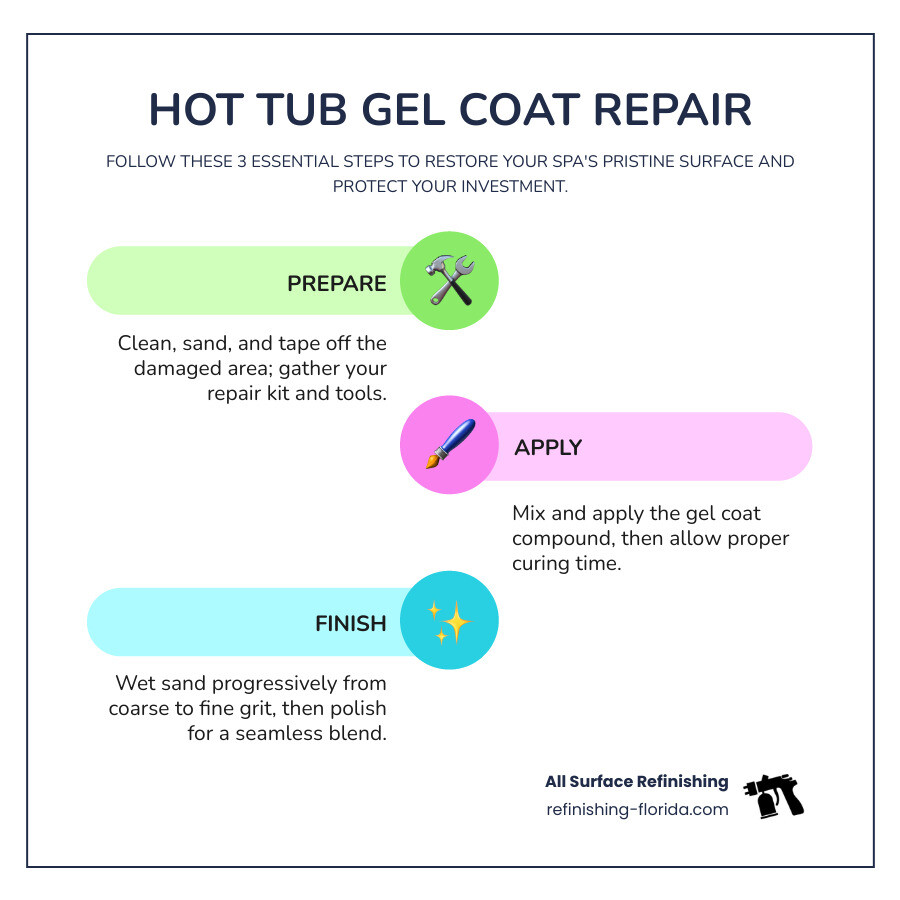
Quick Answer: Hot Tub Gel Coat Repair in 3 Steps
- Prepare – Clean, sand, and tape off the damaged area while gathering your repair kit and tools
- Apply – Mix and apply the gel coat compound, then allow proper curing time
- Finish – Sand progressively from coarse to fine grit, then polish for a seamless blend
Most minor gel coat repairs can be completed in 1-2 days, though curing time varies by product. DIY kits typically cost $20-$50, while professional services run $300-$800 depending on the extent of damage.
When to repair vs. replace: Small chips, cracks under 6 inches, and isolated chalky spots are perfect DIY candidates. Widespread damage, structural cracks, or multiple problem areas often require professional help for best results.
As Frank Hernandez, I’ve been restoring bathtubs, jacuzzis, and hot tubs across South Florida for over a decade, and I’ve seen countless DIY repairs that could have saved homeowners money if done correctly. Understanding proper hot tub gel coat repair techniques means you can tackle minor damage yourself while knowing when it’s time to call in the professionals.
Understanding Hot Tub Gel Coat Damage
Your hot tub’s pristine, glossy surface is its gel coat. More than just for looks, this specialized resin-based coating is a critical structural component. Applied over the fiberglass shell, it provides a durable, non-porous finish that protects the spa from water, chemicals, and UV radiation. Its non-porous nature means it lasts longer and requires less maintenance than other finishes. For a deeper dive, you can learn more about gel coat technology.
Over time, however, the gel coat can wear down. Recognizing the early warning signs is the first step in effective hot tub gel coat repair.
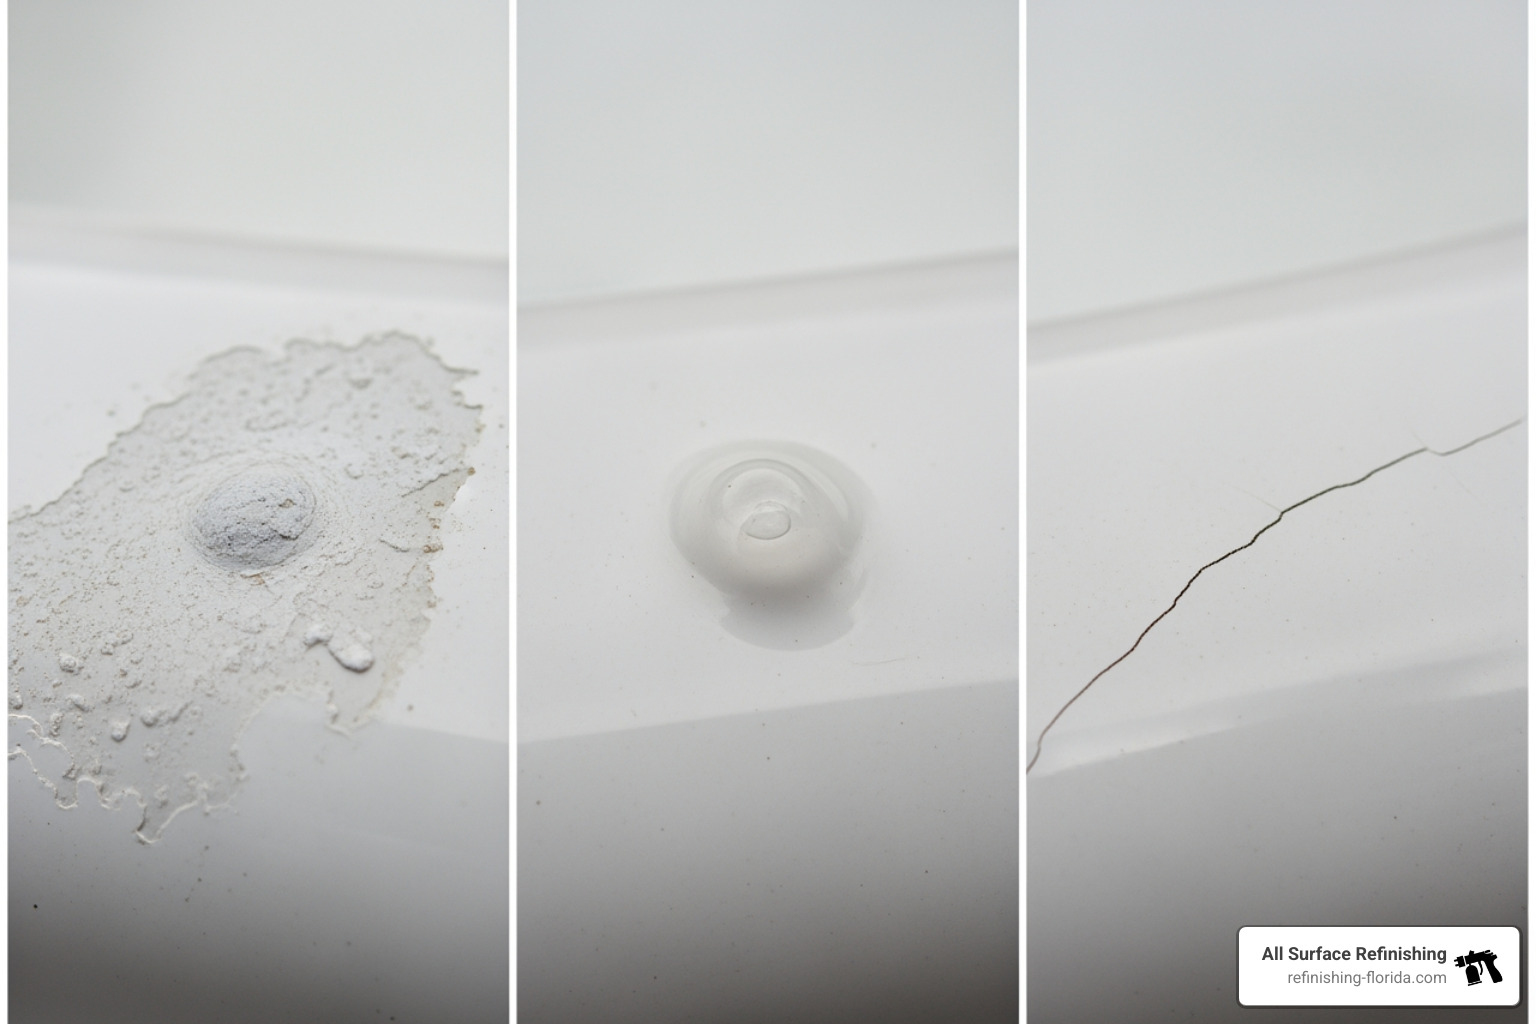
Here are common indicators that your gel coat needs attention:
- Chalking: A common issue in older hot tubs where the surface becomes dull, powdery, and faded as the resin breaks down.
- Discoloration: Fading or uneven yellowish tints caused by chemical imbalances, UV exposure, or natural aging.
- Staining: Persistent stains embedded in the surface, indicating the gel coat has become porous and is absorbing contaminants.
- Blisters: Small, raised bumps caused by water seeping into the gel coat and building pressure. Untreated blisters can lead to delamination.
- Cracks: Hairline cracks (crazing) compromise the protective layer, while deeper cracks can signal serious structural issues with the fiberglass shell.
These issues are often caused by a combination of factors:
- UV Exposure: Florida’s intense sun breaks down the resin, causing chalking and fading.
- Water Chemistry Imbalance: Improper pH, alkalinity, or sanitizer levels accelerate gel coat degradation.
- Age-Related Wear: Over time, even durable gel coat will naturally show signs of wear.
- Physical Impacts: Dropped items or accidental bumps can cause chips, scratches, and cracks.
- Thermal Stress: Constant heating and cooling cycles cause expansion and contraction, leading to stress cracks.
- Manufacturing Defects: Though less common, flaws in the original manufacturing can cause premature failure.
Understanding these signs and causes helps determine if a DIY hot tub gel coat repair is feasible or if it’s time for a professional solution like a complete hot tub restoration.
Change #1: Prepare the Surface and Gather Your Tools
Thorough preparation is the most critical step for a successful hot tub gel coat repair. Skipping it guarantees failure, as proper prep ensures the new gel coat adheres strongly for a seamless, lasting finish. Before you begin, gather all your tools and materials, and prioritize safety.
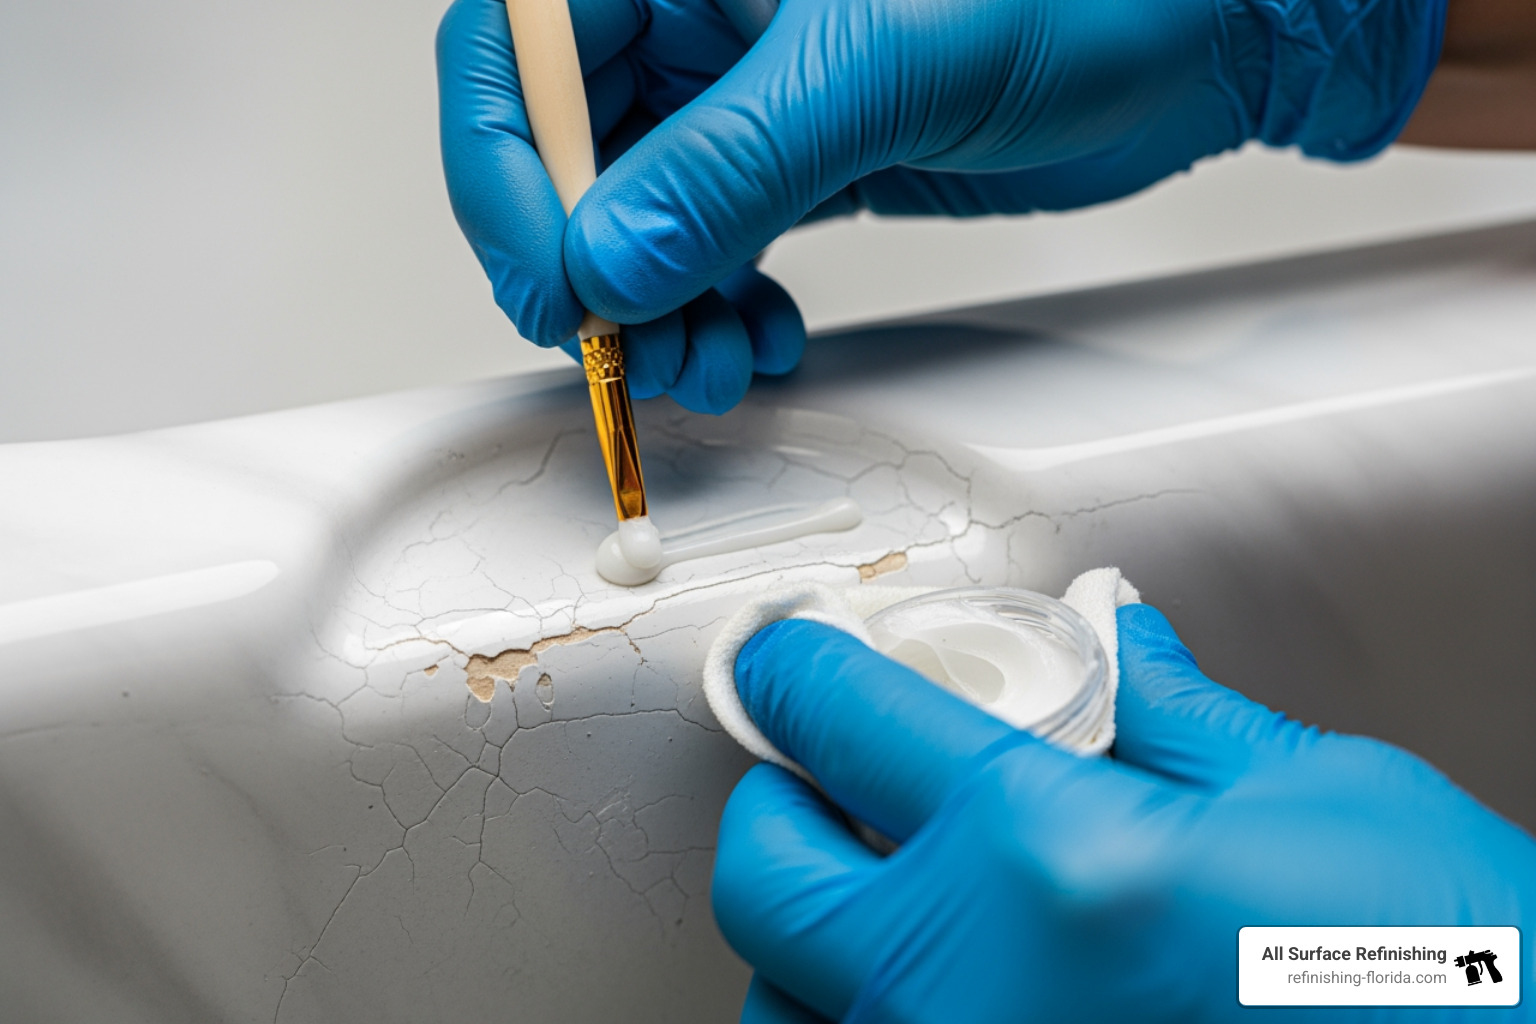
Choosing the Right Repair Kit
You’ll find two main types of repair kits: epoxy-based and acrylic-based. The right choice depends on the damage and your hot tub’s material.
- Epoxy-based kits: Recommended for structural repairs and deep gouges due to their strength and adhesion.
- Acrylic-based kits: Best for minor cosmetic fixes like chips and scratches, especially on acrylic tubs.
Color matching is crucial for an invisible hot tub gel coat repair. For the best results:
- Manufacturer codes: Use the original color code from your hot tub’s manufacturer for a precise match.
- Color-matching kits: Use the included pigments to mix a matching color. Test it on a hidden spot in daylight before applying.
| Feature | Epoxy-Based Repair Kits | Acrylic-Based Repair Kits |
|---|---|---|
| Pros | – Superior strength and durability | – Easier to use for DIYers |
| – Excellent adhesion for structural repairs | – Faster cure times | |
| – Good for deeper damage | – Less strong odor | |
| Cons | – Longer cure times (can be 24+ hours) | – Generally less durable than epoxy |
| – Stronger odor during application | – May be prone to shrinkage over time | |
| – Can be more challenging for beginners | – Best for minor, superficial damage | |
| – May require more extensive surface preparation |
Essential Tools and Materials for the Job
Have these items ready before you start:
- Gel coat repair kit (epoxy or acrylic, color-matched)
- Acetone or a specialized solvent cleaner
- Painter’s masking tape
- Putty knife or a flexible plastic applicator
- Small mixing cups and stir sticks
- Wet/dry sandpaper in various grits: 220-grit, 400-grit, and 600-grit
- Sanding block
- Automotive polishing compound
- Buffing pads
- Soft microfiber cloths
- Safety gear: chemical-resistant goggles, gloves, and a respirator
How to Prepare the Damaged Area
- Drain the hot tub: You must work on a completely drained and dry surface.
- Clean the repair area: Use mild soap and water to remove all dirt, oil, and residue. Rinse and dry thoroughly.
- Remove loose debris: Use a utility knife to chip away any loose or flaking gel coat. For deeper gouges, use a grinding bit to create a V-shaped notch for a stronger bond.
- Sand the damage: Lightly sand the damaged spot with 220-grit sandpaper to create a rough surface for adhesion.
- Feather the edges: Sand slightly beyond the damage, feathering the edges to help blend the repair.
- Tape off the surrounding area: Use painter’s tape to mask off the area around the repair, protecting the undamaged surface.
- Final wipe with acetone: Degrease the sanded area with an acetone wipe to remove all dust and ensure maximum adhesion. Let it air dry.
Change #2: Apply the Gel Coat Repair Compound
With the surface prepped, it’s time to apply the gel coat repair compound. This step requires precision and patience. Rushing can lead to a poor finish, while paying attention to ambient conditions is crucial for proper curing.
The Step-by-Step Application Process
Always follow your specific kit’s instructions for hot tub gel coat repair. However, the general process is as follows:
- Mix the gel coat: In a small cup, dispense the gel coat base. If your kit uses pigments, add them incrementally until the color matches your hot tub, checking the match in bright daylight.
- Add the hardener: Add the specified amount of hardener (catalyst) to the tinted base. Mix gently for 30-60 seconds, avoiding whipping in air bubbles. Once mixed, your working time (“pot life”) is limited.
- Apply the mixture: Using a clean putty knife, press the mixture into the deepest parts of the crack or chip to ensure full coverage without trapped air.
- Overfill slightly: Create a small mound of the compound over the repair area. This accounts for minor shrinkage and provides enough material to sand down for a flush finish.
- Cover with release film: Many kits include a clear plastic release film (like Mylar). Place it over the wet gel coat and gently press to smooth the surface and remove air bubbles.
- Cure completely: Allow the gel coat to cure undisturbed for the time specified in the instructions (from a few hours to 24+). Curing is affected by temperature and humidity. Most products work best between 60-80°F (15-27°C) in a dry, well-ventilated area. High heat can cause cracking, while cold and humidity can prevent proper curing.
Change #3: Finish and Polish for a Flawless Look
Once the repair compound has fully cured, it’s time to finish the job. This final stage involves sanding and polishing the mounded patch to create a seamless, glossy finish that makes your hot tub gel coat repair invisible.
Sanding and Polishing Your Hot Tub Gel Coat Repair
The goal is to level the repair and restore the shine. We recommend wet sanding for the smoothest finish.
- Remove the release film: Carefully peel the film away from the cured gel coat.
- Wet sand the repair:
- Start with coarse grit (220-grit): Using a sanding block, gently sand the raised repair until it’s flush with the surrounding surface. Keep the area wet.
- Progress to fine grits (400-grit, then 600-grit): Switch to finer grits to remove the scratches from the previous step. You can progress to 1000-grit for an even smoother surface.
- Check for smoothness: The repair should feel perfectly smooth and level, though it will look dull.
- Apply polishing compound: Apply a small amount of automotive polishing compound to a clean buffing pad.
- Buff the area: Buff the repair using a circular motion until the gloss returns. If using a drill, keep the speed moderate to avoid heat buildup.
- Final polish: Wipe away excess compound with a microfiber cloth. For extra shine and protection, apply a marine or gel coat wax.
Once complete, your repair should be virtually undetectable, and your hot tub will be ready to fill and enjoy once more!
Maximizing Your Repair & Knowing When to Call a Pro
A successful DIY hot tub gel coat repair is rewarding, but it’s crucial to know the limits of DIY work and when to call a professional.
How Long Does a Gel Coat Repair Last?
A well-executed DIY repair on a minor chip can last 1-5 years, but its lifespan depends on:
- Quality of Repair: Careful work with quality materials lasts longer.
- Preparation: Proper prep is key to adhesion and durability.
- Environment: South Florida’s UV rays and heat challenge repairs.
- Maintenance: Balanced water chemistry and regular care extend the repair’s life.
Common Mistakes to Avoid in Your Hot Tub Gel Coat Repair
Learn from these common pitfalls to ensure your repair is successful:
- Poor surface prep: Failure to clean, degrease, and sand properly will cause the repair to fail.
- Incorrect mixing ratio: Too much or too little hardener will result in a brittle or tacky finish.
- Bad color matching: An obvious mismatch looks worse than the original damage. Test colors in daylight.
- Aggressive sanding: This can create divots or damage the surrounding gel coat.
- Poor weather conditions: Extreme temperatures or high humidity will ruin the curing process.
When to Choose Professional Hot Tub Restoration
While DIY is great for minor issues, calling professionals like us at All Surface Refinishing is the smarter choice for:
- Extensive damage: Numerous chips, scratches, or cracks spread across a large area.
- Large cracks: Cracks over 6 inches long may indicate structural issues that need expert assessment.
- Widespread chalking or fading: When the entire surface is dull and discolored, spot repairs won’t suffice. A full professional restoration provides a uniform, like-new appearance.
- Desire for a uniform, like-new finish: Professionals use specialized equipment to achieve a factory-smooth, perfectly matched finish that’s beyond most DIY repairs.
- Structural integrity concerns: If the tub’s shell flexes, a professional should diagnose and address the root cause.
We specialize in full jacuzzi and bathtub restoration services. If your hot tub shows widespread wear or significant damage, our South Florida team can restore it, extending the life of your investment.
Conclusion
Taking on hot tub gel coat repair yourself for minor chips, scratches, or small cracks is a rewarding and cost-effective way to maintain your spa. By focusing on our three key changes – Prepare, Apply, and Finish – you can achieve impressive results and extend the life of your hot tub.
Meticulous preparation, careful application, and patient finishing are the cornerstones of a successful DIY repair. These steps ensure that your efforts not only fix the aesthetic damage but also provide a durable patch that protects your hot tub from further degradation.
For minor chips and cracks, a DIY approach can be perfectly suitable. However, for larger projects, widespread chalking or fading across your entire hot tub, or if you simply desire a guaranteed perfect, factory-like finish, professional service is often the best route. Here in South Florida, whether you’re in Boca Raton, Fort Lauderdale, or Miami, we at All Surface Refinishing have over 30 years of experience turning tired, damaged tubs and jacuzzis into sparkling oases once again. We offer a cost-effective alternative to complete replacement, ensuring your hot tub looks and feels new.
Don’t let gel coat damage detract from your relaxation. Whether you tackle it yourself or call in the experts, addressing these issues promptly protects your investment and ensures many more years of enjoyment. If you’re ready to explore professional options or simply need some expert advice, please don’t hesitate to contact us for a free hot tub restoration quote in Palm Beach County. We’re here to help you make the right choice for your hot tub.
