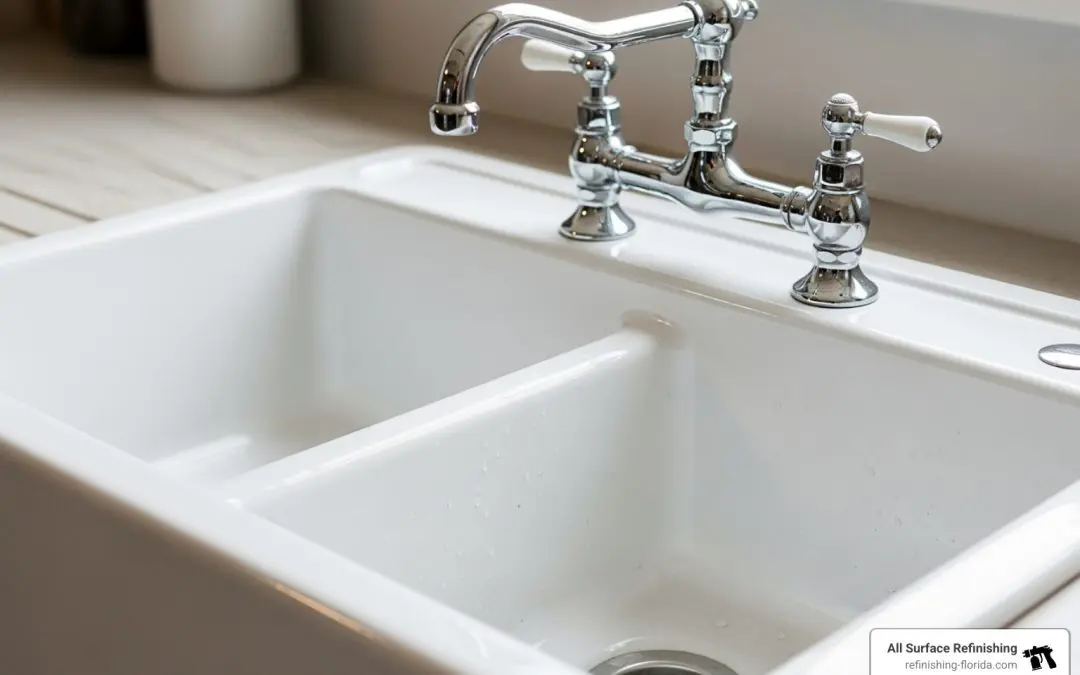
Why Cast Iron and Porcelain Sinks Are Worth Saving
Cast iron sink refinishing is the process of restoring a worn, stained, or damaged sink by repairing chips, removing rust, and applying a new durable coating—typically for a fraction of the cost of replacement. Here’s what you need to know:
Quick Answer: Cast Iron Sink Refinishing Overview
- Cost: $300-$500 professionally vs. $600+ for replacement
- Time: 1-3 days (vs. weeks for full replacement)
- Process: Clean → Repair chips/rust → Sand → Prime → Apply epoxy coating → Cure 48-72 hours
- Lifespan: 10-15+ years with proper care
- Best For: Unique sinks (farmhouse, pedestal), vintage fixtures, or when removal is difficult
Nothing says “country decor” or timeless charm quite like a cast iron sink—but years of wear can leave even the sturdiest fixture looking tired. Rust stains, chipped enamel, and discoloration are common issues with these durable workhorses.
The good news? You don’t need to replace it.
Refinishing restores your sink’s beauty and function while preserving its character. It costs about half what replacement does, takes just days instead of weeks, and keeps a perfectly good fixture out of the landfill. Whether you’re dealing with a vintage high-back farmhouse sink or a classic bathroom pedestal, refinishing can bring it back to life.
The challenge? While DIY kits exist, they’re notoriously difficult to apply smoothly and often peel within months. Professional refinishing uses industrial-grade materials and expert techniques that last a decade or more.
I’m Frank Hernandez, President of All Surface Refinishing, and I’ve been refinishing surfaces across South Florida since 2011, specializing in cast iron sink refinishing for kitchens and bathrooms throughout Miami-Dade, Broward, and Palm Beach counties. Our team has restored everything from antique farmhouse sinks to commercial utility basins. We’re here to show you how the process works and why professional refinishing delivers results that DIY simply can’t match.
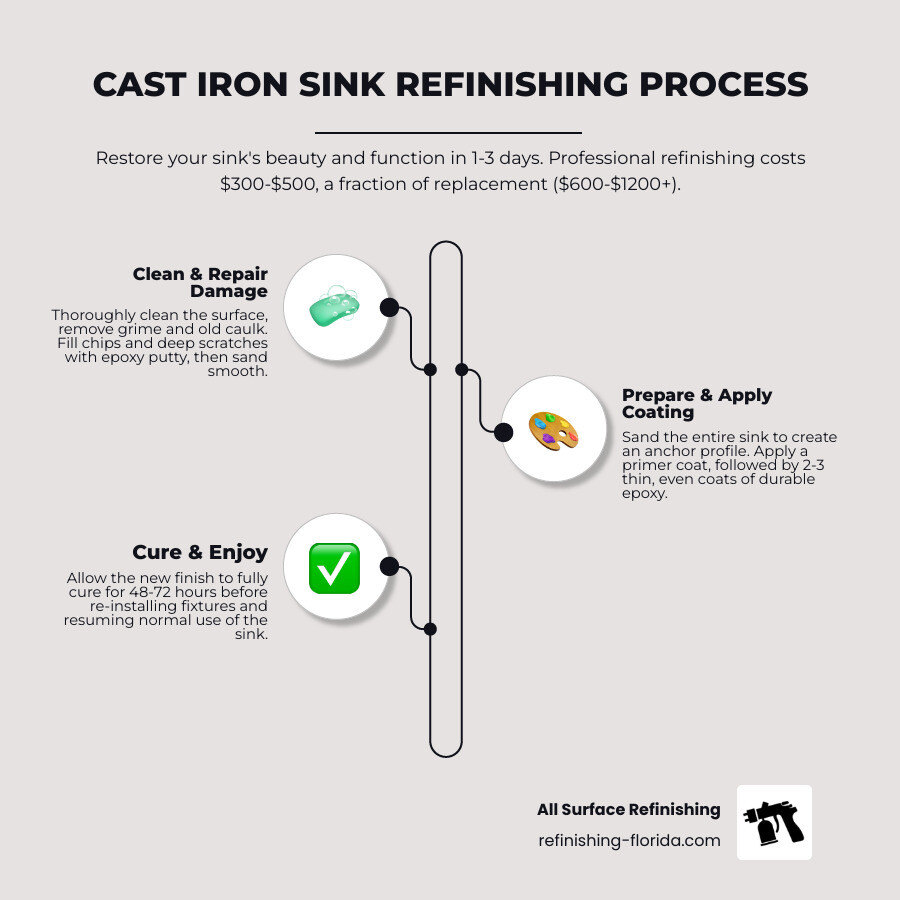
Why Refinish? The Enduring Charm of Cast Iron Sinks
Cast iron sinks offer a timeless appeal with incredible durability, often serving as the focal point in kitchens and bathrooms. Built to last for generations, their inherent robustness makes them worth saving.
However, even the most resilient materials show signs of age. Over time, the porcelain enamel coating can develop common issues like stubborn stains, unsightly chips, and corrosive rust spots. These imperfections detract from the sink’s beauty and can make it less hygienic.
When a cast iron sink is worn out, homeowners consider replacement or refinishing. Replacement is often a messy, costly, and inconvenient process, especially for heavy, integrated sinks. Finding a new sink with the same vintage style or unique dimensions can also be difficult and expensive, with costs starting at $600.
This is where cast iron sink refinishing truly shines. It’s a cost-effective alternative, typically costing half as much as a replacement without the demolition hassle. Refinishing preserves the sink’s original character and craftsmanship, keeps a functional fixture out of the landfill, and extends its life for another 10 to 15 years or more.
Professional Cast Iron Sink Refinishing: The All Surface Refinishing Advantage
While tempting, DIY cast iron sink refinishing kits often lead to disappointing results. They are difficult to apply smoothly, and the finish can scratch and peel easily. Many DIY attempts result in uneven surfaces, brush strokes, and premature chipping, which ultimately require professional correction.
This is why we, at All Surface Refinishing, strongly advocate for professional services. Hiring our team means you benefit from industrial-grade materials, specialized equipment, and expert techniques honed over 30 years and 14,000+ projects. Our in-place refinishing process uses high-quality materials that result in a superior, long-lasting finish, often completed in just 1-3 days, minimizing disruption to your home.
Here’s a quick comparison of the benefits:
| Feature | DIY Refinishing Kit | Professional Refinishing (All Surface Refinishing) | Sink Replacement |
|---|---|---|---|
| Cost | Low ($35-$70) | Moderate ($300-$500) | High ($600-$1200+) |
| Durability | Low (scratches/peels easily, short lifespan) | High (10-15+ years with proper care) | High (depending on new sink quality) |
| Time | 1-2 days application, 2-3 days cure | 1-3 days total | Weeks (shopping, demolition, installation) |
| Finish Quality | Often uneven, visible brush/roller marks | Smooth, glossy, factory-like | New, factory-perfect |
| Warranty | None | Yes (ours come with a guarantee) | Yes (manufacturer) |
| Mess/Inconvenience | Moderate (DIY cleanup) | Low (we handle cleanup) | High (demolition, plumbing, potential damage) |
Our professional refinishing process extends the useful life of your fixtures for 10-15 years or more. We offer a wide range of color options, allowing you to customize your sink to perfectly match your kitchen or bathroom decor. With All Surface Refinishing, you get a beautiful, durable, factory-like finish that DIY simply can’t match.
We proudly serve homeowners and businesses across South and Southwest Florida. Our expert team is ready to transform your spaces in: Aventura, Bal Harbor, Boca Raton, Boynton Beach, Broward County, Carol City, Coconut Creek, Coconut Grove, Cooper City, Coral Gables, Coral Springs, Cutler Ridge, Dade County, Dania Beach, Davie, Deerfield Beach, Delray Beach, Fisher Island, Fort Lauderdale, Fort Pierce, Gold Coast, Golden Beach, Greenacres, Hallandale Beach, Hialeah, Hillsboro Beach, Hobe Sound, Hollywood, FL, Homestead, Indian River County, Indiantown, Islamorada, Ives Estates, Jensen Beach, Jupiter, Kendall, Key Biscayne, Key Largo, Key West, Lake Worth, Lauderdale By The Sea, Lauderdale Lakes, Lauderhill, Lazy Lake, Lighthouse Point, Loxahatchee, Marathon, Margate, Martin County, Miami, Miami Beach, Miami Lakes, Miami Shores, Miami Springs, Miami-Dade County, Miramar, North Bay Village, North Lauderdale, North Miami, North Miami Beach, North Palm Beach, Oakland Park, Palm Beach, Palm Beach County, Palm Beach Gardens, Palm City, Parkland, Pembroke Pines, Perrine, Port Saint Lucie, Port Salerno, Saint Lucie County, Sebastian, Stuart, Sweetwater, Tamarac, Vero Beach, Wellington, FL, West Miami, West Palm Beach, Weston, Wilton Manors.
For more information on how we can revitalize your kitchen and bathroom fixtures, visit our Refinishing Services page.
The Complete Guide to Cast Iron Sink Refinishing
Whether you have a charming farmhouse sink, an neat pedestal sink in your bathroom, or a sturdy utility sink in your laundry room, the process for cast iron sink refinishing follows a similar meticulous approach. We treat each sink as a unique project, recognizing its potential to be a standout feature once restored.
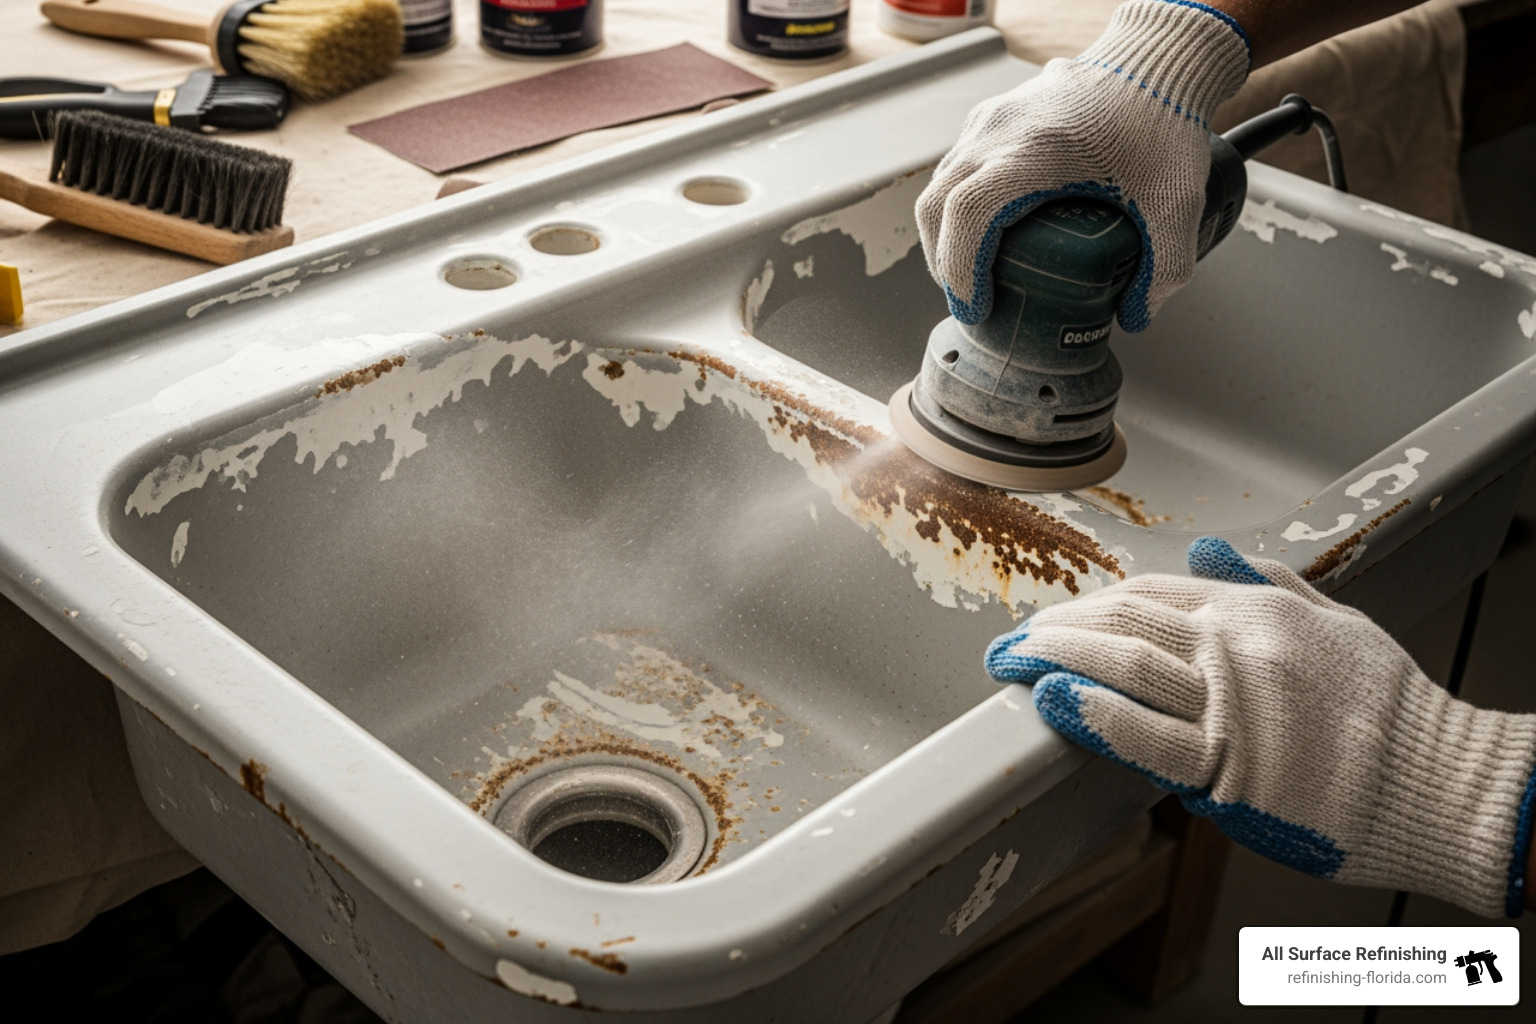
Essential Materials and Safety Precautions
Professional cast iron sink refinishing requires high-quality materials and strict adherence to safety protocols. Our technicians bring everything needed for a flawless and safe process.
Here’s a list of the essential materials and safety precautions we employ:
- Industrial-Strength Epoxy Coatings: We use two-part epoxy coatings designed for high-wear surfaces, providing a glossy, durable, and chemical-resistant finish.
- Epoxy Putty: A specialized filler that bonds to cast iron for seamless repairs of chips and scratches.
- Sandpaper: Various grits (100 to 600) for preparing the surface and smoothing repairs.
- Professional Cleaners: Non-abrasive, professional-grade cleaners to degrease and decontaminate the surface.
- Stain Removers: Products like Bar Keepers Friend or CLR to treat stubborn stains and rust.
- Painter’s Tape: To mask off drains, faucets, and countertops.
- Protective Sheeting: To protect countertops, cabinets, and floors from overspray.
- Foam Rollers and Brushes: High-density foam applicators for a smooth, even finish.
- Mixing Containers: For accurately mixing epoxy components.
- Safety Gear: Our technicians always wear respirator masks, chemical-resistant gloves, and eye protection.
- Ventilation Equipment: Industrial fans and exhaust systems to ensure proper airflow.
Step 1: The Critical Preparation Process
The success of any cast iron sink refinishing project hinges on meticulous preparation. Rushing this stage is the biggest mistake you can make.
- Thorough Cleaning: We start by removing all grime, soap scum, and grease using professional-grade, non-abrasive cleansers.
- Removing Stains and Rust: We use specialized agents like Bar Keepers Friend or CLR to treat persistent stains and rust, ensuring all discoloration is removed before repairs.
- Removing Caulk and Fixtures: We completely remove old caulk and removable fixtures like faucets and drains for full access to the sink surface.
- Protecting Surrounding Areas: We carefully tape off countertops, cabinets, and fixtures and use plastic sheeting to protect the work area from overspray and dust.
Step 2: How to Repair Chips, Dents, and Rust
Once the sink is clean and protected, the next step in cast iron sink refinishing is to address physical damage. Cast iron is durable but prone to chipping and rust if the enamel is compromised.
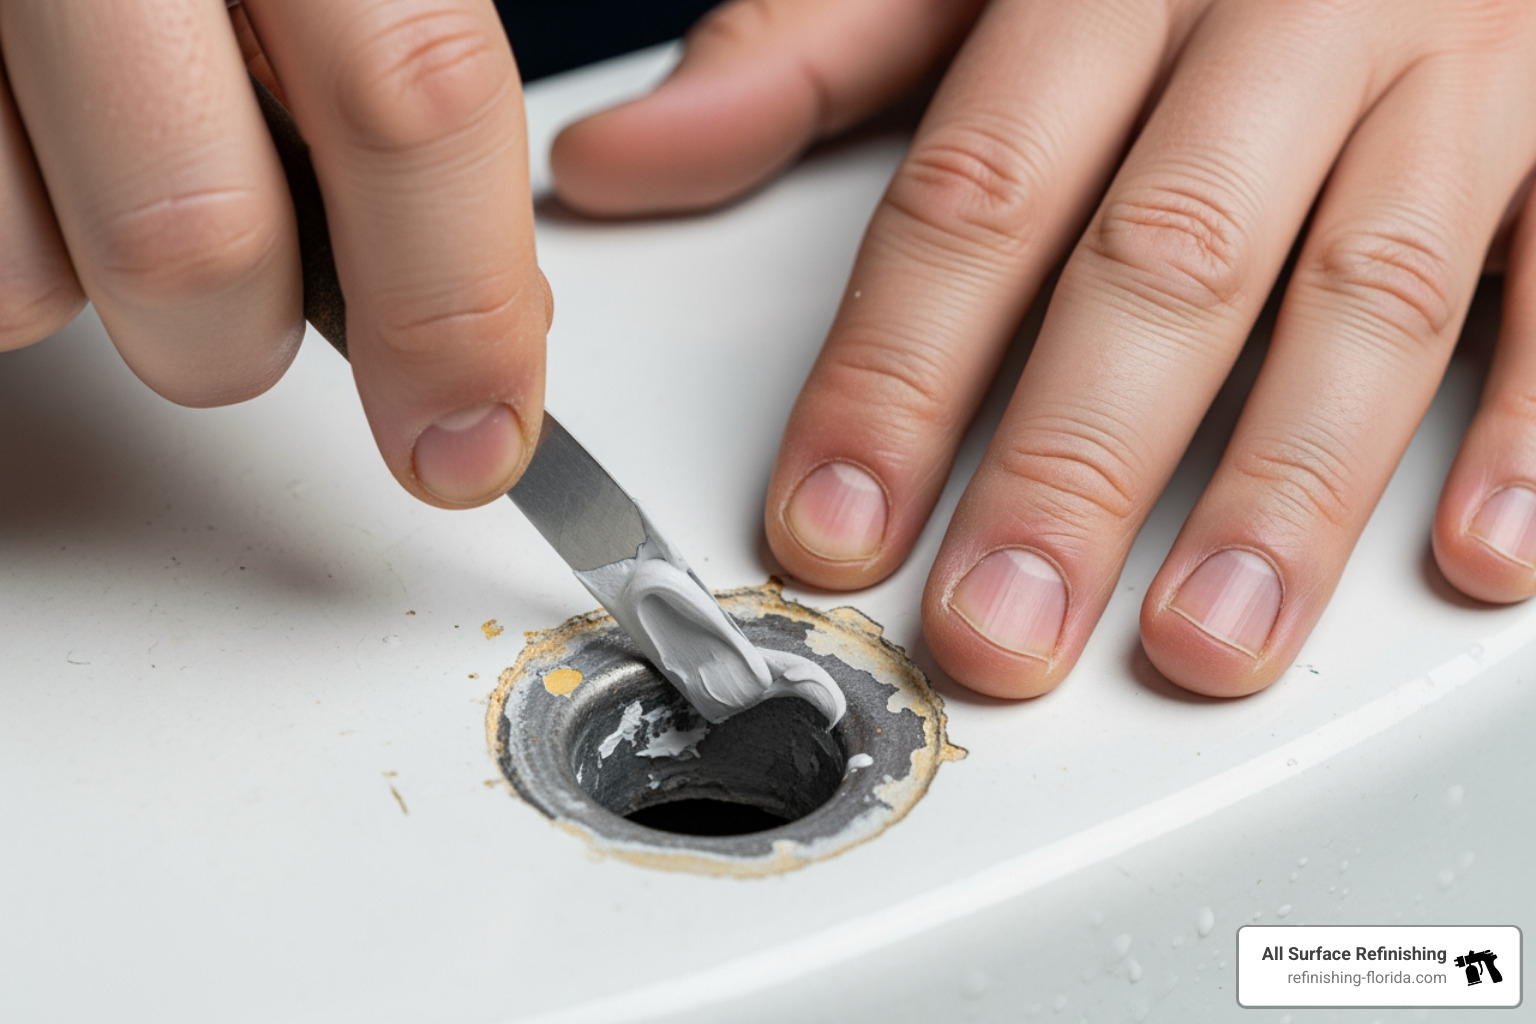
- Assessing Damage: Our technicians thoroughly inspect the sink for all chips, dents, cracks, and rust spots, as even minor flaws are visible under a new finish.
- Filling Chips and Scratches: We apply a specialized epoxy material in thin layers to fill chips and deep scratches, building it up slightly above the surface.
- Sanding Repairs: After the filler cures, we sand the repairs with fine-grit sandpaper (400-600 grit) until they are perfectly flush and undetectable to the touch. We often wet-sand to minimize dust and achieve a smoother finish.
- Treating Rust: We use abrasive tools like a wire wheel brush to completely remove any rust that has penetrated the cast iron. This is critical to prevent it from resurfacing. The area is then cleaned again.
For more in-depth information on addressing specific damages, you can refer to our Tub Repair guide, as many of the principles apply to sinks as well.
Step 3: Applying the New Finish for a Flawless Look
With all repairs completed, we move to the final stage of cast iron sink refinishing: applying the new finish. This step demands precision to achieve a smooth, glossy, and durable result.
- Sanding the Entire Sink: We lightly sand the entire sink with 400-grit sandpaper to create an “anchor profile.” This texture helps the new coating bond molecularly to the surface. Afterward, we clean away all dust.
- Mixing the Epoxy: We precisely mix the two-part epoxy base and activator. Proper mixing is essential for the coating to cure correctly and achieve maximum durability.
- Application: We apply the finish in thin, even coats using high-density foam rollers for large surfaces and small foam brushes for corners and edges. This ensures smooth, complete coverage.
- Avoiding Drips: We apply multiple thin coats, rather than one thick one, to prevent drips and runs and achieve a flawless, even surface.
- Drying Between Coats: We allow at least one hour of drying time between coats, as recommended by the manufacturer. This ensures proper adhesion and builds a strong, durable finish.
Curing, Longevity, and Long-Term Care
Drying and Curing Times for a Durable Finish
After the final coat is applied, the sink needs time to dry and cure. This phase is critical for the durability of your cast iron sink refinishing project.
- Initial Drying Time: The surface will feel dry to the touch within a few hours as the solvents evaporate and the coating is no longer tacky.
- Full Curing Period: The finish requires a full 48 to 72 hours to cure completely. During this time, the epoxy hardens and cross-links, creating an exceptionally tough and chemical-resistant surface.
- Importance of Patience: It is crucial to avoid using the sink before it is fully cured. Premature use can damage the finish, leading to peeling or chipping. This is a common pitfall in DIY projects.
- Removing Painter’s Tape: We carefully remove the painter’s tape once the finish is dry enough to handle, which prevents it from pulling off any of the cured material.
- Re-installing Fixtures: After the full curing time, we re-install faucets and drains, sealing them with new caulk as needed.
How Long Does Cast Iron Sink Refinishing Last?
One of the most common questions we receive is about the lifespan of a refinished sink. With our professional cast iron sink refinishing services, you can expect impressive longevity.
- Professional Finish Lifespan: With proper care, our high-quality, industrial-grade epoxy finishes last 10 to 15 years or more. This significantly extends the useful life of your fixture.
- Factors Affecting Longevity: Several factors influence how long your refinished sink remains pristine:
- Proper Care: Following our maintenance guidelines is crucial. Avoiding harsh chemicals and abrasive tools will significantly extend the finish’s life.
- Water Quality: Hard water can lead to mineral buildup if not cleaned regularly.
- Usage Habits: While our finishes are durable, dropping heavy or sharp objects can still cause chips.
- DIY vs. Professional Durability: In contrast, DIY kits have a much shorter lifespan, often failing within months or a few years. Professional materials and techniques make a significant difference in durability.
Best Practices for Maintaining Your Refinished Sink
To ensure your newly refinished cast iron sink retains its pristine appearance, adopting a few simple maintenance habits is key.
- Approved Cleaning Methods:
- Mild, Non-Abrasive Cleaners: Use simple dish soap and warm water for daily cleaning. For tougher spots, a gentle, non-abrasive bathroom cleaner is safe.
- Soft Sponges or Cloths: Use only soft sponges or micro-fiber cloths. Avoid scourers, steel wool, or abrasive pads that could scratch the new surface.
- Avoid Harsh Chemicals: Do not use cleaners with bleach, ammonia, or abrasives, as they can dull or degrade the finish. If you must use a stronger product, dilute it and rinse immediately.
- Using Protective Sink Mats: We highly recommend using a protective silicone or rubber sink mat to prevent chips and scratches from heavy pots, pans, or cutlery.
- Preventing Chips from Heavy Pots: Be mindful when placing heavy items in the sink. Avoid dropping them directly onto the surface.
- Avoid Temperature Shock: Avoid pouring boiling water directly into a cold sink. Gradual temperature changes prevent stress on the finish that can lead to hairline cracks over time.
- Wipe After Use: Wiping the sink dry after each use helps prevent water spots and mineral buildup, keeping your sink sparkling with minimal effort.
By following these best practices, your professionally refinished cast iron sink from All Surface Refinishing will remain a beautiful and functional centerpiece in your kitchen or bathroom for well over a decade.
Frequently Asked Questions about Sink Refinishing
Can you refinish any type of cast iron sink, like a kitchen or bathroom one?
Yes, absolutely! Our cast iron sink refinishing process is versatile and suitable for nearly all types of cast iron sinks. This includes heavy-duty kitchen sinks, neat bathroom pedestal sinks, classic high-back farmhouse sinks, and even utility sinks. The key is proper surface preparation and applying our durable epoxy coating to restore the enamel-like finish on any kitchen or bathroom fixture.
What are the biggest mistakes to avoid in a sink refinishing project?
The most common pitfalls in cast iron sink refinishing, especially with DIY kits, are poor preparation, rushing, and improper application.
- Inadequate Preparation: Skipping the crucial steps of deep cleaning, degreasing, and sanding will cause poor adhesion, leading to a finish that peels or chips prematurely.
- Rushing the Process: Not allowing proper drying time between coats or using the sink before it has fully cured (48-72 hours) will compromise the finish’s durability.
- Applying Thick Coats: Applying the coating too thickly causes drips, runs, and an uneven texture. Multiple thin coats create a smoother, more durable, professional result.
Understanding these mistakes is why professional services yield consistently superior results. For a detailed look at the meticulous steps involved, you can watch a video walkthrough of a restoration.
Is it better to repair a chip or refinish the whole sink?
The decision depends on the extent of the damage and your desired outcome.
- For a Single, Small Chip: If your sink has only one small chip and the rest of the surface is in good condition, a targeted repair may be sufficient.
- For Multiple Chips, Widespread Staining, or Dullness: If your sink has multiple flaws, extensive staining, or a dull surface, a full refinishing is the best long-term solution. This restores the entire sink to a uniform, durable, like-new condition, which is far superior to a patchy appearance from multiple spot repairs.
Bring Your Kitchen or Bathroom Back to Life
Changing a tired, stained, or chipped cast iron sink into a gleaming, like-new fixture is immensely satisfying. Cast iron sink refinishing is an art of renewal that restores beauty and function, saves money, preserves character, and offers a sustainable solution for your home.
While the DIY route might offer initial savings, the value of professional results—in terms of durability, aesthetic quality, and longevity—is undeniable. Our expertise ensures a finish that not only looks spectacular but also stands up to the rigors of daily use for 10-15 years or more.
For a guaranteed, long-lasting finish in your South or Southwest Florida home—including Aventura, Bal Harbor, Boca Raton, Boynton Beach, Broward County, Carol City, Coconut Creek, Coconut Grove, Cooper City, Coral Gables, Coral Springs, Cutler Ridge, Dade County, Dania Beach, Davie, Deerfield Beach, Delray Beach, Fisher Island, Fort Lauderdale, Fort Pierce, Gold Coast, Golden Beach, Greenacres, Hallandale Beach, Hialeah, Hillsboro Beach, Hobe Sound, Hollywood, FL, Homestead, Indian River County, Indiantown, Islamorada, Ives Estates, Jensen Beach, Jupiter, Kendall, Key Biscayne, Key Largo, Key West, Lake Worth, Lauderdale By The Sea, Lauderdale Lakes, Lauderhill, Lazy Lake, Lighthouse Point, Loxahatchee, Marathon, Margate, Martin County, Miami, Miami Beach, Miami Lakes, Miami Shores, Miami Springs, Miami-Dade County, Miramar, North Bay Village, North Lauderdale, North Miami, North Miami Beach, North Palm Beach, Oakland Park, Palm Beach, Palm Beach County, Palm Beach Gardens, Palm City, Parkland, Pembroke Pines, Perrine, Port Saint Lucie, Port Salerno, Saint Lucie County, Sebastian, Stuart, Sweetwater, Tamarac, Vero Beach, Wellington, FL, West Miami, West Palm Beach, Weston, Wilton Manors—explore our expert bathtub, tile, kitchen, and bathroom refinishing options. We’re ready to help you refind the beauty of your home.
Explore our services for your bathroom, bathtub, tile, or kitchen.
