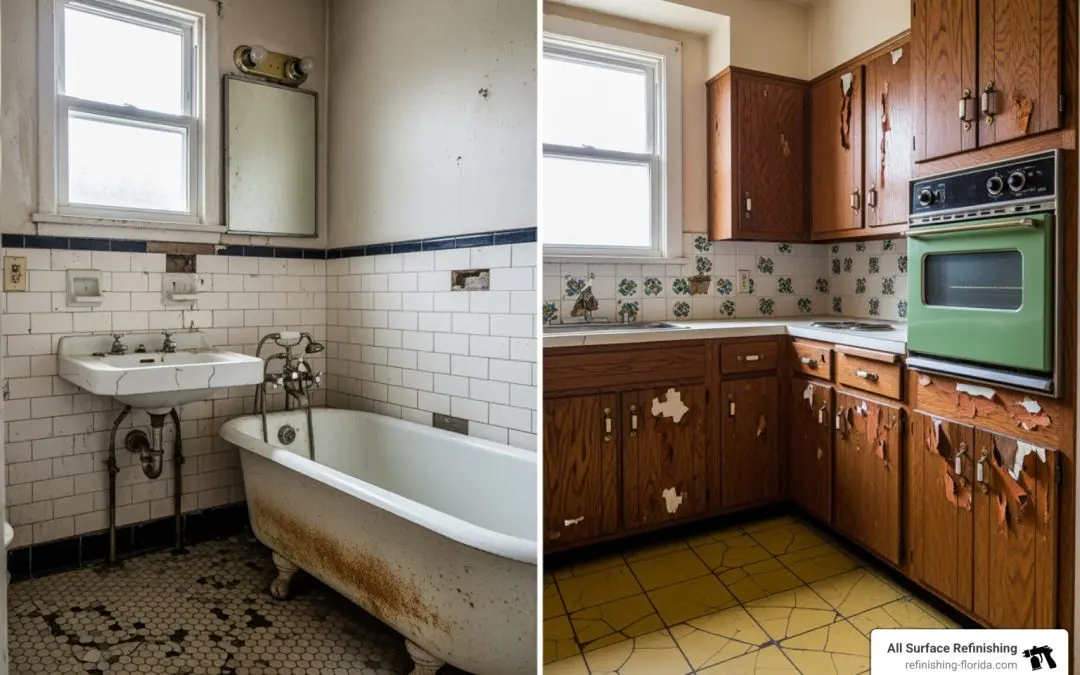
Breathe New Life into Your Old Tiles
Restore old tiles and you’ll save thousands of dollars compared to replacement. Here’s what you need to know:
Quick Answer: How to Restore Old Tiles
- Identify your tile type (ceramic, porcelain, or natural stone)
- Deep clean using pH-neutral cleaners and grout brushes
- Polish with appropriate tools for your tile material
- Seal porous tiles and grout lines for protection
- Consider professional refinishing for extensive damage or a complete color change
Worn-out tiles don’t have to mean an expensive, messy renovation. Most old tiles in South Florida kitchens and bathrooms are remarkably durable—they just need the right care to look beautiful again.
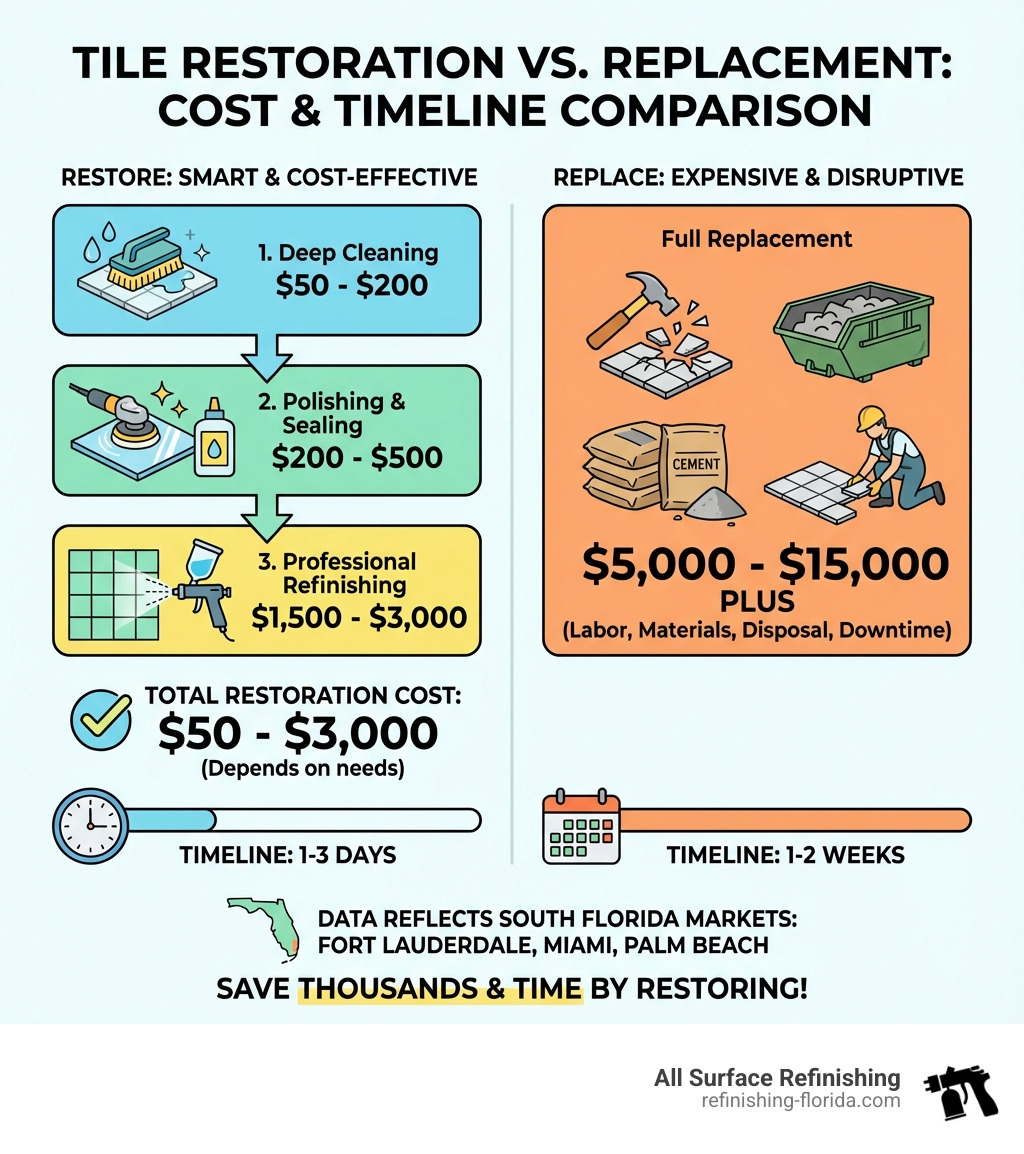
The biggest expense isn’t usually the tile itself. It’s the removal, disposal, and reinstallation that drives replacement costs sky-high. And that’s before you factor in the downtime, dust, and disruption to your home or business.
Restoration offers a smarter path. Whether you’re dealing with dull ceramic tiles in a Miami Beach condo, stained grout in a Fort Lauderdale kitchen, or dated colors in a Palm Beach bathroom, you have options that cost far less than starting over.
Examples of tile flooring go back as far as 4,000 B.C. in Egypt. Historic tiles in Victorian and Georgian homes often lasted centuries with proper care. Your tiles—even if they’re decades old—can look stunning again with the right approach.
I’m Frank Hernandez, President of All Surface Refinishing, and I’ve been helping South Florida homeowners restore old tiles since 2011. My team and I have transformed countless kitchens and bathrooms throughout Miami-Dade, Broward, and Palm Beach counties, saving our clients up to 75% compared to replacement costs while delivering results that exceed expectations.
Step 1: Identify Your Tiles and Assess the Damage
Before we dive into cleaning and polishing, it’s crucial to understand what kind of tiles you have and the extent of their wear and tear. This knowledge will guide our restoration methods, ensuring we use products and techniques that are effective without causing further damage.
How to Identify Your Old Tile Material
Many homes across South Florida, from the historic neighborhoods of Coconut Grove to the modern high-rises of Aventura, feature a variety of tile types. The most common old tiles you’ll find in kitchens and bathrooms are ceramic, porcelain, and natural stone.
- Ceramic Tiles: These are clay-based materials that are molded and fired. Often, they have a glaze applied before firing, which reduces water absorption and provides decoration. If a ceramic tile is chipped, you’ll usually see a different color (often reddish or white) beneath the glazed surface. Prior to the 20th century, ceramic tiles were often hand-pressed and fired at lower, less uniform temperatures, making them potentially more porous than modern versions.
- Porcelain Tiles: Denser and less permeable than ceramic tiles, porcelain often has the color running through the entire body of the tile, so chips are less noticeable. They are known for their durability and resistance to water.
- Natural Stone Tiles: Materials like marble, granite, travertine, and slate are popular for their unique patterns and luxurious feel. These tiles are inherently porous, meaning they’ll absorb liquids unless sealed, and their texture is often uneven. A simple visual inspection can usually identify natural stone by its unique veining and natural imperfections.
- Grout: Don’t forget the grout! In American surfaces over 100 years old, grout tended to be Portland cement, or a combination of crushed shells and Portland cement. Older grout is often very porous and susceptible to staining.
Porosity Test: A quick way to test porosity, especially for unglazed tiles or natural stone, is to drop a small amount of water on an inconspicuous area. If the water quickly soaks in and darkens the tile, it’s porous and will require sealing. If it beads on the surface, it’s likely non-porous or already sealed.
Understanding these characteristics helps us choose the right cleaning agents and sealers. For more detailed insights into historical tile preservation, you can Learn about historic tile preservation.
Common Signs of Wear and Tear
Years of sun, humidity, and daily life in South Florida can take a toll on our beautiful tiles. Here are the typical signs we look for when assessing old tiles:
- Surface Dullness: Over time, the shine on tiles can diminish due to accumulated dirt, grime, and microscopic scratches from foot traffic. This is especially common in high-traffic areas like kitchen floors in Homestead or bathroom floors in Coral Springs.
- Stained Grout: Grout is naturally porous, making it a magnet for dirt, grease, and mildew. It often shows age sooner than the tile itself. Discolored grout can make an entire tiled surface look dirty, even if the tiles are clean.
- Hard Water Deposits: In areas with hard water, like much of Florida, mineral buildup can leave unsightly white or cloudy spots on tiles, particularly in showers and around sinks in places like Hollywood, FL.
- Grease and Soap Scum: Kitchens and bathrooms are prone to specific types of buildup. Kitchen tiles in Miramar might suffer from grease, while bathroom tiles in Pembroke Pines often accumulate soap scum.
- Minor Cracks or Chips: While significant damage warrants professional attention, small cracks or chips can detract from the tile’s appearance.
- Loose Tiles: Though less common with our refinishing services which focus on intact surfaces, loose tiles can indicate underlying issues that need addressing before any surface work.
These signs indicate that your tiles are ready for a refresh, and often, deep cleaning and professional refinishing are all that’s needed to bring them back to life.
Step 2: Deep Cleaning Tiles and Grout
Deep cleaning is the cornerstone of any successful tile restoration project. It removes years of embedded dirt, grime, and stains, revealing the tile’s true potential. But it’s not a one-size-fits-all approach; different tiles and stains require different methods.
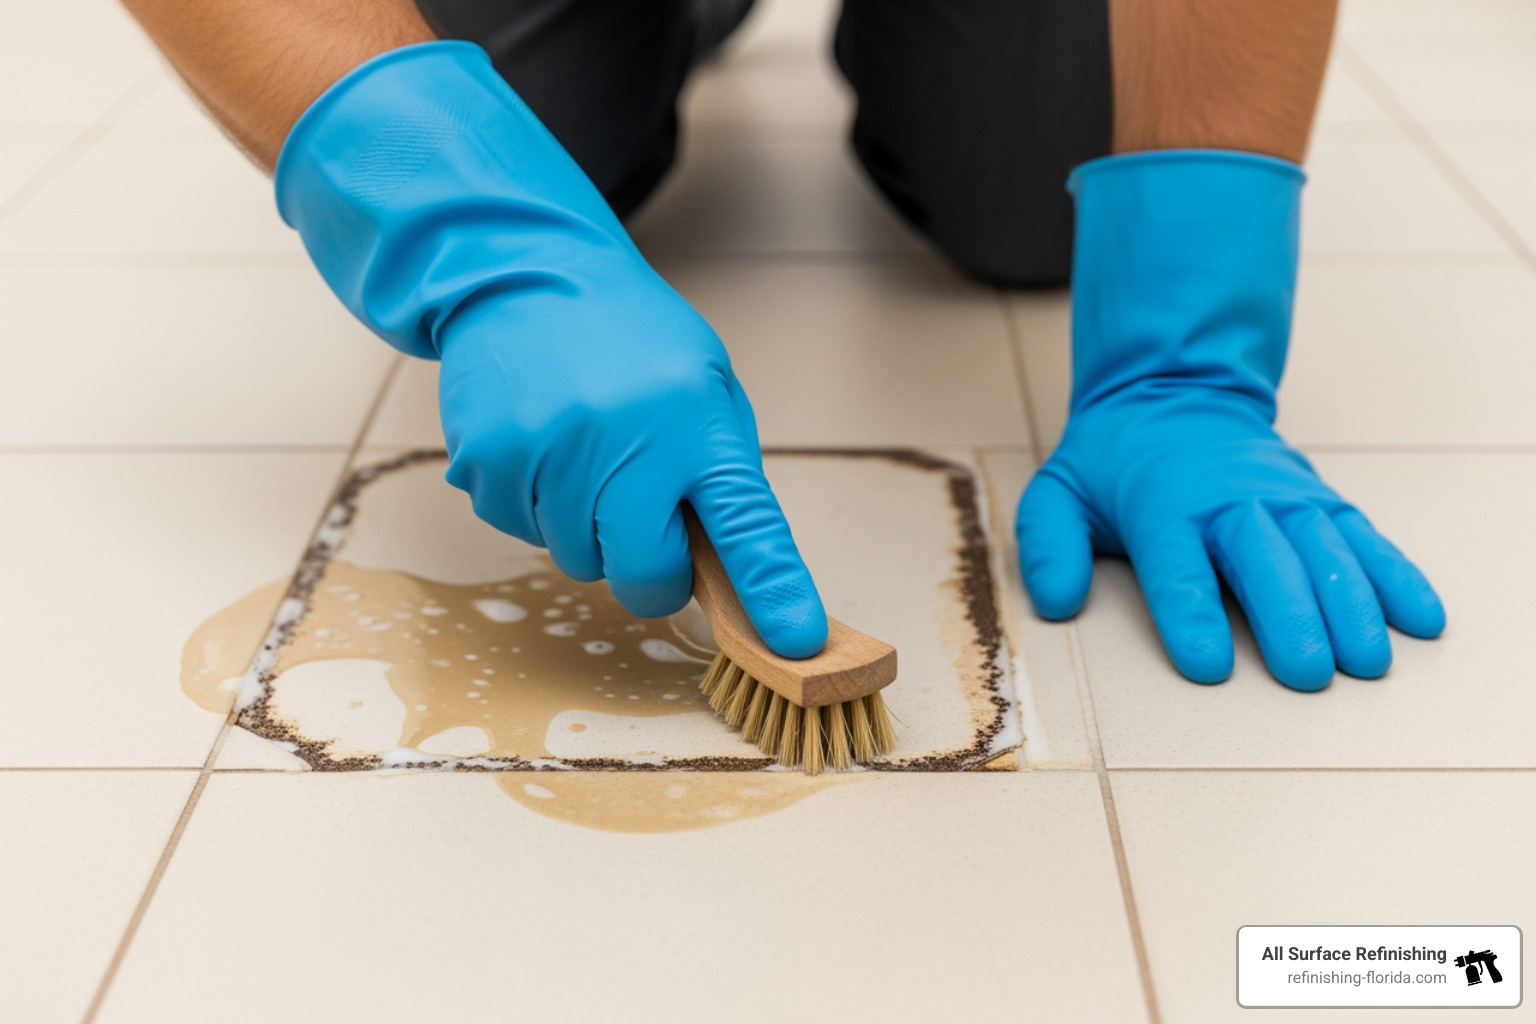
Best Methods for Deep Cleaning Old Tiles
When we deep clean, we always start with the least aggressive method first. This minimizes the risk of damage, especially to delicate or antique tiles.
- Warm Water and Mild Detergent: For most ceramic and porcelain tiles, a simple solution of warm water and a pH-neutral detergent is incredibly effective. Avoid harsh chemicals or abrasive cloths, as these can damage the glaze on ceramic tiles. Regular damp mopping and wiping with warm water can prevent deep staining.
- pH-Neutral Tile Cleaner: If warm water isn’t cutting it, step up to a dedicated pH-neutral tile cleaner. These are designed to lift dirt without stripping finishes or damaging grout. Always test in an inconspicuous area first, especially on natural stone tiles found in luxury homes in Palm Beach.
- Steam Cleaning: For a powerful, chemical-free clean, a steam mop can work wonders, especially on ceramic and porcelain tiles. The high heat and moisture loosen stubborn dirt and grime, making it easier to wipe away.
- Cleaning Methods by Tile Type:
- Ceramic & Porcelain: Generally robust. Use mild detergents. For heavily soiled areas, a Doodlebug cleaning tool with a non-abrasive pad can help apply more pressure without scratching.
- Natural Stone: Requires more caution. Avoid acidic cleaners (like vinegar or lemon juice) as they can etch the stone. Use pH-neutral stone cleaners. For deep cleaning, a professional might use a rotary scrubbing machine with appropriate pads.
- Hard Water Deposits: For those stubborn hard water spots common in Florida bathrooms, specific solutions designed to dissolve mineral buildup are available. Apply according to instructions, scrub gently, and rinse thoroughly.
Thorough cleaning is crucial because it removes dirt and grime that can hinder the effectiveness of subsequent polishing and sealing steps.
How to Effectively Restore Old Grout
Grout is often the first thing to show its age. Its porous nature means it readily absorbs dirt, making an otherwise clean floor look dingy. Fortunately, there are several ways to bring it back to life.
- Baking Soda and Vinegar Paste: A classic natural remedy. Mix baking soda with water to form a paste, apply it to the grout lines, then spray with white vinegar. Let it fizz for a few minutes, then scrub with a stiff nylon brush (a toothbrush works great for small areas!). This creates a natural bleaching agent to brighten your grout.
- Oxygen Bleach Solution: For deeper stains, an oxygen bleach solution (follow package directions) can be very effective. Apply, let it sit, then scrub and rinse.
- Grout Brushes: Invest in a good grout brush. The narrow, stiff bristles are designed to get into those tight grout lines and really scrub away embedded dirt.
- Commercial Grout Cleaners: If natural methods don’t suffice, a wide range of commercial grout cleaners can tackle tough stains. Always follow instructions and ensure good ventilation.
- Grout Paint Pens or Rejuvenation Grout: For a dramatic refresh without regrouting, grout paint pens can recolor and seal grout lines. If your grout has sufficient depth (at least 1mm), a rejuvenation grout product can be applied over existing grout for a fresh look. We recommend testing any paint or rejuvenation product in an inconspicuous area first.
The most replaceable aspect of vintage tile and grout surfaces is the grout itself. Maintaining it regularly can significantly extend the life and appearance of your tiled surfaces. For natural solutions, a mixture of lemon juice and cream of tartar can also brighten grout.
[TABLE] comparing Chemical Cleaners vs. Natural Solutions
| Feature | Chemical Cleaners | Natural Solutions |
|---|---|---|
| Effectiveness | High on tough stains | Good for general cleaning |
| Safety | Requires ventilation, PPE | Generally safer, fewer fumes |
| Cost | Moderate | Low |
| Environmental Impact | Higher | Lower |
| Risk to Tile/Grout | Can damage sensitive materials | Lower risk, but acids can etch stone |
When choosing between chemical and natural solutions, consider the type of tile, the severity of the stain, and your comfort with using stronger products. Chemical cleaners, while powerful, carry potential risks like etching sensitive natural stone or causing respiratory irritation if not used with proper ventilation and personal protective equipment (PPE). Natural solutions, such as those relying on lemon juice and cream of tartar, are generally safer for both you and your tiles, but may require more elbow grease for stubborn grime. Our team at All Surface Refinishing often uses professional-grade yet safe solutions that balance effectiveness with material integrity.
Step 3: Polishing, Sealing, and Minor Repairs
Once your tiles are sparkling clean, the next steps are to restore their luster and protect them for the long haul. This involves polishing to bring back their shine, sealing to prevent future staining, and addressing any minor surface imperfections.
Techniques for Polishing Tiles to Restore Shine
Polishing techniques vary significantly depending on your tile material.
- Ceramic & Porcelain: For these glazed surfaces, dullness is usually due to surface grime or microscopic scratches. After a deep clean, you can often restore shine by buffing with a soft cloth and a specialized ceramic tile polish. This helps to fill in tiny imperfections and create a reflective surface.
- Natural Stone (Marble, Travertine, Terrazzo): These tiles require a more advanced approach. Professional polishing often involves using a burnishing system with diamond-encrusted pads of varying grits. We start with a coarser grit to remove surface imperfections and then progressively move to finer grits to achieve a smooth, reflective finish. This process, sometimes called honing (for a matte finish) or polishing (for a glossy finish), literally resurfaces the stone. Our team has the specialized equipment and expertise for this delicate work, ensuring your natural stone floors in Miami or countertops in Fort Lauderdale regain their original elegance.
When and How to Seal Your Tiles
Sealing is a critical step, especially for porous tiles and grout, as it provides a protective barrier against moisture, stains, and wear.
- Porous vs. Non-Porous: Natural stone tiles (like marble, travertine, or unglazed quarry tiles) and cement-based grout are highly porous and must be sealed. Glazed ceramic and porcelain tiles are typically non-porous and do not require sealing themselves, but their grout lines often do.
- Types of Sealers:
- Impregnating Sealers: These penetrate the tile and grout, forming a barrier beneath the surface. They don’t alter the tile’s appearance and are excellent for natural stone, reducing porosity and offering protection against staining.
- Topical Sealers: These form a protective coating on the surface of the tile and grout, often creating a glossy finish. While they offer greater protection against dirt ingress, they can alter the tile’s appearance and may require more frequent reapplication in high-traffic areas.
- Application Process: Always ensure tiles and grout are thoroughly clean and dry before applying a sealer. Apply the sealer evenly according to the manufacturer’s instructions, usually with a brush, roller, or sprayer. Wipe off any excess before it dries to prevent a hazy film. Allow adequate curing time before exposing the surface to moisture or traffic. For detailed Tips on tile care, we recommend consulting our blog.
Best Practices to Restore Old Tiles with Minor Damage
For minor cosmetic issues, a little preparation can go a long way before professional refinishing. Our refinishing process is designed to encapsulate and make seamless many minor surface imperfections, but understanding what can be done beforehand is helpful.
- Addressing Small Chips and Cracks: For very shallow chips or hairline cracks in ceramic or porcelain tiles, these can often be filled with a color-matched epoxy or cementitious repair mortar. This creates a smooth surface that our refinishing coatings can then seamlessly cover, providing a uniform, like-new appearance. We focus on preparing the surface to ensure our high-tech acrylic coatings adhere perfectly and look flawless.
- Preparing for Refinishing: If you have minor surface damage, our team will carefully clean, repair, and sand these areas until smooth and level. This ensures that when our proprietary MM-4 bonding agent and new finish are applied, the final result is a beautiful, durable, and seamless surface. This is a key part of our Tile Refinishing Services throughout South Florida, from Miami-Dade to Martin County.
Step 4: When to Call a Professional for Tile Restoration
While DIY cleaning and minor touch-ups can go a long way, there are times when professional expertise is invaluable, especially if you truly want to restore old tiles to their former glory or achieve a completely new look. Knowing when to call in the pros can save you time, money, and headaches in the long run.
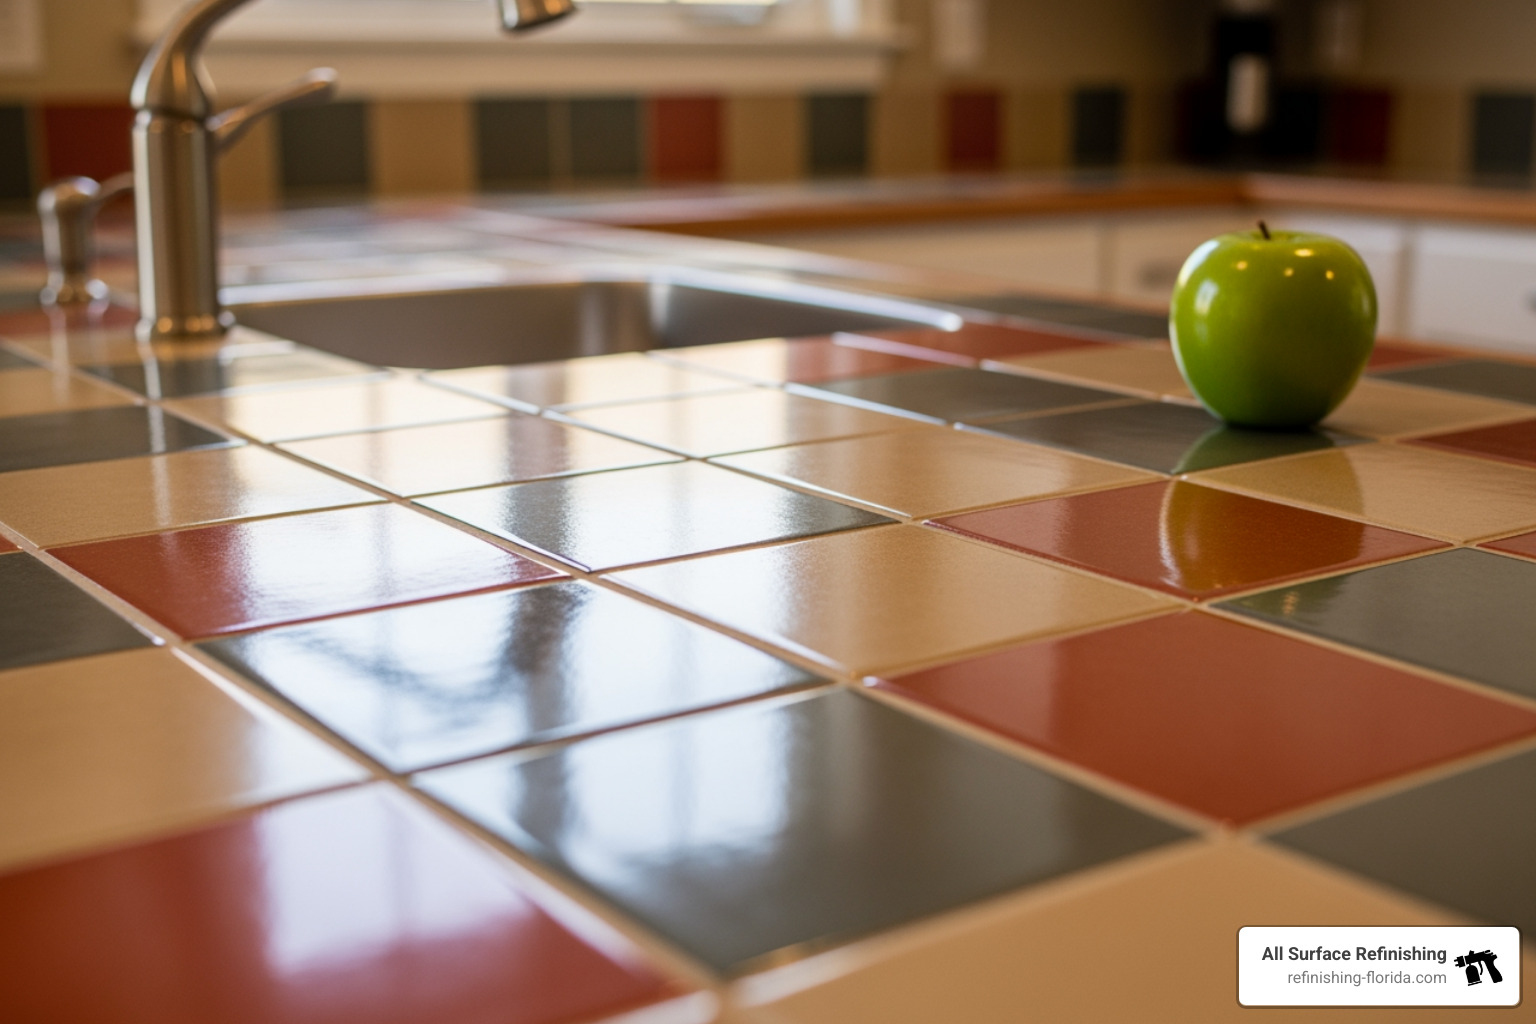
Signs You Need an Expert to Restore Old Tiles
Sometimes, the damage or desired change is beyond what a homeowner can realistically achieve. Here are some indicators that it’s time to bring in a professional:
- Widespread Cracking or Deep Stains: If your tiles have extensive cracking, deep gouges, or stubborn stains (especially on porous natural stone) that resist all your cleaning efforts, a professional has specialized tools and solutions that can penetrate deeper and repair more effectively. For example, some acid-based cleaners may be necessary for severe discoloration but should always be handled by a professional tile and grout restoration company.
- Subfloor Issues or Loose Tiles: If tiles are widespread loose, “tented” (buckling), or you suspect underlying structural issues, this requires more than surface cleaning. A professional can assess the subfloor and address these problems before any restoration work proceeds.
- Large Areas or Intricate Patterns: Restoring a large kitchen floor in Fort Pierce or an intricate tile pattern in a historic Miami home can be incredibly time-consuming and challenging. Professionals have the equipment and experience to complete these projects efficiently and effectively.
- Historically Significant Tiles: For very old or unique tiles that hold historical value, such as those found in some older South Florida estates, preservation is paramount. Accredited specialists and conservators are recommended for such delicate work, as improper methods could cause irreversible damage.
- When DIY Isn’t Enough: You’ve tried everything, but your tiles still look dull, stained, or simply outdated. That’s where we come in!
The Ultimate Solution: Professional Tile Refinishing
At All Surface Refinishing, we offer a solution that goes beyond cleaning and minor repairs – professional tile refinishing. This is particularly popular in areas like West Palm Beach and Fort Lauderdale, where homeowners want a fresh, updated look without the mess and expense of full replacement.
- Cost-Effective Makeover: Our refinishing process can save you up to 75% compared to the cost of replacing your tiles. This means you can get a brand-new look for your kitchen or bathroom for a fraction of the price.
- Durable, Seamless Surface: We use high-tech acrylic coatings that bond directly to your existing tiles. This creates a seamless, non-porous, and incredibly durable surface that resists chips, scratches, and stains. It’s an excellent way to permanently seal grout lines and prevent future discoloration.
- Change Tile Color: Want to update your dated pink bathroom tiles in Delray Beach to a modern white or gray? Professional refinishing allows for a complete color change, changing the entire aesthetic of your space without demolition.
- Fast and Convenient: Unlike tile replacement, which can take weeks and create significant disruption, our refinishing process is typically completed in just a few days. You can enjoy your “new” bathroom or kitchen much sooner!
- Expert Application: Our team has over 30 years of experience and has completed over 14,000 projects across South and Southwest Florida. We use specialized equipment, primers, bonding agents, and top coats to ensure a long-lasting, beautiful finish. This proprietary process ensures superior adhesion and durability without the use of dangerous acids.
Whether your goal is to simply improve the existing beauty of your tiles or to completely transform their look, our Tile Refinishing Services are designed to deliver exceptional results throughout Florida, from Miami to Jupiter.
Frequently Asked Questions about Restoring Old Tiles
How can you tell if old tile is ceramic or porcelain?
Porcelain tile is denser and often has the color running through the entire body of the tile, whereas ceramic tile may show a different color (usually reddish or white) underneath the top glaze if chipped. A simple test is to check an unglazed edge. If you see a consistent color all the way through, it’s likely porcelain. If there’s a distinct layer of color on top of a different base color, it’s ceramic.
Is it cheaper to restore tile or replace it?
Restoring tile is almost always significantly cheaper than replacing it. Restoration avoids the costs of demolition, new materials, and re-installation, saving homeowners in areas like Palm Beach and Broward County up to 75% of the cost of replacement. Our professional refinishing services, for example, often come in at a fraction of the price of tearing out and installing new tiles.
Can you change the color of old tile without replacing it?
Yes, professional tile refinishing is a highly effective method for changing the color of existing tiles. This process applies a new, durable coating over the old tile, allowing for a complete color change without the mess and expense of replacement. Our high-tech acrylic coatings can transform your kitchen or bathroom tiles into any color you desire, giving your space a completely refreshed and modern look.
Conclusion: Love Your Tiles for Years to Come
Bringing your old tiles back to life is a rewarding process that offers significant benefits over costly and disruptive replacement. By choosing to restore old tiles, you’re not only saving money but also making an environmentally conscious decision and preserving the character of your South Florida home.
We’ve explored how to identify your tile type, deep clean using both natural and commercial solutions, polish to restore shine, and seal for long-lasting protection. We’ve also highlighted when it’s best to call in the professionals for expert tile refinishing, especially for those seeking a complete aesthetic change or dealing with extensive wear and tear in their kitchens and bathrooms.
Maintaining your restored tiles is key to ensuring their longevity. Regular cleaning with pH-neutral products, promptly wiping up spills, and re-sealing porous surfaces as needed will keep them looking beautiful for years to come.
At All Surface Refinishing, we’re proud to be Florida’s trusted experts in changing tired surfaces. With over 30 years of experience and thousands of successful projects, our team is ready to help you refind the beauty of your existing tiles. Don’t let dull, stained, or dated tiles diminish the appeal of your home any longer. Transform your bathroom or kitchen tiles today!
