
Why Your Kitchen Cabinets Deserve a Fresh Color (And How to Do It Right)
The best way to change kitchen cabinet color depends on your budget, timeline, and the finish quality you want. Here’s a quick breakdown:
| Method | Cost | Time | Best For |
|---|---|---|---|
| DIY Painting | ~$200 | 1-2 weekends | Budget-conscious homeowners |
| Professional Refinishing | Varies | Days, not weeks | Durable, factory-smooth results |
| Vinyl Wrapping | ~$55-100 | 1 day | Renters or quick fixes |
Kitchen cabinets can eat up nearly 40% of a full kitchen renovation budget – and replacing them in a standard kitchen can easily run past $5,000. The good news? You don’t have to replace them to transform how your kitchen looks and feels.
A simple color change can make an outdated kitchen feel completely new. Whether you go the DIY route with a brush and roller, or call in a professional for a flawless sprayed finish, the right approach makes all the difference between a result that lasts years and one that chips and peels within months.
I’m Frank Hernandez, President of All Surface Refinishing, and with over a decade of hands-on refinishing experience, I’ve seen what separates a lasting cabinet transformation from a disappointing one – and I’ll share the best way to change kitchen cabinet color so you get it right the first time. Let’s walk through everything you need to know.
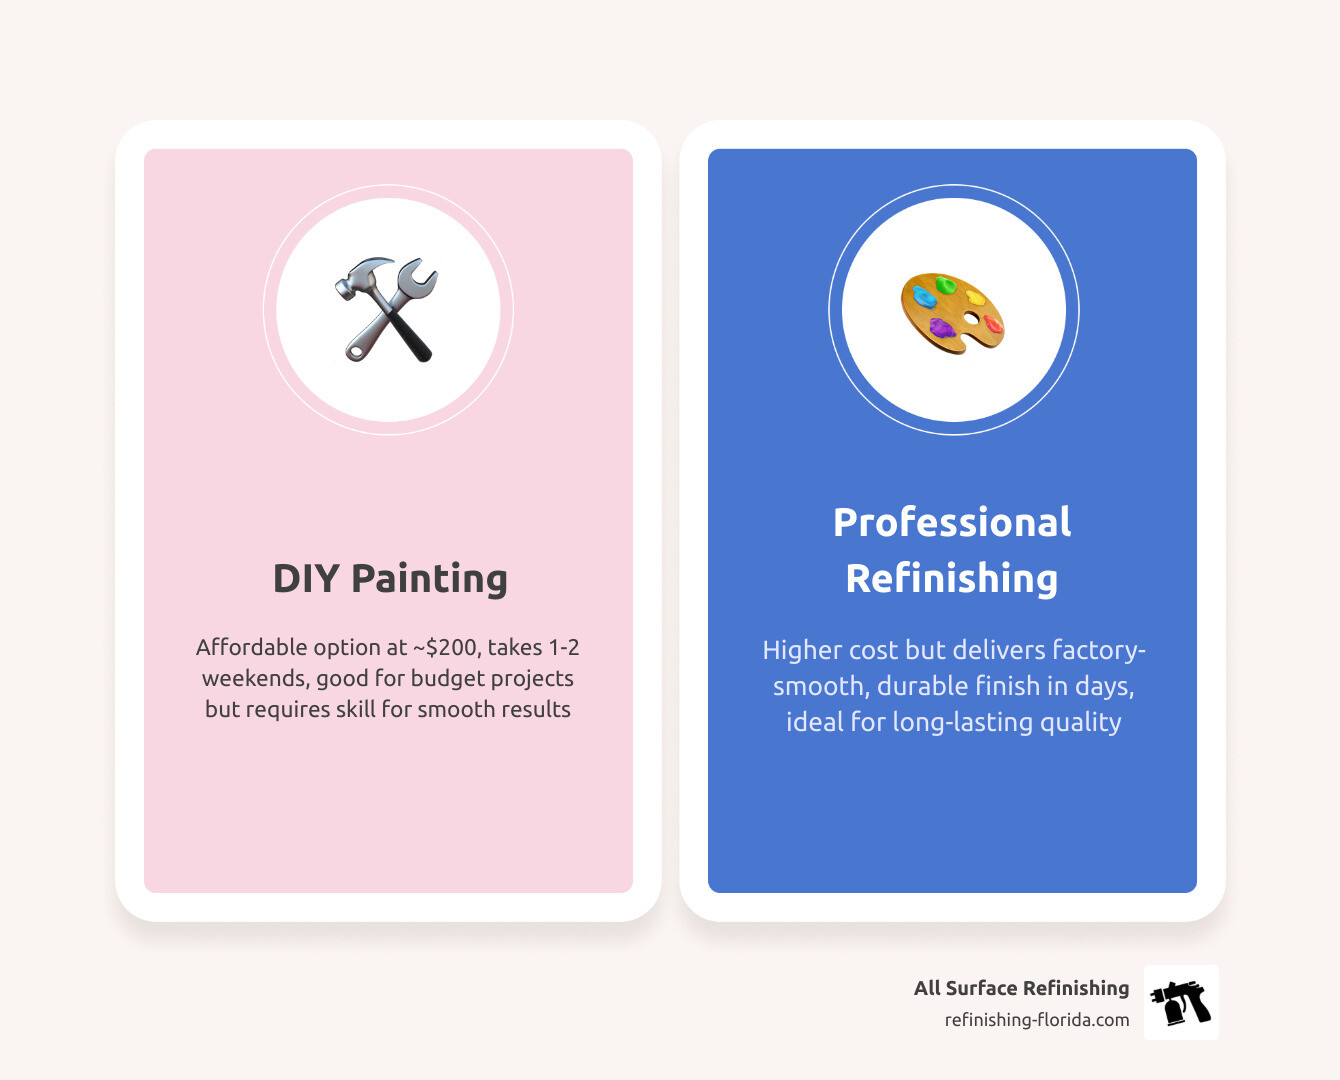
DIY vs. Professional Cabinet Painting: Finding Your Best Way
When you decide it’s time for a change, the first fork in the road is deciding whether to pick up the brush yourself or call in the experts. In South Florida, where the humidity can be a real bear for paint curing, this choice is even more significant.
Weighing the Costs: DIY Savings vs. Professional Investment
If you are strictly looking at the bottom line, DIY painting is hard to beat. Research shows that you can often gather the necessary supplies—paints, rollers, and cleaners—for approximately $200 to $300. Compared to the $5,000+ price tag of new cabinets for a 10-by-12-foot kitchen, the savings are astronomical.
However, “cost” isn’t just about the receipt from the hardware store. It’s about your time. A thorough DIY job often takes 15 days when you account for cleaning, sanding, priming, and the necessary drying time between coats. If you’re a busy professional in Boca Raton or Miami, losing your kitchen for two weeks might be a steeper price than the service fee. To get a better idea of the financial landscape, check out our Kitchen Cabinet Refinishing Cost Guide.
The Benefits of Professional Cabinet Refinishing for a “Pro” Look
While DIY is great for the budget, professional refinishing is the best way to change kitchen cabinet color if you want a “factory-smooth” finish. At All Surface Refinishing, we use high-performance coatings that are far more durable than standard hardware store latex.
Professional results offer:
- Superior Adhesion: We use industrial-grade bonding primers that ensure the color won’t peel, even in the steamy environment of a South Florida kitchen.
- Glass-Smooth Finish: Using airless sprayers in a controlled environment eliminates the brush marks and “orange peel” texture often seen in DIY projects.
- Fast Turnaround: We can often complete a transformation in a matter of days, not weeks.
- Expert Color Matching: We help you navigate the subtle undertones of whites and greys to find the perfect match for your lighting.
If you’re curious about how the pros handle the heavy lifting, you can find more info about cabinet painting services here.
Step-by-Step Guide: The Best Way to Change Kitchen Cabinet Color via Painting (DIY Approach)
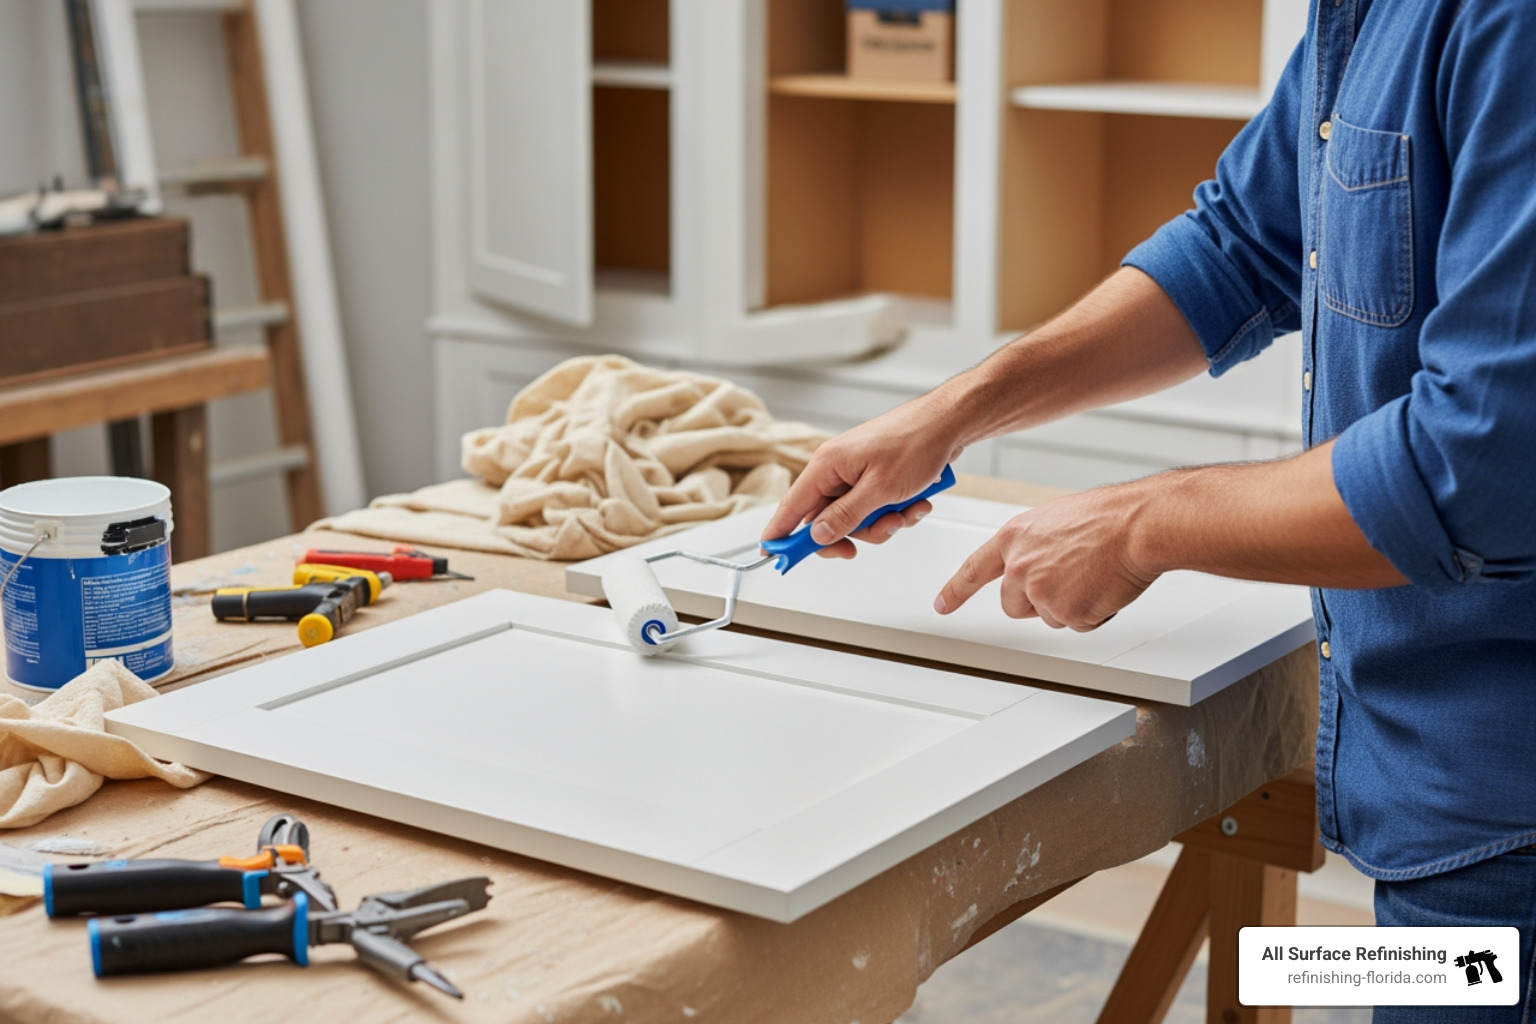
If you’ve decided to tackle this as a weekend warrior project, preparation is your absolute best friend. You cannot simply slap paint over old grease and expect it to stay.
- Remove and Label Everything: Use a screwdriver or electric driver to remove all doors and drawer fronts. Pro Tip: Don’t just toss the screws in a pile. Label each door (e.g., “Upper Left Stove”) with painter’s tape and put the corresponding hinges and screws in a numbered baggie.
- The Deep Clean: Kitchens are magnets for “invisible” grease. Use a heavy-duty degreaser like Krud Kutter or TSP (trisodium phosphate). If the surface feels even slightly tacky, the paint will fail.
- Set Up a Station: Use sawhorses or painter’s tripods to keep the doors off the ground. This allows you to get to the edges without sticking. For inspiration on how a professional eye can change a space, look at the work of Lisa Furtado Interiors.
Preparation and Priming Essentials
Many people ask if they can skip sanding. While some “no-sand” paints exist, we always recommend a light “scuff sand” with 120-grit to 220-grit sandpaper. You don’t need to take it down to raw wood; you just need to remove the gloss so the primer has something to “bite” into.
After sanding, use a tack cloth to remove every speck of dust. Then, apply a high-quality primer like Zinsser BIN (shellac-based) or a synthetic shellac. These are excellent for blocking stains and ensuring the new color doesn’t bleed through. Always perform an adhesion test in an inconspicuous spot—apply a small amount of primer, let it dry for 24 hours, and try to scratch it off with a fingernail. If it stays put, you’re good to go. For more localized advice, see our Cabinet Painting Near Me Tips.
Application Techniques: Brush, Roll, or Spray
For the DIYer, a combination of a soft angled brush and a 4-inch mohair or high-density foam roller is usually the most manageable.
- The Brush: Use this for the “insides” of panels and detailed molding.
- The Roller: Use this for the large flat surfaces to minimize brush marks.
- The “Tip-Off”: After rolling, some pros lightly run a dry brush over the wet paint in the direction of the grain to smooth out any tiny bubbles.
If you are feeling adventurous, an airless sprayer can provide a stunning finish, but the masking required for your walls and floors is extensive. For a look at modern design aesthetics that pair well with these techniques, Urbanology Designs offers great visual cues.
Essential Materials for a Durable Cabinet Makeover
The paint you choose for your walls is not the paint you should use for your cabinets. Cabinets need to withstand constant touching, steam, and occasional bumps from pots and pans.
Paint Type Comparison Table
| Paint Type | Durability | Ease of Use | Cleanup |
|---|---|---|---|
| Acrylic Enamel | High | Excellent | Water-based |
| Alkyd (Oil-based) | Superior | Difficult (Smelly) | Mineral Spirits |
| Hybrid (Urethane) | Very High | Good | Water-based |
We generally recommend high-quality acrylic urethane enamels like Sherwin-Williams Emerald Urethane or Benjamin Moore Advance for DIYers. They offer the hardness of an oil-based paint but clean up with water. You can learn more about achieving this Fresh Look in Miami through our specialized guides.
Choosing the Right Primer for Glossy Surfaces
If you have laminate or high-gloss thermofoil cabinets, standard primer won’t cut it. You need a “bonding” primer like Extreme Bond or Stix. These are formulated to stick to non-porous surfaces that would normally repel paint. This is a common challenge for homeowners looking for Cabinet Painting in Palm Beach.
Tools for a Professional Finish
To bridge the gap between “amateur” and “pro,” invest in these specific tools:
- High-Density Foam Rollers: These leave almost no texture behind.
- Painter Tripods: These “pyramids” allow you to paint the back of a door, flip it immediately, and paint the front.
- Wood Filler: Use this to patch old hardware holes if you’re switching to new handles.
- Tack Cloths: These sticky cloths are essential for removing fine dust that a vacuum misses.
For those in the southern part of the county, you can compare how local experts utilize these tools in our guide on The 5 Best Cabinet Painters in Boca Raton Compared.
Achieving a Professional Finish in South Florida
In South Florida, from Fort Lauderdale to Coral Springs, we face a unique challenge: humidity. High moisture levels in the air can prevent paint from leveling properly and can significantly extend curing times.
Why Professional Refinishing is the Best Way to Change Kitchen Cabinet Color in Florida
When we work on projects in places like Southwest Ranches or Hollywood, FL, we control the environment. Professional refinishing often involves taking the doors to a dedicated spray booth where humidity and dust are filtered out.
This is the best way to change kitchen cabinet color in our climate because:
- Heat Resistance: Our coatings are designed to withstand the heat and moisture of Florida kitchens without becoming “gummy.”
- Curing Speed: We use specialized drying equipment that ensures the finish is hard and usable in days, whereas some DIY latex paints can stay “soft” for up to 30 days.
- Longevity: A professional job can easily last 10-15 years, whereas a DIY job often needs touch-ups within 2 or 3.
You can read more about the 3 Important Benefits of Hiring Cabinet Painting Experts to see if it’s the right fit for your home.
Quick Upgrades to Pair with New Color
Once your cabinets have their new hue, don’t stop there!
- Hardware Swap: New brushed brass or matte black pulls can completely change the “era” of your kitchen.
- Crown Molding: Adding molding to the top of builder-grade cabinets can make them look like custom, high-end pieces. Check out The Yellow Cape Cod for a great DIY molding tutorial.
- Roll-out Shelves: While the doors are off, it’s the perfect time to install ash wood roll-out drawers from The Container Store to boost functionality.
- Under-Cabinet Lighting: LED strips are inexpensive and highlight your new paint job beautifully.
For homeowners in Coral Springs, these small additions are the “cherry on top” of a cabinet transformation.
Common Mistakes to Avoid During Your Kitchen Transformation
Even with the best intentions, things can go wrong. Here are the “deadly sins” of cabinet painting:
- Skipping the Degreaser: If you don’t remove the cooking oils, the paint will peel. Period.
- Painting in the Rain: In Florida, if it’s a humid, rainy afternoon, don’t paint with your windows open. The moisture will trap under the paint layer.
- Thick Coats: It is always better to do three thin coats than one thick one. Thick coats lead to drips and “runs” that are a nightmare to sand out.
- Rushing the Reinstall: If you hang the doors before the paint is fully cured, the doors can “stick” to the frames, ripping the paint off the next time you open them.
For a deeper dive into avoiding these pitfalls, see our Cabinet Painting Oakland Park Guide.
Frequently Asked Questions about Cabinet Color Changes
Do I need to sand my cabinets before painting?
In 95% of cases, yes. Even a light “scuff sand” creates the mechanical bond needed for the paint to stick. Only specific high-adhesion primers on perfectly clean surfaces can occasionally skip this step.
How long does it take for cabinet paint to fully cure?
While the paint may feel dry to the touch in an hour, “curing” is the chemical process of the paint reaching maximum hardness. For water-based enamels, this can take 2 to 4 weeks. Be very gentle with your cabinets during this time!
Can I paint over laminate or glossy cabinets?
Yes, but you must use a dedicated bonding primer. Without it, the paint will slide right off the slick surface. We’ve successfully transformed hundreds of laminate kitchens across Miami-Dade and Broward counties using this method.
Conclusion
Changing your kitchen cabinet color is truly the most impactful “bang for your buck” in home renovation. Whether you choose the grit and satisfaction of a DIY weekend or the flawless, stress-free results of a professional service, you are saving thousands of dollars compared to a full replacement.
At All Surface Refinishing, we’ve spent over 30 years helping Florida homeowners in Aventura, Weston, Jupiter, and beyond fall in love with their kitchens again. With over 14,000 projects under our belt, we know exactly how to handle the unique challenges of the Florida climate to give you a finish that lasts.
Ready to see the “Miracle Method” of transformation in your own home? For more info about cabinet services or to schedule a consultation, we are here to help you achieve the kitchen of your dreams without the nightmare of a full remodel.
