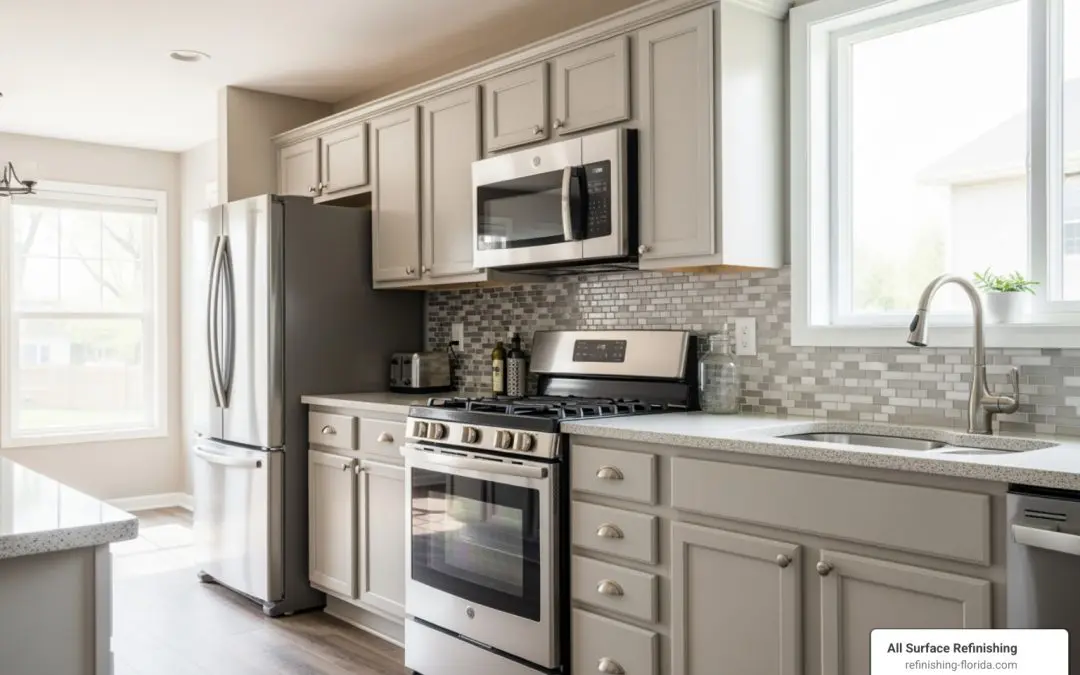
Transform Your Kitchen Without Breaking the Bank
Formica counter paint offers a budget-friendly way to refresh tired laminate surfaces without the expense of replacement. If you’re looking to update your kitchen countertops, here’s what you need to know:
Quick Answer: Can You Paint Formica Countertops?
- Yes, Formica countertops can be successfully painted with proper preparation
- Cost: $50-$120 for materials (covers approximately 15 square feet)
- Time: 4-6 hours working time, 1-3 days total drying time
- Key Requirements: Thorough cleaning, light sanding, bonding primer, and durable paint
- Durability: With proper sealing, painted surfaces can last years with normal kitchen use
Painting Formica countertops has become a popular DIY solution for homeowners across South Florida who want to update their kitchens without the mess and expense of full replacement. The process works because modern bonding primers create a strong foundation for paint to adhere to the smooth, non-porous laminate surface.
However, success depends heavily on proper surface preparation. Research shows that applying a clear acrylic sealer can extend the life of painted countertops by up to 70% compared to unsealed surfaces. With the right materials and techniques, you can achieve professional-looking results that withstand daily kitchen use.
The manufacturer of Formica laminate actually approves painting as a refurbishment method, making it a legitimate alternative to replacement. Since laminate cannot be re-laminated, painting becomes the most practical option for extending the life of these surfaces while keeping unrecyclable materials out of landfills.
I’m Frank Hernandez, President of All Surface Refinishing, and I’ve been refinishing kitchen and bathroom surfaces across South Florida since 2011. Over the years, I’ve helped countless homeowners transform their spaces using advanced Formica counter paint techniques that deliver lasting, beautiful results.
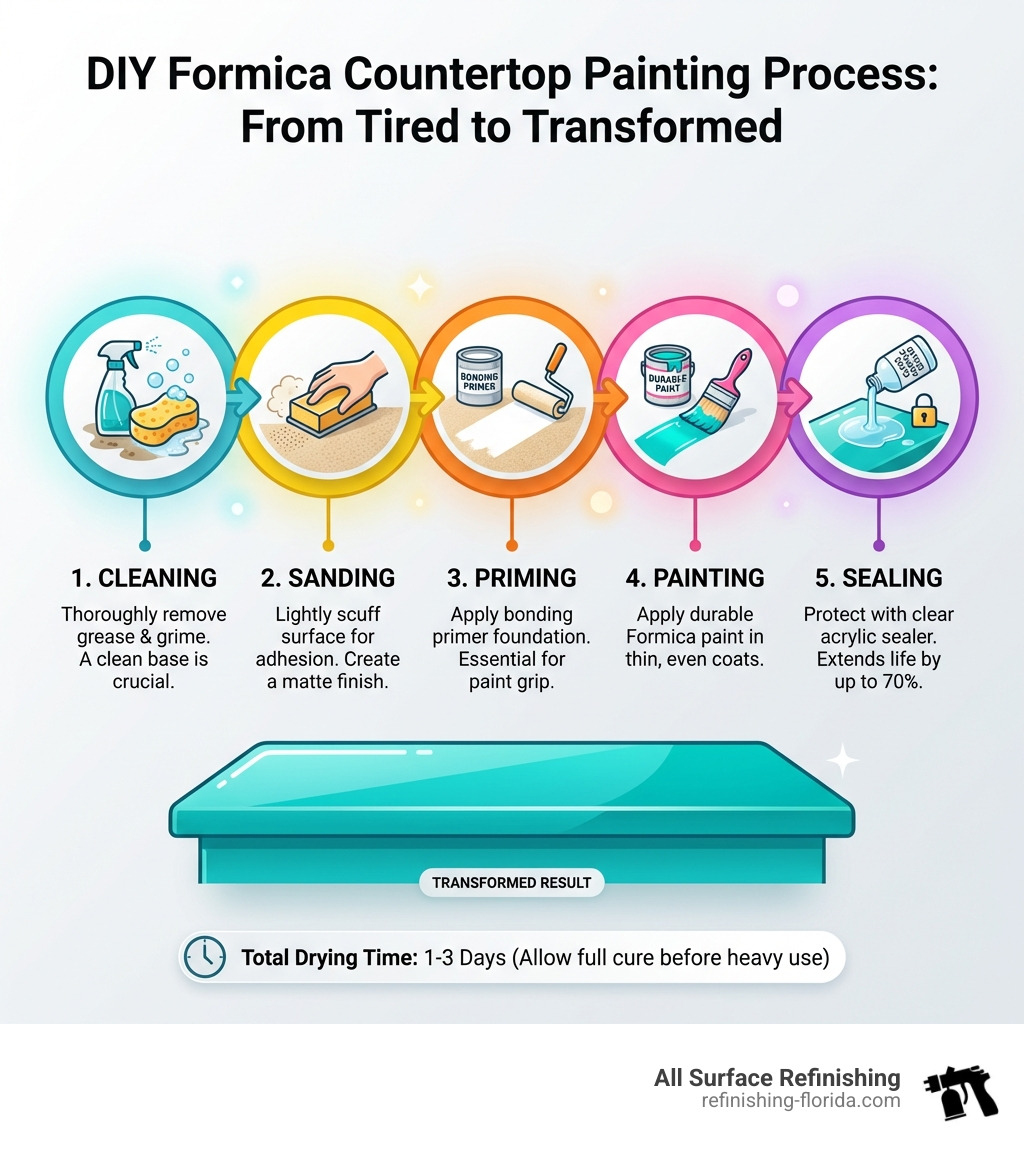
Formica counter paint terminology:
- Bathtub and countertop refinishing
- Countertop Refinishing & Resurfacing Services
- Tile countertop refinishing
Preparing Your Kitchen Countertops for Success
Preparation is not just the first step; it is the most important step. Because Formica is a non-porous, plastic-based laminate, paint naturally wants to slide right off it. If you’ve ever tried to write on a glossy photo with a standard pen, you know the struggle. To make Formica counter paint stick, we have to change the surface profile of the counter.
Before you even touch a paintbrush, you need to ensure your workspace is ready. This means clearing off every toaster, spice rack, and coffee maker. We also recommend removing the kitchen sink if you’re comfortable with basic plumbing, as this allows you to paint cleanly under the rim. If not, high-quality painter’s tape is your best friend.
For those considering a weekend project, our guide on DIY Resurfacing Countertops provides an excellent foundation for what to expect during this phase.
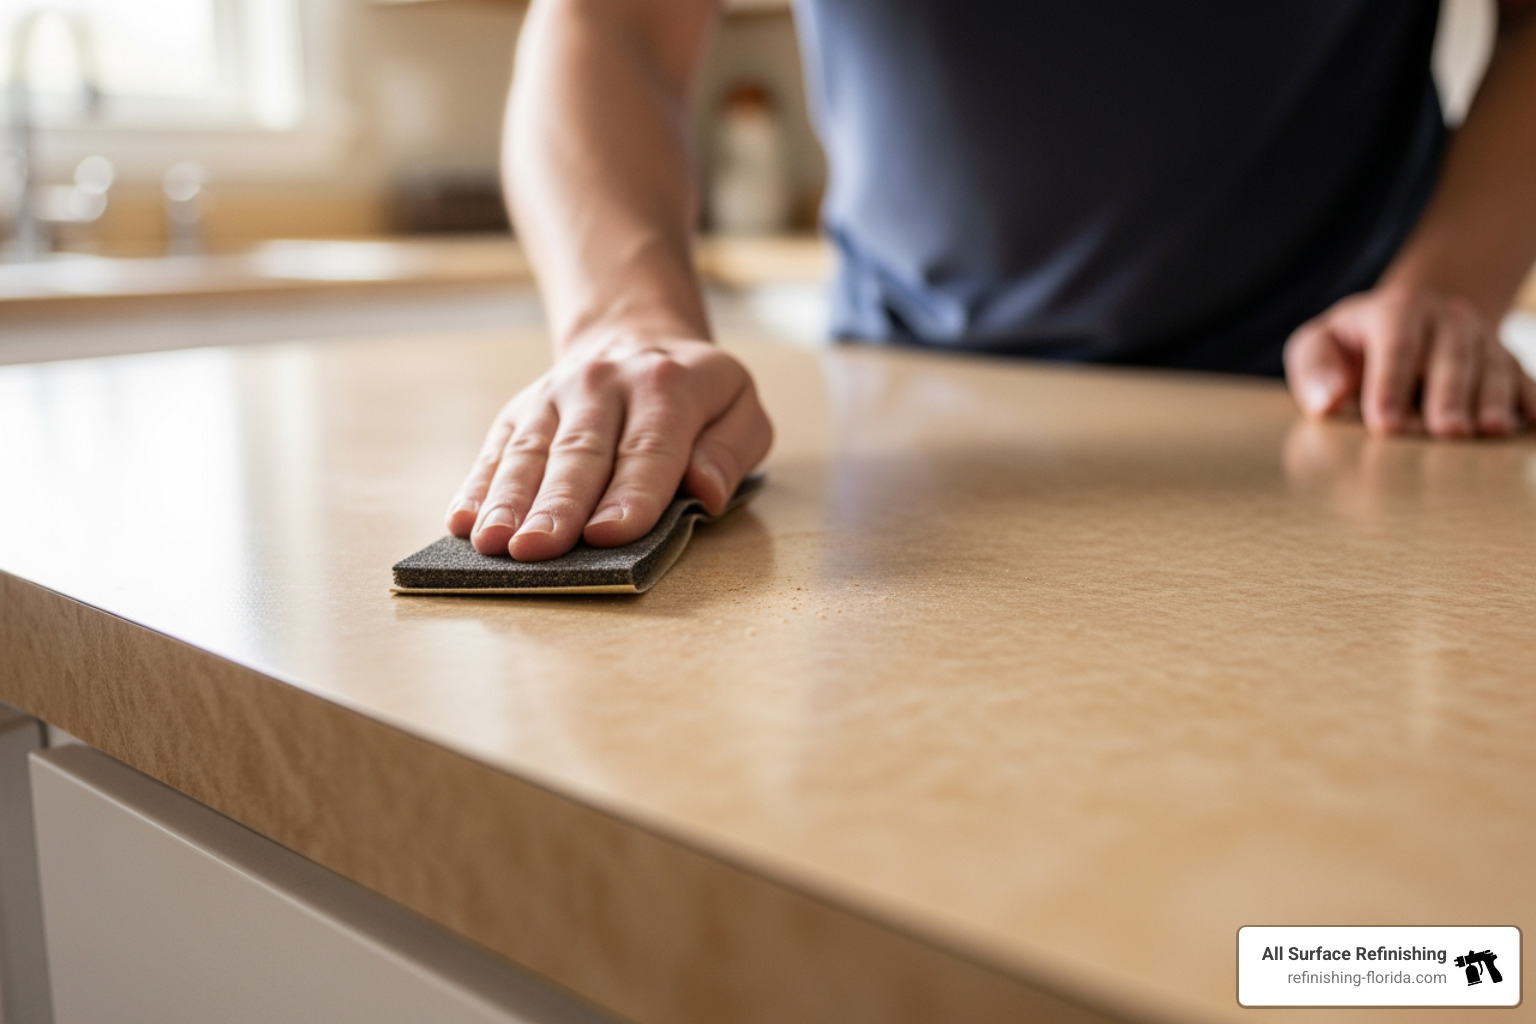
Cleaning and Degreasing
Kitchens are hubs for grease, even if you’re a meticulous cleaner. Microscopic layers of aerosolized cooking oil can settle on your counters, creating a barrier that prevents primer from bonding.
We recommend a two-stage cleaning process:
- Initial Scrub: Use a grease-cutting cleanser like dish soap or a dedicated kitchen counter degreaser. Use an abrasive pad, such as a 3M Scotch-Brite General Purpose Hand Pad, to really work the cleaner into the surface.
- Deep Clean: Follow up with a stronger agent like TSP (trisodium phosphate), denatured alcohol, or an ammonia-based cleaner. This ensures every trace of soap residue and stubborn oils are gone.
Table: Cleaning Agent Comparison
| Cleaning Agent | Strength | Best For |
|---|---|---|
| Dish Soap | Light | Surface dirt and dust |
| Ammonia | Medium | Removing soap scum and light grease |
| Denatured Alcohol | High | Final wipe-down to ensure zero residue |
| TSP (Trisodium Phosphate) | Professional | Heavy grease and prepping for paint adhesion |
Sanding and Repairing Imperfections
Once the counter is surgically clean, it’s time to “scuff” it. You don’t need to remove the laminate; you just need to take the shine off. Using an orbital sander or a fine-grit sandpaper block (around 150 to 220-grit), lightly sand the entire surface.
If your counters have seen better days—think deep knife cuts, burns from a hot pan, or chips—now is the time to fix them. A high-quality epoxy putty or bonding compound can be used to fill these divots. Once the putty cures, sand it flush with the rest of the counter.
After sanding, use a shop vacuum with a brush attachment to remove the bulk of the dust. Finish with a tack cloth to pick up the fine particles. Pro tip: Don’t press too hard with the tack cloth, as it contains beeswax that can leave a residue if used too aggressively.
Essential Tools and the Best Formica Counter Paint for Kitchens
Choosing the right Formica counter paint is the difference between a kitchen that looks brand new and one that looks like a middle school art project. You need specialized products designed for high-wear, non-porous surfaces.
Choosing the Right Formica Counter Paint for Durability
While you might be tempted to use leftover wall paint, please don’t! Countertops take a beating—water, heat, acidic juices, and heavy appliances. You need a paint that cures hard.
- Enamel-Based Paints: These are the gold standard for durability. Options like BEHR PREMIUM Urethane Alkyd Semi-Gloss Enamel offer a tough finish that mimics the look of factory-installed laminate.
- Epoxy Coatings: Some kits, like the Beyond Paint Countertop Kit, use an epoxy-like formula that bonds incredibly well to laminate.
- Specialty Countertop Paints: Products like Rust-Oleum Countertop Coating are specifically formulated for this task and can be tinted to 22 different colors.
If you’re unsure about which product is best for your specific kitchen layout, our Countertop Services page offers insights into the professional-grade materials we use for our clients in Boca Raton and Fort Lauderdale.
Application Tools: Sprayers vs. Rollers
The method of application significantly impacts the final texture.
- HVLP Sprayer: If you want a factory-smooth finish, an HVLP (High Volume Low Pressure) sprayer like the HomeRight Quick Finish is the way to go. It provides a uniform coating and avoids the “orange peel” texture often left by rollers.
- High-Density Foam Rollers: For DIYers who aren’t comfortable with a sprayer, a Paint Roller Brush Set with foam rollers is a great alternative. Foam rollers are superior to nap rollers because they don’t leave fuzz behind and minimize texture.
Step-by-Step Guide to Painting Formica Kitchen Countertops
Now that your counters are prepped and your tools are ready, it’s time to transform the space. Remember to open your windows! Even low-VOC paints can have a strong scent in a closed kitchen.
Priming the Non-Porous Kitchen Surface
The primer is the “glue” that holds everything together. For Formica, a standard primer won’t do. You need a bonding primer.
- Select Your Primer: We highly recommend Benjamin Moore Insl-x Stix Primer or XIM UMA Acrylic Bonder. These are designed to stick to glossy surfaces like glass and tile.
- Application: Apply the primer in thin, even coats. Use a high-quality brush for the edges and a foam roller for the flat surfaces.
- Dry Time: Allow the first coat to dry completely (usually 3-4 hours) before applying a second coat. Two coats of primer are often necessary to ensure total coverage and maximum adhesion.
For a deeper dive into why we emphasize the priming stage, check out our Complete Guide to Kitchen Countertop Refinishing & Resurfacing.
Applying Formica Counter Paint for a Professional Kitchen Finish
With the primer dry, your counters should look like a matte white canvas. Now comes the color.
- Stir Well: Ensure your Formica counter paint is thoroughly mixed.
- Thin Layers: This is the secret to a professional finish. It is much better to apply three thin coats than one thick one. Thick coats lead to drips and take forever to cure.
- Maintain a Wet Edge: When rolling, always overlap your previous stroke while it’s still wet. This prevents “lap marks” that show up once the paint dries.
- Wait: Follow the manufacturer’s directions for dry times between coats. Usually, this is 4-6 hours, but in our humid Florida climate (especially in places like Miami or West Palm Beach), you might want to wait a bit longer.
Achieving a Faux Marble Look and Sealing Your Kitchen Countertops
If a solid color feels too plain, you can mimic the look of high-end stone. Many of our clients in Parkland and Coral Springs love the look of marble but prefer the cost of painted laminate.
Creating Realistic Veins
To achieve a marble effect, you’ll need a base color (usually white or light grey) and 1-2 accent colors for the veining.
- Dabbing: Use a sea sponge to lightly dab a secondary color over your base coat while it’s slightly tacky. This creates depth.
- Veining: Use a craft feather or a thin artist brush to draw randomized veins. Don’t make them too straight; natural stone is chaotic.
- Softening: While the veins are wet, lightly mist them with a spray bottle of water and dab them with a dry brush to soften the edges. This makes the “stone” look more realistic.
If you’re looking for inspiration on stone patterns, our article on Affordable Stone Countertop Options showcases various looks that can be replicated with paint.
Protecting the Finish with a Topcoat
Without a sealer, your beautiful paint job will be ruined by the first spilled glass of wine or hot coffee mug.
- Water-Based Polyurethane: We recommend Rust-Oleum Varathane Triple Thick Polyurethane. Water-based sealers are preferred because they stay crystal clear, whereas oil-based versions can turn yellow over time.
- Multiple Coats: Apply at least 3-4 thin coats of sealer. This provides a thick protective barrier that can extend the life of your counters by up to 70%.
- Cure Time: This is the hardest part. While the counter might feel dry to the touch in a few hours, it needs 7 to 14 days to fully “cure” and reach its maximum hardness.
Maintenance and Safety Precautions for Kitchen Counters
Now that your counters look amazing, you want to keep them that way. Painted surfaces require a slightly different care routine than raw laminate.
Long-Term Care and Durability
Think of your painted counter like the finish on a car. It’s tough, but it’s not invincible.
- No Direct Cutting: Always use a cutting board. Knives will slice through the paint and sealer, exposing the primer underneath.
- Trivets are Mandatory: Even though some paints are heat-resistant, a pot straight from the stove can scorch the finish.
- Gentle Cleaning: Avoid abrasive cleaners like Comet or Ajax. Use a mild detergent and a soft cloth.
- Reapplication: Depending on use, you may want to apply a fresh coat of sealer every 2-3 years to keep the shine and protection at peak levels.
For more specific advice for residents in our northern service areas, see our Kitchen Countertop Refinishing Guide for Coral Springs.
Safety and Environmental Considerations
Painting produces fumes and dust, so safety is paramount.
- Ventilation: Use box fans to pull air out of the kitchen. If you’re in a high-traffic area like Miami Beach or Hollywood, FL, ensure you aren’t blowing fumes directly into a neighbor’s window.
- Respirators: A simple dust mask is fine for sanding, but for the painting and sealing stages, a NIOSH-approved respirator is recommended to protect against VOCs (Volatile Organic Compounds).
- Lead Safety: If your home was built before 1978, the original laminate or previous paint layers might contain lead. Always test before sanding.
Frequently Asked Questions about Painting Formica Kitchen Counters
Can you use chalk paint on Formica kitchen countertops?
Technically, yes, but we generally advise against it for high-use areas. Chalk paint has a beautiful matte, textured finish, but it is very porous. Even with a heavy sealer, it tends to be more prone to cracking and staining than enamel or epoxy-based Formica counter paint. If you do use it, a high-quality bonding primer is an absolute must.
How long does painted Formica need to cure in the kitchen?
This is the most common point of failure for DIYers.
- Dry to touch: 2-4 hours.
- Light use (setting down a loaf of bread): 24-48 hours.
- Full Cure: 7 to 14 days. Avoid putting heavy appliances (like a heavy stand mixer) or sliding items across the surface for at least two weeks. If you live in humid areas like Homestead or Key Largo, err on the side of caution and wait the full 14 days.
What are the most common mistakes to avoid?
- Skipping the Sanding: If the surface is too smooth, the paint will eventually peel off in sheets.
- Inadequate Cleaning: Any leftover grease will create a “bubble” where the paint won’t stick.
- Using Oil-Based Topcoats: These will turn your beautiful white marble look into a “harvest gold” yellow within months.
- Rushing the Cure: Placing a hot pizza box or a heavy microwave on the counter too soon will leave permanent indentations in the finish.
Conclusion
Painting your Formica countertops is a fantastic way to breathe new life into your kitchen for a fraction of the cost of new stone or quartz. It’s a rewarding project that can be completed over a long weekend, provided you have the patience for proper prep and curing.
At All Surface Refinishing, we’ve spent over 30 years perfecting the art of surface transformation. Whether you’re in Miami, Fort Lauderdale, Boca Raton, or any of our other South Florida locations, we understand the unique challenges our climate poses to paint and sealers.
If you decide that the prep, sanding, and 14-day cure time are more than you want to handle alone, we’re here to help. We offer professional Kitchen Countertop Refinishing in Coral Springs and throughout the region, delivering factory-grade finishes that last for years.
Ready to transform your kitchen? Whether you do it yourself or call in the pros, a fresh look is just a few coats of paint away!
