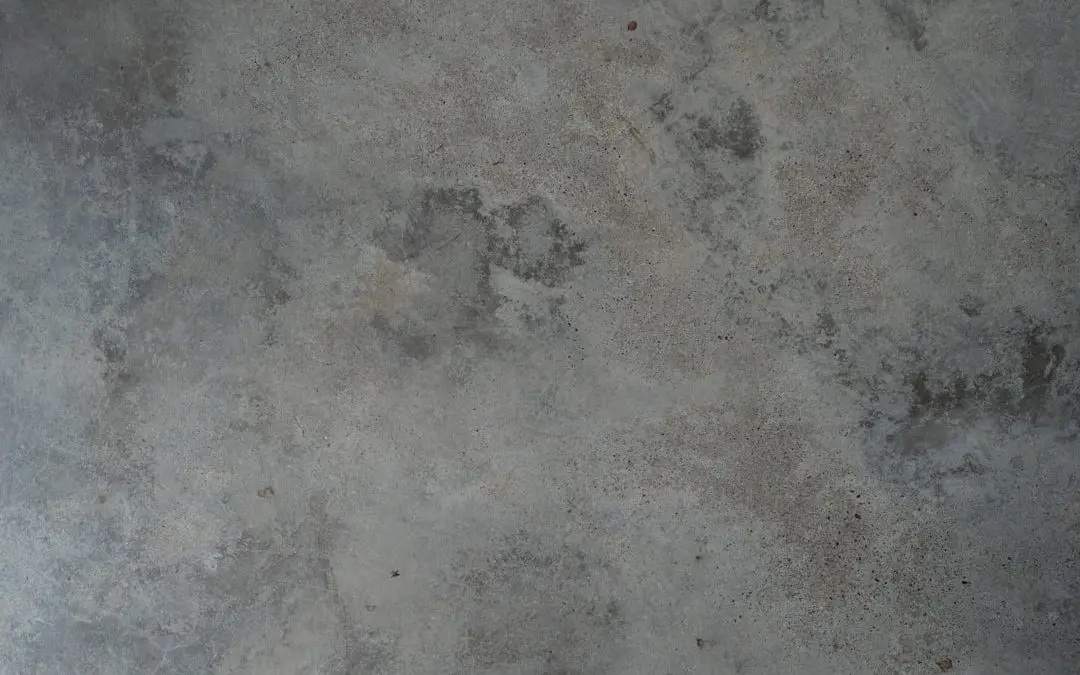
Why Concrete Countertops Resurfacing Is the Smarter Upgrade in 2026
Concrete countertops resurfacing is the process of applying a new surface layer — such as a cement-based overlay, micro-topping, or epoxy coating — directly over an existing countertop to restore its appearance, durability, and function without tearing it out.
Here’s a quick summary of what you need to know:
| Question | Quick Answer |
|---|---|
| What is it? | Applying a new layer over worn or damaged concrete to restore it |
| Can it go over laminate, tile, or granite? | Yes, with proper surface preparation |
| How much does it cost? | Materials typically run $3–$8 per square foot |
| How long does it take? | A few days for most projects |
| How long does it last? | 15–20 years with proper care and resealing every 3–5 years |
| DIY or professional? | Both are possible; professional work reduces the risk of costly errors |
Concrete countertops are prized for their durability and look — but over time, even the toughest surfaces show wear. Stains, pitting, dull patches, and hairline cracks are all common. The good news? Most of these problems don’t require a full replacement. Resurfacing can bring them back to life at a fraction of the cost.
One of the most reassuring things about concrete is its fixability. Complete rip-outs are rarely necessary. Whether you’re dealing with a rough, laitance-damaged surface from early steel troweling, low spots from air escaping during the pour, or simply years of everyday kitchen use — there’s a repair method that works.
This guide walks you through everything: how to prepare the surface, which resurfacing method to choose, how to seal and maintain the result, and when it makes more sense to call in a pro.
I’m Frank Hernandez, President of All Surface Refinishing, and I’ve spent well over a decade refining my skills in concrete countertops resurfacing for homeowners and businesses across South Florida. In that time, I’ve seen how the right approach — and the right materials — can transform a countertop people were ready to throw away into one they’re proud to show off.
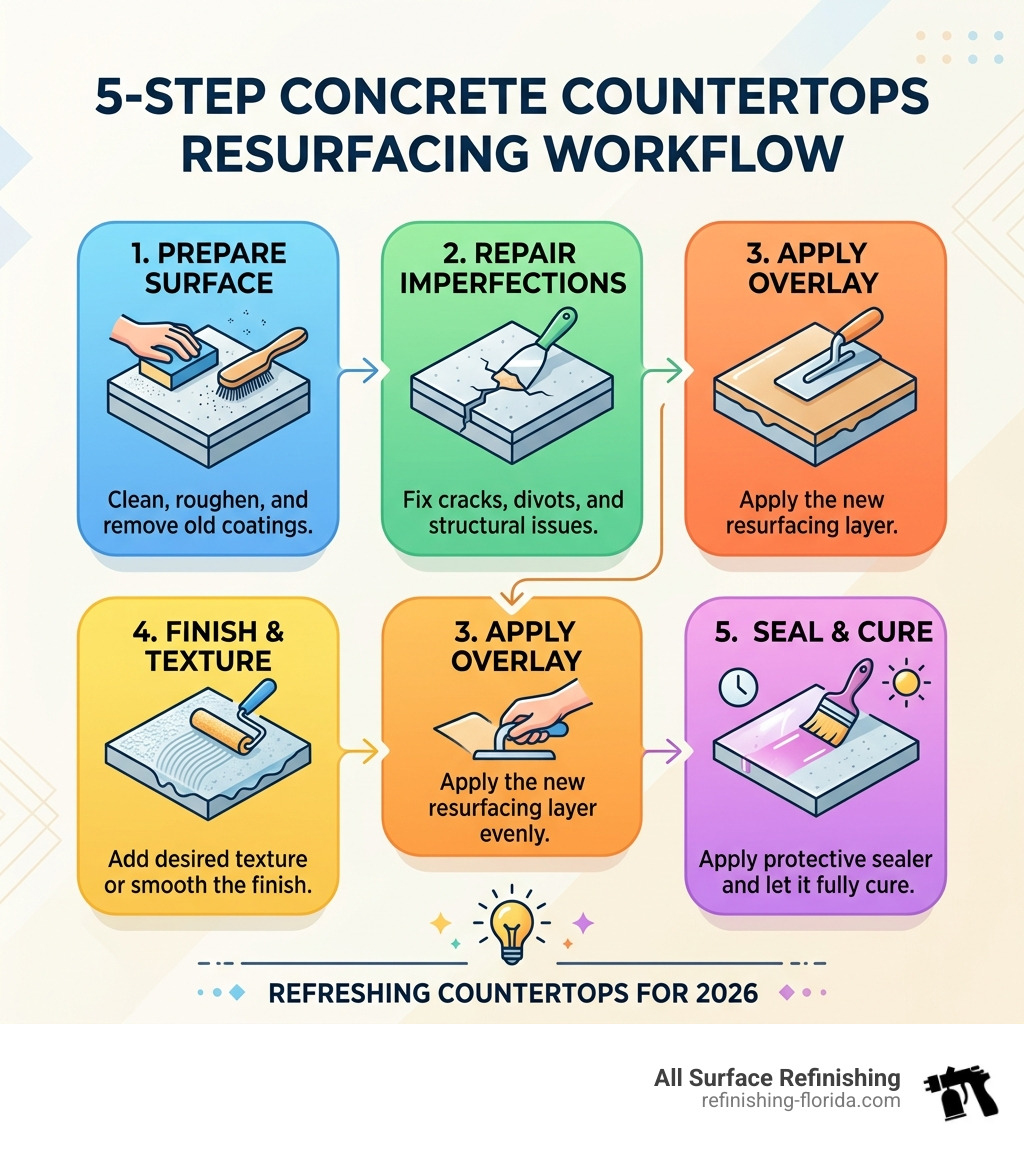
Key terms for concrete countertops resurfacing:
The Benefits of Concrete Countertops Resurfacing for Florida Homeowners
In Florida, we love our kitchens. From hosting Sunday brunches in Boca Raton to late-night gatherings in Miami, our countertops work hard. But as the calendar flips to May 2026, the trend has shifted away from expensive, wasteful demolition toward smart, sustainable restoration.
The primary benefit of concrete countertops resurfacing is undoubtedly the cost savings. When you choose to resurface instead of replace, you can often save up to 50% of the total project cost. You aren’t paying for the removal of heavy slabs, the disposal fees, or the high price of new stone. Instead, you’re investing in a high-quality Countertop Surface Restoration that uses your existing structure as a base.
Beyond the wallet, there’s the aesthetic flexibility. Modern resurfacing systems allow us to mimic the look of natural marble, granite, or even industrial-chic polished concrete. Whether you want a seamless transition from your counters to your backsplash or a custom-pigmented finish that matches your cabinets in Fort Lauderdale, the options are virtually limitless. You can find more details on our Services – Countertop page.
Finally, let’s talk durability. A resurfaced countertop isn’t just a “paint job.” These systems use polymer-modified cements and industrial-grade epoxies that bond at a molecular level to the substrate. This creates a surface that is resistant to stains, moisture, and daily wear. For a deep dive into the longevity of these systems, check out our Countertop Refinishing/Resurfacing Complete Guide.
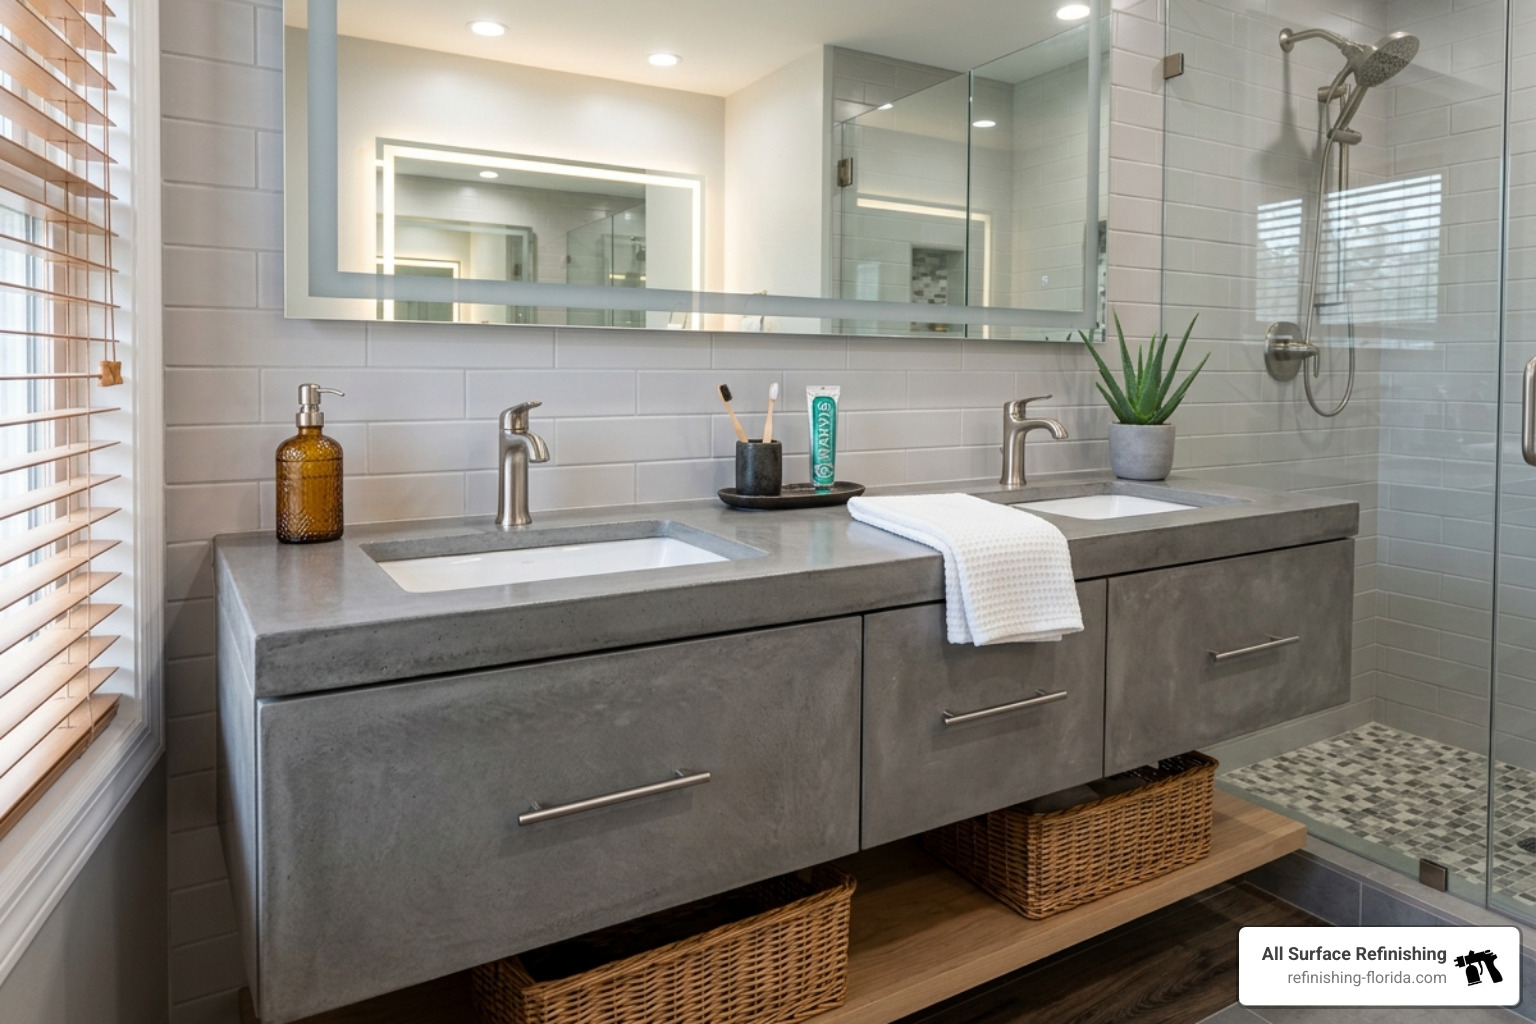
Signs Your Countertop Needs a Professional Touch
How do you know it’s time to act? Concrete is a fascinating material—it’s essentially a man-made stone composed of fine and coarse aggregate bonded together with fluid cement that hardens over time. You can learn more about its chemical makeup at Concrete – Wikipedia. However, its porous nature means it can eventually show its age.
Watch out for these common red flags:
- Laitance: This is a soft, dusty layer that forms on the surface. It often happens if the concrete was troweled too early during the original pour, trapping moisture. If you sand your counter and it just keeps producing a gritty, dusty mess, you’ve got laitance.
- Diminished Sheen: In high-traffic areas like around the kitchen sink in your Coral Springs home, the sealer may wear down, leaving the concrete looking dull and “thirsty.”
- Micro-scratches and Pitting: Over time, small scratches can catch dirt, making the surface look dingy no matter how much you scrub.
- Moisture Ingress: If water no longer beads on the surface but instead leaves a dark, wet spot, your protective barrier has failed.
Compatibility with Existing Surfaces
One of the biggest myths we encounter is that you can only resurface a countertop that was originally made of concrete. That couldn’t be further from the truth!
We can apply concrete countertops resurfacing systems over a wide variety of substrates, provided they are structurally sound:
- Laminate and Formica: These are the most common candidates for a concrete makeover. With proper scuffing, the overlay bonds tenaciously.
- Tile: Tired of scrubbing grout lines in your Boynton Beach kitchen? We can go right over the tile. For more on this, see One Simple Way to Refinish Tile Countertops.
- Granite and Marble: If the stone is dated or damaged, a concrete overlay can provide a fresh, modern look without the weight of a new slab.
- Wood and Butcher Block: As long as the wood is sealed and doesn’t flex, it can serve as a base for a beautiful concrete finish.
Preparing Your Surface for Concrete Countertops Resurfacing
Preparation is 90% of the job. If you don’t prepare the surface correctly, the new layer won’t stick, and you’ll be looking at peeling concrete in a matter of months. We follow a rigorous protocol to ensure a “tenacious bond.”
First, the surface must be surgically clean. We use heavy-duty degreasers or TSP (Trisodium Phosphate) to remove every trace of grease, wax, and oil. In a kitchen, even a tiny bit of cooking oil can act as a “bond breaker.” After cleaning, the surface must dry completely for at least 24 hours.
Next comes the mechanical prep. We typically use an orbital sander with 80-grit sandpaper to “profile” the surface. This creates “tooth”—microscopic ridges and valleys that allow the new cement to grab onto the old surface. For non-porous surfaces like laminate, this step is non-negotiable. If you’re tackling this as a project, our guide on DIY Resurfacing Countertops offers some great tips on managing the dust.
Finally, we apply a bonding agent. This is a specialized primer that acts like industrial-strength double-sided tape, ensuring the overlay and the substrate become one. We also mask off every adjacent surface—cabinets, walls, and appliances—using plastic sheeting and painter’s tape. As the Concrete Network points out, these materials bond so well that an “oops” on your cabinets might be permanent!

Essential Tools and Materials for Success
If you’re planning to try this yourself, don’t skimp on the tools. Here’s what we recommend for a professional-grade result:
- Variable Speed Orbital Sander: Essential for profiling and later smoothing.
- Diamond Polishing Pads: Ranging from 50-grit up to 200-grit (or higher for a mirror finish).
- Steel Trowels and “Magic Trowels”: These help spread the micro-topping evenly without leaving harsh marks.
- High-Shear Mixing Paddle: Used with a drill to ensure the overlay mix is completely smooth and free of lumps.
- Micro-topping Mix: A polymer-modified cement specifically designed for thin applications (unlike standard bag concrete from the hardware store).
For a complete checklist, visit The Ultimate Guide to Countertop Resurfacing Kits and Techniques.
Fixing Imperfections and Low Spots
Before the final decorative layer goes on, we have to address the “landscape” of the counter. If you have deep chips, cracks, or low spots where air escaped during the original pour, they need to be filled first.
We use two-part epoxy fillers for structural cracks and a specialized “skim coat” or micro-topping for leveling. A common mistake is trying to level a counter with one thick layer. Instead, we apply a micro-topping about 1/16 to 1/8 inch thick to fill the low spots first. Once that’s dry and sanded flush, we apply the final top coat over the entire surface for a uniform look.
If we encounter tiny pinholes, we use a “bone paste” or cement grout to fill them in. This ensures the final sealer sits perfectly flat and doesn’t “telegraph” the imperfections underneath.
Main Methods for Achieving a High-End Finish
Once the prep is done, the fun begins. There are three main ways we achieve that signature concrete look, each with its own vibe and technical requirements.
Grinding and Polishing Rough Surfaces
If you already have a concrete countertop that’s just a bit rough or has surface stains, grinding and polishing is the way to go. We use wet polishers with diamond-impregnated discs. This process literally shaves off the top layer of the concrete to reveal a fresh, clean surface underneath.
We typically start with a lower grit (like 50 or 100) to remove the “cream” layer and reveal the “salt and pepper” aggregate look. We then work our way up to 200-grit, which is the “sweet spot” for most sealers—it’s smooth to the touch but still has enough “tooth” for the sealer to grab onto. For those in the Aventura area, specialized Concrete Polishing Wilton Aventura services can achieve a high-gloss, mirror-like finish that looks incredible in modern homes.
Skim Coating and Micro-Toppings
For a completely new look, we use cement-based micro-toppings. These are super-fine blends of Portland cement, polymers, and graded aggregates. We trowel these on in multiple paper-thin layers.
The beauty of this method is the “movement” it creates. The subtle variations in trowel pressure create a natural, organic look that you just can’t get from factory-made materials. It’s perfect for creating a seamless transition from the counter to the backsplash, making your kitchen feel larger and more cohesive.
Decorative Options and Textures
One of the best things about concrete countertops resurfacing is the ability to customize. We aren’t stuck with “concrete gray.”
- Integral Pigments: We can mix colors directly into the cement for a solid, deep hue.
- Metallic Powders: Adding these to an epoxy overlay can create a stunning marble or granite effect with shimmering veins.
- Terrazzo Look: By pressing recycled glass, mica flakes, or colored stones into a 1/4-inch overlay, we can create a custom terrazzo surface that is unique to your home.
Check out the possibilities on our Refresh Your Kitchen page.
Choosing the Right Sealer After Concrete Countertops Resurfacing
The sealer is the only thing standing between your beautiful new counter and a glass of spilled red wine. Choosing the right one is critical. In the humid Florida climate, we look for sealers that offer both moisture resistance and UV protection (especially for outdoor kitchens in Jupiter or Naples).
There are two main types of sealers:
- Topical Sealers (Coatings): These sit on top of the concrete, creating a literal plastic-like barrier. They offer the best stain resistance and can provide a high-gloss finish. Urethanes and epoxies fall into this category.
- Penetrating Sealers: These soak into the pores of the concrete and react chemically to seal them from the inside out. They maintain the natural look and feel of the stone but may require more frequent maintenance.
For most residential kitchens in Miami, we recommend a high-performance urethane. It provides a great balance of scratch resistance and stain protection. You can read more about local trends on our Countertop Resurfacing Miami page.
Long-Term Maintenance and Care
A resurfaced countertop is durable, but it isn’t indestructible. To keep it looking like it was finished yesterday, follow these simple rules:
- Clean with Care: Use only mild dish soap and warm water. Avoid abrasive cleaners, bleach, or harsh acids (like vinegar or lemon-based cleaners), which can dull the sealer over time.
- Use Cutting Boards: Never cut directly on the surface. While the concrete is tough, knives can scratch the sealer.
- Avoid Direct Heat: Use a trivet for hot pots and pans. Extreme heat can cause the sealer to discolor or delaminate.
- Resealing Schedule: Depending on usage, expect to reseal your counters every 3 to 5 years.
| Sealer Type | Finish | Stain Resistance | Maintenance Frequency |
|---|---|---|---|
| Acrylic | Matte/Satin | Moderate | 1-2 Years |
| Epoxy | High Gloss | Excellent | 5-7 Years |
| Urethane | Satin/Gloss | Superior | 3-5 Years |
| Penetrating | Natural | Good | 2-3 Years |
Avoiding Common DIY Mistakes
We’ve seen many DIY projects go sideways, and it’s usually due to one of three things:
- Cold Joints: This happens when one section of concrete starts to dry before you’ve finished the adjacent section, leaving a visible line. You have to work fast!
- Improper Mixing: If you don’t use the exact same amount of water for every batch, the color will be inconsistent across your counter.
- Inadequate Curing: Rushing to use the counter before the sealer has fully cured (usually 24-48 hours) can lead to permanent smudges or rings.
If you’re in the Broward area, our Countertop Refinishing Coral Springs Guide offers more specific troubleshooting advice.
Professional Services for Florida Kitchens and Bathrooms
While a DIY kit can be a fun weekend project, achieving a truly “heirloom-quality” finish often requires professional expertise. At All Surface Refinishing, we bring industrial-grade equipment and 30+ years of experience to every job.
We serve a wide range of locations across South and Southwest Florida, including:
- Miami-Dade: Miami, Aventura, Coral Gables, and Miami Beach.
- Broward County: Fort Lauderdale, Coral Springs, Hollywood, and Weston.
- Palm Beach County: West Palm Beach, Boca Raton, Boynton Beach, and Jupiter.
- The Treasure Coast: Stuart, Vero Beach, and Port Saint Lucie.
Our professional Countertop Resurfacing Broward County Services are designed to minimize disruption to your life. While a full replacement might leave your kitchen unusable for weeks, our process typically takes just a few days.
Why Hire a Professional in South Florida?
Why choose us over a DIY kit?
- Precision Matching: We can match existing colors and textures with a level of detail that “off-the-shelf” kits simply can’t provide.
- Industrial Equipment: Our vacuum-shrouded grinders and high-shear mixers ensure a cleaner workspace and a smoother finish.
- 24-Hour Cure: We use professional-grade accelerators that allow you to get back into your kitchen faster.
- Warranty Coverage: We stand behind our work. If something isn’t right, we fix it.
You can see what our neighbors are saying in these Detailed Reviews of the Top 10 Resurfacing Countertop Services Near Me.
Frequently Asked Questions about Concrete Countertop Resurfacing
Can you resurface over existing laminate or tile?
Absolutely! As long as the existing countertop is securely attached to the cabinets and doesn’t have major structural damage, we can prep and resurface it. It’s a great way to get a high-end look without the demolition mess.
How much does concrete resurfacing cost compared to replacement?
On average, resurfacing costs about 50% less than a full replacement. While materials for a DIY project might run $3–$8 per square foot, professional labor adds to that, but you still avoid the massive costs of new slabs and professional demolition.
How long will a resurfaced countertop last?
With proper care and a regular resealing schedule (every 3–5 years), a resurfaced countertop can easily last 15 to 20 years. The bond is permanent; the only thing that “wears out” is the protective sealer, which is easily refreshed.
Conclusion
Your kitchen is the heart of your home, and your countertops are the stage where life happens. If your counters are looking tired, stained, or dated, you don’t have to settle for a massive, expensive renovation. Concrete countertops resurfacing offers a path to a beautiful, modern kitchen that is kind to your budget and the environment.
At All Surface Refinishing, we’ve completed over 14,000 projects across South and Southwest Florida. We’re proud to be the trusted experts for homeowners from Miami to Vero Beach. Whether you’re looking for a sleek industrial look or a warm, organic texture, we have the tools and the talent to make it happen.
Ready to transform your space? Learn more about our Countertop Services today and let’s give your kitchen the upgrade it deserves!
