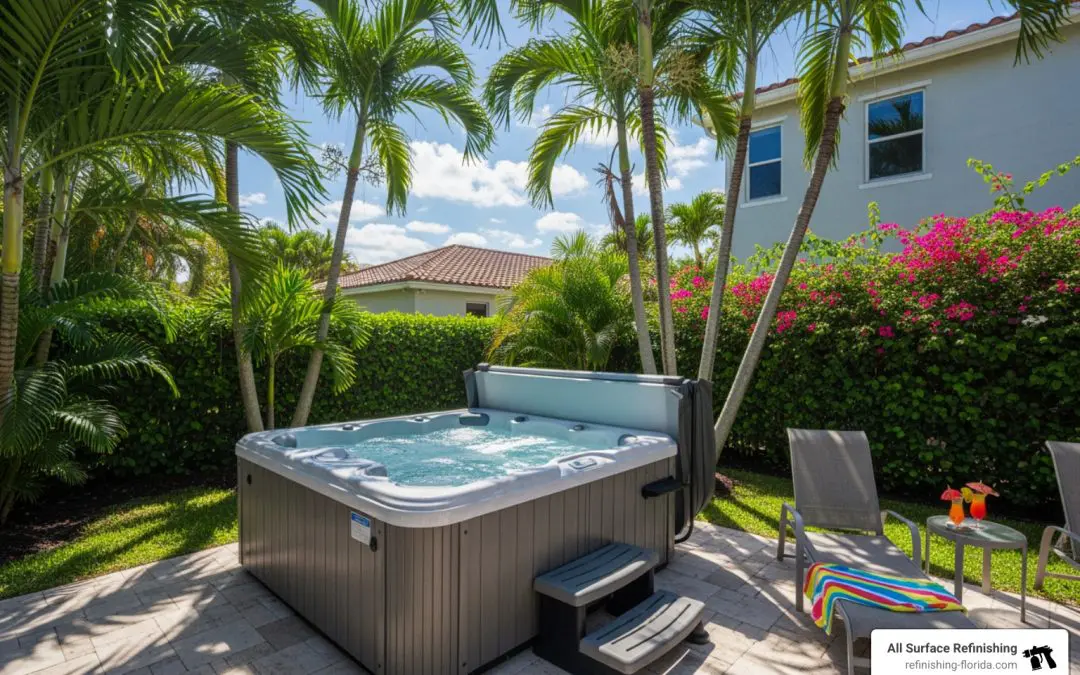
Why Hot Tub Surface Repair Matters for South Florida Homeowners
Hot tub surface repair is the process of fixing scratches, cracks, and blisters on your spa’s shell, avoiding a costly replacement. Here’s what you need to know:
Quick Answer for Hot Tub Surface Repair:
- Minor scratches – Clean, fill with acrylic repair compound, sand smooth, and polish
- Deeper cracks – V-groove the crack, apply marine-grade epoxy or fiberglass resin, cure, sand, and buff
- Blisters – Drain, dry completely, remove damaged material, fill with resin, sand, and finish
- Cost – DIY repairs typically cost $50-150 in materials; professional repairs range from $100-500
- Time – Most repairs take 2-4 hours of work plus 24-48 hours of curing time
Finding a scratch on your hot tub can be disheartening, but the good news is most surface issues are fixable. Professional repairs cost between $100 and $500, while a DIY project can be done in a few hours, plus curing time. The longest part is often draining and refilling the tub.
Untreated cracks can grow, leading to water seepage, structural damage, and mold. Prompt repairs are crucial to prevent costly future problems.
This guide will help you diagnose and repair everything from hairline scratches to deeper cracks, covering the necessary tools, materials, and when to call a pro.
I’m Frank Hernandez of All Surface Refinishing. With over a decade of experience, hot tub surface repair is one of our core services. We help homeowners in Miami-Dade, Broward, and Palm Beach counties restore their spas without the cost of replacement.

First, Diagnose the Damage: Scratch, Crack, or Something More?
Before starting a repair, you must accurately assess the damage. A visual inspection, using a flashlight to highlight imperfections, is the first step. If you suspect a leak, perform a water test: fill the tub, mark the water level, and check it after 24-48 hours. A significant drop suggests a structural issue, which is more serious than a cosmetic scratch.

Common Causes of Hot Tub Surface Damage
Hot tubs in the South Florida climate are exposed to various elements. These are the most frequent culprits:
- Physical Impact: Dropped objects or rough handling can cause chips and cracks.
- Improper Cleaning: Abrasive cleaners and tools can scratch and dull the surface.
- Chemical Damage: Improper water chemistry can cause etching, discoloration, and shell degradation.
- UV Exposure: Prolonged UV exposure from the Florida sun can cause fading and brittleness.
- Thermal Stress: Temperature fluctuations cause expansion and contraction, leading to hairline cracks.
- Material Aging: Over time, materials age, becoming less flexible and more prone to damage.
- Water Freeze Damage: Though rare in South Florida, freezing water can expand and crack the shell.
- Manufacturing Defects: Latent manufacturing defects can cause premature damage.
Identifying the Severity of the Damage
Understanding the type of damage is key to an effective hot tub surface repair:
- Hairline Scratches: Superficial marks on the top finish layer; usually cosmetic.
- Deeper Gouges: Noticeable scratches that have removed material; may require filling.
- Spider Cracks: A network of small cracks, which can be superficial or indicate underlying stress.
- Blisters: Raised bubbles caused by water penetrating the surface (osmosis), creating pressure.
- Air Voids: Trapped air or water beneath the surface, causing a raised area.
- Cracks Exposing Fiberglass: A crack deep enough to expose the underlying fiberglass, indicating a serious structural issue.
- Leaking Cracks: Any crack that leaks water requires immediate attention to prevent further damage.
For more information on various types of damage and specialized solutions, you can explore our dedicated page on More info about tub repair services.
Gearing Up: Essential Tools and Safety for Your Repair
Proper preparation is key to a smooth and safe hot tub surface repair. Having the right tools and a well-organized workspace will make the process much easier.

What to Have in Your DIY Repair Toolkit
To tackle most hot tub surface issues, we recommend having these supplies:
- Acrylic Repair Kit: Contains filler and clear coats for acrylic shells.
- Fiberglass Repair Kit: Includes resin, hardener, and cloth for fiberglass shells or deep cracks.
- Waterproof Marine-Grade Epoxy: A strong, two-part adhesive for a water-resistant seal (e.g., Loctite Marine, JB WaterWeld).
- Assorted Grit Sandpaper: Coarse to very fine grits (400-2000) for shaping and polishing; wet/dry type is best.
- Polishing Compound: Restores shine to the repaired area.
- Microfiber Cloths: For cleaning and buffing without scratching.
- Mild Soap or Hot Tub Cleaner: To prepare the surface.
- Isopropyl Alcohol: To clean the repair area of any residue before application.
- Drill with a Rotary Bit (Dremel): For ‘V-grooving’ deep cracks to improve adhesion.
- Mixing Sticks and Small Mixing Cups: For mixing epoxies or resins.
- Applicator Tools: Small spatulas or plastic spreaders for applying filler.
Safety First: Critical Precautions
Your safety is our top priority. Please observe these precautions:
- Disconnecting Power: Always turn off and unplug the hot tub to prevent electrical shock.
- Draining the Tub Completely: The tub must be fully drained for access and proper curing.
- Ensuring Proper Ventilation: Work in a well-ventilated area to avoid inhaling fumes from resins and solvents. For more information on handling chemicals safely, consult resources like the CDC’s guide on chemical safety.
- Wearing Personal Protective Equipment (PPE):
- Safety Glasses/Goggles: Protect your eyes from splashes and debris.
- Gloves: Chemical-resistant gloves are essential when handling resins and epoxies.
- Respirator Mask: Highly recommended when working with strong fumes or fine dust.
- Reading Product Instructions: Read and follow all product instructions for safety and best results.
- Checking Your Warranty: Be aware that DIY repairs can void your hot tub’s warranty. Check the terms before you begin.
Your Complete Guide to DIY Hot Tub Surface Repair
With tools and safety gear ready, it’s time for the hot tub surface repair. Patience is key to achieving good results.
Step 1: Preparing the Repair Area
Proper preparation is the foundation of a successful repair.
- Draining the Hot Tub: Completely drain the hot tub.
- Thoroughly Cleaning the Surface: Thoroughly clean the damaged area with a mild cleaner and microfiber cloth to remove residue.
- Drying the Area Completely: Ensure the area is completely dry, using a fan to speed up the process if needed.
- Masking Off Surrounding Areas: Use painter’s tape to mask the surrounding area to protect it from spills and sanding.
For comprehensive solutions to improve your entire bathing experience, consider exploring our services for More info about bathroom restoration.
Step 2: Step-by-Step: Small Scratch Hot Tub Surface Repair
Small scratches are often cosmetic and can be fixed with an acrylic repair kit.
- Applying Acrylic Filler: Apply acrylic filler into the scratch, pressing it in firmly.
- Spreading Evenly: Spread the filler so it’s flush with the surface. Avoid over-applying.
- Curing Time: Let the filler cure completely per the product instructions (usually several hours).
- Wet Sanding Process: Once cured, wet sand the area starting with 600-grit sandpaper to smooth the repair.
- Progressing Through Sandpaper Grits: Progress to finer grits (1000, then 2000), wet sanding until the area is smooth and blended.
- Buffing to a Shine: Buff the area with polishing compound on a microfiber cloth to restore the shine.
Step 3: Tackling Deeper Cracks: An Advanced Hot Tub Surface Repair Guide
Deeper cracks require a more robust approach, often involving two-part epoxies or fiberglass repair materials.
- V-Grooving the Crack with a Rotary Tool: Use a rotary tool to grind a “V” shape along the crack. This improves adhesion for the filler.
- Cleaning Debris: Clean all dust and debris from the grooved crack with isopropyl alcohol and let it dry.
- Mixing Two-Part Epoxy or Fiberglass Resin: Precisely mix the two-part epoxy or resin according to the instructions.
- Applying Filler Material:
- For Acrylic Tubs (Deep Cracks): Press the mixed epoxy firmly into the V-groove, removing air bubbles.
- For Fiberglass Tubs (Deeper Cracks/Exposed Fiberglass): Apply resin, then layer pieces of fiberglass cloth saturated with more resin until the crack is filled.
- Curing Process: Let the repair cure completely, which can take 24-48 hours. Do not rush this step.
For more detailed technical guidance on repair systems, especially for various materials, you can consult resources like Surface Repair Systems Information.
Step 4: Finishing Touches for a Flawless Look
Once the repair material has fully cured, it’s time for the final steps.
- Final Sanding for a Smooth Blend: Wet sand the cured repair, starting with 400-600 grit sandpaper and progressing to finer grits (1000-2000) until it’s smooth and flush.
- Applying Polishing Compound: Apply automotive polishing compound to a clean microfiber cloth.
- Buffing the Area: Buff the area in circular motions to restore the gloss and make the repair invisible.
- Cleaning Away Residue: Clean away any polishing residue with a damp cloth, then dry the area.
- Refilling the Tub: Refill the hot tub.
- Checking for Leaks: After refilling, check for leaks. Monitor the water level for 24-48 hours to ensure the repair is successful.
DIY vs. Professional: When to Call for Expert Help
While many minor hot tub surface repairs are achievable for the DIYer, it’s important to know your limits. Sometimes, professional expertise is the best choice for a long-lasting result.
| Feature | DIY Hot Tub Repair | Professional Hot Tub Repair Service |
|---|---|---|
| Cost | $50-$150 for materials | $100-$500+ for repair, but far less than replacement |
| Time | 2-4 hours work + curing time | Professionals handle all work, saving you time. |
| Quality | Varies by skill; may be visible | Superior, factory-like finish with seamless color matching. |
| Longevity | May not last as long if not done perfectly. | More durable due to professional materials and techniques. |
| Warranty | Can void manufacturer’s warranty. | Professionals often provide a warranty on their work. |
| Expertise | Requires research and skill. | Backed by experience (our team has 30+ years) and specialized training. |
Honestly assess your skills. If you’re not comfortable with the process or the damage is extensive, call a professional.
The Limits of DIY Repairs
A professional hot tub surface repair is the smarter choice in these situations:
- Large or Multiple Cracks: Multiple, long, or deep cracks may indicate structural issues.
- Damage to the Underlying Structure: Damage to the underlying fiberglass backing requires professional attention.
- Leaks You Can’t Locate: Hard-to-find leaks need professional diagnostics.
- Extensive Blistering: Widespread blistering suggests a systemic issue like osmosis that needs expert repair.
- Color Matching Multi-Colored or Granite-Patterned Tubs: Matching complex colors or patterns is difficult without professional tools and experience.
- Warranty Concerns: DIY repairs can void your warranty; check with the manufacturer first.
Benefits of a Professional Repair Service
Choosing a professional service like All Surface Refinishing for your hot tub surface repair in South Florida means investing in quality and peace of mind.
- Guaranteed Results: We guarantee a functional and beautiful repair.
- Perfect Color Matching: Our experienced technicians perfectly match any color or pattern.
- Use of High-Grade Materials: We use durable, commercial-grade materials superior to DIY kits.
- Proper Equipment for a Factory-Like Finish: Specialized HVLP spray equipment creates a smooth, factory-like finish.
- Time Savings: We save you time and the hassle of a complex repair.
- Longevity: Our professional repairs are long-lasting and extend your hot tub’s life.
From Fort Lauderdale to West Palm Beach, and throughout Miami-Dade, Broward, and Palm Beach counties, we’re dedicated to restoring your hot tub. Learn more about our comprehensive More info about our services.
Prevention & Long-Term Care: Keep Your Hot Tub Pristine
After a hot tub surface repair, proactive care is crucial to prevent new damage and extend its lifespan, especially in South Florida. Prevention is always better than cure.
How to Prevent Future Cracks and Damage
Here are our top tips for safeguarding your hot tub’s surface:
- Using a Quality Hot Tub Cover: Use a quality, insulated cover to protect against UV rays, debris, and thermal stress. Replace it if it’s damaged.
- Maintaining Proper Water Chemistry: Maintain proper water chemistry by regularly testing and adjusting levels. Avoid harsh chemicals. Mineral solutions like O-Care can help reduce sanitizer use.
- Avoiding Harsh Cleaning Tools: Use only soft cloths and non-abrasive cleaners to avoid scratching the surface.
- Regular Surface Cleaning: Regularly clean the surface with a mild, tub-specific cleaner to prevent buildup.
- Preventing Objects from Falling into the Tub: Prevent objects from falling into the tub, as they can cause chips or cracks.
- Proper Winterization (if applicable): If closing the tub for an extended period, winterize it properly to prevent freeze damage.
Post-Repair Maintenance
Once your hot tub surface repair is complete, a little ongoing care will ensure its longevity.
- Gentle Cleaning of the Repaired Area: Be gentle when cleaning the repaired area for the first few weeks, using only mild soap and a soft cloth.
- Regular Inspection for New Damage: Regularly inspect the surface for new damage to catch issues early.
- Monitoring Water Chemistry: Diligently maintain proper water chemistry to protect the repair and the entire surface.
By following these practices, you’ll protect your investment and enjoy your hot tub for years. For more insights on keeping your tub in top condition, visit our page on More info about restoring your tub.
Frequently Asked Questions about Hot Tub Repair
What’s the best material for sealing a small crack in a hot tub?
For small, non-structural cracks in acrylic tubs, a waterproof marine-grade two-part epoxy or an acrylic repair kit is best. These products create a durable, water-resistant bond. Always apply to a clean, dry surface for best results.
Can you repair blisters in a hot tub’s surface?
Yes, blisters can be repaired, though it’s an involved process. It requires opening the blister, completely drying the area, removing damaged material, filling the void with a compatible resin, and then sanding and polishing. For widespread blistering, professional help is recommended.
How much does professional hot tub crack repair cost?
Professional hot tub surface repair in South Florida typically costs between $100 and $500. The price depends on the crack’s size and depth, the tub’s material, and the complexity of color matching. Severe damage may cost more, so getting a specific quote is always best.
Conclusion
We hope this guide empowers you to tackle common hot tub surface repair issues. Maintaining your hot tub’s surface protects your investment and ensures years of enjoyment. Addressing damage promptly prevents more costly problems.
While DIY is possible for minor repairs, trust experts for extensive damage or a guaranteed like-new finish. All Surface Refinishing has served Miami-Dade, Broward, and Palm Beach counties for over 30 years. We provide professional Hot Tub Repair Services in South Florida to restore your oasis to perfection, allowing you to relax and enjoy your beautiful hot tub without worry.
