
A Simple 7-Step Plan for Painting Kitchen Cupboards
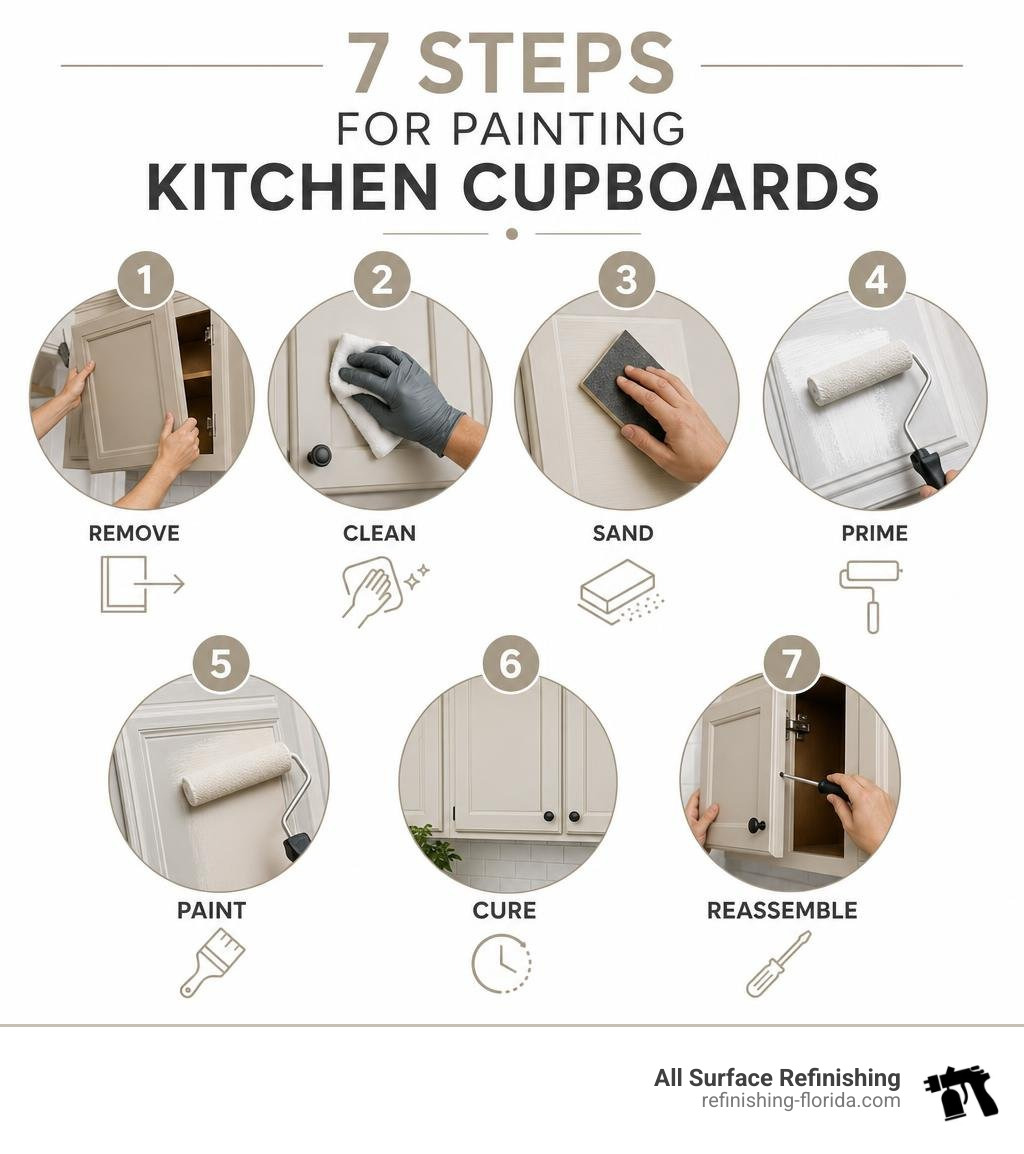
Painting kitchen cupboards starts with good prep, not the first coat of paint. Remove and label doors and hardware, clean away grease, lightly sand the surface, apply a high-bonding primer, then add thin coats of durable cabinet enamel. Let each coat dry as directed, allow time for the finish to cure, and reinstall the doors with updated hardware.
Done carefully, this is a practical way to refresh an outdated kitchen without the cost and disruption of replacing cabinets. Painting can cost far less than new cabinets, but the smooth, durable result depends on cleaning, adhesion, and patience between coats.
I am Frank Hernandez, President of All Surface Refinishing, and I have worked in surface refinishing for more than a decade. My experience painting kitchen cupboards and restoring high-use surfaces has shown that careful preparation is what makes a kitchen finish last.
A complete kitchen overhaul can quickly become overwhelming, but updating your cabinetry offers an incredible return. In fact, painting your kitchen cabinets costs roughly 70% less than full replacement – averaging $600 to $1,000 for DIY materials compared to $4,000 to $8,000 or more for brand-new boxes and doors. Beyond immediate savings, an updated kitchen can boost your home’s resale value by up to 5%. It is no surprise that over 80% of homeowners who tackle this project report genuine satisfaction with their upgraded space.
In Florida homes, salt air and humidity make proper technique non-negotiable. Let us walk through the exact professional process to give your cupboards a factory-smooth, long-lasting finish.
Essential Tools and Materials for Painting Kitchen Cupboards
Before taking a screwdriver to your cabinet hinges, gather all required supplies. Having the right tools on hand prevents messy delays and ensures your cupboards cure to a factory-grade finish. While we do not sell paint ourselves, we always recommend investing in high-grade materials from reputable paint retailers to protect your hard work.
Here is your master checklist:
- Surface Protection: Heavy-duty canvas drop cloths, rosin paper for countertops, and contractor-grade painter’s tape.
- Cleaning & Degreasing: Trisodium phosphate (TSP) or a specialized heavy-duty cabinet degreaser, clean buckets, non-abrasive scrubbing sponges, and lint-free microfiber cloths.
- Abrasives: 120-grit sandpaper (for initial leveling), 220-grit sandpaper (for intermediate coat smoothing), sanding sponges for profiled door panels, and tack cloths for meticulous dust removal.
- Primers & Coatings: High-adhesion bonding primer (shellac-based or high-grade oil/hybrid) and a premium urethane-modified alkyd enamel or waterborne enamel formulated specifically for cabinetry.
- Application Tools: 2-inch to 2.5-inch angled synthetic sash brushes, 4-inch high-density foam mini-rollers (or microfiber mini-rollers), paint trays, and an HVLP paint sprayer if you choose to spray.
- Hardware & Organization: Screwdrivers or cordless drill, zip-top plastic bags, marker, and numbered painter’s tape labels.
Understanding the investment in these supplies helps you weigh the true cost of painting your own cabinets against hiring a team with commercial-grade spray equipment.
7 Steps to Paint Your Kitchen Cupboards Like a Pro
A typical DIY cabinet painting project takes between 3 to 5 full days, whereas a professional crew typically completes the job in 2 to 3 days. Following this systematic, 7-step sequence guarantees you will not miss critical prep work that could lead to peeling paint down the road.
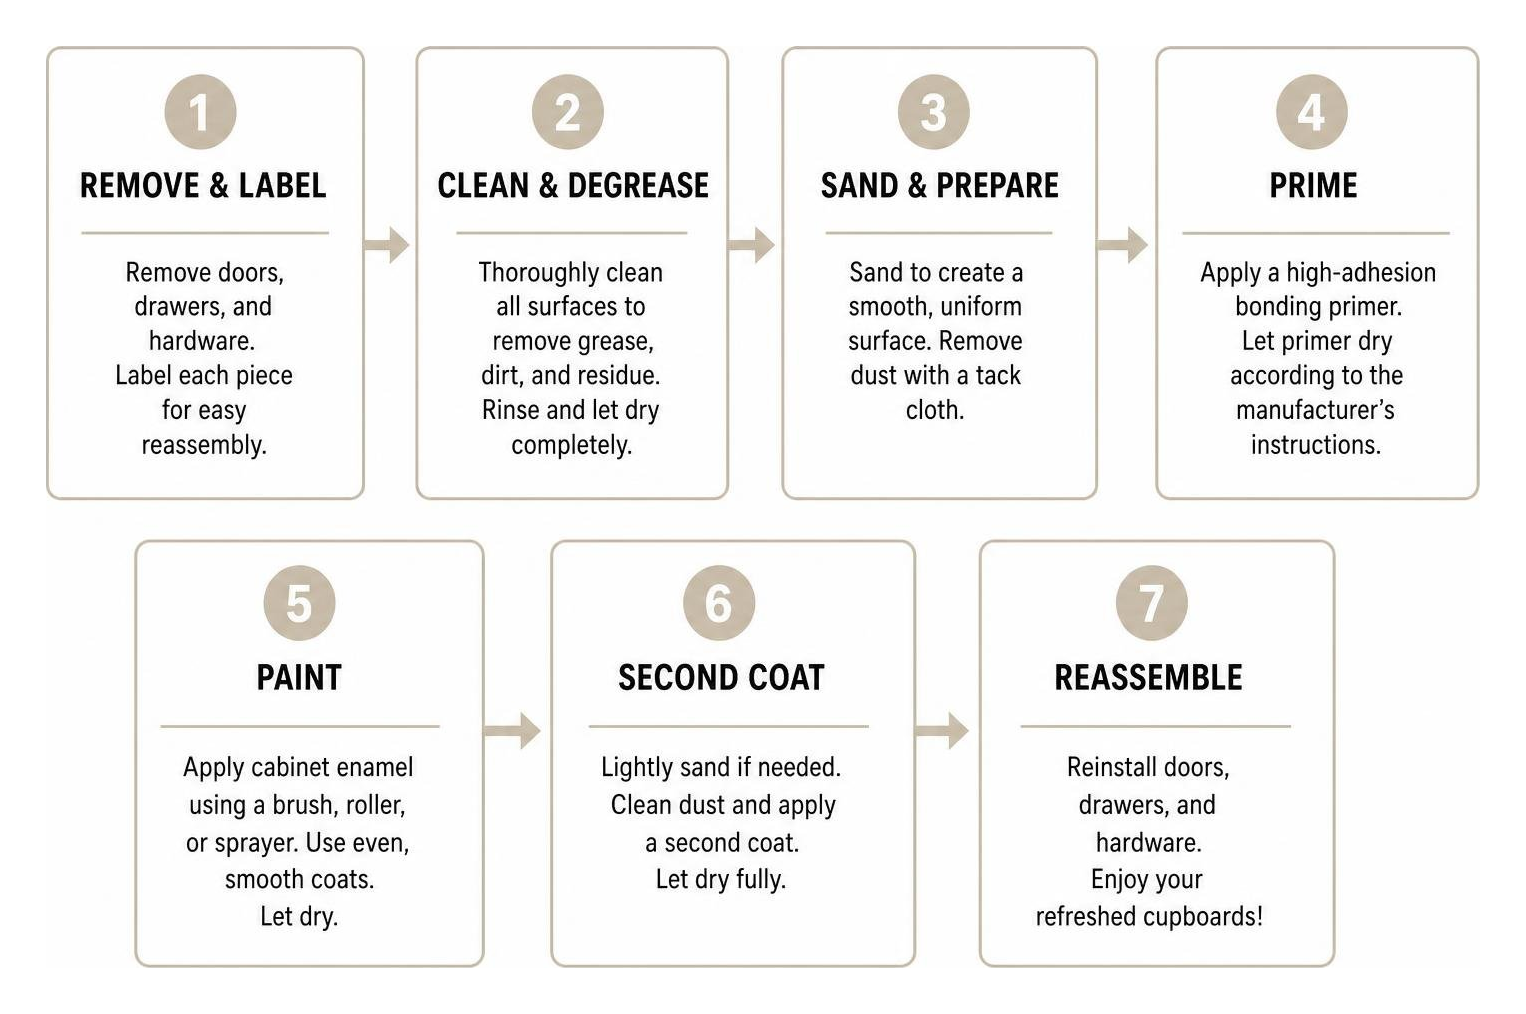
Step 1: Remove and Label Doors, Drawers, and Hardware
Never attempt to paint cupboards with the doors hanging or the hinges attached. Paint will inevitably seep into hinge mechanisms, cause binding, and look uneven around the edges.
- Clear Everything: Empty your cupboards and clear off all countertops. Cover your countertops with heavy paper and tape drop cloths across the flooring.
- Create a Labeling Grid: Draw a rough map of your kitchen layout on paper. Assign every door and drawer front a specific number (e.g., Upper Left 1 = U1, Lower Base Right 2 = B2).
- Tag Every Piece: Apply a piece of painter’s tape to the hinge pocket or hidden edge of each door and write its assigned code.
- Bag the Hardware: Remove the hinges, handles, and screws. Place the hardware for each door into individual plastic bags labeled with the matching number. Hinges wear uniquely over time, and putting them back in their exact original positions saves hours of frustrating door alignment later.
Step 2: Thoroughly Clean and Degrease Surfaces
Kitchens accumulate years of aerosolized cooking oils, steam, and hand oils, especially around handles and above the stove. Paint will not stick to grease—period.
Mix a solution of TSP or cabinet cleaner according to package directions in warm water. Scrub every square inch of the cabinet frames, door faces, and drawer fronts. Pay special attention to corners, grooves, and recessed profiles.
After degreasing, wipe down all surfaces with clean, warm water and a fresh microfiber towel to eliminate any chemical residue left by the cleaner. Allow everything to air-dry completely before moving to the next step.
Step 3: Sand Surfaces for Strong Paint Adhesion
Even if your paint says “no sanding required,” taking time for a light scuff sand is the single best insurance policy against chipped paint. You are not trying to sand down to raw wood; you simply need to de-gloss the clear coat so the primer has physical “teeth” to grip.
- Use 120- to 150-grit sandpaper on flat areas using light, circular, and lengthwise strokes with the wood grain.
- Use a flexible medium-grit sanding sponge on decorative profiles, bevels, and raised panels.
- For slick laminate surfaces, scuff thoroughly until all shine disappears.
Once finished, vacuum the surfaces thoroughly using a brush attachment. Finish by wiping every surface down with a fresh tack cloth to pick up micro-dust. If you want to explore chemical alternatives for delicate surfaces, check out our guide on how to paint cabinets without sanding in Florida.
Step 4: Apply a High-Bonding Stain-Blocking Primer
Primer is the bridge between your old cupboard finish and your new topcoat. For kitchen cabinets, a standard wall primer is not sufficient.
We recommend using a dedicated bonding primer:
- Shellac-Based Primers: The undisputed gold standard for blocking tannin bleed from woods like oak and cherry, while adhering tenaciously to slick surfaces.
- Oil-Based Primers: Excellent penetration, easy sanding, and dependable stain blocking.
- Waterborne Bonding Primers: Low odor and easy cleanup, but verify they are rated for hard, glossy surfaces.
Apply one even coat to cabinet frames and both sides of your doors. Allow the primer to dry according to the manufacturer’s directions (usually 1 to 3 hours for shellac, or 4 to 8 hours for oil). Once dry, run a sheet of 220-grit sandpaper lightly over the primed surface to knock down raised wood grain, then wipe clean with a tack cloth.
Step 5: Master Painting Kitchen Cupboards with Brush, Roller, or Sprayer
Now comes the transformation. For maximum durability and an ultra-smooth finish, choose a water-based alkyd enamel or specialized cabinet coating. These modern paints flow out flat like traditional oil paints but clean up with water and resist yellowing.
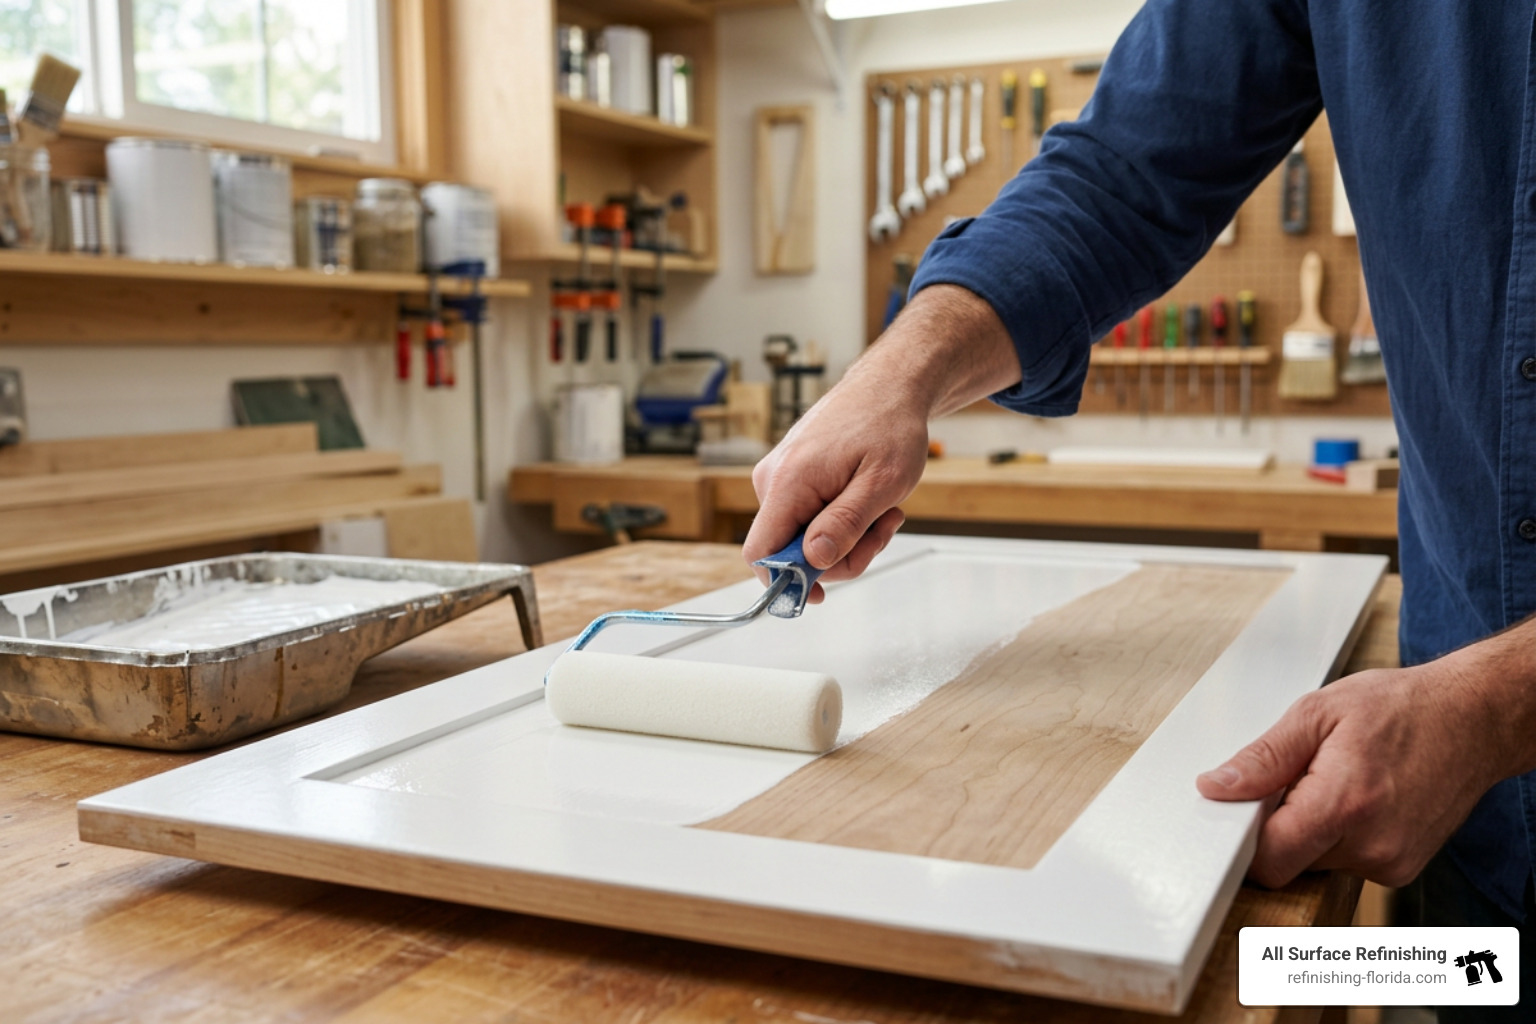
- Paint the Backs First: Lay doors flat on workbenches or painter’s pyramids. Paint the back side first, applying thin, even coats. If any drips run over the edges, wipe them immediately with a damp rag before they dry.
- Maintain a Wet Edge: When brushing and rolling, work quickly. Use an angled sash brush to coat recessed details, then immediately smooth large flat panels with a high-density foam roller. Never brush back into paint that has begun to set, as this creates permanent brush ridges.
- Consider Spraying: For the absolute smoothest factory look, explore cabinet spray painting for a flawless finish. A sprayer atomizes the enamel into a fine mist, eliminating texture entirely.
- Apply Two Thin Coats: Allow the first coat to dry for at least 4 to 8 hours (check the product label). Lightly scuff with 220-grit sandpaper, tack cloth the dust, and apply the final topcoat.
Step 6: Avoid Common Mistakes When Painting Kitchen Cupboards
Avoid these common DIY pitfalls to ensure your cupboards stand up to heavy daily use:
- Rushing the Dry Time: Applying a second coat before the first has released its moisture traps solvent beneath the surface, resulting in a soft, gummy finish that bubbles.
- Skipping the Degreaser: Relying solely on sanding without degreasing simply grinds kitchen grease deeper into the wood grain.
- Applying Thick Coats: Heavy coats sag, run, and take weeks to dry properly. Two or three thin coats always outperform one thick coat.
- Confusing “Dry” with “Cured”: Paint may feel dry to the touch within 2 to 4 hours, but modern enamels require 14 to 30 days to reach full chemical hardness. Treat the cabinets gently during the first month.
Step 7: Reassemble Doors and Upgrade Cabinet Hardware
Once your topcoat has dried for at least 24 to 48 hours, you can safely reassemble your kitchen.
- Rehang According to Labels: Match each door to the labeled opening on your layout chart. Reattach the original hinges to their matching doors.
- Attach Modern Hardware: Elevate your newly painted cabinets by swapping outdated handles and pulls for modern matte black, brushed brass, or satin nickel hardware. If your new hardware uses different hole spacing, fill the old holes with wood filler during Step 1 and drill fresh holes before priming.
- Add Soft-Close Bumpers: Stick clear silicone bumper pads to the interior corners of every door and drawer front. This dampens sound and prevents the freshly painted edges from sticking or chipping against the cabinet frames.
- Adjust Hinge Alignment: Use a hand screwdriver to tweak the adjustment screws on your European cup hinges until door gaps are even and level across the entire cabinet run.
Spraying vs. Brushing: Which Method Delivers the Best Finish?
Homeowners often debate whether to invest in paint spray equipment or stick with traditional brushes and mini-rollers. Both methods have distinct advantages depending on your workspace, timeline, and comfort level with equipment.
| Factor | HVLP / Airless Paint Sprayer | Brush and Foam Roller |
|---|---|---|
| Finish Quality | Ultra-smooth, glass-like factory appearance; zero brush marks. | Slight stipple or subtle brush texture, though self-leveling enamels minimize this. |
| Application Speed | Extremely fast (reduces painting time by up to 50%). | Slower, requiring careful manual blending of panels. |
| Prep & Masking Time | High; requires full containment masking to stop overspray. | Low; basic drop cloths and localized taping are sufficient. |
| Equipment Cost | Higher (sprayer rental/purchase, spray tips, respirators). | Low (quality brushes, foam rollers, trays). |
| Ideal Workspace | Open garage, outdoor spray booth, or vacant room. | Any occupied kitchen space with basic ventilation. |
If you decide that masking off an entire kitchen and setting up an HVLP sprayer is outside your comfort zone, you can review our cabinet painting cost estimate to see how budget-friendly professional refinishing can be.
Frequently Asked Questions
What is the best type of paint for kitchen cupboards?
The best choice for kitchen cupboards is a waterborne urethane-modified alkyd enamel in a satin or semi-gloss sheen. These hybrid coatings cure to a hard, scrub-resistant finish that resists cooking grease, hand oils, and frequent cleaning without yellowing over time like pure oil paints. Avoid standard flat, matte, or basic interior latex wall paints, as they are too soft and porous for kitchen cabinetry.
How long should you wait between paint coats and before reassembly?
You should wait at least 4 to 8 hours between coats for water-based enamels (or up to 24 hours for traditional oil paints). Check your specific paint can for the exact recoat window. Wait at least 24 to 48 hours before reinstalling doors and hardware. Full cure time takes 21 to 30 days, so avoid harsh chemical scrubbing or slamming doors during the first month.
Can you paint laminate or melamine kitchen cupboards?
Yes, laminate and melamine cupboards can be painted successfully, provided you use the proper bonding primer. First, scuff the slick melamine thoroughly with 150-grit sandpaper to remove the high sheen. Next, apply a specialty extreme-adhesion bonding primer (such as a pigmented shellac or urethane bonding primer) designed specifically for non-porous surfaces. Once primed, you can apply your enamel topcoats as normal.
Conclusion
Revamping your kitchen with a fresh coat of paint is one of the smartest, most cost-effective home improvements you can make. By taking the time to properly clean, scuff sand, prime with high-bonding primers, and apply durable cabinet enamels, you can achieve a finish that looks beautiful and withstands everyday wear.
If you are located in All Surface Refinishing’s Florida service area and you want a showroom finish without the DIY hassle, we are here to help. With more than 30 years of experience and over 14,000 completed transformations, All Surface Refinishing delivers flawless, factory-grade cabinet updates that last for years. Explore our professional cabinet painting and refinishing services to see how easy transforming your kitchen can be.
