
Start Your Old Bathtub Makeover Without Replacing the Tub
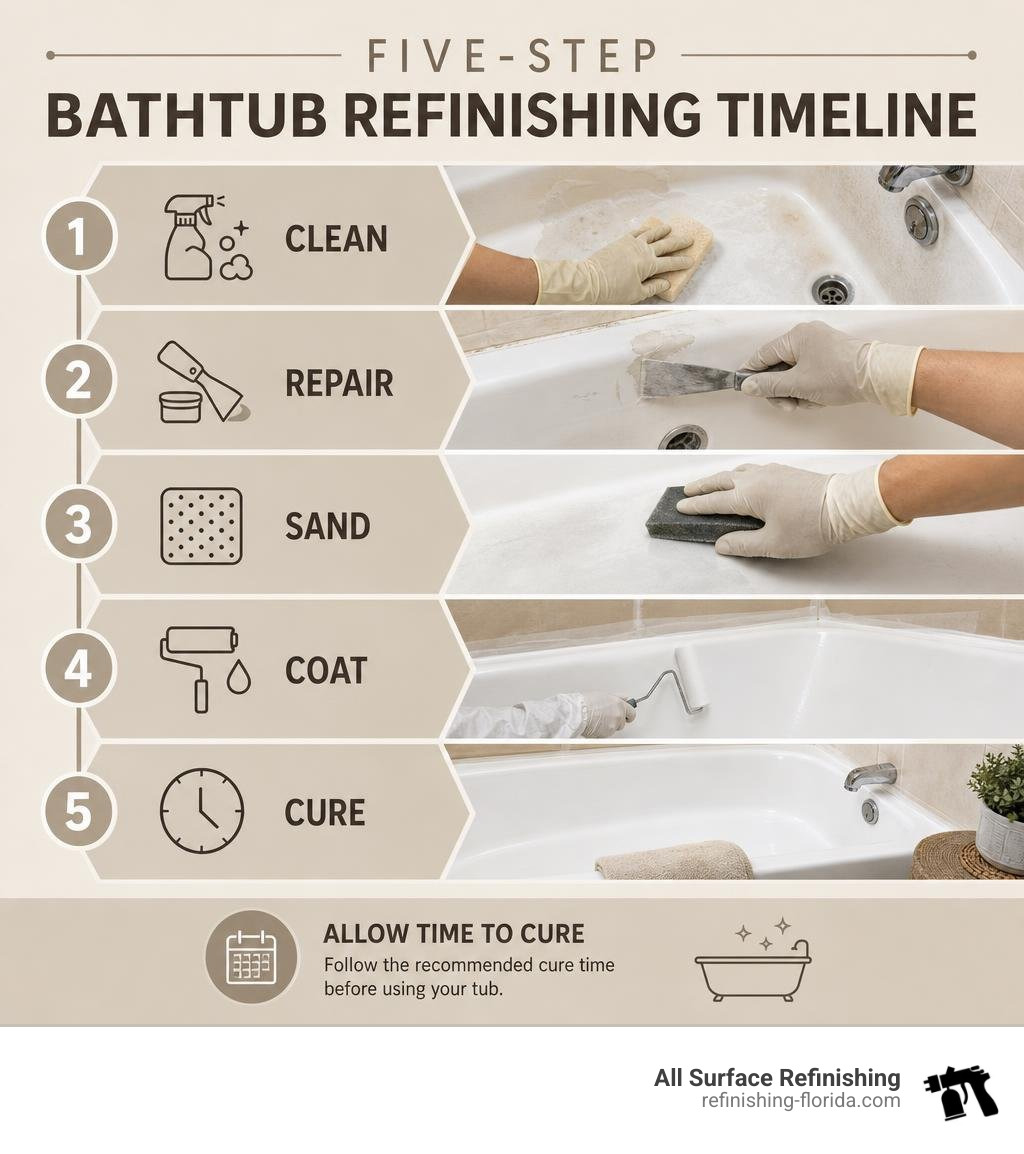
An old bathtub makeover can turn a stained, chipped, or dull tub into a clean-looking bathroom feature without demolition. The key is proper refinishing: remove old caulk, deep-clean and repair the surface, sand for adhesion, apply a professional-grade coating, and let it fully cure before use.
Professional bathtub refinishing commonly costs far less than replacing a tub, which can involve plumbing work, tile removal, and major labor. A well-done professional finish can last 10 to 15 years with gentle cleaning and regular care.
I am Frank Hernandez, President of All Surface Refinishing, and I have worked in surface refinishing for more than 10 years. Since 1996, our team has helped property owners across South Florida complete an old bathtub makeover with durable results and less disruption than full replacement.
Easy old bathtub makeover glossary:
Planning Your Old Bathtub Makeover: Refinishing vs Replacement
When faced with a stained, discolored, or chipped tub, most homeowners assume demolition is the only answer. However, replacing a bathtub involves tearing out surround tile, cutting into drywall, altering subfloor plumbing, and squeezing a bulky unit through narrow doorways. Heavy cast iron tubs often require being smashed into pieces with a sledgehammer or sliced with a saw just to leave the room.
While a brand-new builder-grade tub might retail for as little as $150, the labor, plumbing, and tiling expenses to install it easily add $1,500 or more to your final bill. Refinishing eliminates demolition entirely by restoring the existing fixture in place.
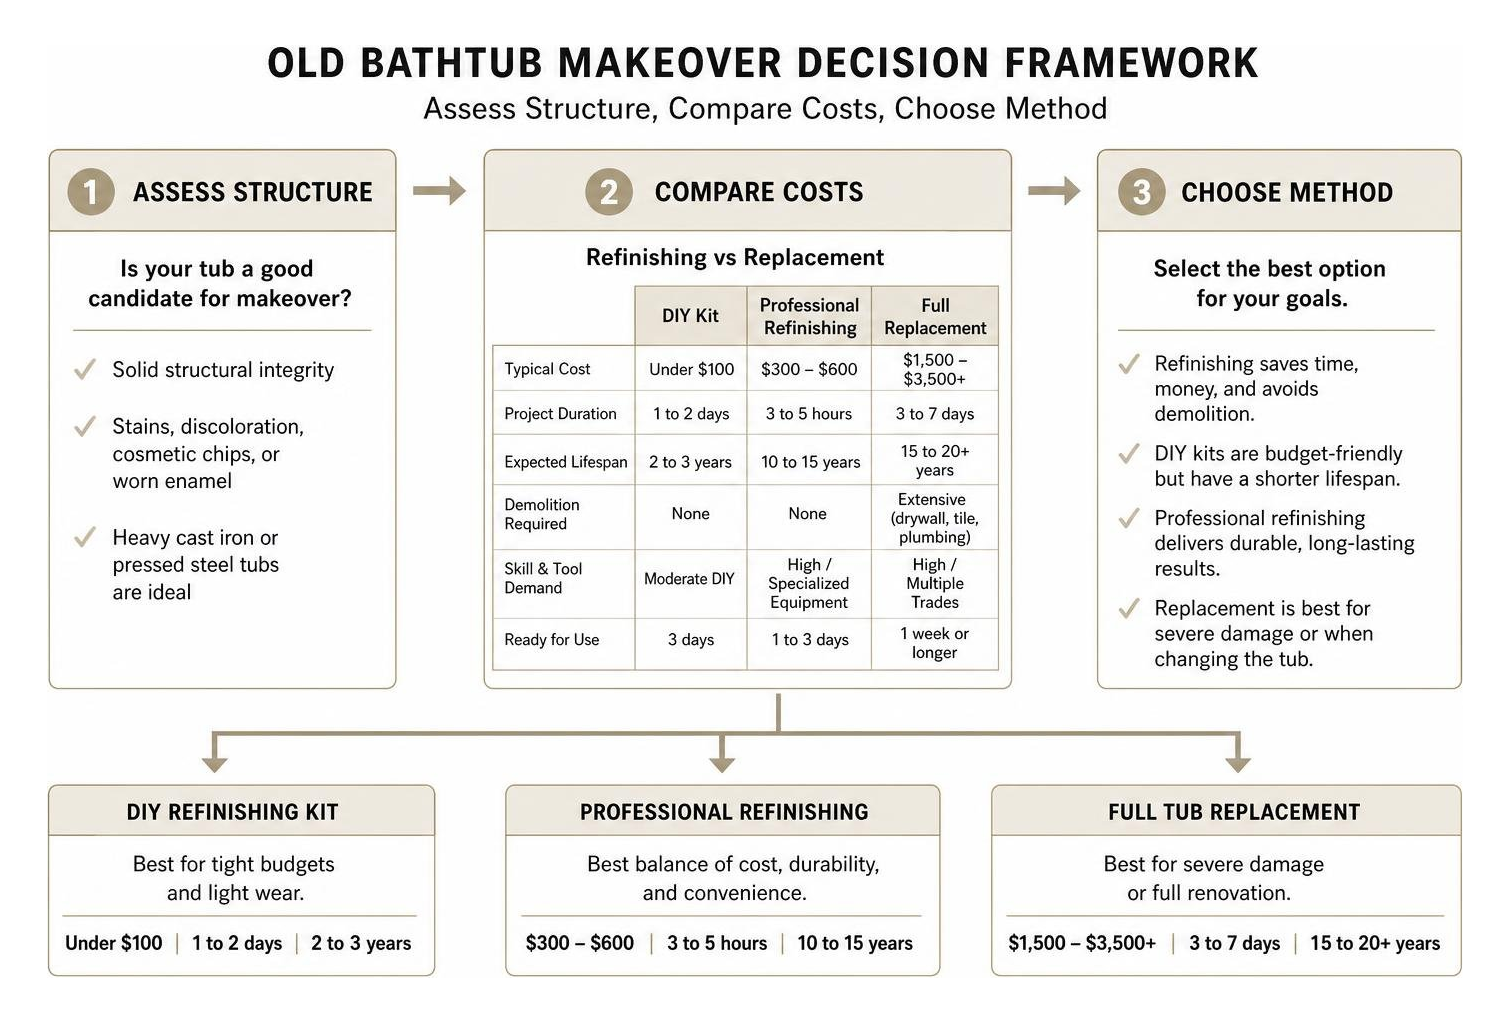
| Factor | DIY Refinishing Kit | Professional Reglazing | Full Tub Replacement |
|---|---|---|---|
| Typical Cost | Under $100 | $300 – $600 | $1,500 – $3,500+ |
| Project Duration | 1 to 2 days | 3 to 5 hours | 3 to 7 days |
| Expected Lifespan | 2 to 3 years | 10 to 15 years | 15 to 20+ years |
| Demolition Required | None | None | Extensive (drywall, tile, plumbing) |
| Skill & Tool Demand | Moderate DIY | High / Specialized Equipment | High / Multiple Trades |
| Ready for Use | 3 days | 1 to 3 days | 1 week or longer |
Assessing Candidates for an Old Bathtub Makeover
Not every bathtub is an ideal candidate for resurfacing, but high-quality vintage tubs certainly are. Older fixtures made from heavy cast iron or pressed steel have exceptional durability and unique character that modern acrylic inserts cannot replicate.
If your tub has solid structural integrity but suffers from surface stains, cosmetic chips, or worn enamel, it is an ideal candidate for restoration. Performing targeted cast iron tub repair can address heavy pitting before coating. In fact, many historic homes benefit tremendously when owners adopt historical tub restoration techniques to rescue century-old tubs instead of discarding original architectural gems.
Cost Breakdown: DIY Kits vs Professional Refinishing
DIY bathtub refinishing kits cost around $25 to $50, and you can finish the whole project for under $100 even if you buy all the prep supplies, tape, and safety gear. However, DIY kits utilize consumer-grade roll-on epoxies that can leave visible roller marks and generally last a couple of years with regular use.
Evaluating the porcelain tub refinishing cost against commercial alternatives shows why so many homeowners ask, is tub reglazing worth it. A professional refinishing job ranges from $300 to $600 and uses industrial-grade bonding agents and spray equipment to create a smooth, non-porous finish that lasts up to 15 years.
How to Refinish an Old Bathtub in 5 Essential Steps
Learning how to restore bathtub surface the right way requires patience, chemical safety, and meticulous surface prep.
Step 1: Caulk Removal and Deep Chemical Cleaning
Start by removing every trace of silicone or acrylic caulk around the perimeter of the tub using a utility knife or razor blade scraper. New coating will not adhere to silicone.
Next, clean the tub using an abrasive cleaner like Comet and a heavy-duty sponge to strip away soap scum and body oils. For hard mineral deposits, rust rings, or lime scale, use a diluted acidic cleaner or a TSP substitute degreaser.
Safety Note: Never mix bleach-based cleaners with acidic products like CLR or toilet bowl cleaners, as this combination creates dangerous, toxic chlorine gas. Keep bathroom windows open and run an exhaust fan.
Step 2: Surface Repair and Rust Treatment
Inspect the tub for chips, deep scratches, and rust spots. Use an angle grinder or wire wheel on a rotary tool to grind down any bubbling rust until you reach bare metal, then apply a rust converter to stop oxidation.
Mix a two-part waterproof polyester or epoxy filler (such as auto body filler or specialized tub repair compound) and press it firmly into gouges and chips with a putty knife. Allow it to harden completely, then sand the patch flush with the surrounding tub surface using 220-grit sandpaper.
Step 3: Sanding, Etching, and Dust Removal
To give the new coating a mechanical grip, the existing porcelain or fiberglass glaze must be abraded.
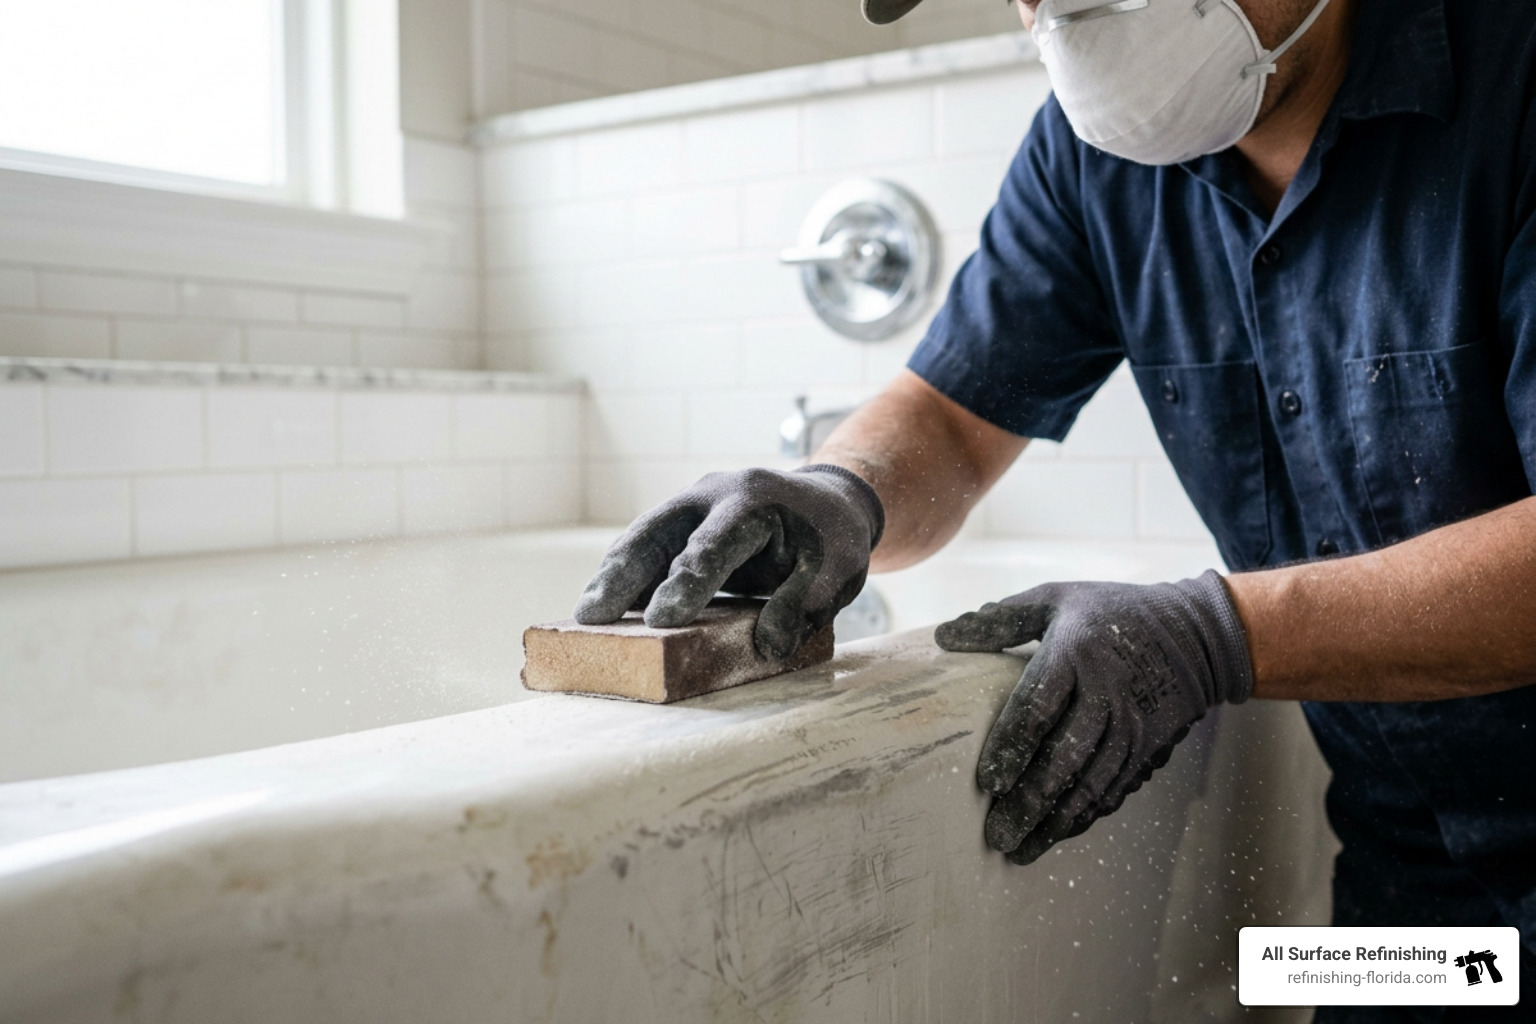
Sand the entire tub surface thoroughly using 400-grit wet/dry sandpaper on a flexible sanding block. For porcelain surfaces, an acidic etching paste or liquid etcher helps break down the factory gloss. Once finished, rinse the tub with clean water and let it dry completely. Wipe every square inch with a lint-free tack cloth to capture microscopic sanding dust.
Step 4: Primer Application and Protective Masking
Cover the bathroom floor, vanity, and surrounding walls with plastic drop cloths and painter’s tape. Tape off the drain, overflow plate, and faucet fixtures securely.
Set up a box fan in an exterior window pointing outward to exhaust chemical fumes, and put on an organic vapor respirator mask, chemical-resistant gloves, and safety goggles. Apply a specialized high-adhesion bonding primer across the entire tub using an HVLP spray system or a high-density foam roller. This bonding coat ensures the topcoat fuses permanently with the substrate.
Step 5: Applying the Topcoat and Proper Curing
Apply the two-part epoxy or polyurethane coating in thin, uniform coats. If using a foam roller, work in smooth, overlapping strokes, keeping a fresh replacement roller on hand in case the chemicals degrade the foam. Use a foam touch-up brush around curved corners and drain edges.

Wait 1 hour between coats to allow the solvent to flash off, then apply your second coat. Carefully remove the painter’s tape roughly 20 to 30 minutes after the final coat while the material is still pliable to avoid tearing the dried edges. Allow the finish to cure undisturbed for 1 to 3 full days before running water or applying fresh caulk.
Maintaining Your Resurfaced Tub for Lasting Durability
After completing a refinishing project, proper maintenance preserves the non-porous gloss:
- Clean Gently: Use mild dish soap, diluted vinegar, or non-abrasive bathroom sprays paired with soft microfiber cloths or non-scratch sponges.
- Avoid Harsh Chemicals: Do not use abrasive scouring powders, bleach, ammonia, or steel wool, which will dull and erode the coating.
- Fix Leaky Faucets: Constant dripping can create standing water pools around the drain, wearing down the finish prematurely.
- Prevent Standing Moisture: Avoid using suction-cup rubber bath mats, which trap water underneath and cause blistering; choose hanging drying mats instead.
- Maintain Caulk Lines: Keep perimeter joints sealed with fresh, mold-resistant silicone caulk to prevent water from seeping behind the finish edges.
Creative Upcycling Alternatives for an Old Bathtub Makeover
If your vintage bathtub has structural cracks or you simply want to replace your bathroom layout, you do not have to haul it to a landfill. There are many creative ways to give an old fixture new life following sustainable tub upcycling practices:
- Outdoor Garden Planters: Turn a freestanding clawfoot tub into a raised vegetable, herb, or flower bed with excellent drainage.
- Rustic Beverage Coolers: Fill a restored vintage tub with ice to serve cold drinks at backyard parties and outdoor events.
- Outdoor Soaking Troughs: Convert an enameled tub into an outdoor rainwater soaking tub or wood-fired garden hot tub.
- Pet Grooming Stations: Install the tub in a garage, mudroom, or utility area as an elevated wash station for large dogs.
Frequently Asked Questions About Bathtub Resurfacing
How long does a refinished bathtub last?
A DIY refinishing kit typically lasts 2 to 3 years before peeling or chipping under regular daily use. A professionally reglazed bathtub using commercial urethanes, professional bonding primers, and HVLP sprayers will last 10 to 15 years with proper, non-abrasive care.
What safety gear is needed when refinishing a tub?
Because epoxy and urethane refinishing compounds release potent volatile organic compounds (VOCs), safety equipment is mandatory. You must wear an NIOSH-approved respirator fitted with organic vapor cartridges, indirect-vent safety goggles, and nitrile or neoprene chemical gloves. Always maintain cross-ventilation using an exhaust fan.
Can you refinish fiberglass, acrylic, and cast iron bathtubs?
Yes, refinishing works on almost all common bathroom fixtures, including cast iron, porcelain-enameled steel, fiberglass, acrylic, and ceramic surround tiles. Acrylic and fiberglass bathtub resurfacing require specific flexible bonding agents, while cast iron requires thorough etching to bond with the new coating.
Conclusion
A dated bathroom does not require the expense, mess, and long downtime of a full tear-out. Refinishing your existing tub delivers a bright, durable surface at a fraction of the cost of replacement.
At All Surface Refinishing, we bring over 30 years of experience and more than 14,000 completed kitchen and bathroom transformations to homeowners throughout South Florida. We proudly serve homeowners across Broward County, Miami-Dade County, Palm Beach County, Martin County, and Saint Lucie County—including Fort Lauderdale, Miami, West Palm Beach, Boca Raton, Boynton Beach, Hollywood, FL, Coral Gables, Delray Beach, Jupiter, and Port Saint Lucie.
Contact our team today to explore our professional bathtub refinishing services and get a durable, factory-grade finish for your home.
