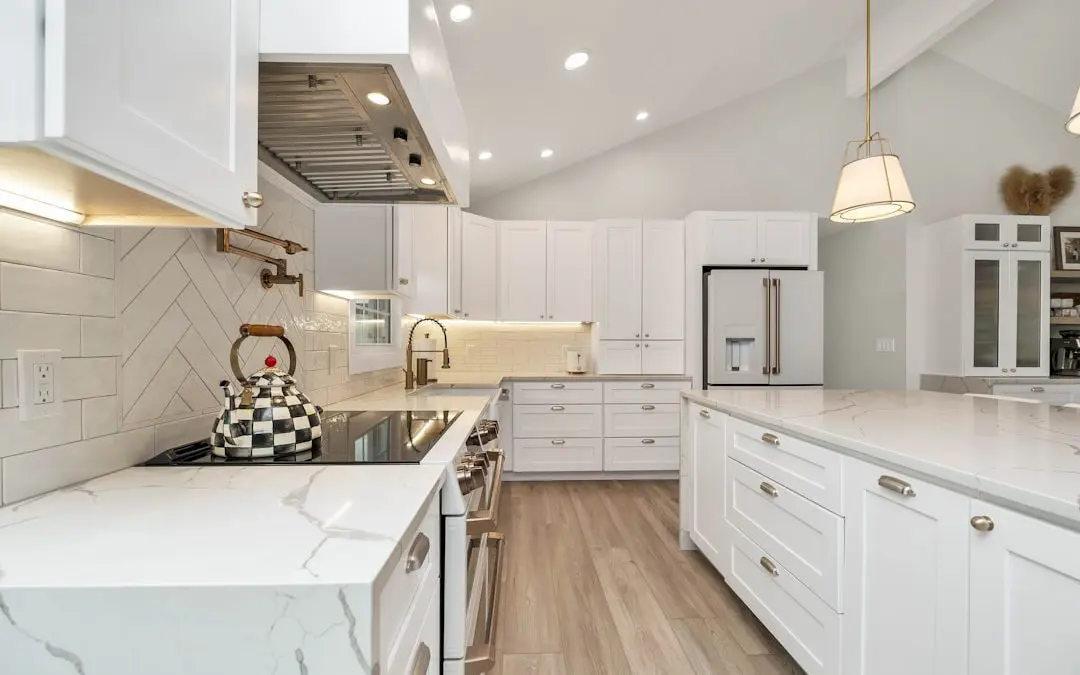
How to Update Kitchen Cabinets Without a Full Remodel
You can update kitchen cabinets for far less than a full kitchen remodel by focusing on the surfaces and details that people see most. Start with one or more of these budget-friendly upgrades:
- Refinish worn cabinet surfaces for a clean, durable new finish.
- Replace dated knobs and pulls, using the existing hole spacing when possible.
- Add removable wallpaper or a contrasting color to cabinet interiors.
- Apply simple trim or molding to plain cabinet doors for more depth and character.
- Upgrade doors and drawer fronts while keeping sound cabinet boxes in place.
The best choice depends on your cabinets’ condition, your budget, and how much disruption you can accept. Hardware and interior accents are quick DIY cabinet updates, while surface refinishing can deliver a bigger change without the mess and cost of removing functional cabinets.
I am Frank Hernandez, President of All Surface Refinishing, and I have worked in surface refinishing for more than a decade, helping South Florida property owners renew kitchens without unnecessary replacement. In this guide on how to update kitchen cabinets, I will cover practical options that improve appearance, durability, and value.
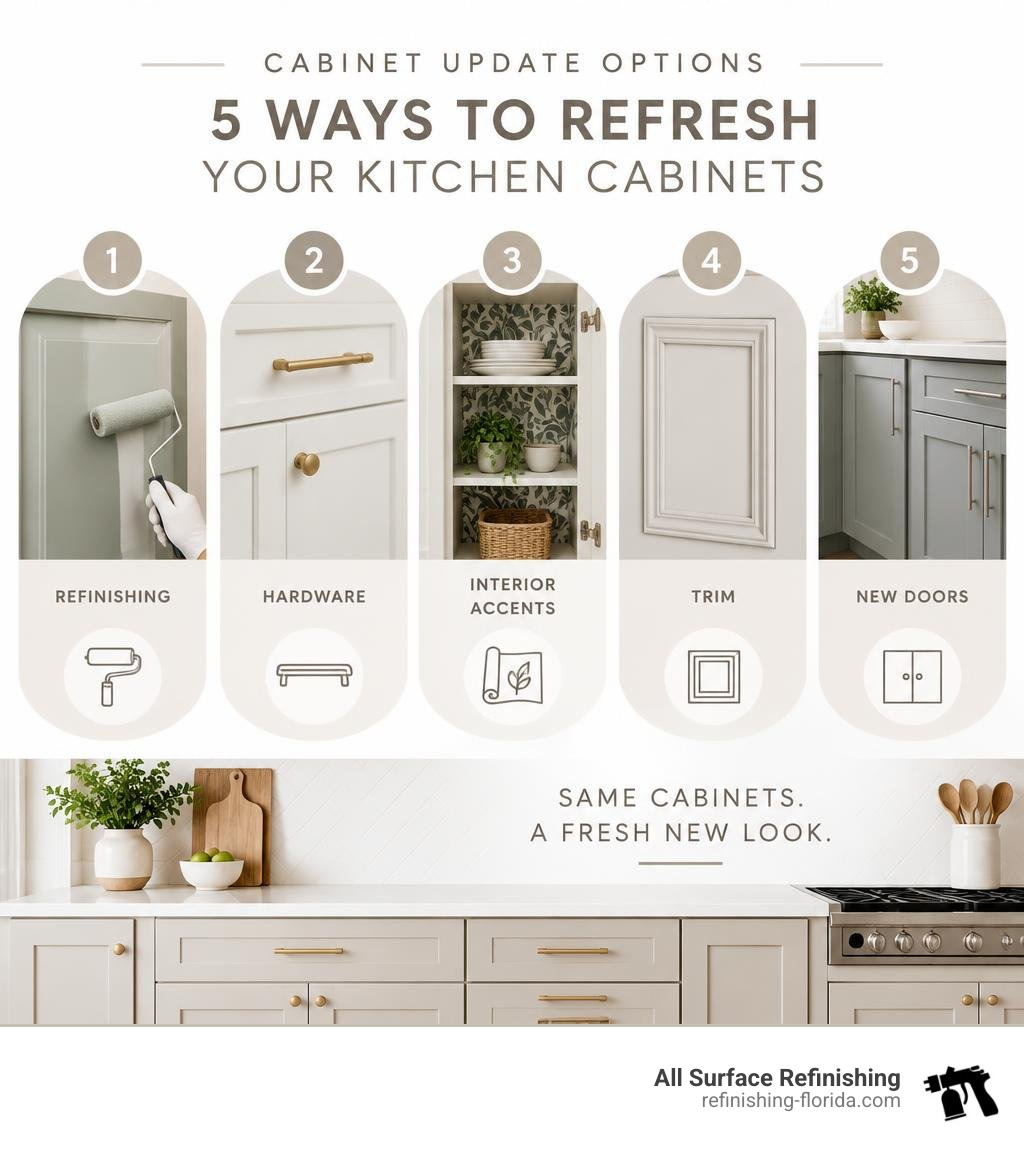
5 Smart Ways on How to Update Kitchen Cabinets
Tearing out functional kitchen cabinetry is one of the most expensive and disruptive mistakes a homeowner can make. Full tear-outs often require rerouting electrical lines, repairing drywall, replacing backsplashes, and waiting weeks without a working kitchen. By zeroing in on structural components that are already in great shape, you can transform your space at a fraction of the cost.
Whether you want to learn how to renovate kitchen cabinets on a budget or achieve a tailored finish reminiscent of a luxury kitchen rebuild in Aventura condo, multiple pathways suit different budgets and schedules.
| Method | Average Cost Level | Project Timeline | Best For | Typical ROI Impact |
|---|---|---|---|---|
| Cabinet Refinishing | Low to Moderate | 3–5 Days | Sound wood or laminate boxes needing a modern color | High (Up to 80%) |
| New Hardware | Very Low | 1 Day | Quick aesthetic refresh and style modernization | Moderate |
| Interior Accents | Very Low | 1–2 Days | Glass-front displays and open shelving units | Moderate |
| Trim & Molding | Low | 2–3 Days | Flat-panel slab doors needing Shaker styling | High |
| New Door Fronts | Moderate | 1–2 Weeks | Worn doors with solid structural framing | High |
How to Update Kitchen Cabinets with Modern Hardware
Replacing old, tarnished hardware is one of the fastest weekend projects you can take on. Outdated brass floral knobs or thin chrome wire pulls instantly age an otherwise clean kitchen.
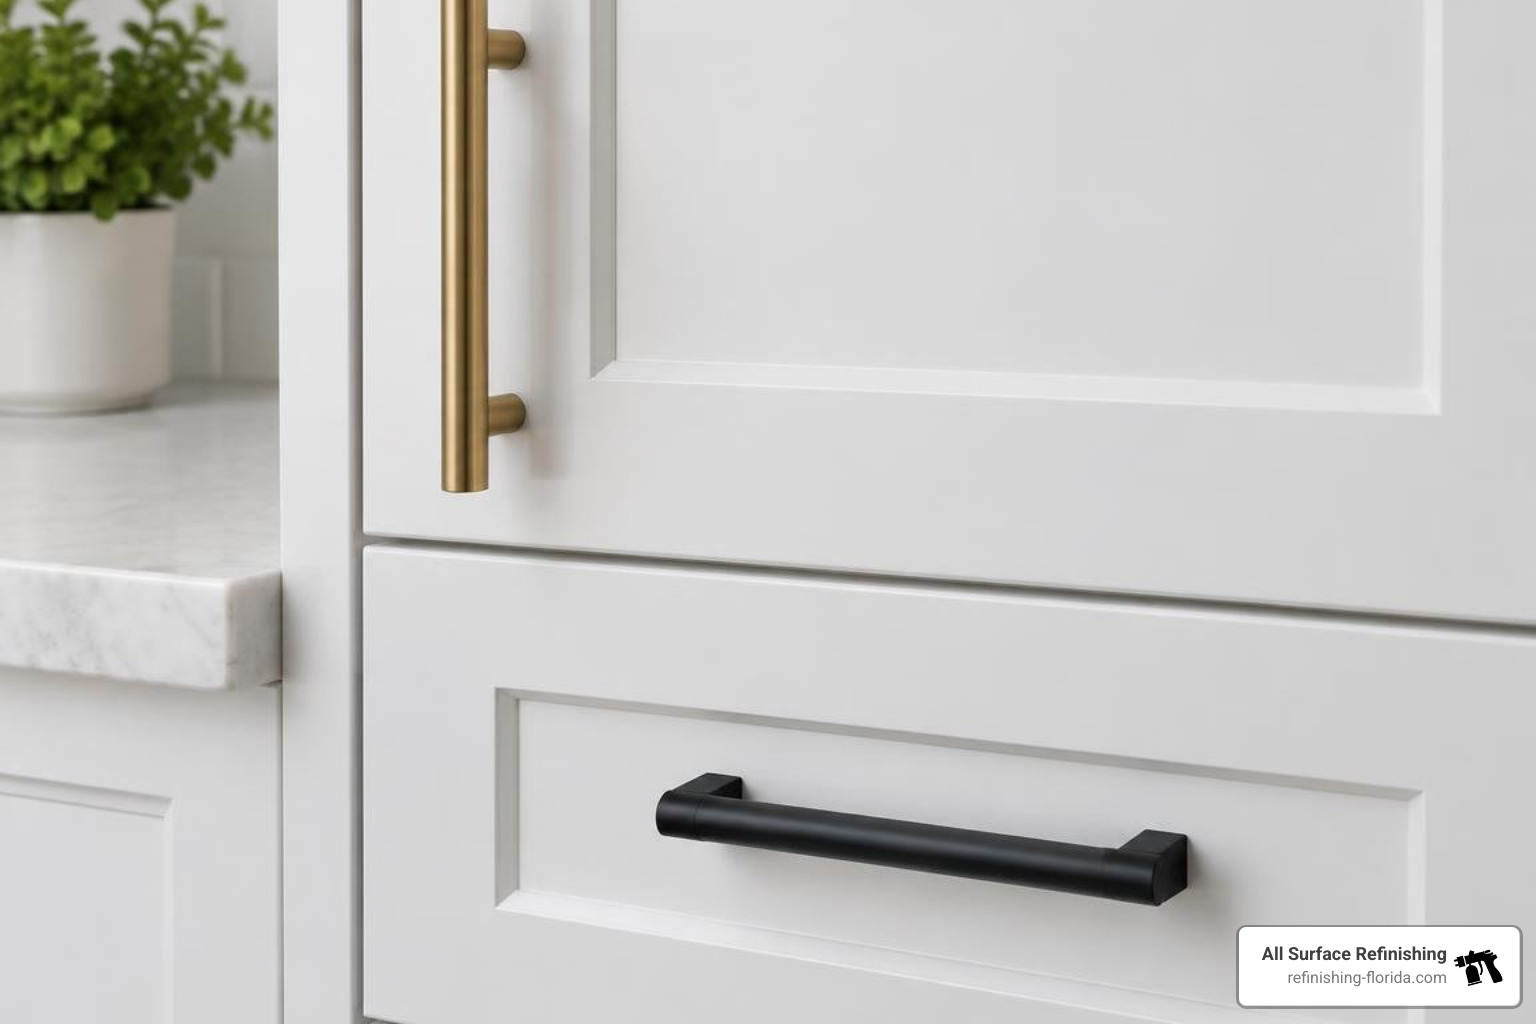
Before buying new hardware, check your measurements:
- Center-to-Center Spacing: Measure the exact distance between the centers of the two screw holes on your existing pulls (common sizes include 3 inches, 3.75 inches, 4 inches, and 128mm).
- Drill Templates: If you are transitioning from single knobs to pulls, use an inexpensive plastic or aluminum drilling template to guarantee level, consistent placement across every drawer and door.
- Backplates: If your old hardware left indentations, discoloration, or extra holes, decorative backplates can hide surface flaws without requiring wood filler and touch-ups.
- Mixed Metals: Mixing finishes—such as pairing matte black handles on lower base cabinets with brushed brass or unlacquered brass pulls on upper cabinets—adds organic warmth and character. Natural brass develops a rich patina over time that softens modern kitchen aesthetics.
Refreshing Cabinet Interiors with Pattern and Accent Color
Opening your cabinets should bring a sense of order and design delight. Adding color or pattern to the interior box or the back panel is particularly impactful behind glass-door cabinets or open shelving.
- Peel-and-Stick Wallpaper: Removable wallpaper is forgiving, easy to position, and simple to wipe down. Geometric prints, subtle botanical designs, or textured grasscloth patterns make dishware pop.
- Contrasting Paint Colors: A bold interior hue—like deep navy, sage green, or warm terracotta—behind neutral exterior cabinet doors provides an unexpected, joyful peek of color whenever a door opens.
- Surface Preparation: Always empty the cabinets, remove shelves, and degrease the backboard thoroughly with mild dish soap and warm water. Allow the surface to dry completely before applying paper or paint.
Upgrading Profiles with Custom Molding and Trim
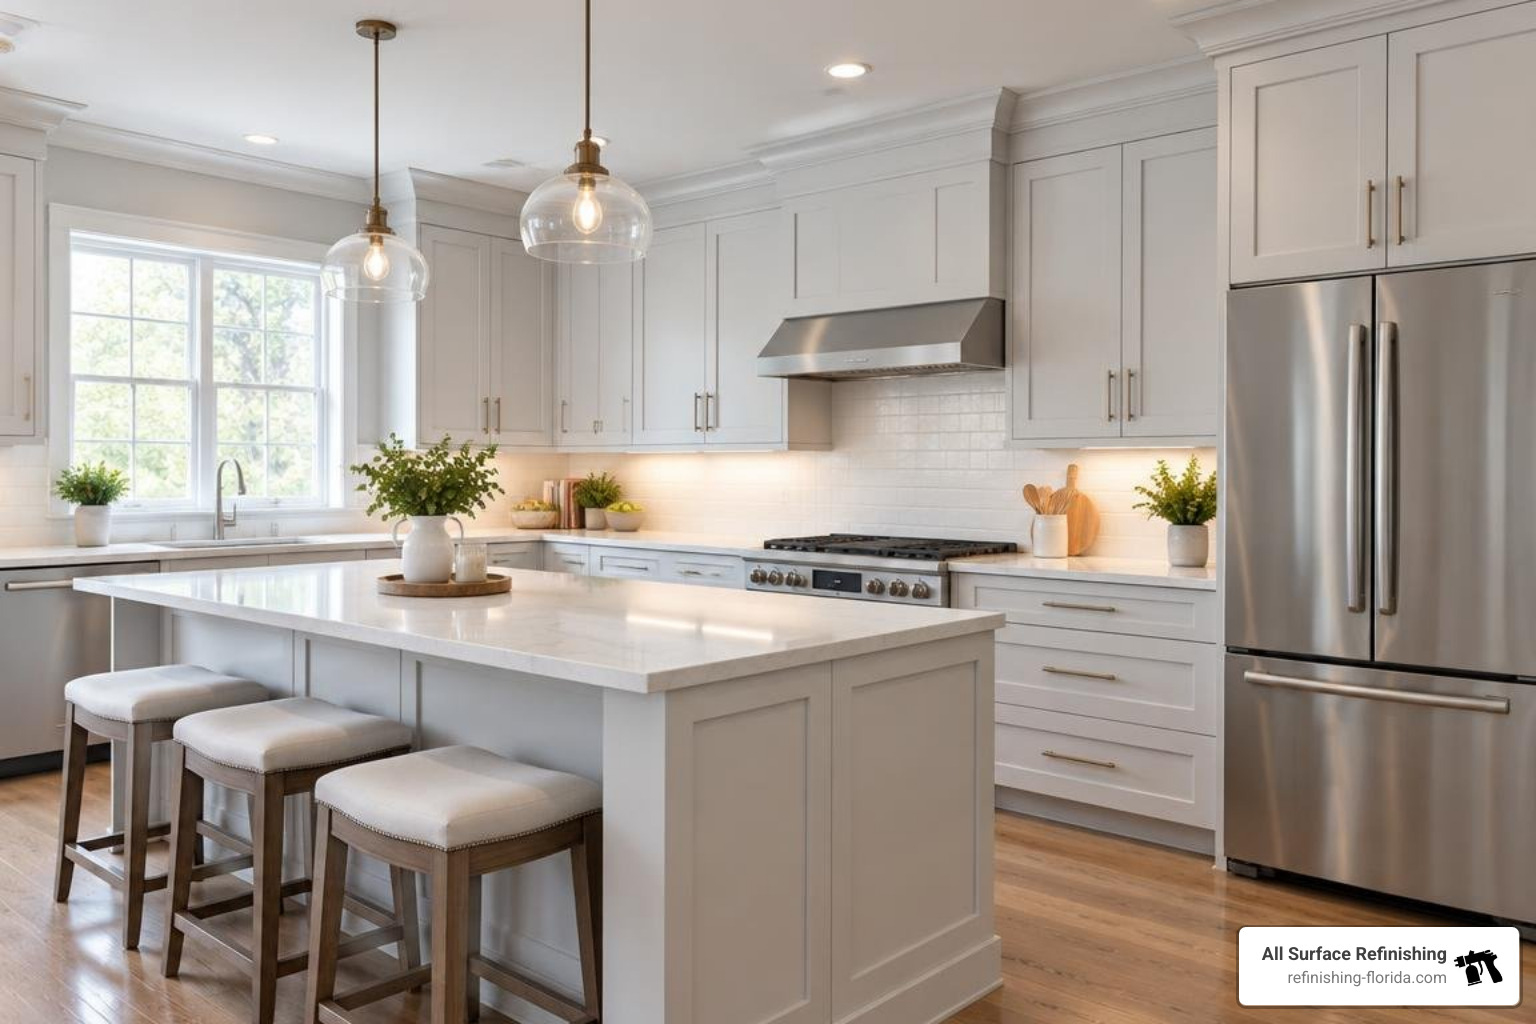
Flat-panel slab cabinets can sometimes feel plain or dated. You can create a classic Shaker-style appearance or a high-end European aesthetic by applying custom molding directly to the face of flat cabinet doors.
- Measure and Cut: Measure the perimeter of each door face and cut thin strips of 1/4-inch primed MDF or basswood trim at 90-degree butt joints (for standard Shaker style) or 45-degree mitered angles.
- Adhere and Fasten: Apply a thin bead of wood glue to the back of each strip, press it firmly onto the door face, and secure it with 5/8-inch pin nails or finishing nails.
- Fill and Smooth: Fill nail holes with wood putty and run a thin bead of paintable caulk along all internal seams where the trim meets the door face.
- Crown Molding Integration: Adding substantial crown molding across the top of upper cabinets ties the cabinetry seamlessly to the ceiling, giving stock builder units an architectural, custom-built look.
Installing New Doors and Drawer Fronts on Existing Frames
When your cabinet boxes are structurally intact, square, and sturdy, but the doors themselves are warped or feature outdated cathedral arches, hanging new door fronts on the original frame is an effective strategy.

- Door Style Selection: Transition from traditional raised-panel designs to clean Shaker profiles, slim-shaker borders, or minimalist slab styles.
- Hinge Upgrades: Take advantage of the swap to install modern, concealed European hinges with integrated soft-close dampeners.
- Precision Measuring: Measure existing openings carefully. For overlay doors, calculate the exact overlay width (commonly 1/2 inch to 1-1/4 inches) on all four sides to ensure doors do not collide when opened simultaneously.
Best Practices for Cabinet Refinishing
Refinishing is the gold standard for updating kitchen cabinets without the massive expense of replacement. While we at All Surface Refinishing specialize in durable, factory-grade refinishing, following proven professional preparation steps is critical for any lasting finish. Please note that we provide full refinishing services; we do not sell paint or retail supplies.
A flawless cabinet transformation relies on methodical preparation:
- Degreasing: Cooking oils, grease, and hand lotions accumulate on kitchen surfaces over decades. Thoroughly scrub every surface using TSP (trisodium phosphate) or a dedicated heavy-duty citrus degreaser.
- Mechanical Sanding: Lightly scuff-sand the existing finish with 150- to 220-grit sandpaper to remove factory sheens and give the primer a mechanical profile to bond with.
- Bonding Primer: Apply a high-adhesion bonding primer designed for slick surfaces, hardwoods, or thermofoil. Solvent-based or specialty acrylic bonding primers prevent tannin bleed-through from underlying wood.
- Application Method: While brushes and fine-finish foam rollers work for small DIY trim updates, achieving an ultra-smooth, brush-mark-free finish requires high-volume low-pressure (HVLP) or airless spray equipment.
How to Update Kitchen Cabinets with Durable Enamel Coatings
Kitchen cabinets endure daily friction, steam, grease, and impacts. Standard wall paints will quickly soften, peel, or chip around high-contact areas like door edges and pull handles.
Always use dedicated, cabinet-grade urethane or polyurethane-modified acrylic enamels. These specialized coatings self-level into a smooth surface and cure into a tough, scratch-resistant shell that stands up to daily cleaning.
Allow appropriate dry times between light coats, and keep in mind that while enamel may feel dry to the touch within a few hours, full chemical curing often takes up to 30 days. Treat fresh surfaces gently during the initial curing window to preserve the coating integrity.
Frequently Asked Questions About Kitchen Cabinet Makeovers
Can you refinish dark oak cabinets without the grain showing?
Yes. Coarse open-grain hardwoods like red oak feature deep pores that remain visible through standard paint layers. To achieve a perfectly smooth, modern finish, apply an acrylic or paste wood grain filler across the sanded wood surface using a squeegee or putty knife. Once dry, sand the surface flush, repeat on stubborn grain lines, and seal with a high-build bonding primer before spraying the topcoat.
How do you measure existing cabinet pulls for replacement?
Measure the center-to-center distance, which is the exact span between the center of one screw hole to the center of the other. Do not measure the entire outer length of the handle, as decorative ends extend past the mounting holes. If you want longer contemporary pulls without drilling new holes into your cabinets, look for adjustable pulls or units that include matching backplates to conceal the original holes.
Do you need a permit to update kitchen cabinets in Florida?
Purely cosmetic kitchen cabinet updates—such as refinishing, repainting, swapping hardware, adding trim, or hanging new door fronts—do not require a building permit. However, if your project expands into moving cabinet boxes to alter the kitchen layout, modifying structural load-bearing walls, or rerouting electrical circuits and plumbing lines, local building departments require permits. Consult the kitchen remodel permit guide in Fort Lauderdale, FL (2026) or your municipal building office in areas like North Miami, West Palm Beach, or Boca Raton before undertaking structural modifications.
Conclusion
Transforming your kitchen does not require spending tens of thousands of dollars on full tear-outs. By understanding your options—from smart hardware swaps and decorative moldings to full-surface refinishing—you can create a bright, contemporary culinary space while protecting your home improvement budget.
At All Surface Refinishing, our team brings over 30 years of hands-on expertise and more than 14,000 completed transformations to homeowners across South and Southwest Florida. Whether you are modernizing a coastal home in Key Biscayne, refreshing a kitchen in Delray Beach, or updating a condominium in Fort Lauderdale, our durable professional kitchen cabinet refinishing process gives your space an enduring, factory-grade finish in days rather than weeks. Contact us today to start planning your kitchen cabinet makeover.
