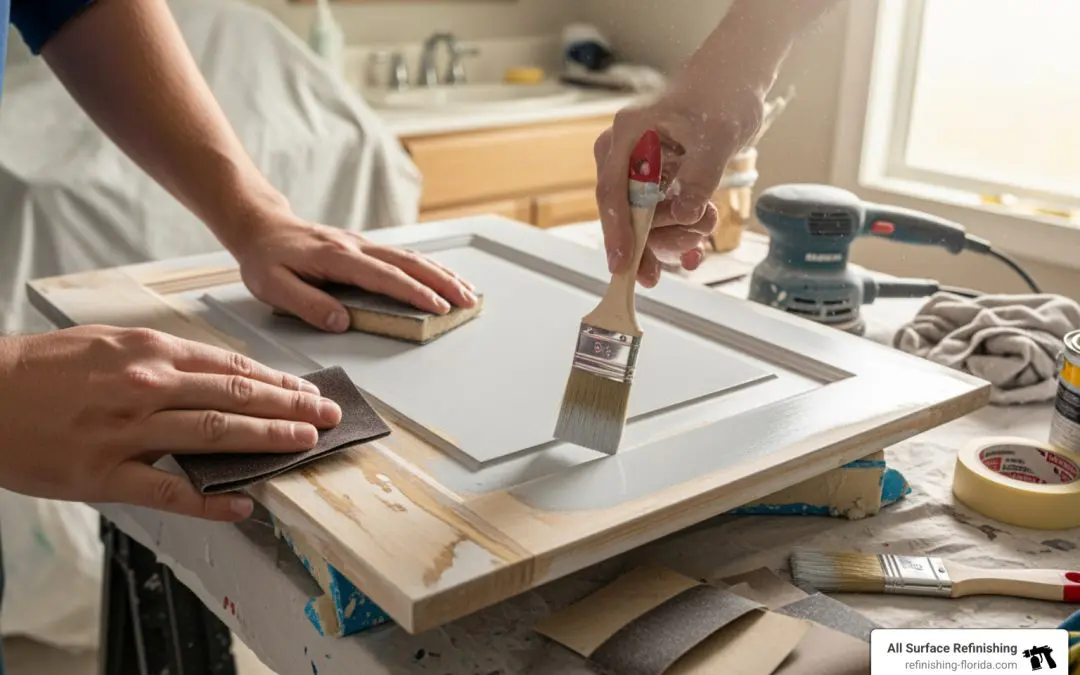
Why Refinish Bathroom Cabinets Instead of Replacing Them
Refinish bathroom cabinets to transform your bathroom’s look without the high cost and hassle of full replacement. Here’s what you need to know:
Quick Answer: How to Refinish Bathroom Cabinets
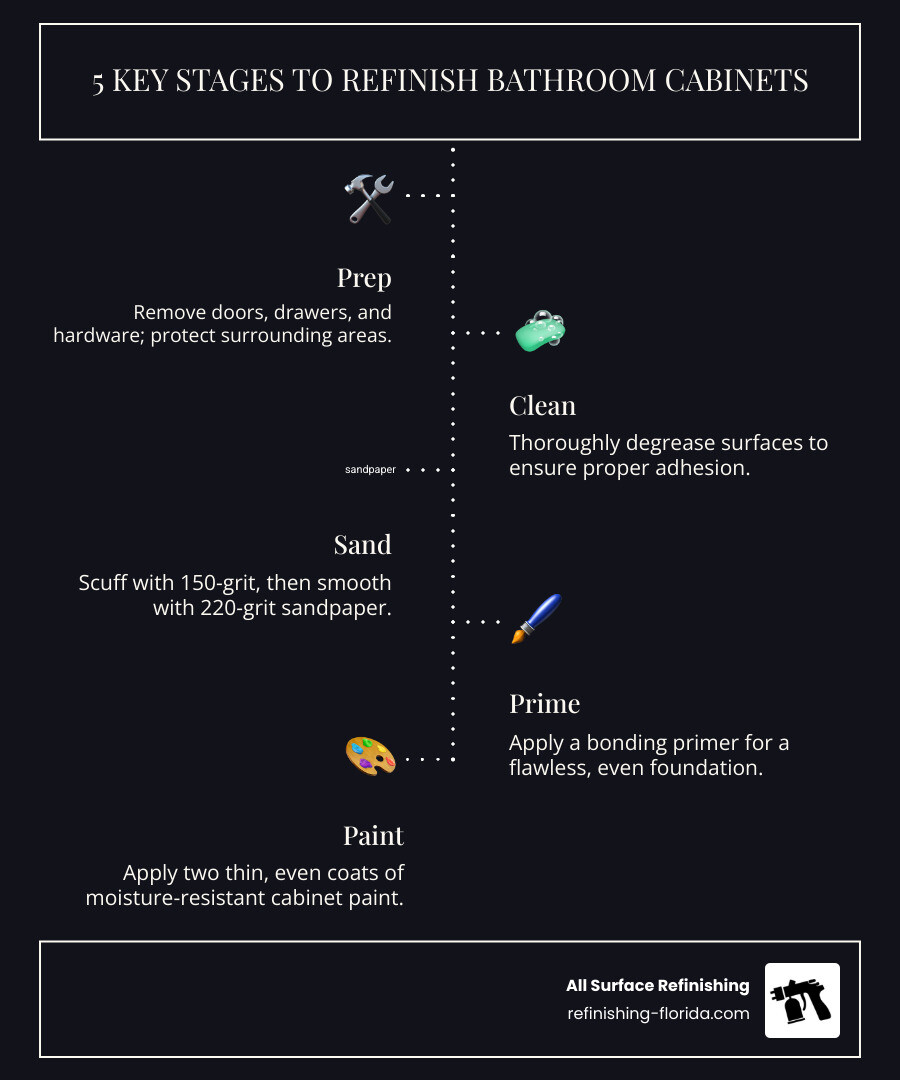
- Remove doors, drawers, and hardware
- Clean surfaces thoroughly with a degreaser
- Sand with 150-grit, then 220-grit sandpaper
- Prime with a bonding primer for bathroom surfaces
- Paint with 2 coats of moisture-resistant cabinet paint
- Wait for full cure time (1-2 weeks) before heavy use
- Reassemble and enjoy your updated vanity
Painting your bathroom cabinets is one of the smartest home improvement projects you can tackle. It costs a fraction of what you’d spend on new cabinets—saving up to 75% compared to replacement—and gives you complete control over color and finish. Whether your vanity looks tired and outdated or you simply want a fresh new look, refinishing breathes new life into your space in just a few days of work.
The process is straightforward but requires attention to detail. The key to professional results lies in proper preparation: thorough cleaning, careful sanding, and using the right products for bathroom environments. High-quality waterborne alkyd or acrylic enamel paints designed for cabinets create a hard, durable finish that withstands moisture and daily wear.
For homeowners throughout South Florida—from Miami and Hollywood to Fort Lauderdale, Boca Raton, and West Palm Beach—this project offers excellent value. You can complete the actual hands-on work in about 5-6 hours spread over a week, with most time spent waiting for coats to dry.
I’m Frank Hernandez, President of All Surface Refinishing, and I’ve spent over a decade helping South Florida homeowners refinish bathroom cabinets and other surfaces to look like new. Since 1996, our family-owned business has transformed countless vanities throughout Miami-Dade, Broward, and Palm Beach counties, and I’m excited to share the same techniques our professional team uses every day.
Choosing Your Arsenal: The Best Paint, Primer, and Tools
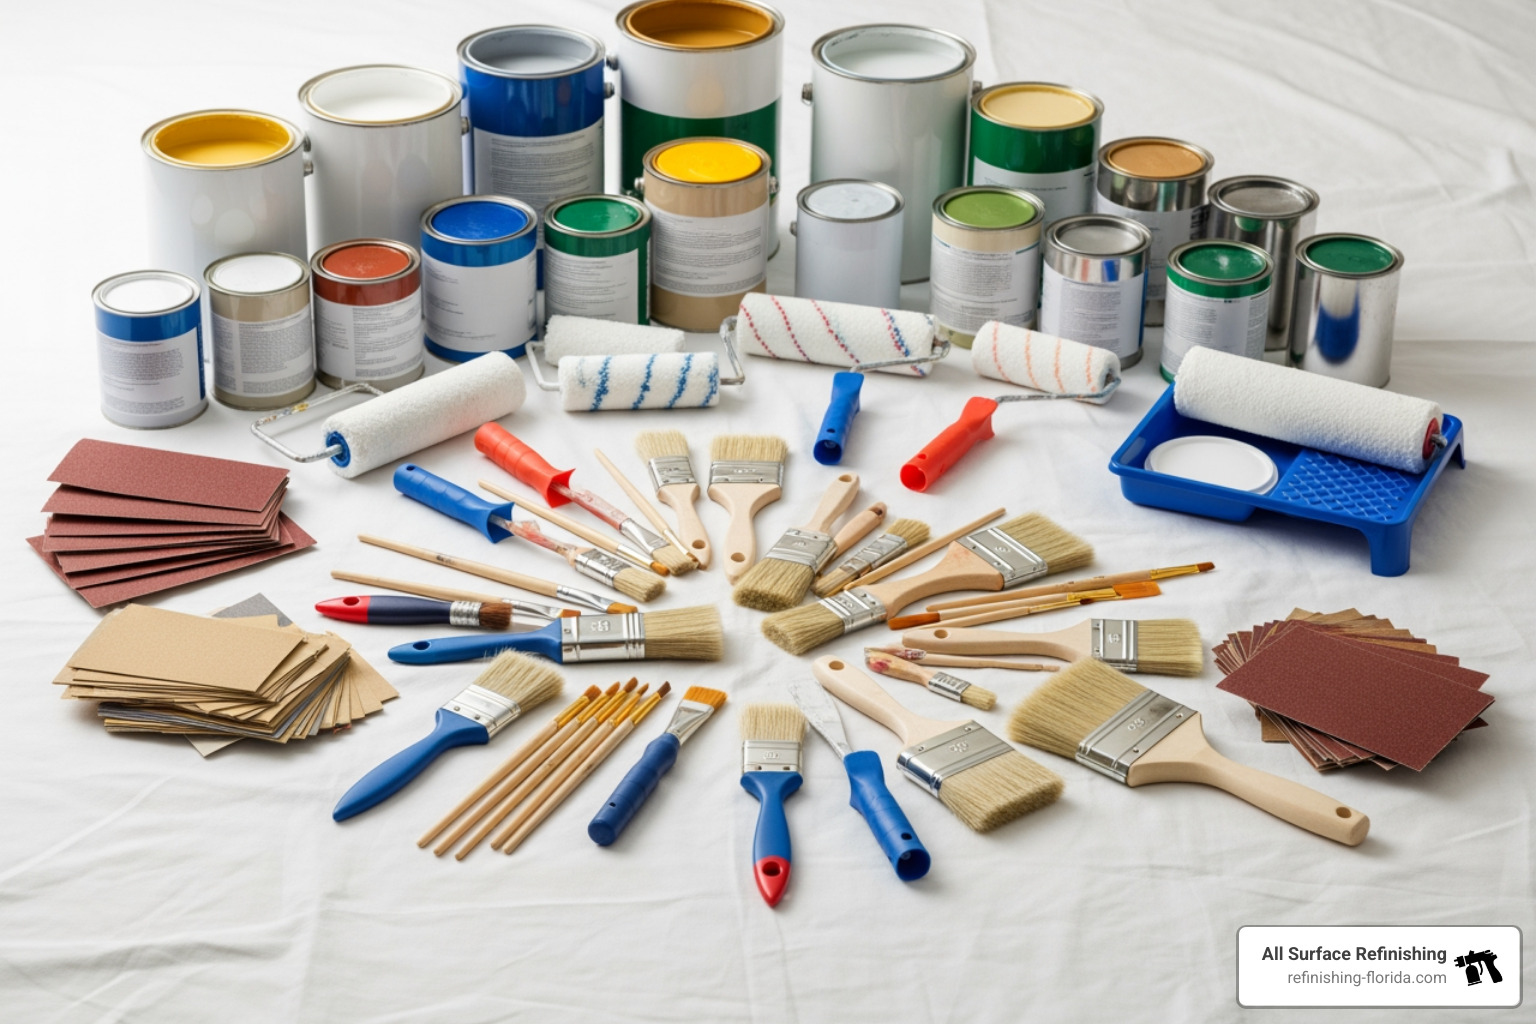
Before starting, let’s gather the essential supplies. Using quality materials for your refinish bathroom cabinets project is the key to beautiful, long-lasting results. Skimping here can mean the difference between a stunning change and a frustrating DIY flop.
The Best Paint for Bathroom Vanity Cabinets
When you refinish bathroom cabinets, selecting the right paint is paramount for humid climates. Bathrooms are high-moisture, high-traffic areas, so you need a paint that offers both durability and moisture resistance.
The best options for bathroom cabinets are acrylic enamel paint and alkyd paint. Let’s break down why these are our top choices:
- Acrylic Enamel Paint (Water-Based):
- Why we love it: These low-fume paints clean up easily with water and offer excellent durability.
- Benefits: Good adhesion, flexibility, and resistance to chipping and yellowing.
- Alkyd Paint (Oil-Based or Waterborne Alkyd):
- Why we love it: Traditional oil-based alkyds provide a hard, durable finish ideal for moist environments but require good ventilation and mineral spirits for cleanup.
- Modern Alternative: Waterborne alkyds, like Benjamin Moore’s ADVANCE® line, offer the best of both worlds. They provide a smooth, durable finish with easy water cleanup, lower VOCs, and resistance to yellowing.
Sheen Options:
For bathroom vanities, we always recommend higher-gloss sheens. Satin or semi-gloss finishes are more resistant to moisture and everyday wear than flat or matte finishes. They are also easier to clean, which is a huge plus in a bathroom.
| Paint Type | Durability | Moisture Resistance | Finish Characteristics | Cleanup | VOCs |
|---|---|---|---|---|---|
| Waterborne Alkyd | Excellent, hard | Excellent | Smooth, furniture-like, resists yellowing | Water | Low |
| Acrylic Enamel | Very Good | Good | Durable, flexible, good color retention | Water | Low |
| Traditional Alkyd | Excellent, very hard | Excellent | Very durable, strong adhesion | Mineral Spirits | Higher |
The Right Primer for a Flawless Foundation
Primer is the critical link between the cabinet surface and your new paint, ensuring proper adhesion and longevity. When you refinish bathroom cabinets in a high-moisture area, adhesion is key.
- Adhesion is Key: A quality primer creates a strong bond, preventing chipping and peeling, which is essential for durability in a bathroom.
- Blocking Stains: Primers also help block existing stains, ensuring they don’t bleed through your fresh coat of paint.
- Ensures Even Color: If you’re going from a dark cabinet to a light one, a primer will help achieve an even, vibrant color in fewer paint coats.
Recommended Primers:
Shellac or oil-based primers are recommended for their superior adhesion and moisture-blocking properties.
- Shellac Primers: These are fantastic because they minimize brush marks and offer great flexibility—you can use either oil-based or water-based paint over them. They are excellent at blocking stains and odors.
- Oil-Based Primers: Known for their strong adhesion, oil-based primers are a reliable choice, especially for challenging surfaces.
- Bonding Primers for Slick Surfaces: For glossy or laminate cabinets, a specialized bonding primer is a must. Products like INSL-X Stix Acrylic Waterborne Bonding Primer or Sherwin-Williams Extreme Bond Primer are designed for maximum adhesion on slick surfaces. We highly recommend a quality bonding primer like this one to ensure your paint adheres.
Essential Tools for a Professional Job
The right tools make all the difference in achieving a professional finish when you refinish bathroom cabinets. Here’s our go-to list:
- High-Quality Angled Paint Brush: Essential for cutting in edges and details. Look for Purdy brushes, which are known for their quality.
- Small High-Density Foam or 1/4″ Nap Roller: For applying paint and primer smoothly to flat surfaces. A 1/4″ nap roller gives a much smoother finish than a 3/8″ nap.
- Roller Frame and Mini Roller Tray: To go with your roller.
- Sandpaper (150-grit and 220-grit): For scuffing and smoothing surfaces.
- Sanding Block or Orbital Sander: For comfortable and efficient sanding.
- Degreaser or TSP Substitute: For thorough cleaning.
- Wood Filler and Putty Knife: To repair any dings or holes.
- Painter’s Tape: To protect adjacent surfaces.
- Drop Cloths or Plastic Sheeting: To protect your floors and countertops.
- Screwdriver Set: For removing hardware.
- Microfiber Cloths and Tack Cloths: For dust removal.
- Plastic Painter’s Tripods: These are incredibly helpful for elevating cabinet doors and drawers, allowing you to paint edges and both sides without waiting for one side to dry. You can find them here on Amazon.
Your Step-by-Step Guide to Refinish Bathroom Cabinets
Now that your supplies are ready, this guide will walk you through each step to refinish bathroom cabinets like a pro for a durable, beautiful result.
Step 1: Essential Prep to Refinish Bathroom Cabinets
Proper preparation is the cornerstone of a successful paint job. This crucial step ensures your paint adheres properly and your finish looks flawless.
- Remove Doors and Drawers: Carefully remove all cabinet doors and drawer fronts. This allows you to paint all surfaces evenly and prevents unwanted paint drips.
- Remove All Hardware: Take off all hinges, knobs, and pulls. Place them in labeled bags to make reassembly a breeze. This is the perfect time to choose new hardware if you’re updating.
- Label Everything: Use painter’s tape to label the back of each door and drawer with its original position. This is critical for ensuring everything goes back where it belongs, minimizing alignment issues.
- Protect Surrounding Areas: Lay down drop cloths or plastic sheeting to cover your floors, countertops, fixtures, and walls. Use painter’s tape to carefully tape off any areas you don’t want painted, such as walls around the vanity frame or inside edges of the cabinet box.
Step 2: The Critical Cleaning Process
Thorough cleaning is non-negotiable when you refinish bathroom cabinets. Grime, soap scum, and oils prevent primer and paint from adhering correctly.
- Remove Grease and Grime: Even if your cabinets don’t look dirty, they likely have unseen residue. Remove all traces of grease, soap scum, hairspray, and other build-up.
- Use a Degreaser: A heavy-duty cleaner like a TSP substitute is ideal. Mix it according to the manufacturer’s instructions.
- Scrub Thoroughly: Using a clean microfiber cloth or sponge, vigorously scrub all surfaces you plan to paint—doors, drawer fronts, and the vanity frame.
- Rinse and Dry: After scrubbing, wipe all surfaces with a clean, damp cloth to remove any cleaner residue. Then, allow everything to dry completely.
Step 3: Sanding for Superior Adhesion
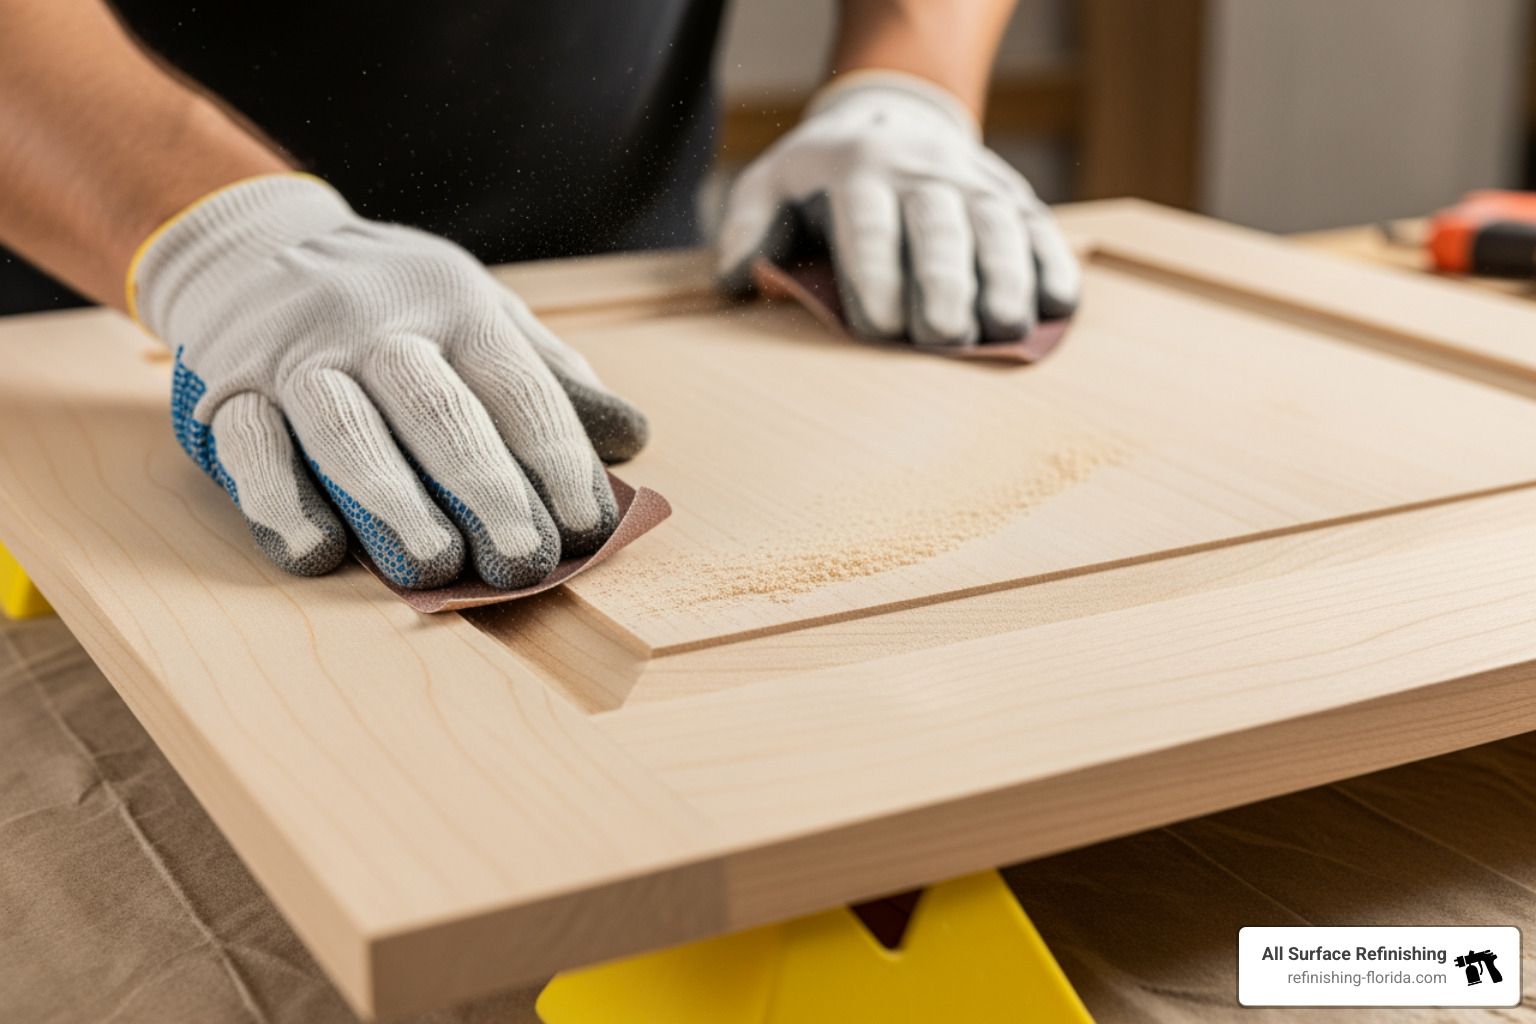
Sanding creates a “tooth” for the primer to grab onto, a crucial step for long-lasting results when you refinish bathroom cabinets.
- Scuff the Surface: Using 150-grit sandpaper (or a liquid deglosser to minimize dust), lightly sand all surfaces. The goal is to scuff the existing finish, not remove it. This dulls any glossy topcoat and helps with adhesion. Always sand with the grain of the wood.
- Fill Holes or Nicks: Fill any dents, scratches, or old hardware holes with wood filler. Apply it with a putty knife, let it dry, and then sand smooth with 150-grit sandpaper. A second layer may be needed for a perfectly smooth surface.
- Final Sand with 220-grit: Once repairs are done, go over all surfaces with 220-grit sandpaper. This finer grit smooths out any remaining imperfections and creates an ultra-smooth base for your primer.
- Clean Up Dust: After sanding, remove all dust. Use a vacuum with a brush attachment, then wipe all surfaces with a clean microfiber cloth. A tack cloth will pick up any remaining fine dust particles for a completely dust-free surface.
Step 4: Applying Primer Like a Pro
With your cabinets prepped, it’s time for primer. This step ensures maximum adhesion and a uniform base for your paint, leading to a professional finish when you refinish bathroom cabinets.
- Apply a Thin, Even Coat: The key here is thin. Thick coats can lead to drips and an uneven surface. Apply just enough to cover the surface.
- Brush Details First: Use your angled brush to apply primer to detailed areas, inlays, or moldings on your doors, drawers, and vanity frame.
- Roll Flat Surfaces: Immediately after brushing, use your 1/4″ nap mini roller on all flat surfaces. Roll in slow, controlled strokes, slightly overlapping each pass.
- Avoid Drips: Keep an eye out for drips, especially on edges, and smooth them out immediately with your brush or roller.
- Let It Dry Completely: Adhere to the manufacturer’s recommended drying time, typically at least 4 hours, but overnight is often best.
- Lightly Sand and Wipe: Once the primer is fully dry, lightly sand all primed surfaces with 220-grit sandpaper. This will knock down any slight texture and ensure a super smooth finish. Then, wipe away all dust with a tack cloth. For a very dark to light color change, you might need a second coat of primer, repeating the sanding and wiping process.
Step 5: The Final Paint Application and Reassembly
Applying paint correctly is essential for a beautiful, durable finish when you refinish bathroom cabinets.
- Painting Technique:
- Thin Coats are Best: Just like with primer, apply paint in thin, even coats to prevent drips and ensure a smoother finish.
- Brush Details, Then Roll Flats: Start by using your angled brush on detailed areas, then immediately follow with your 1/4″ nap roller on flat surfaces. This “brush and roll” technique helps eliminate brush marks.
- Work Systematically: Paint one side of the doors and drawers at a time, letting them dry before flipping. Using painter’s pyramids helps immensely, allowing you to paint all edges without waiting.
- How Many Coats? Two coats of high-quality paint are typically needed. Depending on your color change, you might need a third. Always allow each coat to dry completely before applying the next. Lightly sanding with 220-grit sandpaper and wiping with a tack cloth between coats will ensure the smoothest possible finish.
- Wait for Full Cure Time: This is a crucial waiting period. While paint may be dry to the touch in hours, it takes a week or two to fully cure and harden. Patience ensures the durability of your new finish.
- Reassemble Doors and Hardware: Once your paint has fully cured, carefully reattach your hardware and reinstall the doors and drawer fronts using your labels from Step 1. Your transformed vanity is ready!
If the thought of tackling this project yourself feels overwhelming, or if you simply want the assurance of a professional, long-lasting finish, we’re here to help. Our team at All Surface Refinishing specializes in Bathroom Refinishing Services across South Florida, providing expert results without the DIY stress.
Achieving a Showroom Finish: Pro Tips and Common Pitfalls
We’re almost at the finish line, but these final insights will help ensure your refinish bathroom cabinets project not only looks fantastic but also stands the test of time.
Dry Time vs. Cure Time: Why Patience is Key
This is one of the most misunderstood aspects of painting, and it’s vital for durability, especially in a bathroom.
- Dry to the Touch: This is how long it takes for the paint surface to feel dry when you gently touch it. It usually means you can apply another coat or handle the piece carefully.
- Recoat Time: This is the minimum time you need to wait before applying the next coat of paint. It’s often just a few hours.
- Full Cure Time: This is the time it takes for the paint to fully harden and reach its maximum durability. For cabinet paints, this can be anywhere from one to two weeks, and sometimes even longer. During this period, the paint is still chemically hardening, and it’s vulnerable to damage.
Why it’s Important: Ignoring cure time is a common mistake. If you put your cabinets back into heavy use too soon, the paint can scratch, chip, or dent easily. We recommend treating your newly painted vanity with extra TLC for the first few weeks, immediately wiping off anything that gets on it. This patience will pay off with a finish that truly withstands the wear and tear of daily use.
Common Mistakes to Avoid When You Refinish Bathroom Cabinets
We’ve all made DIY mistakes, but learning from them (or better yet, avoiding them!) is key. Here are some common pitfalls to watch out for:
- Skipping Prep: Not removing hardware, cleaning, or sanding thoroughly is the fastest way to a peeling, uneven finish. Prep work is 80% of the job!
- Applying Thick Coats: This leads to drips, uneven drying, and a less durable finish. Thin coats are always better.
- Not Cleaning Properly: Any grease, oil, or grime left on the surface will prevent primer and paint from adhering, leading to chipping.
- Rushing Between Coats: Not allowing adequate dry time between coats can cause bubbling, peeling, and an uneven finish.
- Ignoring Cure Time: As we just discussed, putting your cabinets into heavy use before the paint has fully cured will lead to premature wear and damage.
- Using Low-Quality Tools: Cheap brushes leave bristles, and cheap rollers leave texture. Investing in good tools makes the application much smoother.
- Painting in a Dusty Environment: Dust particles can settle on wet paint, creating a bumpy, unprofessional finish. Ensure your workspace is as clean as possible.
- Using Spray Paint for the Main Finish: While spray paint is great for hardware, it’s tricky for cabinets. It dries differently, and touching up any future chips or scratches becomes incredibly difficult, often resulting in blotchy areas. We’ve learned this the hard way, and we want you to avoid it!
Updating Hardware for a Complete Change
Once your beautifully painted cabinets are ready, don’t forget the finishing touch! Updating your hardware can dramatically improve the overall look and feel of your vanity.
- New Knobs and Pulls: This is one of the most cost-effective ways to modernize your bathroom. Choose hardware that complements your new cabinet color and the overall style of your bathroom. If you’re drilling new holes for hardware, do this before painting, fill the old holes, and sand smooth.
- Spray Painting Existing Hardware: If your existing hardware is in good shape but just the wrong color, spray paint can give it a new lease on life.
- Prep: Clean the hardware thoroughly and apply a metal primer.
- Technique: Use consistent, sweeping back-and-forth motions, holding the can about 6-8 inches away. Slightly overlap each stroke and keep the can moving to avoid drips. Apply multiple thin coats, allowing each to dry.
- Considerations: Be aware that spray paint, unlike regular paint, can be difficult to touch up seamlessly later on if it gets chipped.
Frequently Asked Questions About Cabinet Refinishing
We get a lot of questions about how to refinish bathroom cabinets, especially from homeowners in our South Florida service areas like Hollywood, Fort Lauderdale, and Boca Raton. Here are some of the most common ones:
How long does it take to refinish a bathroom vanity?
The actual hands-on work to refinish bathroom cabinets is surprisingly quick! Most DIYers report spending about 5-6 hours of active work spread out over a week. For example, coating one side of cabinet doors might only take 20 minutes.
The majority of the project timeline is dedicated to drying and curing times between steps. You’ll spend time on:
- Prep: 1-2 hours (removal, cleaning, light sanding)
- Priming: 1-2 hours (application, plus 4+ hours drying)
- Painting: 2-4 hours (2-3 coats, plus several hours drying between each)
- Curing: 1-2 weeks (passive waiting time before heavy use)
So, while you can get it done over a long weekend, the full durability won’t be achieved for a couple of weeks.
How durable are refinished bathroom cabinets in a humid climate like South Florida?
When done correctly with the right materials, refinished bathroom cabinets are incredibly durable, even in the high humidity of South Florida. Here’s why:
- Proper Paint Choice: Using waterborne alkyd or acrylic enamel paints designed for cabinets, especially in a satin or semi-gloss sheen, provides a hard, resilient surface.
- Full Cure: Allowing the paint to fully cure (as discussed earlier) is critical. A fully cured finish is much more resistant to moisture, humidity, and daily wear and tear.
- Superior Adhesion: A good bonding primer ensures the paint adheres firmly, preventing bubbling or peeling, which can be exacerbated by humidity.
In fact, a properly refinished cabinet with high-quality paint can often be stronger and more durable than many factory-finished vanities, standing up exceptionally well to the moist environment of a bathroom in Hollywood, Fort Lauderdale, Boca Raton, or any of our other South Florida locations.
Can I refinish previously painted or laminate bathroom cabinets?
Yes, absolutely! You can definitely refinish bathroom cabinets that have been previously painted or are made of laminate. The key, as always, lies in proper preparation and using the right products.
- For Previously Painted Cabinets: If the existing paint is in good condition (not peeling or chipping), you’ll follow the same cleaning and sanding steps. The goal is to scuff the surface and ensure good adhesion for your new primer. If the old paint is peeling, you’ll need to sand it down to a smooth, stable surface before priming.
- For Laminate Cabinets: Laminate surfaces can be tricky because they are very smooth and non-porous. This is where a high-quality bonding primer becomes non-negotiable. After thorough cleaning and light scuffing with fine-grit sandpaper, apply a bonding primer specifically designed for maximum adhesion to slick surfaces. This will create the necessary “tooth” for your paint to stick.
The principle remains the same: create a clean, dull, and stable surface, then use a primer that guarantees maximum adhesion. This approach makes it possible to revitalize almost any existing bathroom cabinet finish.
Conclusion: Your Beautifully Transformed Bathroom Vanity
Congratulations! By following these steps, you’ve successfully learned how to refinish bathroom cabinets, changing a tired, outdated vanity into a stunning centerpiece for your bathroom. The sense of accomplishment from a DIY project like this is truly rewarding, and the financial savings are a fantastic bonus. You’ve given your bathroom a fresh new look, all while adding value and style to your home.
Whether you’re in Hollywood, Boca Raton, Fort Lauderdale, Miami, or anywhere else throughout South Florida, a newly painted vanity can dramatically lift your space. The durability and aesthetic appeal of a professionally finished cabinet will bring joy for years to come.
However, we understand that not everyone has the time, tools, or inclination to tackle a project of this scale. If the thought of sanding, priming, and painting doesn’t spark joy, or if you simply want the peace of mind that comes with expert craftsmanship, our team at All Surface Refinishing is here to help. With over 30 years of experience and 14,000+ projects completed, we are Florida’s trusted experts in cabinet refinishing. We offer cost-effective, fast, and high-quality changes for kitchens and bathrooms across South and Southwest Florida.
Don’t hesitate to reach out to us for a consultation. Let us bring our expertise to your home and deliver a flawless, long-lasting finish that you’ll love. Learn more about our professional Cabinet Refinishing Services today!
