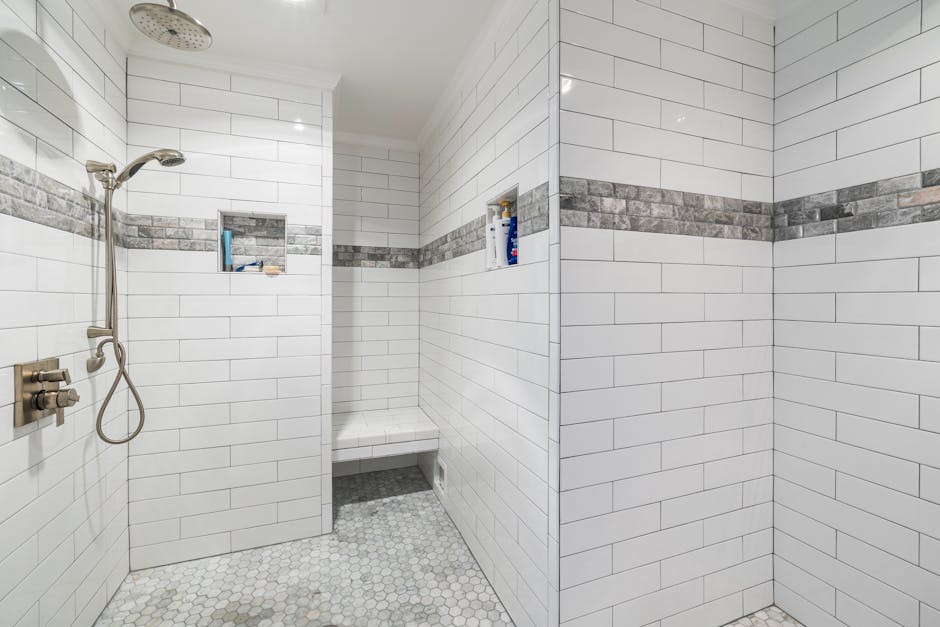
Bathroom Wall Tile Cover Up Ideas Without Demolition
A bathroom wall tile cover up can change the look of dated tile without tearing it out. If you rent, try removable tile decals on smooth, sound tiles, but get your landlord’s approval first. If you own the bathroom, professional tile resurfacing offers a more lasting finish. Whatever you choose, check for loose tiles, trapped moisture, and deep grout lines before covering the wall.
I’m Frank Hernandez, president of All Surface Refinishing, and I’ve worked in surface refinishing since 2011. My approach to any bathroom wall tile cover up starts with the condition of the tile, so the new look has a sound surface beneath it.
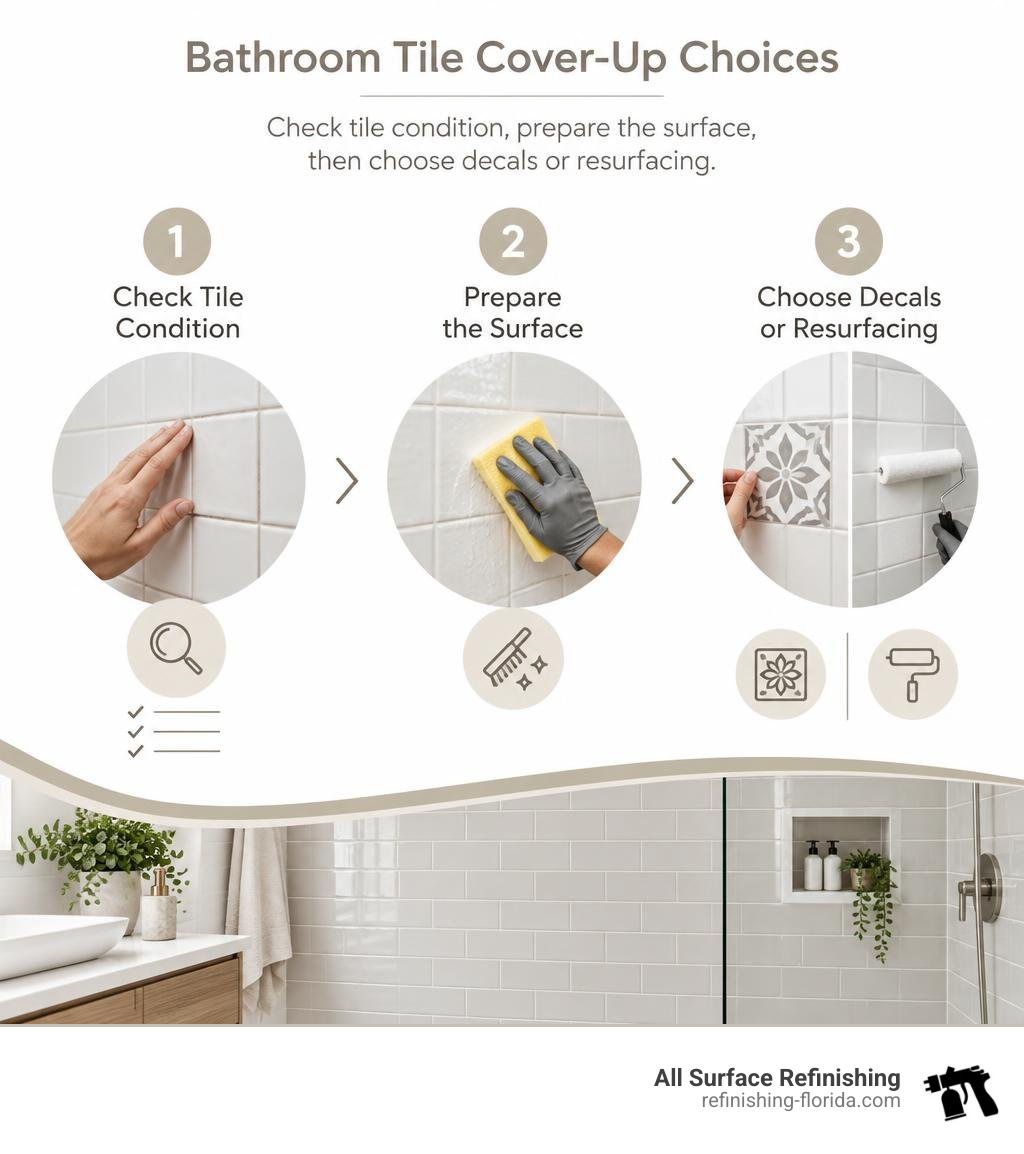
Basic bathroom wall tile cover up glossary:
Why Cover Up Dated Bathroom Tiles Instead of Demolishing?
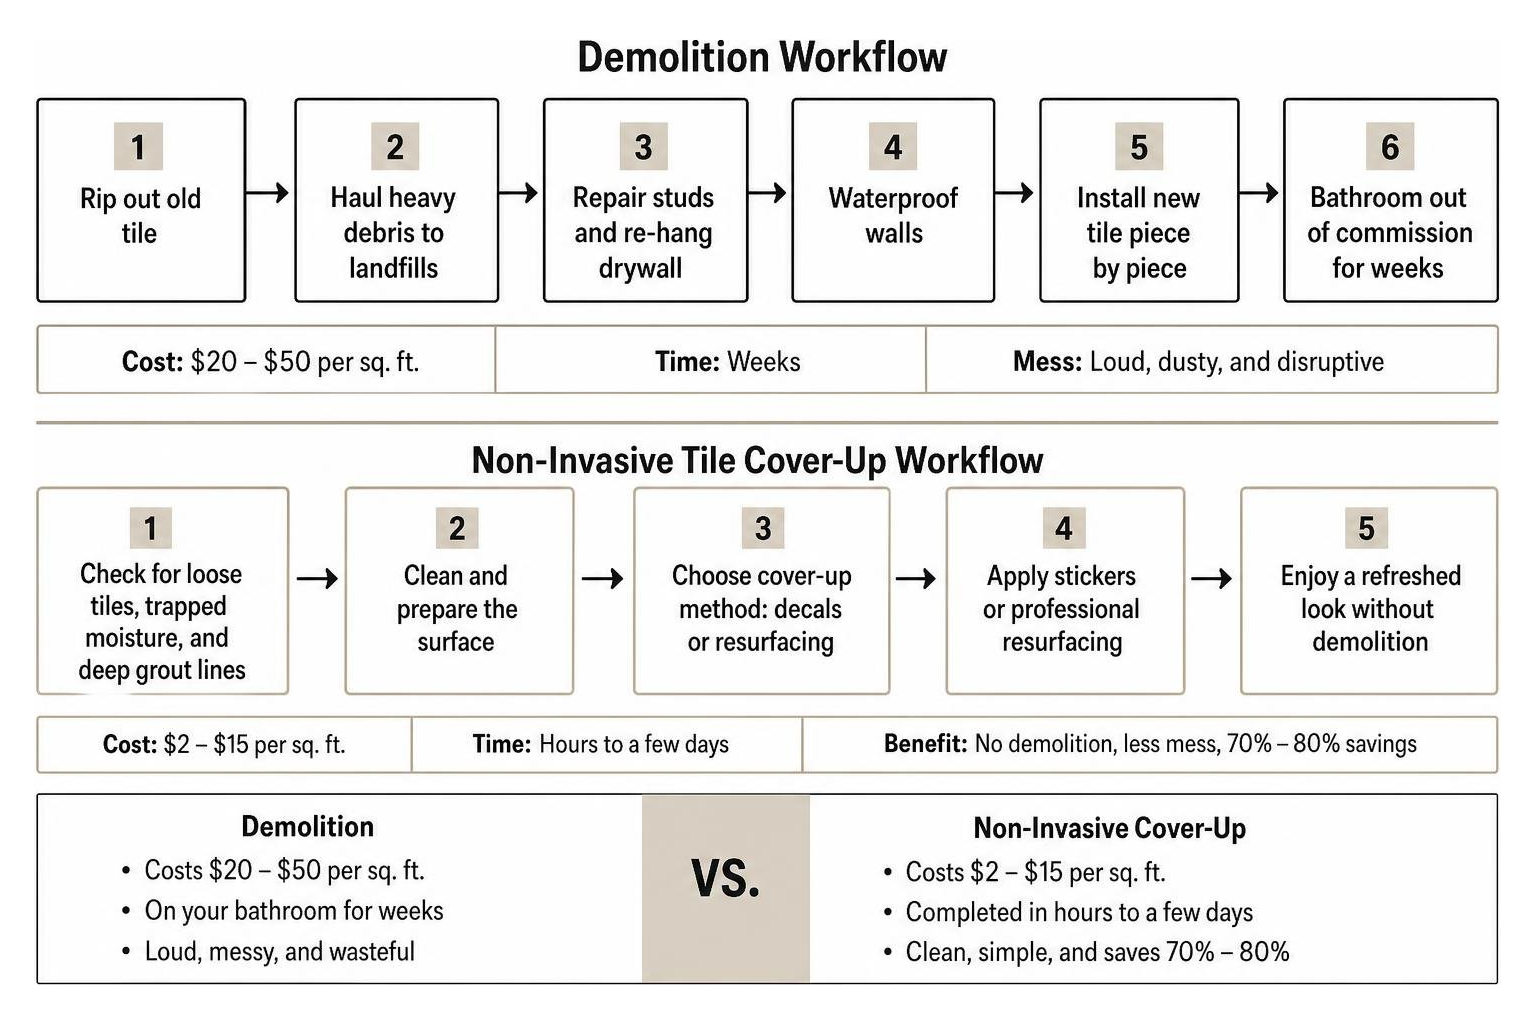
Tearing out old tile is loud, messy, and hard on your wallet. A full bathroom demolition requires ripping tiles off drywall or cement backer boards, hauling heavy debris to landfills, repairing studs, re-hanging drywall, waterproofing, and installing new tile piece by piece. That process can easily cost anywhere from $20 to $50 per square foot for professional labor and materials, leaving your bathroom out of commission for weeks.
Covering your existing tiles eliminates the dust, structural disruption, and long wait times. Covering or resurfacing tiles saves between 70% and 80% compared to a complete renovation. Surface cover-up methods typically range from $2 to $15 per square foot, making it easy to modernize a space on a practical budget.
Beyond saving money, keeping your original sound tile in place keeps heavy rubble out of local landfills and preserves the integrity of your walls. If you are curious about broader project budgets, reviewing our 2026 tile and tub resurfacing cost analysis helps break down where every dollar goes.
| Method | Estimated Cost (per sq. ft.) | Installation Speed | Expected Durability | Best Suited For |
|---|---|---|---|---|
| Vinyl Stickers / Decals | $1 – $3 | 2–4 hours | 1–3 years | Renters, accent walls, dry zones |
| Peel-and-Stick Overlays | $2 – $5 | Half day | 3–5 years | Dry walls, quick budget refreshes |
| Adhesive PVC Panels | $5 – $12 | 1–2 days | 5–10 years | Tub surrounds, covering uneven tile |
| DIY Tile Paint Kits | $1 – $4 | 2–3 days (with cure) | 2–4 years | Budget homeowners, low-moisture zones |
| Professional Tile Resurfacing | $5 – $15 | 1 day (ready in 24h) | 10–15 years | Homeowners, shower stalls, wet zones |
The Best Bathroom Wall Tile Cover Up Approach for Any Budget
Every bathroom project comes down to balancing three factors: who owns the property, how much moisture the area receives, and your target budget.
High-humidity environments like South Florida require extra care. In cities from Miami up to West Palm Beach, humidity tests the limits of adhesives and paint. A temporary sticker might work wonders in a guest half-bath, but inside a daily shower stall, moisture demands a permanent, waterproof seal.
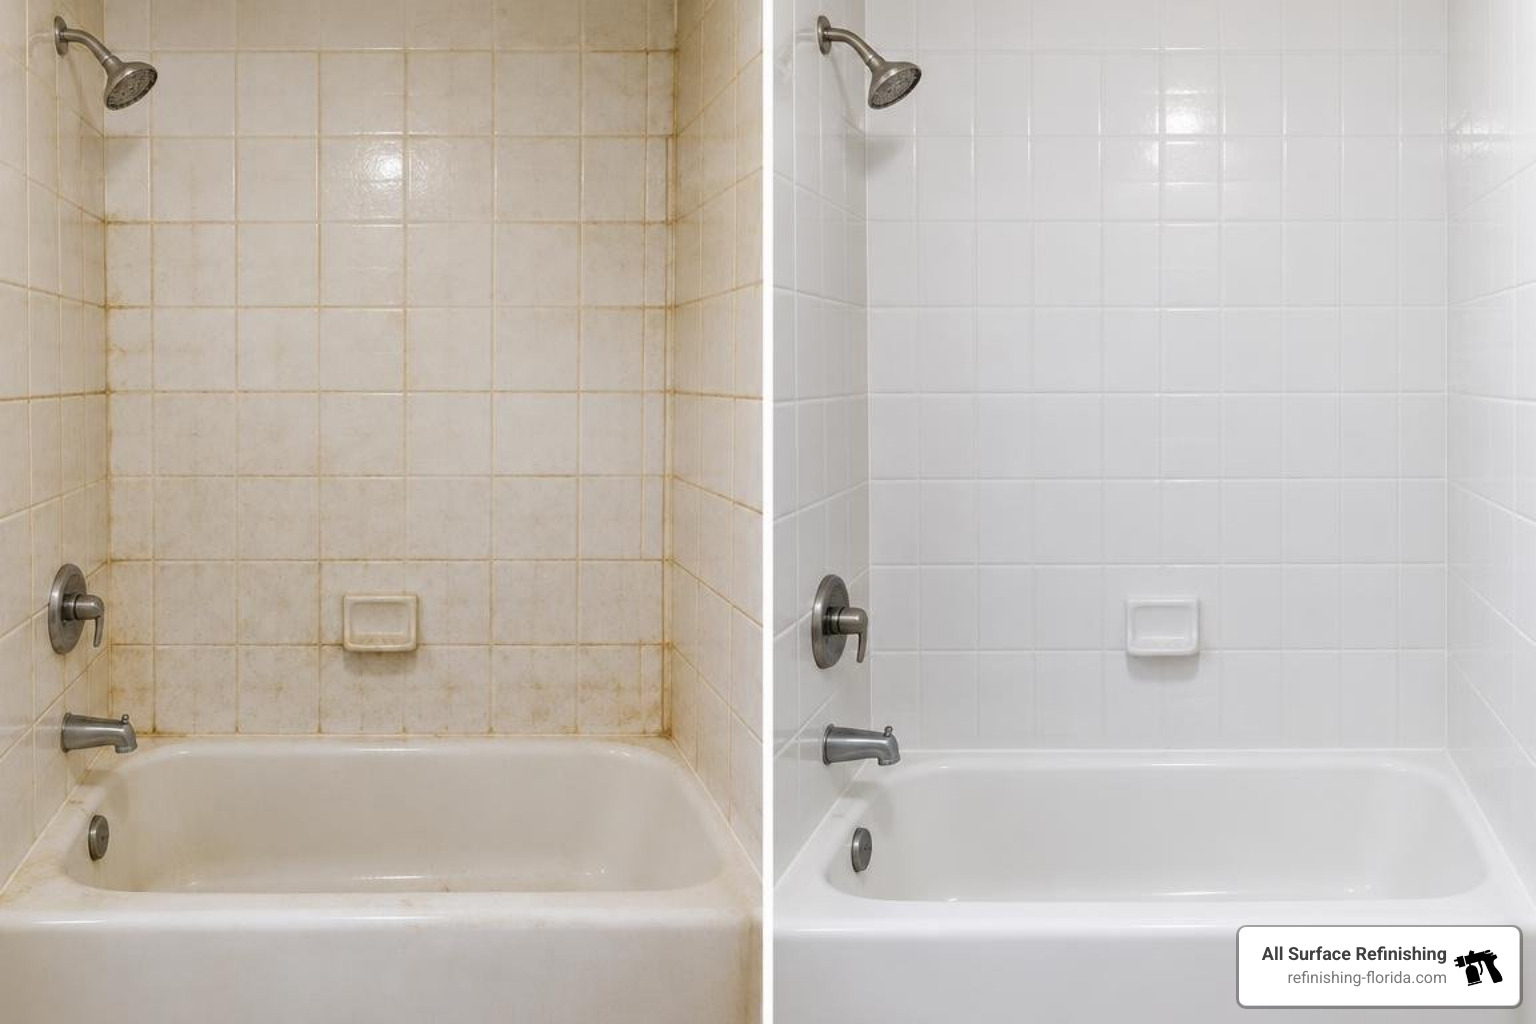
For non-permanent updates, products like Quadrostyle tile stickers offer decorative relief for renters. For homeowners looking for factory-grade durability, professional resurfacing provides a permanent, seamless look that resists mold and moisture.
1. Renter-Friendly Planning and Landlord Approval
If you rent an apartment or home in Fort Lauderdale, Boca Raton, or Coral Gables, your primary goal is protecting your security deposit while making your space feel like home.
- Always Get Written Approval: Before applying any adhesive products, check your lease. Even removable products can leave adhesive residue on older, porous glazes.
- Opt for Low-Tack Vinyl Decals: Thin, water-resistant decals can cover specific dated accent bands or individual tiles without damaging the surface underneath.
- Use Warm Air for Removal: When moving out, warm the vinyl with a hairdryer to soften the adhesive, pulling it away cleanly without chipping the tile glaze.
- Plan Ahead for Permanent Upgrades: If the tile is severely cracked or degrading, talk to your landlord. Many property managers prefer to invest in professional resurfacing between tenants rather than dealing with tenant-applied stick-on fixes that peel.
2. Preparing Uneven Bathroom Wall Tile
Not all tile surfaces are flat subway tiles. Mosaic patterns, heavily textured relief tiles, and wide, sunken grout lines present distinct challenges. If you place a flat sticker over wide grout lines, the adhesive will sag into the depression—an issue known as “telegraphing.”
When addressing uneven surfaces:
- Assess Grout Depth: If grout lines sit more than 1/16 inch below the tile surface, standard thin stickers will show indentations.
- Use Rigid Overlays: Interlocking PVC or composite wall panels bridge the gaps over uneven mosaic patterns and textured relief surfaces, creating a flat top layer.
- Choose Bold, Distracting Patterns: If you use flexible coverings over lightly textured tile, busy geometric patterns hide underlying surface irregularities much better than solid, glossy colors.
- Consider Complete Resurfacing: When dealing with intricate mosaic tiles or detailed trim, resurfacing coats both the tile and the grout lines uniformly, creating an easy-to-clean surface without visible grout depressions.
3. Professional Tile Resurfacing and Reglazing
When you want a permanent upgrade without demolition, professional refinishing is the gold standard. We use specialized bonding agents and industrial-grade acrylic urethane coatings that fuse directly to your ceramic, porcelain, or fiberglass tiles at a molecular level.
Using our expert tile resurfacing solutions creates an airtight, watertight barrier over your existing walls.
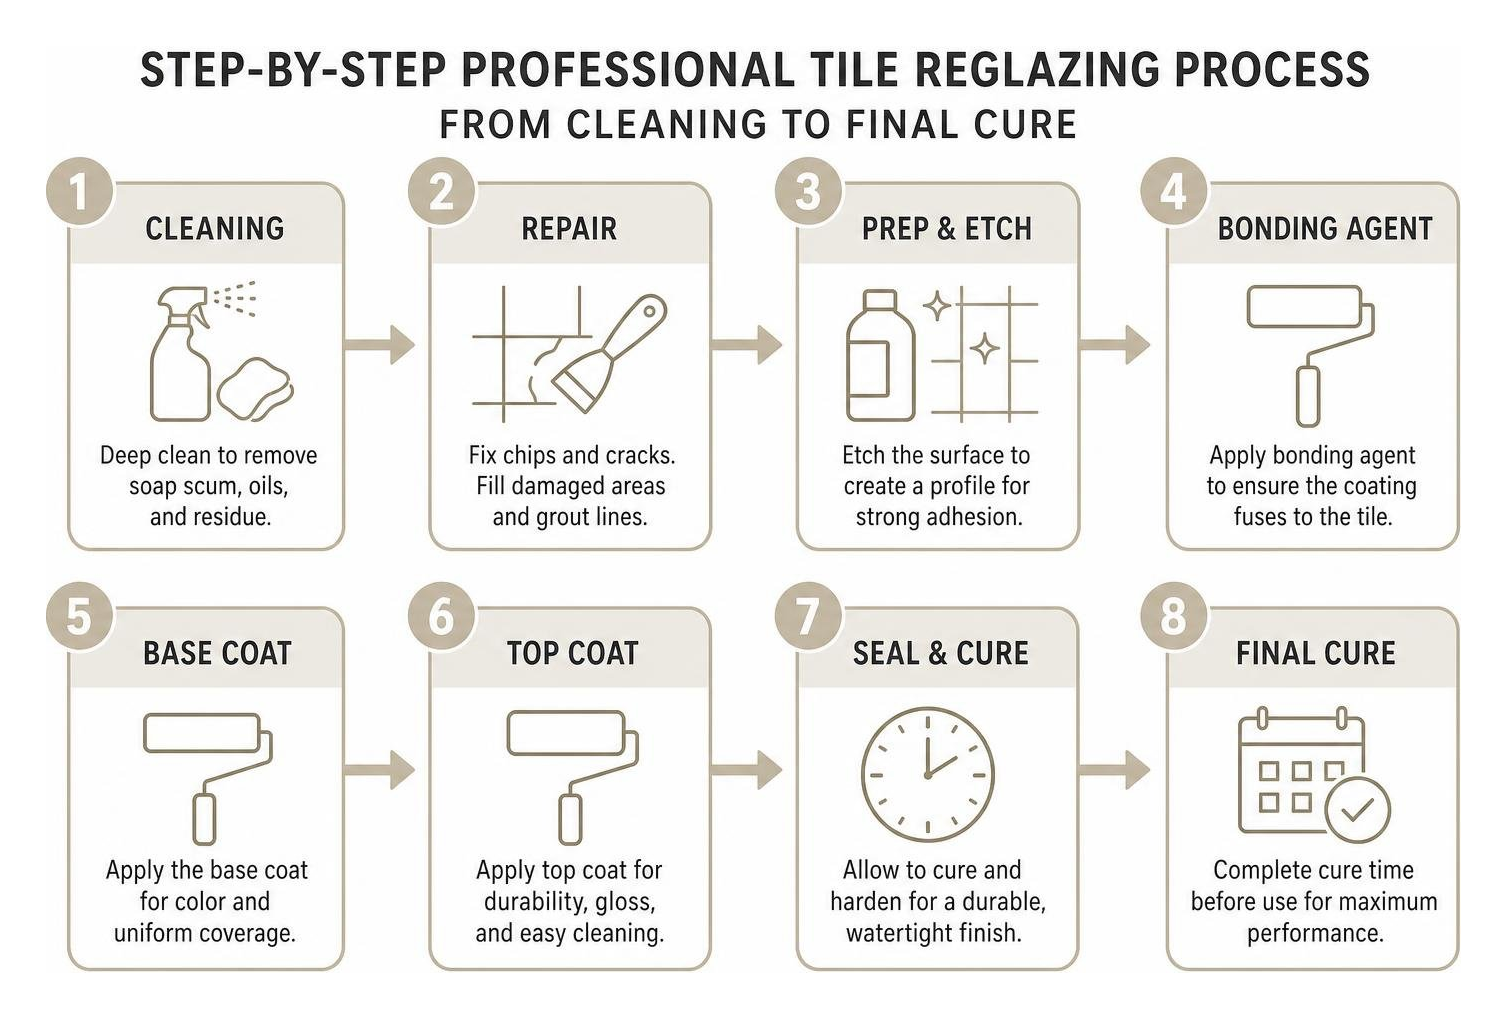
This process completely seals the grout lines, eliminating the porous crevices where mold and mildew thrive. Unlike DIY paint kits that can peel when exposed to continuous hot water, professional resurfacing cures into a durable, high-gloss shell that lasts 10 to 15 years with proper care.
4. Choosing a Resurfacing Finish
Modernizing your bathroom tile doesn’t require complex color schemes. Choosing the right finish brightens the entire room and complements your existing vanity and plumbing hardware:
- Pure Gloss White: The most popular choice for bathrooms. It reflects light, making small guest baths and master suites feel open, airy, and clean.
- Soft Biscuit / Warm White: Excellent for pairing with brushed bronze or warm wood cabinetry, providing a softer look that still brightens the space.
- Modern Matte or Satin: Offers a contemporary aesthetic that reduces glare from overhead vanity lights while resisting water spot marks.
A clean, neutral wall allows you to update your bathroom’s look over time simply by swapping out towels, mirrors, and accessories.
5. Caring for Resurfaced Bathroom Tile
Once your tiles are covered or resurfaced, proper care keeps them looking fresh for years:
- Use Non-Abrasive Cleaners: Avoid scouring powders, bleach, or stiff bristle brushes. Mild dish soap, warm water, or spray cleaners formulated for refinished surfaces work best.
- Wipe Down After Use: A quick pass with a squeegee or soft microfiber cloth after showers prevents mineral deposits from hard water.
- Check Caulking Annually: Maintain the bead of 100% silicone caulk where the tiled wall meets the tub or shower pan to prevent water from seeping behind the edges.
6. When Existing Tile Needs Further Assessment
Covering up old tiles works only when the underlying foundation is structurally sound. You should pause and fix underlying problems before applying any covering if you notice:
- Hollow or Loose Tiles: Tap lightly on the tiles. A hollow ring or movement indicates failing thinset behind the tile.
- Persistent Wall Dampness: Soft spots in the drywall around plumbing fixtures point to hidden leaks that must be repaired first.
- Extensive Structural Cracking: Cracks spanning across multiple adjacent tiles indicate wall shifting that requires structural repair before refinishing.
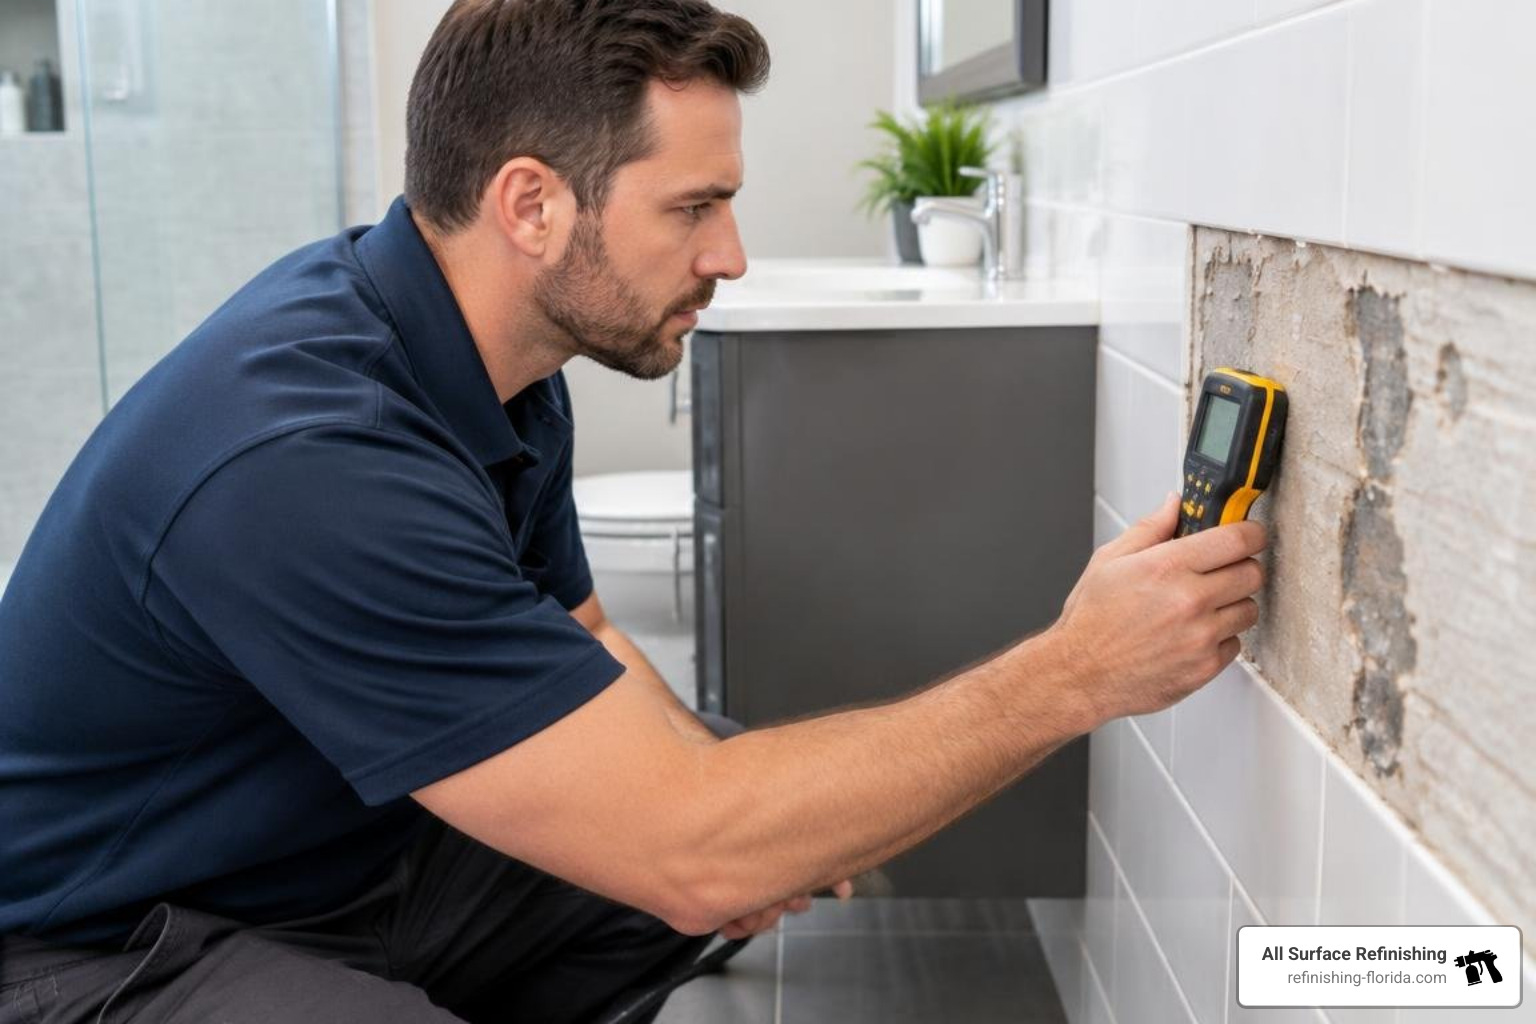
How to Plan and Execute Your Bathroom Tile Transformation
A successful bathroom update relies on thorough preparation. Moisture trapped beneath stickers, panels, or paint causes premature peeling, bubbling, and mold growth.
Renter-Friendly Bathroom Wall Tile Cover Up Strategies
Renters need low-risk options. If you’re covering an outdated border or backsplash:
- Clean the tile face with rubbing alcohol to remove body oils and soap residue without damaging the surface.
- Dry-fit your decals and use a utility knife with a fresh blade to trim around outlets and corners.
- Smooth down each decal with a felt-edge squeegee or credit card, working from the center outward to push out air bubbles.
Choosing the Right Bathroom Wall Tile Cover Up for Uneven Surfaces
For uneven or embossed tile, thin vinyl can stretch and highlight imperfections. Instead, use thicker composite panels or interlocking vinyl planks designed for wet walls. These panels adhere directly to the tile face with construction adhesive, bridging minor surface irregularities and creating a level wall surface.
Surface Preparation: Deep Cleaning and Moisture Assessment
For any long-lasting finish, preparation is essential. Follow our practical guide to bathroom wall tile preparation to get professional-grade results:
- Etch and Degrease: Scrub the tile with an industrial degreaser to strip away soap scum, hard water minerals, and body oils.
- Eliminate Mold and Mildew: Treat all grout lines with a mold-neutralizing wash, rinsing thoroughly with clean water.
- Sand or Chemically Etch: Lightly abrade the glossy factory glaze so primers and adhesives can form a mechanical grip.
- Tack Cloth Wipe-Down: Remove all micro-dust particles with a clean tack cloth.
- Dry Thoroughly: Allow the room to dry completely for at least 24 hours, using fans or dehumidifiers to eliminate hidden moisture inside grout pores before applying new coatings.
Frequently Asked Questions About Bathroom Tile Cover-Ups
How long does professional tile resurfacing typically last?
When performed by experienced technicians using industrial bonding agents and high-solid urethanes, professional tile resurfacing lasts 10 to 15 years. Maintaining the surface with non-abrasive, pH-neutral cleaners and keeping perimeter silicone seals intact preserves the factory-like gloss.
Can you safely resurface tiles inside a wet shower enclosure?
Yes. Professional resurfacing is waterproof and well-suited for high-moisture shower enclosures. By reglazing shower wall tiles and sealing all perimeter edges with mildew-resistant silicone, you create a seamless moisture barrier that protects against leaks and mold.
Will resurfacing existing wall tiles make the bathroom smaller?
No. Resurfacing adds only a micro-thin, multi-layer coating (measured in mils) to your existing tile. Unlike installing thick drywall or heavy backer boards over old walls, resurfacing preserves your room dimensions while bright, reflective finishes make small bathrooms feel larger and more open.
Conclusion
Transforming outdated bathroom tile doesn’t require the noise, dust, and expense of a full demolition. Renters can use temporary peel-and-stick decals for quick aesthetic updates, while homeowners gain lasting value, mold resistance, and easy maintenance through professional tile resurfacing.
At All Surface Refinishing, we have helped South Florida homeowners transform their spaces for over 30 years across more than 14,000 projects. Whether you live in Miami, Hollywood, Fort Lauderdale, Boynton Beach, or West Palm Beach, our team is ready to revitalize your bathroom in as little as one day.
Ready to eliminate your dated tiles without the demolition mess? Contact Frank Hernandez and our expert team today to schedule expert bathroom tile refinishing services for your home!
