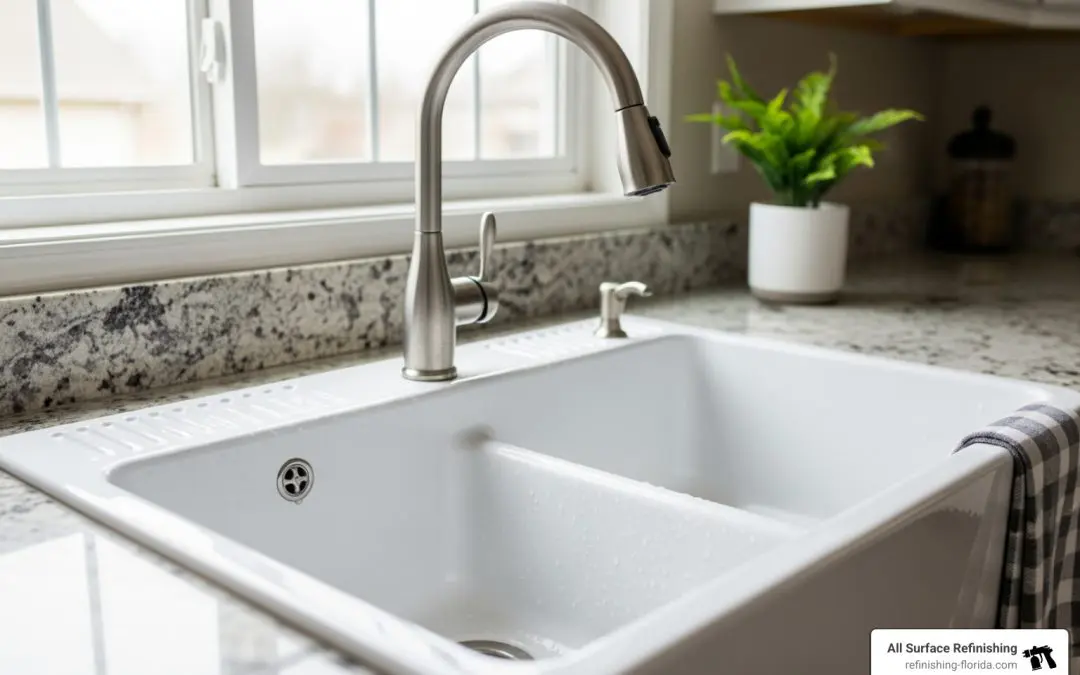
Why Cast Iron Sink Repair Matters for Your Home
Cast iron sink repair is a practical way to restore damaged or worn enamel on these durable fixtures. Instead of costly replacement, repairing chips, cracks, rust, or stains saves money and preserves the character of your kitchen or bathroom.
Quick Answer: Common Cast Iron Sink Repairs
- Rust Removal – Clean with a wire brush and rust dissolver.
- Chip Repair – Fill with two-part epoxy filler and sand smooth.
- Painting – Apply appliance epoxy paint for a renewed surface.
- Professional Restoration – Best for extensive damage or guaranteed results.
Cast iron sinks are prized for their durability, but the porcelain enamel can chip from impacts, rust when compromised, or stain over time. The good news is most damage is fixable. Small chips and surface rust are often manageable DIY projects using epoxy fillers and specialized paints. However, larger cracks, extensive enamel loss, or a desire for a color change typically require professional restoration. Understanding the extent of the damage—whether it’s a minor chip or a crack through to the iron—is the first step in choosing the right repair method.
I’m Frank Hernandez, President of All Surface Refinishing. Since 2011, my team and I have specialized in cast iron sink repair and restoration throughout South Florida, restoring countless vintage and modern fixtures in Miami-Dade, Broward, and Palm Beach counties. We know what it takes to bring these durable surfaces back to life.
Assessing the Damage and Gathering Your Tools
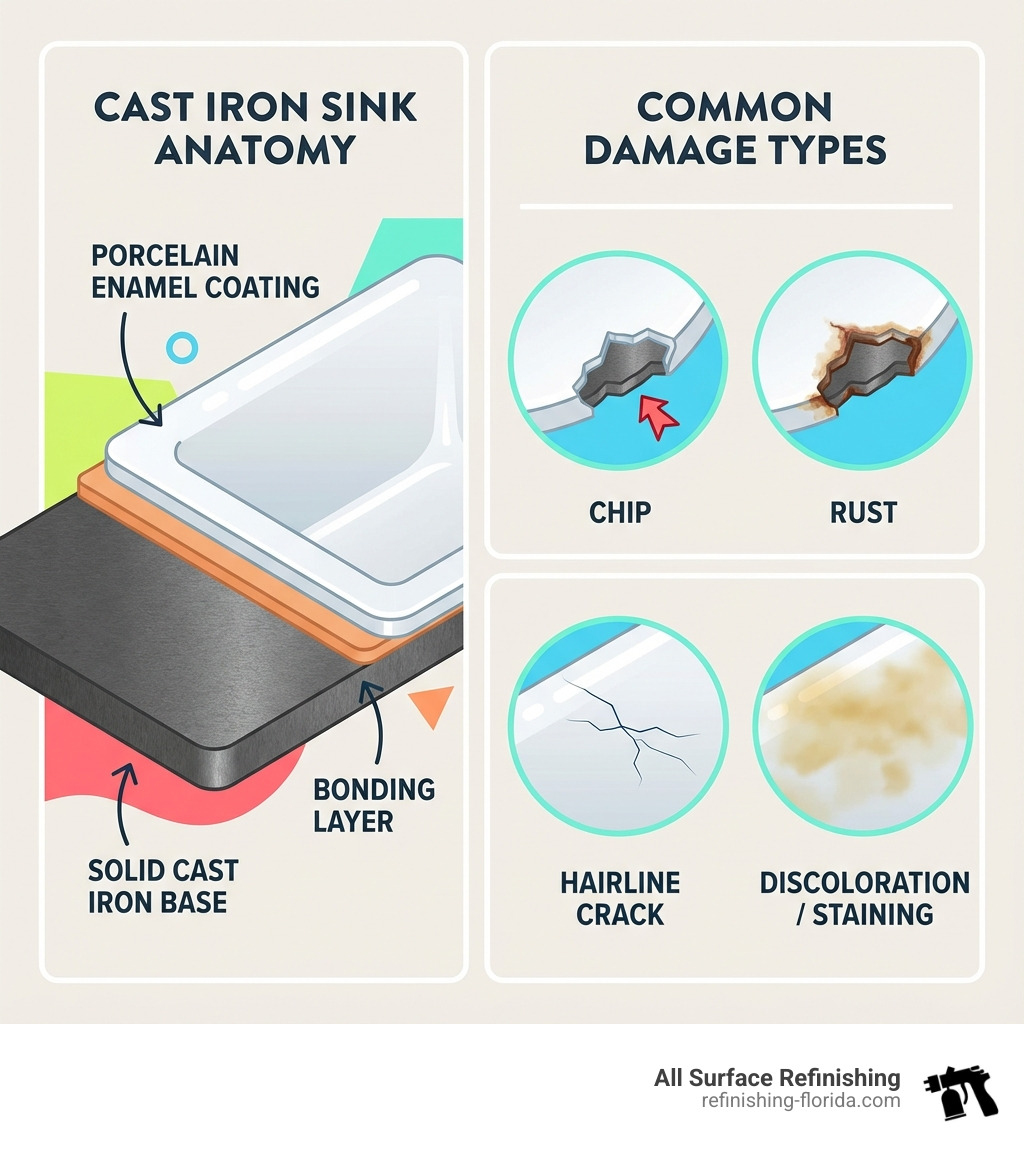
Even robust cast iron sinks can show wear. The porcelain enamel coating can chip, scratch, or stain, but identifying these issues early is key to maintaining your sink’s beauty and function.
Common Problems with Cast Iron Sinks
The resilient enamel on a cast iron sink can be compromised, leading to several common issues:
- Enamel Chips: Caused by dropping heavy objects, chips expose the dark cast iron beneath, leading to rust.
- Scratches: Abrasive cleaners or sharp objects can dull the finish and may expose the iron if deep enough.
- Rust Spots: The most common issue, rust forms when exposed iron meets moisture, often around the drain area.
- Surface Stains: Mineral deposits from hard water, food dyes, or other substances can stain the enamel.
- Dull Finish: Over time, the use of abrasive cleaners can make the glossy finish appear dull and lifeless.
- Cracks: Less common but more serious, cracks can result from impacts or thermal shock and require prompt attention to prevent leaks.
Essential Tools and Materials for Repair
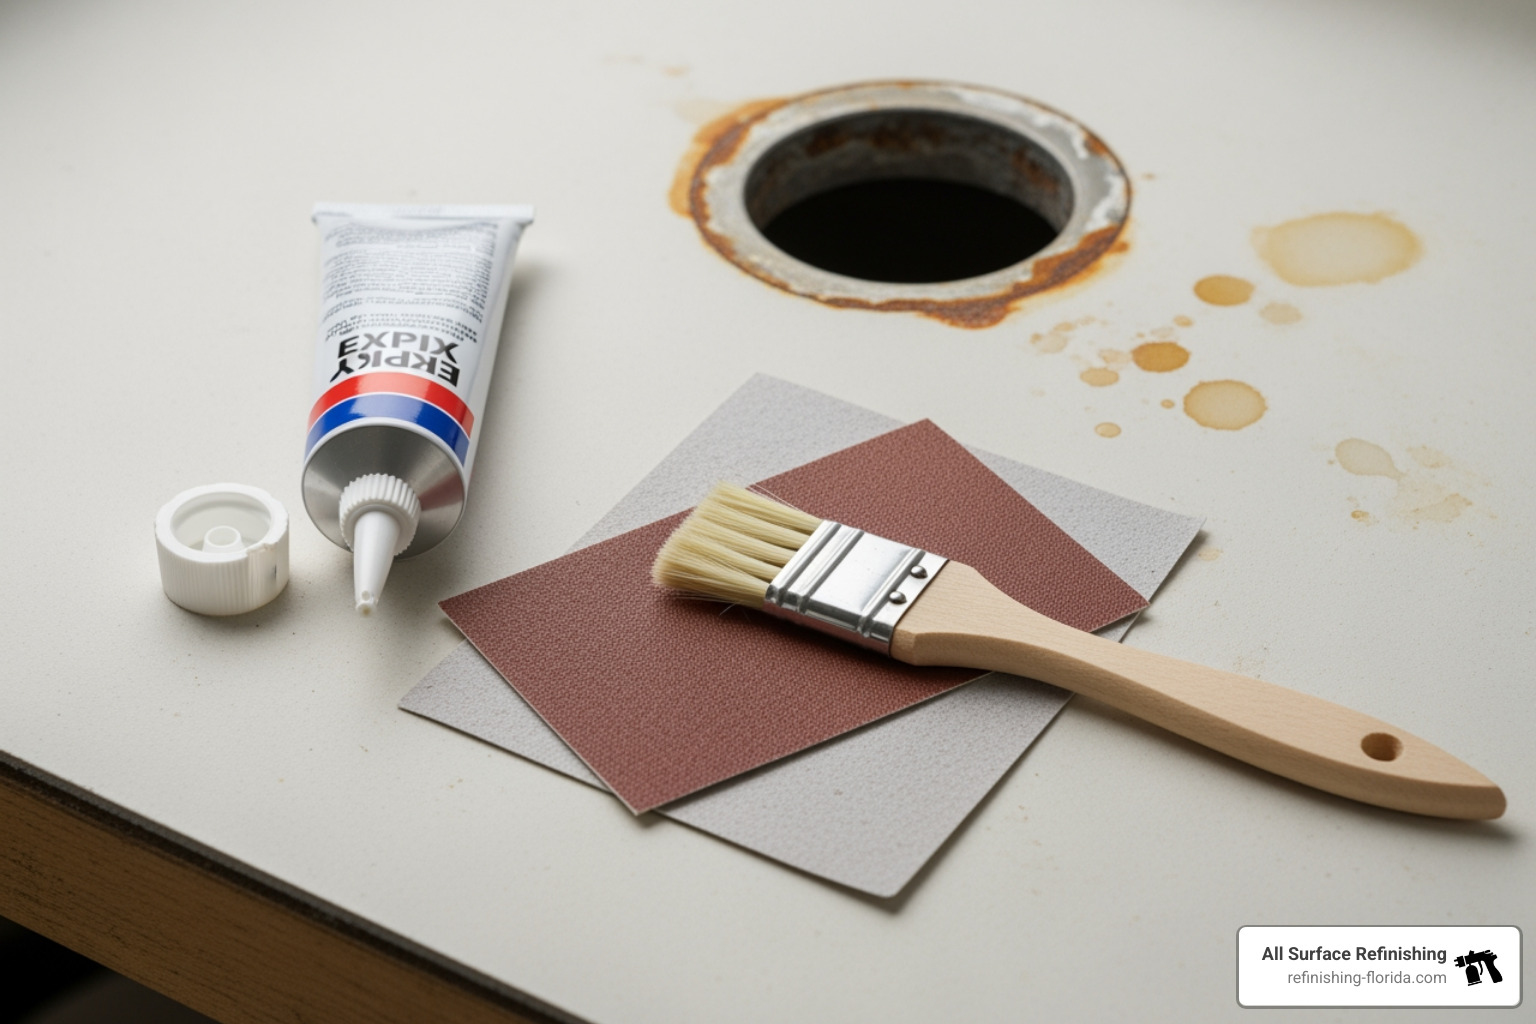
Gathering the right tools is crucial for a successful DIY cast iron sink repair.
- Safety Gear: Safety glasses, gloves, and a respirator mask are essential for protection from dust and chemical fumes. Ensure proper ventilation.
- Cleaning & Prep:
- Non-abrasive cleaner (e.g., Soft Scrub, baking soda paste)
- Wire brush or rotary tool attachment for removing loose rust.
- Rust remover like naval jelly or a citric acid solution.
- Rubbing alcohol or acetone for final degreasing.
- Repair Materials:
- Two-part epoxy putty or metal filler. A porcelain filler is also an option.
- Plastic putty knife and stirring stick for applying epoxy.
- Sanding:
- Fine-grit sandpaper in various grits (60, 120, 180, 220, 400) for smoothing the repair area.
- Finishing:
- Painter’s tape and masking paper.
- Appliance epoxy paint or an acrylic enamel spray finish.
- Small paintbrush or roller for application.
- Plumbing (if needed):
- New rubber or silicone gasket and plumber’s putty for reinstalling the drain.
Having these items ready will prepare you for most DIY cast iron sink repair tasks.
A Step-by-Step Guide to DIY Cast Iron Sink Repair
Tackling cast iron sink repair for minor damage can be very rewarding. This guide walks you through the process, from cleaning to finishing touches.
Step 1: Deep Cleaning and Rust Removal
A thorough cleaning is essential for repair materials to adhere properly.
- Shut Off Water: If working near the drain, turn off the water supply.
- Initial Cleaning: Wash the sink with a non-abrasive cleaner like a baking soda paste or TSP solution. Rinse thoroughly.
- Remove Loose Rust: Use a wire brush to scrub away flaking rust and debris down to the bare metal.
- Apply Rust Dissolver: Use a chemical rust remover (naval jelly) or a paste of powdered citric acid and hot water to dissolve stubborn rust.
- Neutralize and Dry: Follow product instructions to neutralize the chemical, then rinse. Ensure the area is completely dry, using a hairdryer if needed, before proceeding.
Step 2: How to Perform a Basic Cast Iron Sink Repair for Chips
With the sink clean and dry, you can now fill chips and imperfections.
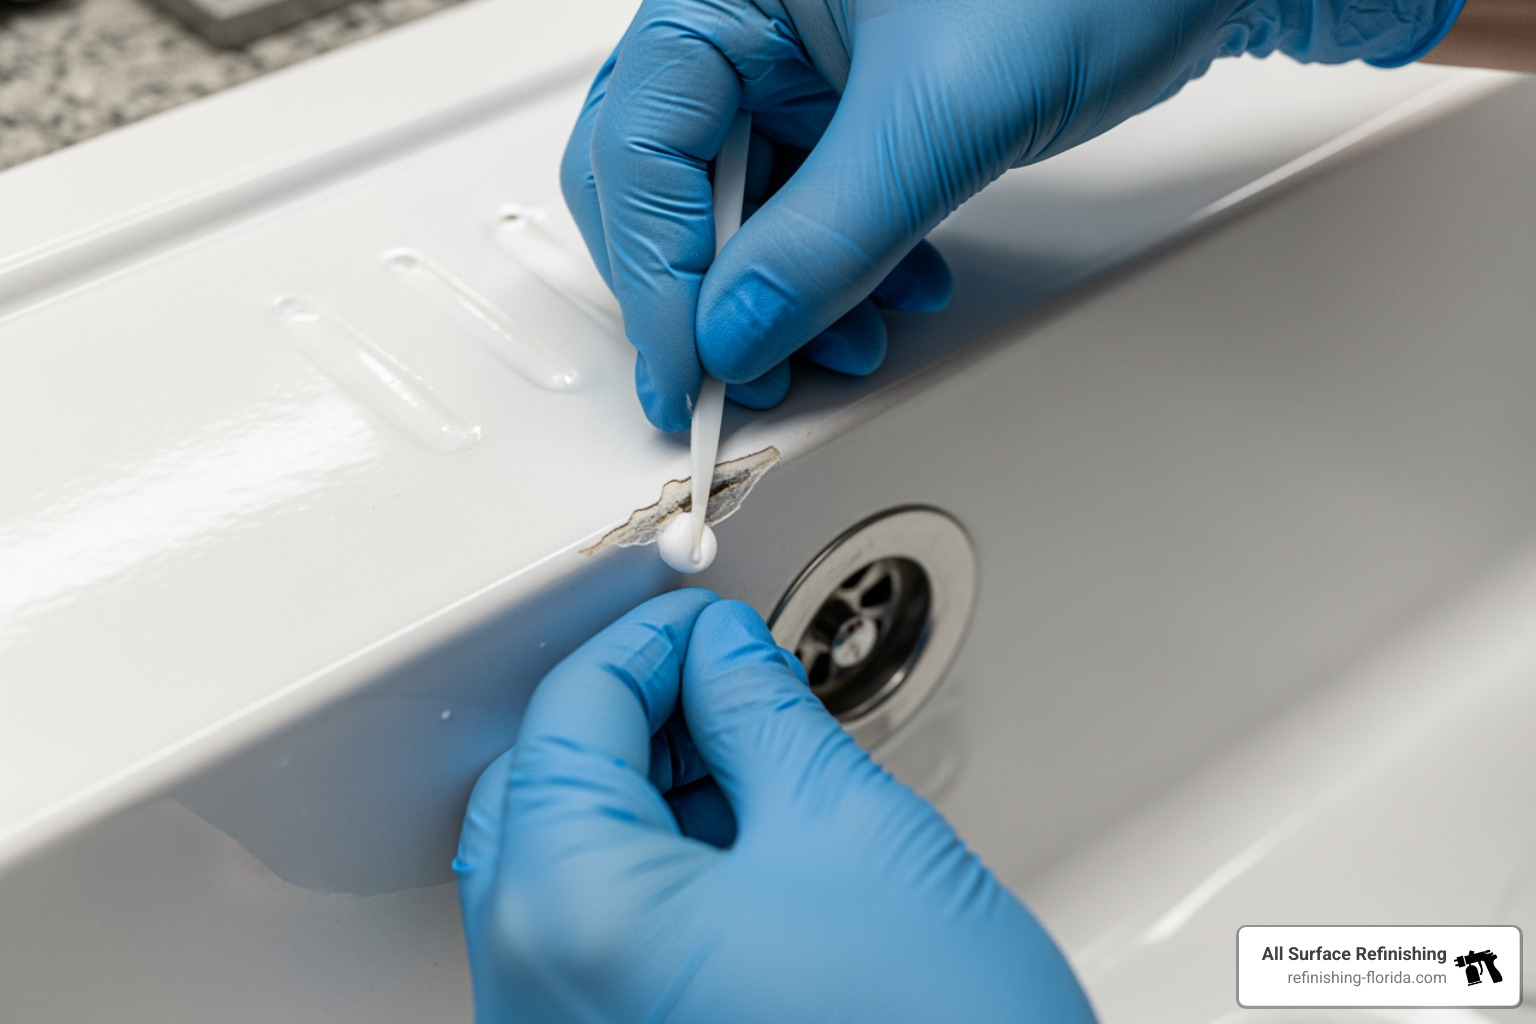
- Prepare the Surface: Use 60-grit sandpaper to smooth the chip’s edges, then lightly scour the surrounding enamel with 120-grit sandpaper to help the epoxy bond. Wipe away dust and clean the area with rubbing alcohol or acetone. Let it dry completely.
- Mix Epoxy Filler: On a disposable surface, mix equal parts of the two-part epoxy with a plastic stick until the color is uniform.
- Apply Filler: Using a plastic putty knife, press the filler firmly into the chip. Build it up in thin layers until it’s slightly higher than the surrounding surface. Smooth the patch and wipe away any excess before it cures.
- Cure: Allow the epoxy to cure fully according to the manufacturer’s instructions. Do not rush this step.
Step 3: Sanding and Painting for a Flawless Look
The final steps involve smoothing the repair and applying a matching finish.
- Sand the Repair: Once the epoxy is hard, start sanding with 180-grit sandpaper to level the filler. Progress to finer grits (220-grit, then 400-grit) to create an ultra-smooth finish. Wet sanding can help minimize dust. The goal is a seamless transition by touch.
- Final Clean: Vacuum and wipe away all sanding dust. Clean the area with rubbing alcohol or acetone to ensure it’s free of residue and completely dry.
- Mask the Area: Use painter’s tape and masking paper to protect all surfaces you don’t want to paint.
- Apply Epoxy Paint: Apply a specialty appliance epoxy paint in multiple thin, even coats. Whether spraying or brushing, thin coats prevent drips and create a more durable finish.
- Dry and Cure: Follow the paint’s instructions for drying time between coats. Allow the final coat to cure fully (often 24-48 hours or more) before using the sink.
Following these steps carefully can result in a durable and attractive cast iron sink repair.
DIY Repair vs. Professional Restoration
When your cast iron sink shows wear, you can choose a DIY patch-up or professional restoration. Understanding the differences in cost, durability, and quality is key to making the right decision.
The Pros and Cons of a DIY Approach
A DIY cast iron sink repair is attractive for budget-conscious homeowners who enjoy hands-on projects.
Pros:
- Cost-Effective: Materials for a small repair can cost less than $25.
- Quick Fix: Ideal for small chips or rust spots, restoring aesthetics quickly.
- Satisfaction: Successfully repairing something yourself is rewarding.
Cons:
- Potential for Error: Without experience, mistakes in prep or application can lead to a poor finish.
- Color Matching: Achieving an exact color match for older sinks is very difficult.
- Durability: A DIY repair is less durable than a professional restoration and may not be a permanent solution.
- Safety Risks: Some kits contain harsh chemicals that require strict safety precautions.
When to Call the Professionals
For many situations, professional restoration is the superior choice for your kitchen or bathroom.
- Extensive Damage: Large cracks, deep holes, or widespread rust require professional tools and expertise for a durable, structural repair.
- Color Changes: If you want to change your sink’s color, professionals offer a uniform, high-quality finish in a wide range of options.
- Guaranteed Results: Professional services like All Surface Refinishing come with warranties (our surfaces can last 15+ years and include a 5-year residential warranty).
- Superior Materials & Methods: Our team uses proprietary bonding agents and advanced acrylic coatings that are unavailable in DIY kits. We are also experts in Cast Iron Tub Repair, applying the same high standards to all fixtures.
- Cost-Effectiveness: While the upfront cost is higher than DIY, professional restoration is about half the price of a full replacement and can be completed in just 1-2 days.
| Feature | DIY Cast Iron Sink Repair | Professional Restoration (All Surface Refinishing) |
|---|---|---|
| Cost | Low (materials under $25 for minor fixes) | Moderate (approx. 50% less than replacement) |
| Time | A few hours to a day (for minor fixes) | 1-2 days for the entire process |
| Durability | Short-term (a few years), prone to re-damage | Long-term (15+ years) with a 5-year warranty |
| Finish Quality | Varies, often less smooth, potential for color mismatch | Smooth, seamless, consistent color, professional appearance |
| Scope of Repair | Minor chips, isolated rust, surface stains | Extensive damage, large cracks, full color changes, entire surface restoration |
| Expertise | Homeowner’s skill level | Certified technicians, 30+ years experience, 14,000+ projects |
| Warranty | None | Yes (e.g., 5-year warranty for residential) |
| Safety | Depends on products, potential for dangerous chemicals | Trained professionals, safe proprietary methods (no acid etching) |
Maintaining Your Restored Sink and Other Fixtures
Whether you chose a DIY repair or professional restoration, proper maintenance is key to protecting your investment and ensuring the longevity of your cast iron sink.
Recommended Cleaning Practices
Maintaining a shiny sink doesn’t require harsh chemicals, which can damage the new surface.
- Use Non-Abrasive Cleaners: For weekly cleaning, use a gentle dish soap and warm water or a product like Soft Scrub. Always use a soft cloth or sponge, never abrasive pads or steel wool.
- Treat Stains Gently: A paste of baking soda and water can lift minor stains. Apply, let it sit for a few minutes, then gently scrub and rinse.
- Avoid Harsh Chemicals: Steer clear of acidic cleaners, abrasive powders, and bleach, as they can dull or damage the finish.
- Wipe Dry After Use: This is the most effective tip. Wiping the sink dry prevents mineral deposits and rust, especially around the drain.
Long-Term Care for Your Kitchen and Bathroom Surfaces
A few simple habits can significantly extend the life of your repaired cast iron sink.
- Use Sink Mats: A rubber or silicone mat protects the sink bottom from chips and scratches caused by dropped dishes or heavy pots.
- Avoid Hard Impacts: Be mindful when handling heavy cookware, as impacts are the primary cause of chips that lead to rust.
- Inspect the Repair: Periodically check your repair work and address any new signs of wear promptly to prevent them from worsening.
- Care for All Restored Surfaces: These principles of gentle cleaning apply to all restored surfaces, including your restored cast iron bathtub and tiles, to maintain their beauty and durability.
By integrating these practices into your routine, you’ll ensure your restored cast iron sink remains a beautiful and functional part of your home for years to come.
Frequently Asked Questions about Cast Iron Sink Repair
Homeowners often have questions about cast iron sink repair. Here are answers to some of the most common ones.
Can you paint the entire inside of a cast iron sink?
Yes, you can paint the inside of a cast iron sink, which is essentially what professional restoration is. For a DIY project, you must use a specialty product like appliance epoxy paint. The process requires meticulous preparation—thorough cleaning, rust removal, and sanding—followed by several thin, even coats of paint. You must also allow for adequate curing time (often 48 hours or more) before use. While a DIY paint job can refresh the look, it is challenging to achieve the durability and smooth finish of a professional restoration.
How do you know if a cast iron sink is beyond repair?
A sink may be beyond repair if the underlying cast iron is severely damaged, not just the enamel. Key signs include:
- Deep Structural Cracks: Cracks that go through the iron itself compromise the sink’s integrity and can cause leaks.
- Large Holes or Missing Iron: If rust has eaten away large sections of the cast iron, a simple patch may not be structurally sound.
- Widespread Corrosion: If the entire sink is heavily corroded and the metal is flaking or porous, replacement is often more practical.
If you’re unsure about the extent of the damage, a professional consultation can determine if a repair is feasible or if replacement is the better long-term solution.
How long does a DIY cast iron sink repair typically last?
The lifespan of a DIY cast iron sink repair depends on the quality of the preparation, materials used, and subsequent care. A well-executed repair on a minor chip might last for a few years. However, it is generally considered a temporary or semi-permanent fix. It can extend the sink’s life and improve its appearance until a more permanent solution, like professional restoration or replacement, is undertaken. In contrast, a professional restoration is designed to last 15 years or more and typically comes with a warranty.
Conclusion
The enduring charm of a cast iron sink makes it a prized fixture, and cast iron sink repair is a highly effective way to restore its beauty and function. From minor chips to extensive surface damage, there is a solution to breathe new life into these classic pieces.
Restore Your Kitchen and Bathroom with Confidence
A meticulous DIY approach can fix small imperfections, while the expertise of professional restoration is unparalleled for larger challenges, color changes, or guaranteed long-term results. At All Surface Refinishing, our team has served Miami-Dade, Broward, and Palm Beach counties for decades, delivering durable, factory-smooth finishes that can last 15 years or more. We save you money and disruption compared to a full replacement. Whether you fix it yourself or entrust us with the change, a restored cast iron sink will once again be a highlight in your home. For a flawless, durable finish, consider our professional Restoration Services and let us help you revitalize your space with confidence.
