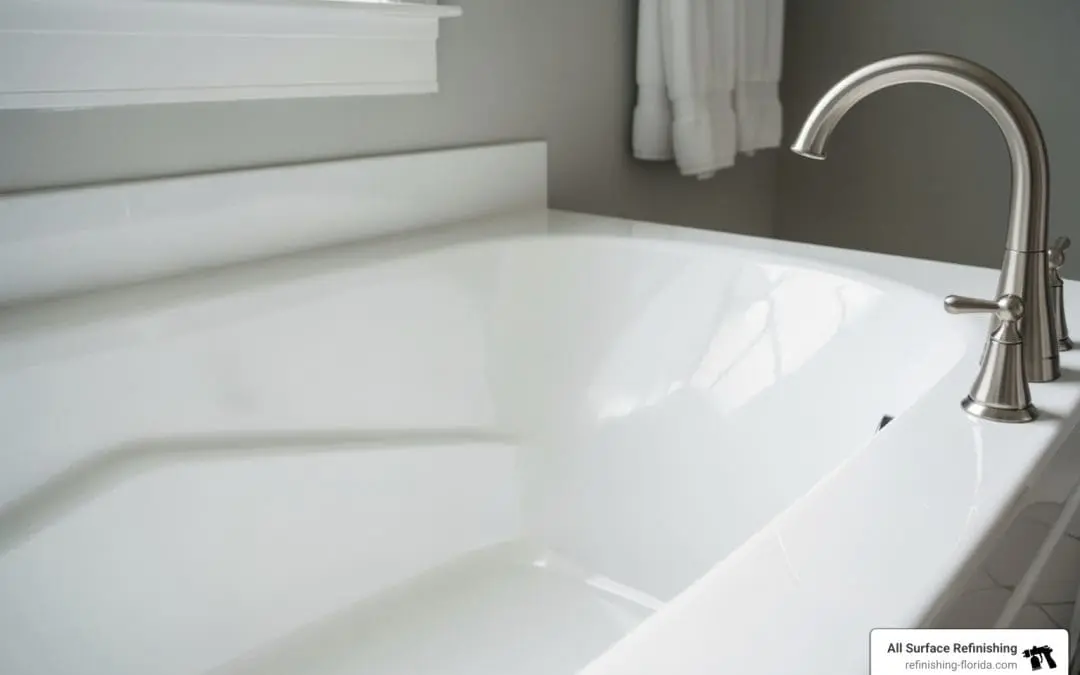
What Exactly is Bathtub Reglazing, and How Does it Differ from Refinishing?
When you hear terms like “bathtub reglazing,” “refinishing,” or “resurfacing,” it’s easy to get confused. In the home improvement industry, particularly for services offered in areas like Miami, Fort Lauderdale, and West Palm Beach, these terms are often used interchangeably to describe the process of restoring a worn, chipped, or outdated bathtub to a like-new condition. However, there’s a technical distinction that’s important to understand, especially when considering a DIY approach.
True “glazing” is a manufacturing process that involves firing porcelain or ceramic at extremely high temperatures—around 2,500°F—in a kiln. This creates the incredibly hard, durable, and glossy surface we associate with new tubs. Since it’s impossible to recreate these conditions in a home, what we refer to as in-home “reglazing” is actually the application of a specialized, high-tech acrylic coating. This process aims to replicate the look and feel of a factory finish, but through a chemical bonding and spraying method, not extreme heat.
Despite this technical difference, the goal remains the same: to give your bathtub a fresh, new surface without the need for a costly and disruptive replacement. Whether you call it reglazing, refinishing, or resurfacing, the process involves preparing the existing tub surface and applying a durable new coating. For more detailed insights, you can explore resources like Angi’s guide on How to Resurface a Bathtub or our own Ultimate Guide To Bathtub Reglazing.
The “Reglazing” Misnomer
As we’ve mentioned, the term “reglazing” in the context of in-home services is a bit of a misnomer. A true glaze is formed by baking materials at temperatures that reach up to 2,500°F. This is simply not feasible for an installed bathtub in your home. Instead, professional services and DIY kits utilize advanced, high-performance coatings, typically made from acrylic resins. These coatings are designed to bond strongly to the original surface of your bathtub, providing a smooth, durable, and attractive finish.
Professional services, like those we offer at All Surface Refinishing, often use industrial-grade acrylic urethanes and proprietary bonding agents. These materials, combined with expert application techniques, allow us to achieve a finish that is exceptionally smooth, glossy, and long-lasting, closely mimicking the original factory look. While DIY kits also use acrylic-based formulas, there can be differences in material quality, application methods, and the overall durability and aesthetic outcome compared to a professionally applied coating.
Why Consider DIY Bathtub Reglazing with a Kit?
Choosing to reglaze your bathtub with a DIY kit can be an appealing option for many homeowners and property managers across Florida. It offers a unique blend of affordability and convenience, especially when dealing with cosmetic issues on otherwise structurally sound tubs.
One of the primary drivers for DIY reglazing is the significant cost savings. A full bathtub replacement can be an extensive project, often costing between $3,000 and $8,000, which includes not just the tub itself but also demolition, plumbing adjustments, and potential tile work. In contrast, DIY bathtub reglazing kits typically range from $30 to $150. Even professional reglazing, which offers superior durability and finish, averages between $335 and $628 – still a fraction of replacement costs. This massive cost difference is why roughly 82% of homeowners choose reglazing over full replacement. For a detailed cost breakdown, check out our article on What Does It Cost To Reglaze A Tub In 2026.
Beyond cost, DIY reglazing saves you from the mess and disruption of a major renovation. There’s no demolition, no need to disturb your plumbing, and your bathroom can be back in use relatively quickly. This is particularly beneficial for rental properties in areas like Fort Lauderdale or Miami, where minimizing downtime between tenants is crucial.
DIY reglazing is also an excellent way to update the aesthetic of your bathroom. If you have a tub with a dated color, such as an avocado green or pinkish-tan from decades past, a white reglazing kit can instantly modernize the space. It’s also a more environmentally friendly choice, as it keeps your existing bathtub out of a landfill. Many homeowners choose this route when their tub has a worn surface, is impossible to clean, or has minor chips and scratches that detract from its appearance. Our guide, “Reglaze Bathtub: A Complete Guide to Refresh Your Tub,” provides more reasons why this is a smart choice.
Significant Cost and Time Savings
Let’s look at the numbers. The allure of DIY bathtub reglazing kits largely stems from their low price point, typically ranging from $30 to $150. This makes it an incredibly budget-friendly option for a quick refresh. While professional reglazing services, like those offered by All Surface Refinishing in South Florida, average between $335 and $628, they still represent a substantial saving compared to the $3,000 to $8,000 cost of a full tub replacement.
In terms of time, a DIY reglazing project can often be completed in just 3 to 5 hours of active work. Of course, this doesn’t include the crucial curing time. Professional services are usually completed within a single day, minimizing disruption to your home.
Here’s a quick comparison:
| Feature | DIY Bathtub Reglazing Kit | Professional Bathtub Reglazing | Full Bathtub Replacement |
|---|---|---|---|
| Average Cost | $30 – $150 | $335 – $628 | $3,000 – $8,000 |
| Active Work Time | 3 – 5 hours | 3 – 8 hours | Days to Weeks |
| Total Project Time | 1 – 3 days (with curing) | 1 – 2 days (with curing) | 1 – 3 weeks (or more) |
| Mess & Disruption | Low | Low | High |
| Durability | 3 – 5 years (typically) | 10 – 15 years (with care) | 15 – 20+ years |
| Warranty | Rarely | Often 5+ years | Varies by manufacturer |
Preserving Your Existing Bathroom Fixtures
Many older homes throughout Florida, from the historic districts of Coral Gables to the charming properties in Key West, feature bathtubs that are incredibly well-built. These tubs, often made of cast iron or high-quality porcelain, are far more robust than many modern, lightweight alternatives. If your tub is structurally sound but simply looks worn, reglazing is an excellent way to preserve its integrity and extend its life.
DIY kits are compatible with a variety of materials, including porcelain, fiberglass, acrylic, and even cast iron tubs. This means you can address minor chips, surface wear, and discoloration without having to remove a perfectly good fixture. For those with unique tubs, like classic clawfoot bathtubs, reglazing is often the only practical solution to restore their beauty without the immense cost and difficulty of finding a suitable replacement. We even offer specialized Clawfoot Bathtub Reglazing services. By choosing to reglaze, you’re not just saving money; you’re also honoring the original craftsmanship of your home.
What is the Step-by-Step Process for Fast DIY Bathtub Reglazing Using a Kit?
Successfully reglazing your bathtub with a DIY kit hinges on meticulous preparation and careful application. While the kits are designed for homeowners, skipping steps can lead to a less-than-satisfactory finish. Here’s a detailed breakdown of the process:
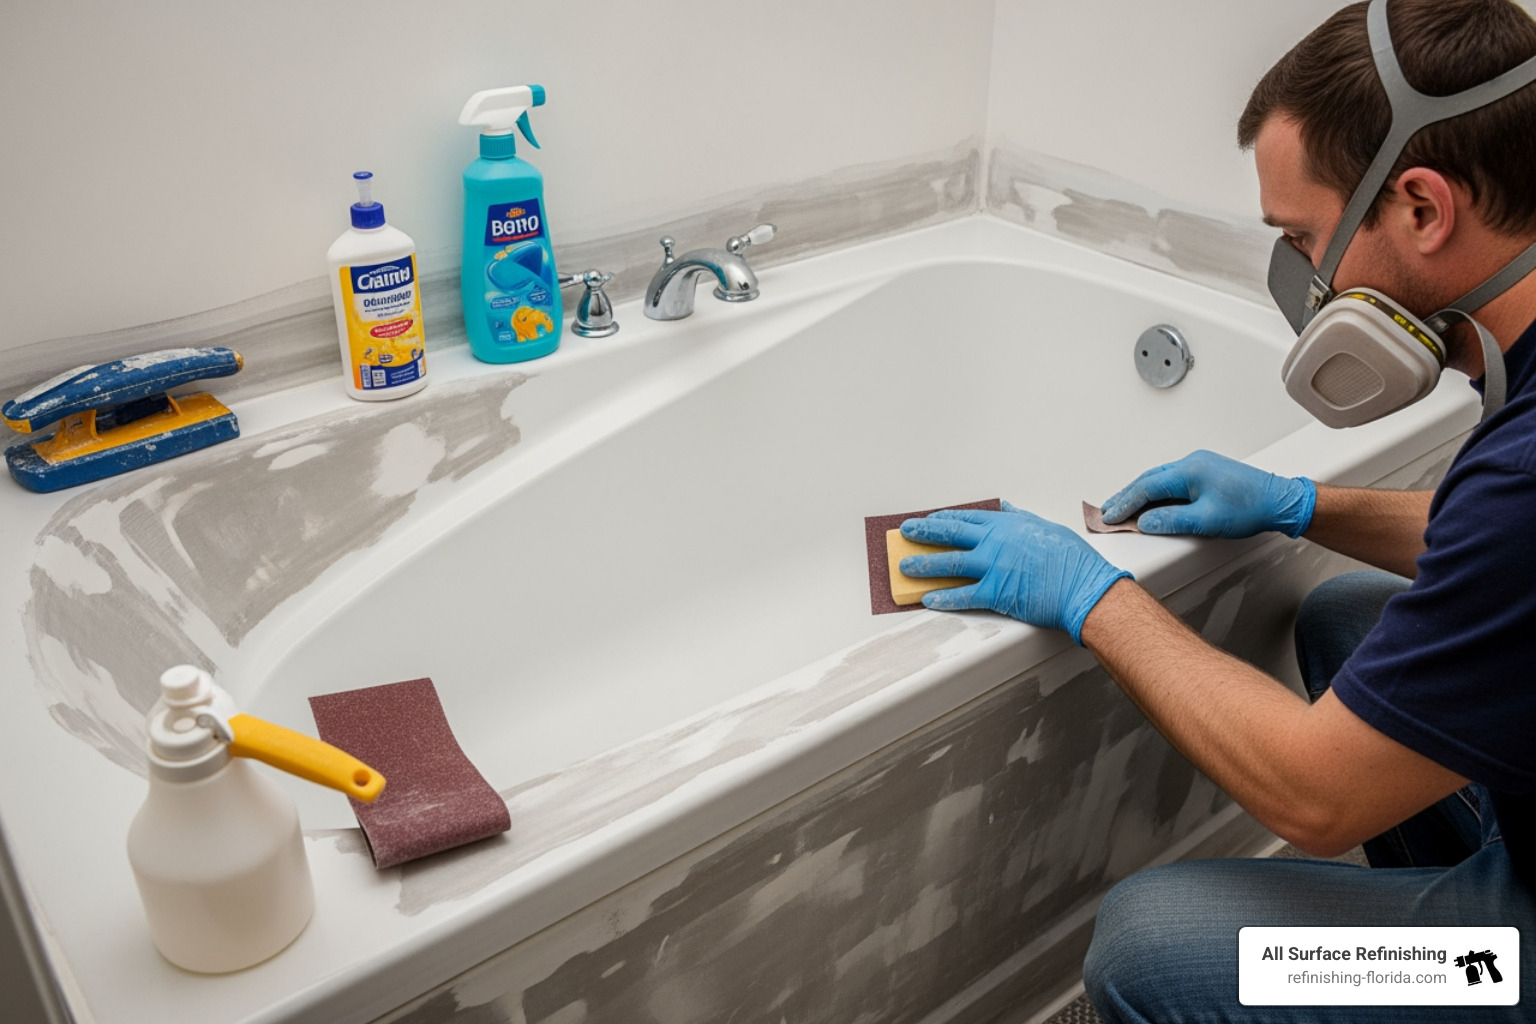
Essential Preparation Steps
This is arguably the most critical phase. Proper preparation ensures maximum adhesion and a smooth, durable finish.
- Prepare the Bathroom: Ensure excellent ventilation. Open all windows, turn on exhaust fans, and if possible, use a portable fan to direct air out. Remove all items from the bathroom, including toiletries, shower curtains, and anything that could be damaged by fumes or overspray.
- Turn Off Water & Remove Hardware: Shut off the water supply to the bathtub. Carefully remove the faucet, showerhead, drain cover, and overflow plate. You’ll reinstall these after the reglazing is complete.
- Scrape Old Caulk: Use a utility knife or a caulk removal tool to completely remove all old caulk around the tub. Any remaining caulk will prevent the new coating from adhering properly.
- Thorough Cleaning: Clean the tub multiple times. Start with an abrasive cleaner to remove all soap scum, grime, and hard water deposits. For stubborn stains or mildew, use bleach. Rinse thoroughly. Then, use a solvent like acetone or denatured alcohol to wipe down the entire surface. This removes any remaining oils or residues. Rinse again.
- Etching the Surface: Most DIY kits include an etching powder or liquid. This chemical step dulls the existing glaze, creating a microscopic texture that helps the new coating bond. Apply the etching agent according to the kit’s instructions, usually leaving it for 10-15 minutes. Rinse thoroughly, ensuring no residue remains.
- Sanding: After etching and rinsing, lightly sand the entire tub surface. The recommended grit usually ranges from 120-grit to 600-grit wet/dry sandpaper. The goal is to create a slightly rough “tooth” for the new coating to grip, not to remove the original finish.
- Repair Chips and Cracks: If your tub has minor chips or cracks, now is the time to address them. Use a patching compound (often included in kits or sold separately) to fill these imperfections. Apply it carefully, allow it to dry completely, and then sand it smooth, flush with the tub surface.
- Final Clean & Dust Removal: Vacuum the tub and surrounding area thoroughly to remove all sanding dust. Then, use a tack cloth to wipe down the entire tub surface. This step is crucial for picking up any microscopic dust particles that could compromise the finish.
- Masking: Protect all surrounding areas. Use painter’s tape and plastic sheeting to meticulously mask off the walls, floor, fixtures, and anything you don’t want coated. Ensure clean, crisp lines where the tub meets the tile or floor.
For more detailed guidance, refer to resources like How to Reglaze a Bathtub | DoItYourself.com and our own How To Repaint A Bathtub In 7 Easy To Follow Steps.
Application and Curing
Once your tub is perfectly prepared, it’s time for the application of the new coating.
- Mix the Resin: DIY reglazing kits typically come with a two-part resin formula (a base and a hardener) that needs to be mixed thoroughly. Follow the kit’s instructions precisely regarding mixing ratios and time. Once mixed, the “working time” is limited, so be ready to apply immediately.
- Apply the Coating: Using a high-density foam roller for flat surfaces and a foam brush for edges, corners, and tight spots, apply thin, even coats. Avoid applying too much material at once, as this can lead to drips and an uneven finish. Many kits recommend 2-4 coats. Apply alternating vertical and horizontal strokes for the most even coverage.
- Allow for Drying & Curing: This is a critical step where patience is key. Most kits will be “dry-to-touch” in about 10 hours. However, the tub needs a much longer time to fully cure and harden before it can withstand water and regular use. This full curing time typically ranges from 24 to 72 hours. Do not use the tub, run water, or place anything on the surface during this period.
- Re-caulk and Reinstall: Once the tub has fully cured (usually after 2-3 days), carefully remove the masking tape and plastic. Re-caulk the edges of the tub with a high-quality, mold-resistant sealant. Reinstall the drain, overflow, faucet, and showerhead.
What Safety Precautions and Ventilation are Essential for DIY Bathtub Reglazing?
DIY bathtub reglazing involves working with strong chemicals, and safety should be your absolute top priority. The fumes emitted during the process can be hazardous if inhaled, and direct contact with the skin or eyes can cause irritation or burns.
Protecting Yourself and Your Home
- Ventilation is Paramount: Ensure maximum ventilation throughout the entire process and for several days afterward. Open all bathroom windows and doors. Use an exhaust fan if available. If your bathroom lacks adequate ventilation, consider renting a portable ventilation system or industrial fan to draw fumes out of the room and house. Even in cooler weather, it’s crucial to keep windows open.
- Personal Protective Equipment (PPE):
- Respirator: A high-quality respirator mask with organic vapor cartridges is absolutely essential. Do not rely on simple dust masks, even if the kit claims to be “low-odor.” Chemical fumes can still be harmful.
- Eye Protection: Wear chemical-resistant safety goggles to protect your eyes from splashes and fumes.
- Gloves: Use chemical-resistant gloves (nitrile or butyl rubber are good choices) to prevent skin contact with the chemicals.
- Clothing: Wear long sleeves and pants to minimize skin exposure.
- No Open Flames or Sparks: The chemicals used in reglazing kits are often flammable. Ensure there are no open flames, pilot lights, or sources of sparks in the vicinity. Turn off any gas appliances.
- Manage Chemical Odors: Be prepared for strong odors that can linger for several days. If you’re sensitive to smells or have respiratory issues, consider staying elsewhere during the initial curing period. Keep the area well-ventilated until the odor dissipates.
- Protect Your Home: Beyond masking the tub, cover all other bathroom surfaces, including the vanity, toilet, and floor, with plastic sheeting and painter’s tape. This prevents accidental overspray and protects against chemical spills.
- Exclude Others: Ensure children and pets are kept completely away from the work area during the application and curing process. The fumes and wet chemicals pose a significant risk.
For a comprehensive guide on safety, our Ultimate DIY Bathtub Reglazing Guide From Worn Out To Wow provides additional insights.
How Can You Maintain Your DIY Reglazed Bathtub to Maximize Its Lifespan?
A DIY reglazed bathtub can look fantastic immediately after the project, but its longevity largely depends on how well you maintain it. While a professional reglaze from All Surface Refinishing typically lasts 10-15 years with proper care, a DIY job usually has an expected lifespan of around 3-5 years. However, with the right maintenance, you can certainly extend its beauty and functionality.
Daily Care and Cleaning
- Use Mild, Non-Abrasive Cleaners: This is the golden rule for any reglazed surface. Avoid harsh chemical cleaners, abrasive powders, or products containing bleach, acetone, or strong acids. These can dull, etch, or even strip the new finish. Stick to mild, liquid dish soaps or cleaners specifically labeled as safe for refinished surfaces.
- Soft Cleaning Tools: Never use abrasive scrubbing pads, steel wool, or stiff brushes. These will scratch the new coating. Opt for soft cloths, sponges, or microfiber towels.
- Wipe Down After Use: To prevent soap scum and hard water buildup, wipe down your tub after every use. This simple habit significantly reduces the need for aggressive cleaning and helps maintain the shine.
- The “Suction Cup Warning”: This is a critical piece of advice for any reglazed tub. Avoid using bath mats with suction cups. The suction can create a vacuum that pulls the new coating away from the original tub surface, leading to bubbles, peeling, and premature failure. If you need a non-slip surface, consider a non-suction mat or adhesive non-slip strips designed for refinished tubs.
- Prevent Standing Water: Don’t leave items like shampoo bottles or wet sponges sitting in one spot for extended periods, especially if water can collect underneath them. Standing water can eventually compromise the finish.
For more maintenance tips, consult a Professional Bathtub Reglazing Guide.
Extending Durability
While DIY kits offer a cost-effective solution, understanding their limitations is key to managing expectations.
- Prompt Repair of Minor Damage: If you notice a small chip or scratch, address it immediately. Minor damage can quickly spread, especially if water gets underneath the coating. Many reglazing kit manufacturers offer touch-up paints.
- Avoid Dropping Heavy Objects: Just like a new tub, dropping heavy or sharp objects can chip or crack the reglazed surface.
- Consider Professional Services for High-Traffic Areas: If your DIY reglazed tub is in a frequently used bathroom, you might find that it wears faster than desired. For longer-lasting results and superior durability in high-traffic bathrooms, professional reglazing services are generally a better investment. The industrial-grade materials and expert application techniques used by professionals create a much more robust finish.
Is DIY Bathtub Reglazing Always the Best Option, or Should You Consider Professional Services?
The decision between DIY bathtub reglazing and hiring a professional service often comes down to a balance of budget, desired outcome, and the condition of your existing tub. While DIY kits offer an attractive, fast, and affordable solution for a quick refresh, they do come with limitations.
DIY vs. Professional: A Balanced View
When DIY is suitable:
- Minor Cosmetic Issues: If your tub has only superficial stains, dullness, or very small, isolated chips.
- Tight Budget: When a professional service or replacement is simply not feasible financially.
- Guest Bathrooms or Low-Use Tubs: For tubs that don’t experience heavy daily use, a DIY finish might hold up sufficiently.
- Temporary Solution: If you’re planning a full bathroom renovation in the near future and just need a temporary cosmetic fix.
Limitations of DIY Kits:
- Durability: DIY kits typically use consumer-grade materials that may not be as robust or long-lasting as professional-grade coatings. Expect a lifespan of around 3-5 years, compared to 10-15 years for a professional job.
- Finish Quality: Achieving a perfectly smooth, factory-like finish can be challenging for a novice. Drips, brush marks, or uneven textures are more common with DIY applications.
- Skill Required: While marketed as easy, the preparation and application demand meticulous attention to detail and a steady hand.
- No Warranty: Most DIY kits do not come with a warranty, so if the finish fails prematurely, you’re on your own.
Benefits of Professional Services:
- Expert Preparation: Professionals understand the nuances of surface preparation, ensuring optimal adhesion.
- Industrial-Grade Materials: They use high-quality, durable coatings designed for longevity.
- Superior Finish: Achieves a smooth, consistent, and glossy finish that closely matches a new tub.
- Warranties: Reputable companies, like All Surface Refinishing, offer warranties on their work, providing peace of mind.
- Professional Ventilation: Experts come equipped with specialized ventilation systems to manage fumes safely.
Our articles, such as Is Bathtub Reglazing Worth It Your Step By Step Diy Answer and Bathtub Reglazing Experts, delve deeper into these comparisons.
When to Trust the Experts
For significant damage, such as deep cracks, widespread rust, or if your tub has already been reglazed poorly in the past, we strongly recommend calling a professional. Stripping a previously reglazed tub requires specialized chemicals and expertise.
At All Surface Refinishing, with over 30 years of experience and 14,000+ projects completed across South and Southwest Florida, we understand the unique needs of homeowners and property managers in areas like Miami, Fort Lauderdale, Coral Springs, and Boca Raton. Our experienced technicians can assess your bathtub’s condition and provide a durable, high-quality reglazing solution that will last for years. We use industrial-grade materials and proven techniques to ensure a flawless, long-lasting finish, backed by our commitment to excellence.
Frequently Asked Questions about DIY Bathtub Reglazing
How long does a DIY reglazed bathtub typically last?
A DIY reglazed tub typically lasts around 3-5 years. This can vary significantly based on the quality of the kit, the thoroughness of the application technique, and consistent daily maintenance. Professional reglazing, in contrast, often lasts 10-15 years or more with proper care.
Can I change the color of my bathtub with a DIY reglazing kit?
Yes, most DIY reglazing kits come in standard white, which is a popular choice for updating outdated colored tubs. Some brands may offer a limited selection of other colors, allowing you to refresh the aesthetic of your bathroom.
What should I do if my DIY reglazing job starts to peel or chip?
If your DIY reglazing job starts to peel or chip, it usually indicates a problem with the original surface preparation, application, or excessive wear. You may need to strip the old coating entirely, re-prepare the surface, and reapply the kit. For a more durable and long-lasting repair, especially if it’s a recurring issue, we recommend considering a professional service like All Surface Refinishing. Our experts can properly assess the underlying problem and provide a high-quality, warrantied solution.
Conclusion
Reglazing your bathtub with a DIY kit can be a cost-effective and relatively fast way to refresh your bathroom’s appearance, especially for minor cosmetic issues. By meticulously following the detailed steps for preparation, application, and crucial safety precautions, you can achieve a satisfying transformation that brightens your bathroom.
However, it’s important to weigh the benefits of DIY against the superior durability, smoother finish, and peace of mind offered by expert services. While a DIY approach is great for a quick fix or for tubs with minimal wear, professional reglazing provides a much longer-lasting and more aesthetically pleasing result. For homeowners and businesses in Florida seeking a long-lasting, high-quality solution for their bathtubs, All Surface Refinishing provides reliable and experienced reglazing services. Whether you choose the DIY route or opt for professional assistance, a revitalized bathtub awaits, enhancing the appeal and value of your home.
Contact All Surface Refinishing for professional bathtub reglazing services
