Your Bathroom Cabinets Deserve Better Than Replacement
Refinishing bathroom cabinet surfaces is one of the smartest, most cost-effective ways to transform your bathroom — no demolition, no dumpsters, no weeks of chaos.
Here’s a quick overview of how to refinish bathroom cabinets:
- Remove all doors, drawers, and hardware
- Clean surfaces with a degreaser like TSP
- Sand or degloss to dull the existing finish
- Repair any dents or holes with wood filler
- Prime with a moisture-resistant primer (2 coats)
- Paint or stain with a bathroom-grade finish (2 coats)
- Apply a protective topcoat
- Reattach hardware and enjoy
This typically takes 2 to 3 days and costs a fraction of full replacement.
Bathroom cabinets take a beating. Daily humidity, water splashes, toothpaste residue, and years of opening and closing doors all add up. Over time, even solid wood cabinets start looking dull, chipped, or dated. The instinct is often to replace them — but that path is expensive, wasteful, and far more disruptive than most homeowners expect.
Refinishing is different. It works with what you already have, restoring your cabinets to a like-new condition without tearing out a single cabinet box.
I’m Frank Hernandez, President of All Surface Refinishing, and I’ve spent over a decade specializing in refinishing bathroom cabinet surfaces and other home finishes across South Florida. In that time, I’ve seen how the right products and process can make a worn vanity look better than the day it was installed.
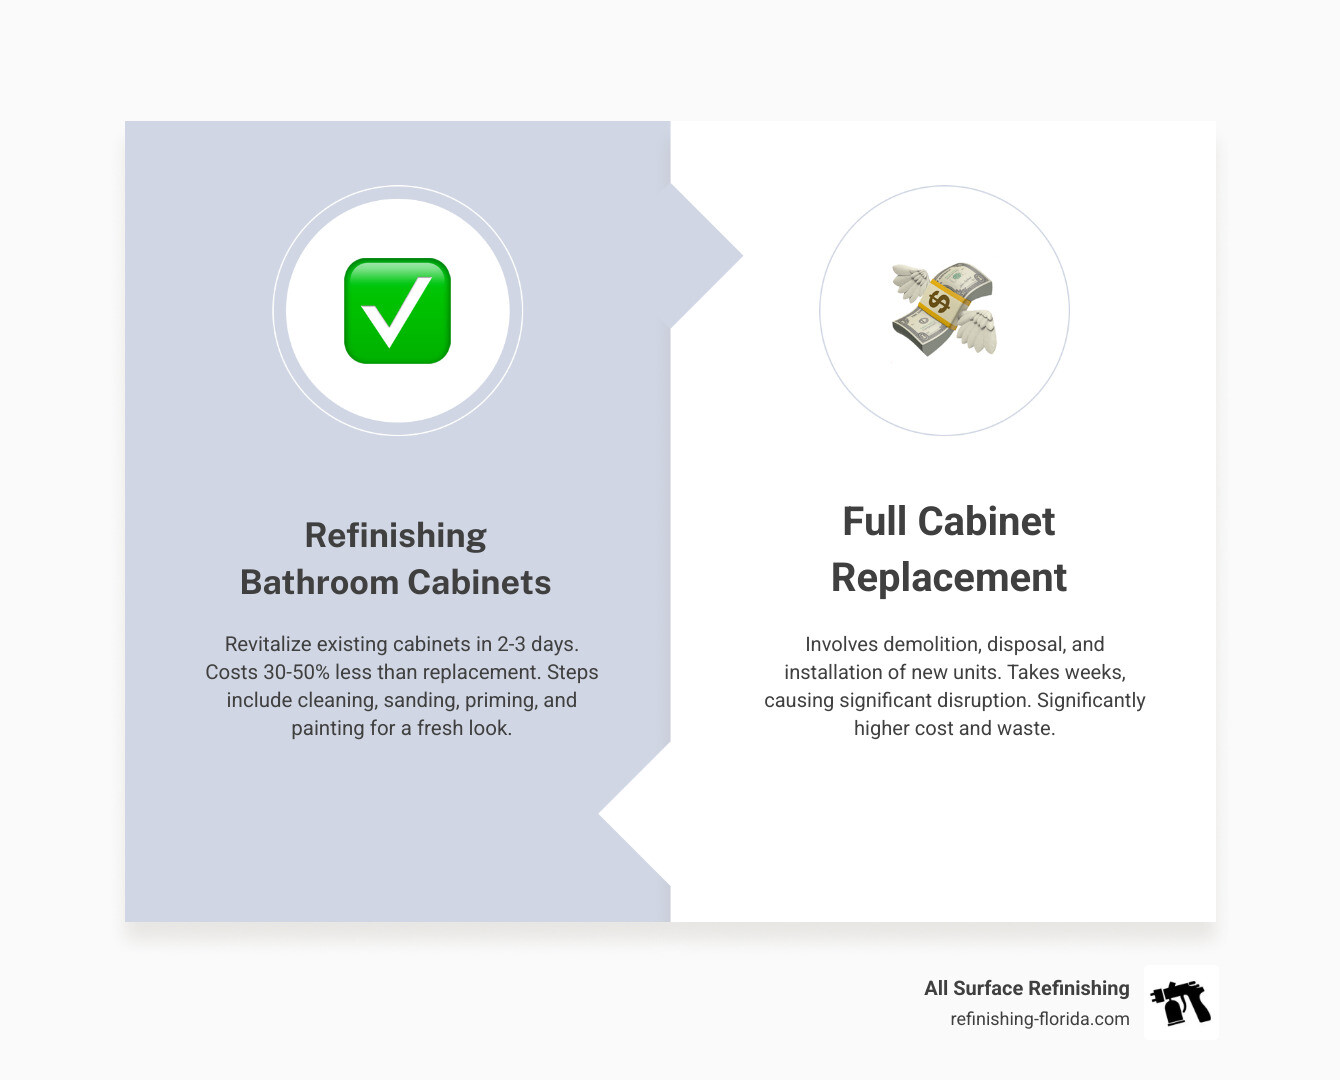
Why Refinishing is the Ultimate Bathroom Upgrade in 2026
As we move through 2026, the trend in South Florida home improvement has shifted toward “smart remodeling.” Whether you’re in a high-rise in Aventura or a family home in Coral Springs, homeowners are looking for ways to refresh their spaces without the environmental and financial toll of a full gut-job.
The most compelling reason to choose refinishing bathroom cabinet surfaces is the sheer value. On average, refinishing costs about 30% to 50% less than buying and installing brand-new cabinets. When you consider that many homeowners can achieve a total vanity transformation for less than $500 in DIY materials, or slightly more for a professional factory-grade finish, the math becomes undeniable.
Beyond the wallet, there is the planet to consider. Every year, thousands of tons of perfectly functional wood cabinets end up in Florida landfills simply because their “look” went out of style. By choosing to refinish, we are participating in a more sustainable, eco-friendly remodeling cycle. We use modern, low-VOC (Volatile Organic Compound) products that ensure your indoor air quality remains safe while providing a rock-hard finish that lasts for years.
If you’re wondering how this fits into your broader home goals, check out our Cabinet Refinishing Complete Guide 2025 for a deeper dive into the longevity of these finishes. For those strictly watching the bottom line, our Cabinet Painting Cost Estimate provides a realistic breakdown of what to expect in today’s market.
Refinishing vs. Painting vs. Replacing: Making the Right Choice
It’s easy to get confused by the terminology. Is it painting? Is it refinishing? Should I just throw the whole thing away? Let’s break it down.
- Replacing: This involves tearing out the entire vanity, often damaging the flooring or wall tile in the process. It’s necessary only if the cabinet boxes are rotting, structurally unstable, or if you absolutely must change the layout of your bathroom.
- Painting: Generally refers to applying an opaque color over the existing surface. This is perfect for achieving that modern, “all-white” or “moody green” South Florida aesthetic.
- Refinishing: Technically, this involves stripping the old finish to expose the natural wood grain, followed by a new stain and clear coat. However, in modern parlance, most homeowners use “refinishing” to describe the professional process of prepping and recoating cabinets for a factory-like result.
Structural integrity is the “go/no-go” gauge. If your cabinet doors close properly and the boxes are solid, they are prime candidates for a refresh. Professional refinishing ensures these structural elements are preserved while the exterior is completely revitalized. For a general background on wood cabinetry, you can also review Cabinetry on Wikipedia.
When to Choose Refinishing Over Replacement
We often tell our clients in Boca Raton and Fort Lauderdale: “If you like the layout, keep the wood.” Older cabinets are often made of superior solid wood compared to the particle-board “ready-to-assemble” options found in big-box stores today.
Refinishing allows you to keep that high-quality wood while updating the color. Whether you want to see the wood grain or prefer a solid, satin finish, the choice is yours. A Cabinet Color Change Service can take a dated, orange-toned oak vanity and turn it into a sleek, espresso masterpiece or a crisp, coastal white. If you’re ready to start, see our specific page on how to Refinish Bathroom Cabinets.
Essential Tools and Materials for a Refinishing Bathroom Cabinet Project

To get professional results at home, you can’t cut corners on your kit. Here is what we recommend keeping in your “refinishing arsenal”:
- Cleaning: TSP (Trisodium Phosphate) or a heavy-duty degreaser is non-negotiable. Bathroom cabinets collect hairspray, lotion, and soap scum that will prevent paint from sticking.
- Preparation: 150-grit and 220-grit sandpaper, or a liquid deglosser.
- Applicators: A high-quality angled brush for detail work and a 1/4 inch nap roller. Avoid foam rollers; they often create tiny air bubbles that dry into a “pitted” texture.
- The “Pro” Secret: A tack cloth. This sticky cheesecloth picks up every microscopic speck of dust before you paint.
For more local advice on where to source these in your neighborhood, see our Cabinet Painting Near Me Tips.
Preparing the Surface for a Refinishing Bathroom Cabinet Task
Preparation is 80% of the job. In the humid climates of Miami and West Palm Beach, paint failure is almost always caused by poor prep.
- Degreasing: Scrub every inch with TSP. If the surface feels even slightly waxy, the finish will peel.
- Sanding: You don’t need to sand down to bare wood, but you must “scuff” the surface so it looks dull. This gives the new primer something to “bite” into.
- Dust Removal: After sanding, vacuum the area and use your tack cloth.
- Repairs: Use a high-quality wood filler for any nicks or old hardware holes. Overfill slightly, then sand flush.
For a specific look at handling the doors themselves, check our guide on Cabinet Doors Refinishing.
Best Paint Types for Your Refinishing Bathroom Cabinet Project
The bathroom is a “high-stress” environment for paint. Between the steam from the shower and the occasional water splash, you need a finish that is “rock hard.”
- Acrylic Enamel: Water-based, low-odor, and dries very hard. It’s excellent for DIYers because it’s easy to clean up.
- Alkyd Paint (Hybrid): These are the “gold standard.” They apply like oil paint (self-leveling, very smooth) but clean up with water. They are incredibly resistant to the moisture found in South Florida bathrooms.
- Mildew-Resistant Latex: If you’re in a particularly small, poorly ventilated bathroom, look for paints specifically labeled “mildew resistant.”
We discuss these chemical differences in detail in A Practical Guide to Painting Kitchen Cabinets Professionally.
Step-by-Step Guide to a Professional-Grade Vanity Transformation
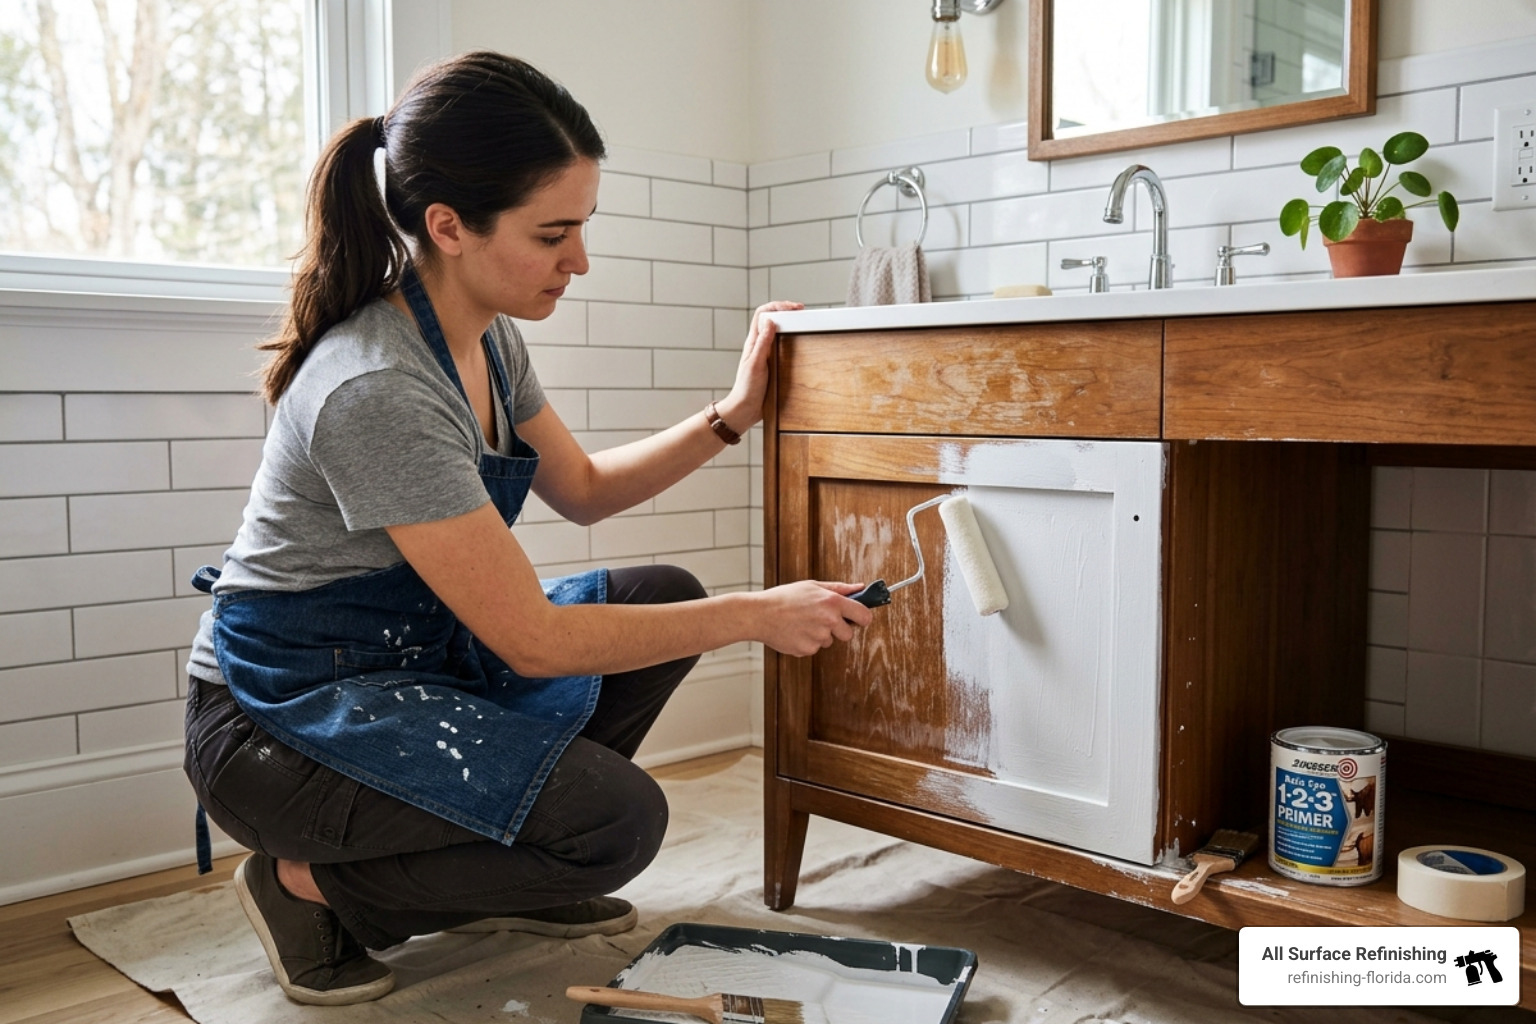
Ready to dive in? Follow this process to avoid the “DIY-look” and achieve a factory finish.
1. The Teardown and Labeling
Remove all doors and drawers. Pro Tip: Put your hinges and screws in labeled plastic bags (e.g., “Top Left Door”). Even if they look the same, hinges often “settle” into their specific spots over decades.
2. Deep Clean
Use your TSP solution. Wear gloves! This stuff is tough on grease but also tough on skin.
3. The Scuff Sand
Use 150-grit sandpaper. Your goal is to remove the shine, not the wood. If you have an orbital sander, use it on the flat faces, but do the detailed trim by hand.
4. Prime Time
Apply two thin coats of a high-adhesion primer. We recommend shellac-based or high-quality oil-based primers for bathrooms because they block stains and moisture better than standard water-based primers. Sand lightly with 220-grit between coats.
5. Paint Application
Apply your first coat of paint. Use the “roll and tip” method: roll the paint on with your 1/4 inch nap roller, then immediately and very lightly pass a brush over it to smooth out any texture. This is how we achieve that Modern Cabinet Refinishing look.
6. Curing
This is where most people fail. While the paint may feel dry to the touch in two hours, it takes days to cure. In South Florida, give it at least 24–48 hours before reattaching hardware. It actually takes about two weeks to reach maximum hardness, so be gentle with your “new” cabinets during that time!
Handling High-Moisture Environments
In places like Palm Beach and Jupiter, the humidity can reach 90%+. If you don’t have a high-quality exhaust fan in your bathroom, your refinishing project is at risk. We always suggest applying a clear, moisture-resistant topcoat over your paint if you have a “wet” bathroom. This adds an extra layer of protection against steam. For more area-specific tips, see Cabinet Painting Palm Beach.
Professional vs. DIY: Navigating South Florida’s Humidity
We love the DIY spirit, but there’s a reason All Surface Refinishing has completed over 14,000 projects. South Florida’s climate is uniquely hostile to paint.
When we perform a professional refinishing bathroom cabinet service, we use industrial-grade coatings that aren’t available at standard retail stores. We also use specialized drying equipment—like UV curing or HVLP (High Volume Low Pressure) sprayers—that ensures a perfectly smooth, “drip-free” finish that DIY brushes simply can’t match.
If you’re in Boynton Beach, our professional refinishing services provide the factory-grade results your home deserves, specifically engineered for the Florida climate.
Comparison: DIY vs. Professional Results
| Feature | DIY Project | Professional Service (All Surface Refinishing) |
|---|---|---|
| Cost | $200 – $500 | $800 – $2,500 (approx.) |
| Time | 3 – 7 days | 1 – 2 days |
| Finish | Visible brush/roller marks | Factory-smooth, spray finish |
| Durability | 2 – 5 years | 10+ years |
| Humidity Resistance | Moderate | High (Industrial Sealants) |
Frequently Asked Questions about Bathroom Cabinet Refinishing
How long does the refinishing process take?
For a standard DIY project, expect to spend a full weekend (Friday evening to Sunday afternoon). For a professional team like ours, we can usually have you back in your bathroom within 24 to 48 hours.
Can you refinish cabinets with water damage?
Yes, but with a caveat. If the wood is slightly swollen or discolored, we can sand and seal it. However, if the wood is “punky” (soft/rotting) or the particle board has completely blown out from a leak, those specific sections may need to be replaced before the refinishing begins.
How often should bathroom cabinets be refinished?
With high-quality materials and proper maintenance (wiping away standing water), a professional finish should last 10 years or more. DIY projects typically need a “refresh” every 5 years due to lower-grade retail paints.
Conclusion
Your bathroom is your sanctuary, and the vanity is its centerpiece. You don’t need a $10,000 remodel to make it feel like a spa. Refinishing bathroom cabinet surfaces is the ultimate “high-impact, low-cost” upgrade for 2026.
At All Surface Refinishing, we’ve spent 30 years perfecting the art of the transformation. From Miami and Hialeah to West Palm Beach and Vero Beach, we help Florida homeowners fall in love with their homes all over again. We handle the mess, the prep, and the technical challenges of Florida humidity so you can just enjoy the results.
Ready to see what your bathroom could look like? More info about cabinet services is just a click away. Whether you’re in Aventura, Boca Raton, or anywhere in between, we’re here to help you achieve the perfect finish.
