Why Understanding the Bathtub Reglazing Process Matters for Your Bathroom
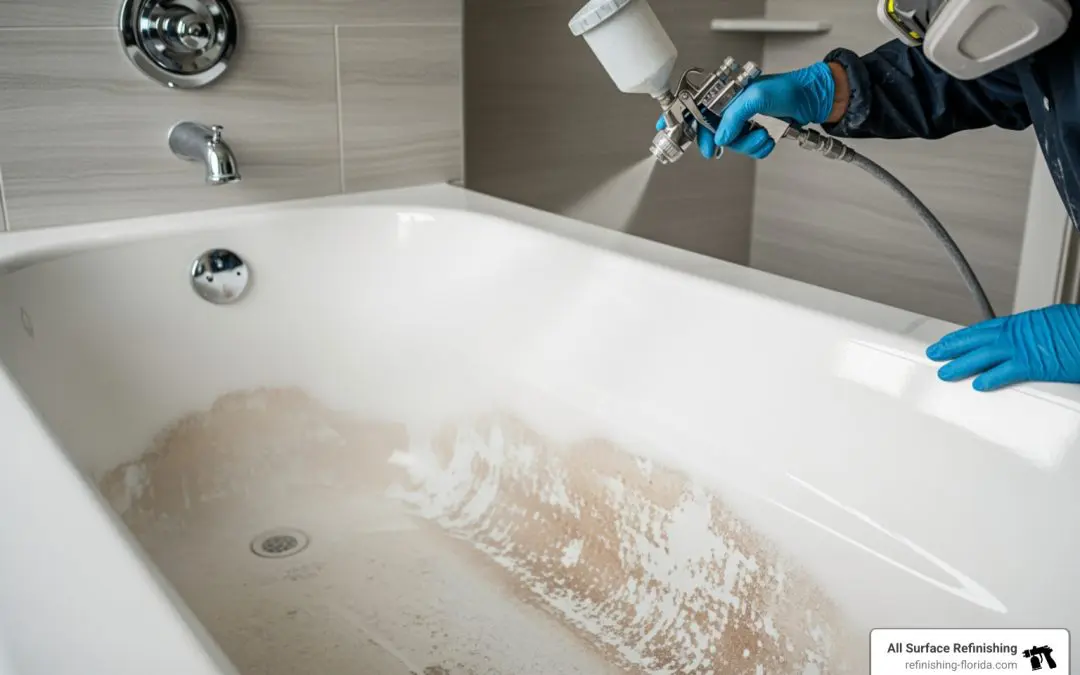
The bathtub reglazing process transforms worn, stained, or outdated bathtubs into like-new fixtures without the cost and hassle of replacement. This proven refinishing method involves thorough surface preparation, professional-grade coating application, and proper curing to deliver a durable, high-gloss finish that can last 10-15 years with proper care.
Quick Overview: The Bathtub Reglazing Process
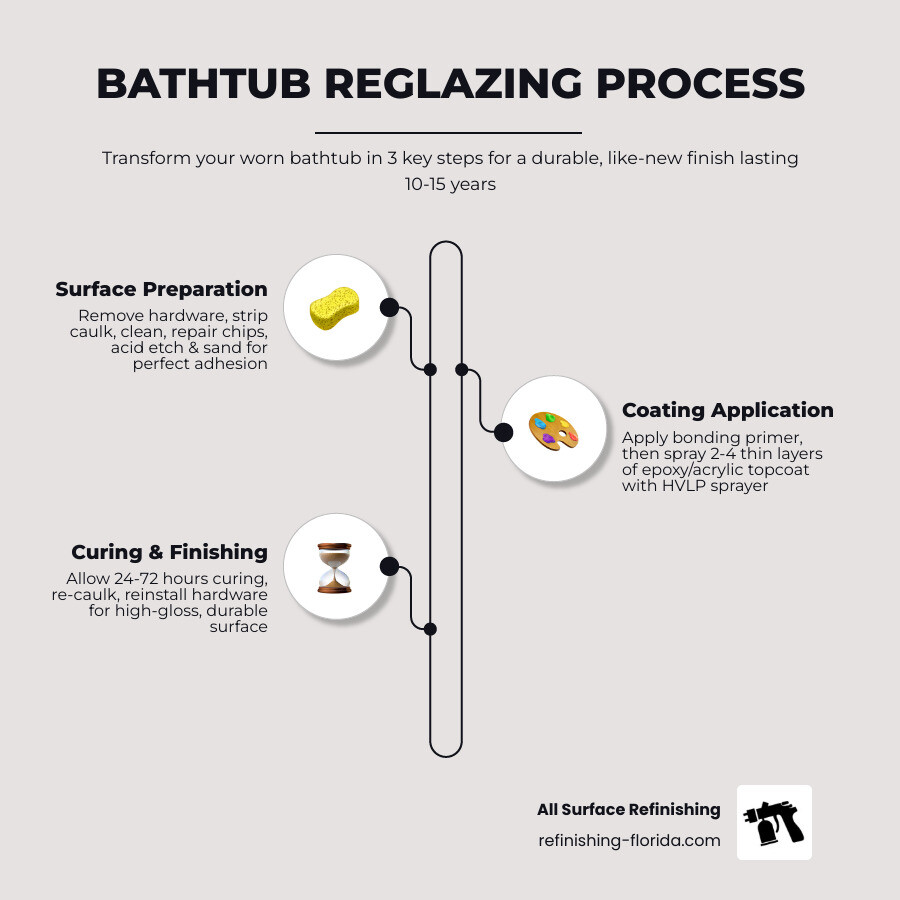
- Surface Preparation – Remove hardware, strip old caulk, clean thoroughly, repair chips and cracks, then etch or sand the surface
- Bonding Agent Application – Apply specialized primer to ensure coating adhesion
- Topcoat Application – Spray 2-4 thin layers of epoxy or acrylic coating for a smooth, durable finish
- Curing & Finishing – Allow 24-72 hours for proper drying, then re-caulk and reinstall hardware
Average Cost: $330-$630 professional (vs. $6,000+ for replacement)
Time Required: 3-5 hours active work, 2-3 days total curing
Expected Lifespan: 10-15 years with proper maintenance
If your bathtub shows chips, cracks, stains, or an outdated color, reglazing offers a cost-effective solution that saves 50-75% compared to full replacement. The process works on steel, cast iron, fiberglass, and acrylic tubs, making it ideal for property owners seeking to update bathrooms and jacuzzis without major renovation disruption.
I’m Frank Hernandez, President of All Surface Refinishing, and I’ve been perfecting the bathtub reglazing process for over 10 years across South Florida. Since founding our company in 2013, we’ve helped thousands of homeowners and property managers restore their bathtubs, tubs, and jacuzzis to showroom condition using professional-grade materials and techniques.
This guide walks you through every step of the bathtub reglazing process, from initial surface preparation to final maintenance. You’ll learn what materials professionals use, essential safety precautions, and how to decide between DIY and professional services for your bathroom renovation project.
Glossary for Bathtub reglazing process:
Understanding the Bathtub Reglazing Process and Its Benefits
When we talk about the bathtub reglazing process, we are looking at a specialized form of surface restoration. While often used interchangeably with “refinishing” or “resurfacing,” the technical goal is the same: applying a fresh, durable, and glossy topcoat to an existing fixture. [Reglazing is highly cost-effective](https://en.wikipedia.org/wiki/Bathtub_refinishing#:~:text=Bathtub%20refinishing%20(also%20known%20as,improve%20its%20appearance%20and%20durability.) compared to the messy alternative of a full bathroom tear-out.
For homeowners in South Florida—from the historic homes of Coral Gables to the modern condos of Miami Beach—reglazing offers a way to modernize a bathroom in a single day. Beyond aesthetics, this process strengthens the surface of your tubs and jacuzzis, sealing off porous areas that might otherwise harbor mold or mildew.
From an environmental standpoint, we love that reglazing is an eco-friendly choice. By choosing to restore rather than replace, you are keeping heavy cast iron or bulky fiberglass tubs out of Florida landfills. It’s a win for your wallet and a win for the planet. For a deeper dive into the financial side, you can check out more info about reglazing costs.
Signs Your Bathtub or Jacuzzi Needs Professional Attention
How do you know if your tub is a candidate for the bathtub reglazing process? Often, the signs are more than just “it looks old.” We frequently see tubs that have lost their original luster due to years of cleaning with abrasive chemicals, leaving the surface dull and “grabby” to dirt.
Common signs include:
- Spiderweb Cracks: Small, thin cracks in the gel coat of fiberglass tubs or jacuzzis.
- Outdated Colors: That 1970s avocado green or “Barbie” pink might have been trendy once, but now it’s just an eyesore.
- Mineral Stains: In areas like West Palm Beach or Boca Raton, hard water can leave stubborn orange or brown rust stains that no amount of scrubbing will fix.
- Peeling Finish: If a previous DIY attempt or a low-quality professional job is starting to flake off like a bad sunburn, it’s time for professional bathtub reglazing.
Reglazing vs. Replacement: A Cost Comparison
The math is simple: replacing a bathtub is a nightmare. It’s not just the cost of the new tub (which might be $300 to $2,000); it’s the labor. You have to hire a plumber to disconnect the pipes, a contractor to rip out the tile surround, and someone to haul away the old heavy unit. Often, the doorway isn’t even wide enough to get the old tub out without cutting it in half!
With the bathtub reglazing process, we can save you up to 75% over the cost of replacement. Most professional jobs are completed in 3 to 5 hours, and you can be back in your shower within 24 to 48 hours. No permits, no demolition, and no plumbing headaches.
Essential Materials and Safety Precautions for Bathtub Reglazing
Safety is our top priority. The chemicals used in the bathtub reglazing process are industrial-strength and require respect. One of the most dangerous chemicals historically used in strippers is methylene chloride. Because it can cause serious health issues, we always advocate for proper ventilation and professional-grade safety equipment.
If you are attempting this as a DIY project, or if you are watching a pro work, here is the essential gear list:
- Respirator: Not a simple dust mask. You need a NIOSH-approved respirator with organic vapor cartridges or a fresh-air supplied system.
- Ventilation Fans: High-powered exhaust fans are used to pull fumes out of the bathroom and vent them outdoors through a window.
- Nitrile Gloves & Eye Protection: To protect against acid etchants and epoxy resins.
- Etching Acid: Usually hydrofluoric or phosphoric acid, used to “bite” into the porcelain for better adhesion.
- Aliphatic Acrylic Urethane: This is the high-gloss, durable topcoat that gives the tub its “new” look.
Step-by-Step Guide to the Bathtub Reglazing Process
Whether we are working on a standard tub in Fort Lauderdale or a large jacuzzi in a Wellington estate, the steps remain consistent. Achieving a “mirror-like” finish requires a meticulous multi-stage application.
For those curious about the hands-on details, you might enjoy the ultimate DIY bathtub reglazing guide or our guide on how to repaint a bathtub.
Preparing the Surface for the Bathtub Reglazing Process
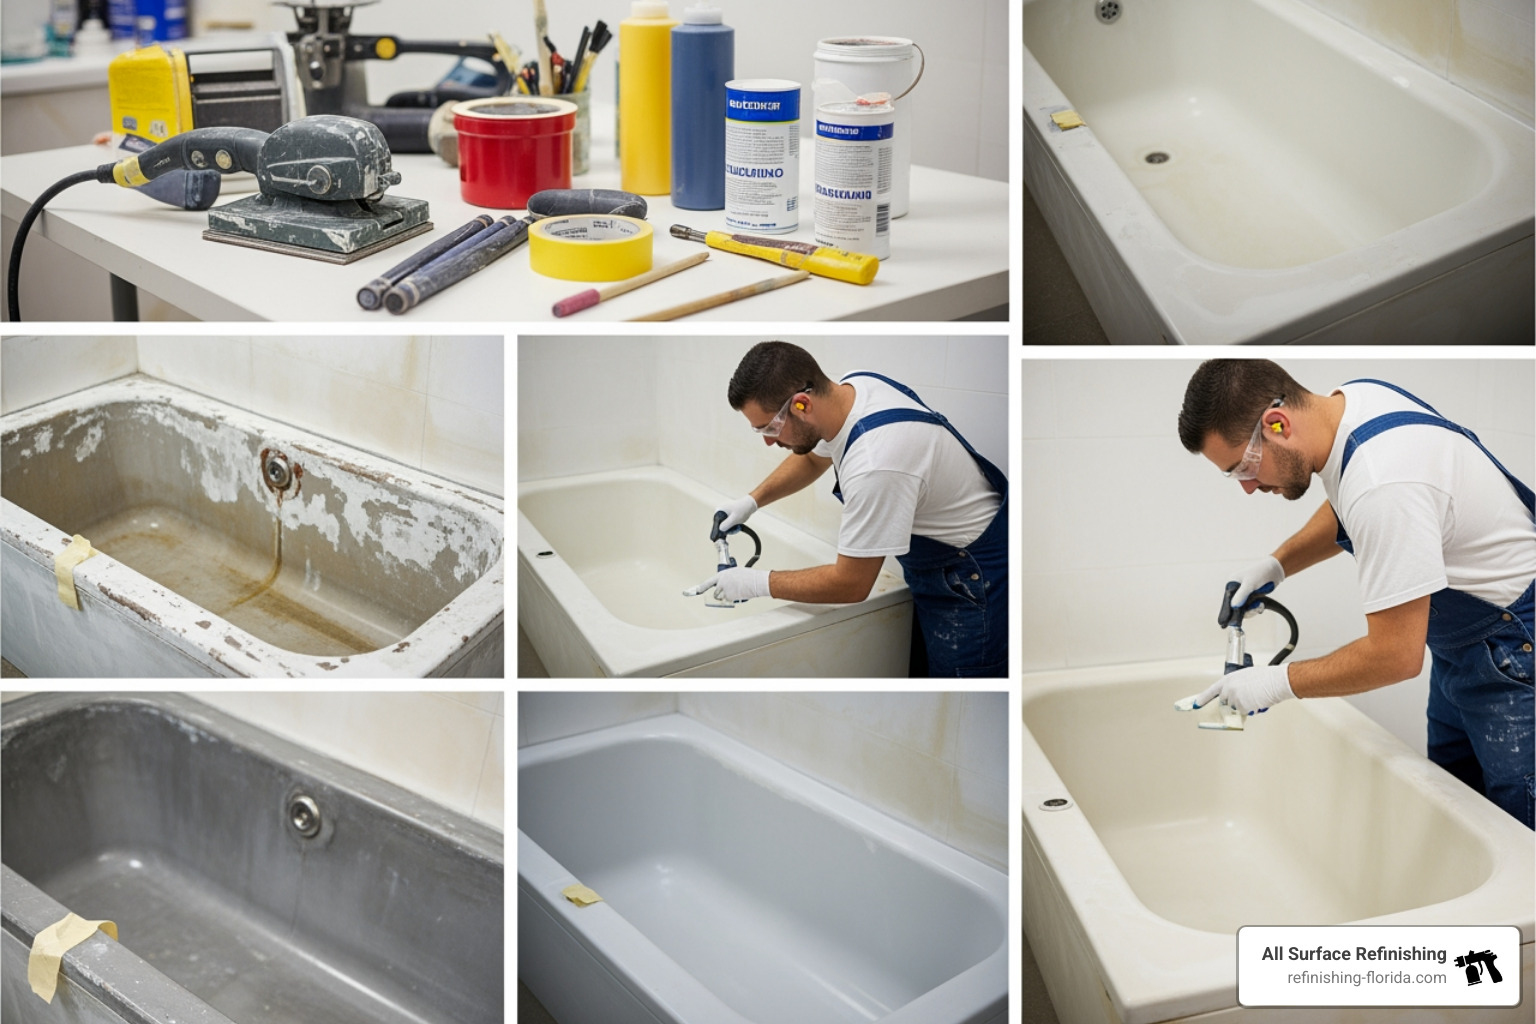
Preparation is 90% of the job. If the prep is bad, the glaze will peel within months. We start by removing the drain hardware and overflow plate. Then, we strip away all the old, moldy caulk. For more info about reglazing a tub, you’ll see that a deep, industrial cleaning is mandatory to remove body oils and soap scum.
Next comes the etching. For porcelain tubs, we apply an acid etch that microscopically roughens the surface. For fiberglass or acrylic, we use wet sanding. This creates a “profile” for the new coating to grab onto. If there are chips or deep scratches, we fill them with a specialized epoxy putty and sand them flush so they disappear under the new finish.
Applying the Coating in the Bathtub Reglazing Process
Once the tub is clean, dry, and repaired, we mask off the entire bathroom with plastic and tape to prevent overspray. We then apply a bonding agent. Some call this a “molecular primer”—it acts like double-sided tape, chemically linking the old surface to the new coating.
Using an HVLP (High Volume, Low Pressure) sprayer, we apply the topcoat in several thin, even layers. This prevents drips and “orange peel” texture. The result is a high-gloss finish that looks exactly like factory-new porcelain. For more details on this stage, check out more info about bathtub re-glazing.
Post-Reglazing Care and Maintenance for Bathtubs and Jacuzzis
Congratulations! Your tub looks incredible. But wait—don’t jump in just yet. The bathtub reglazing process requires a curing period. While the surface might feel dry to the touch in a few hours, it takes 24 to 48 hours for the chemical bonds to fully harden.
To keep your tub looking like it belongs in a Five-Star hotel in Palm Beach, follow these maintenance tips:
- Skip the Abrasives: Never use Comet, Ajax, or steel wool. They will scratch the new finish.
- Go Mild: Use a gentle dish soap or a vinegar-and-water solution.
- No Suction Mats: Suction cups can pull on the finish. If you need a non-slip surface, ask us about a permanent slip-resistant bottom.
- Wipe it Down: Drying the tub after use prevents mineral buildup and extends the lifespan.
For owners of vintage fixtures, our guide on clawfoot tub reglazing offers specific tips for maintaining those classic beauties.
Frequently Asked Questions about Bathtub Reglazing
How long does the bathtub reglazing process take?
The active work usually takes between 3 and 5 hours. However, the tub must “cure” (dry) before you can use it. We typically recommend waiting 48 hours before running water or showering to ensure the finish is rock-hard.
Can I reglaze a bathtub myself as a beginner?
You can buy a DIY kit for $100 to $200 at a big-box store. However, these kits often use a brush-on epoxy that is prone to streaks, yellowing, and peeling. Without professional spray equipment and acid etching, the results rarely last more than a year or two. Plus, handling the fumes without a professional ventilation system can be dangerous.
How long will a reglazed bathtub last with proper care?
When done professionally, a reglazed tub can easily last 10 to 15 years. The key is using non-abrasive cleaners and avoiding dropping heavy objects (like a metal shower caddy) into the tub.
Conclusion
The bathtub reglazing process is the ultimate “life hack” for home renovation. It saves time, saves money, and delivers a result that is indistinguishable from a brand-new fixture. At All Surface Refinishing, we’ve spent over 30 years perfecting this craft across South Florida.
Whether you are in a high-rise in Aventura, a family home in Pembroke Pines, or a vacation rental in Key Largo, we are here to help you fall in love with your bathroom again. We serve all of Miami-Dade, Broward, Palm Beach, Martin, Saint Lucie, and Indian River Counties with pride.
Ready to transform your space? Check out our Professional Bathtub Resurfacing Complete Guide or contact us today for a free quote. Let’s get your tub back to its sparkling best!
