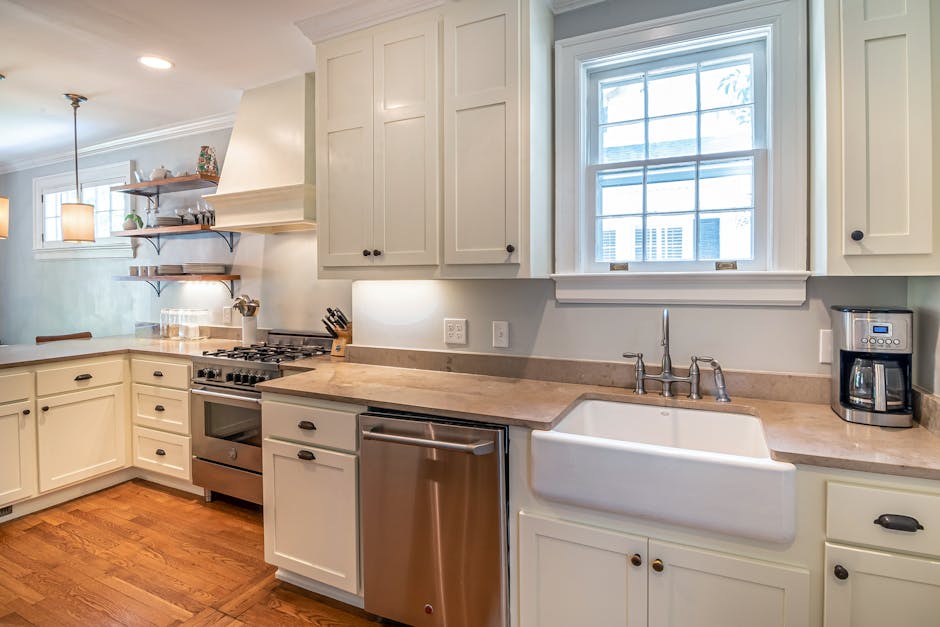
Start Your DIY Kitchen Cabinets Makeover With Prep, Paint, and Precise Hardware
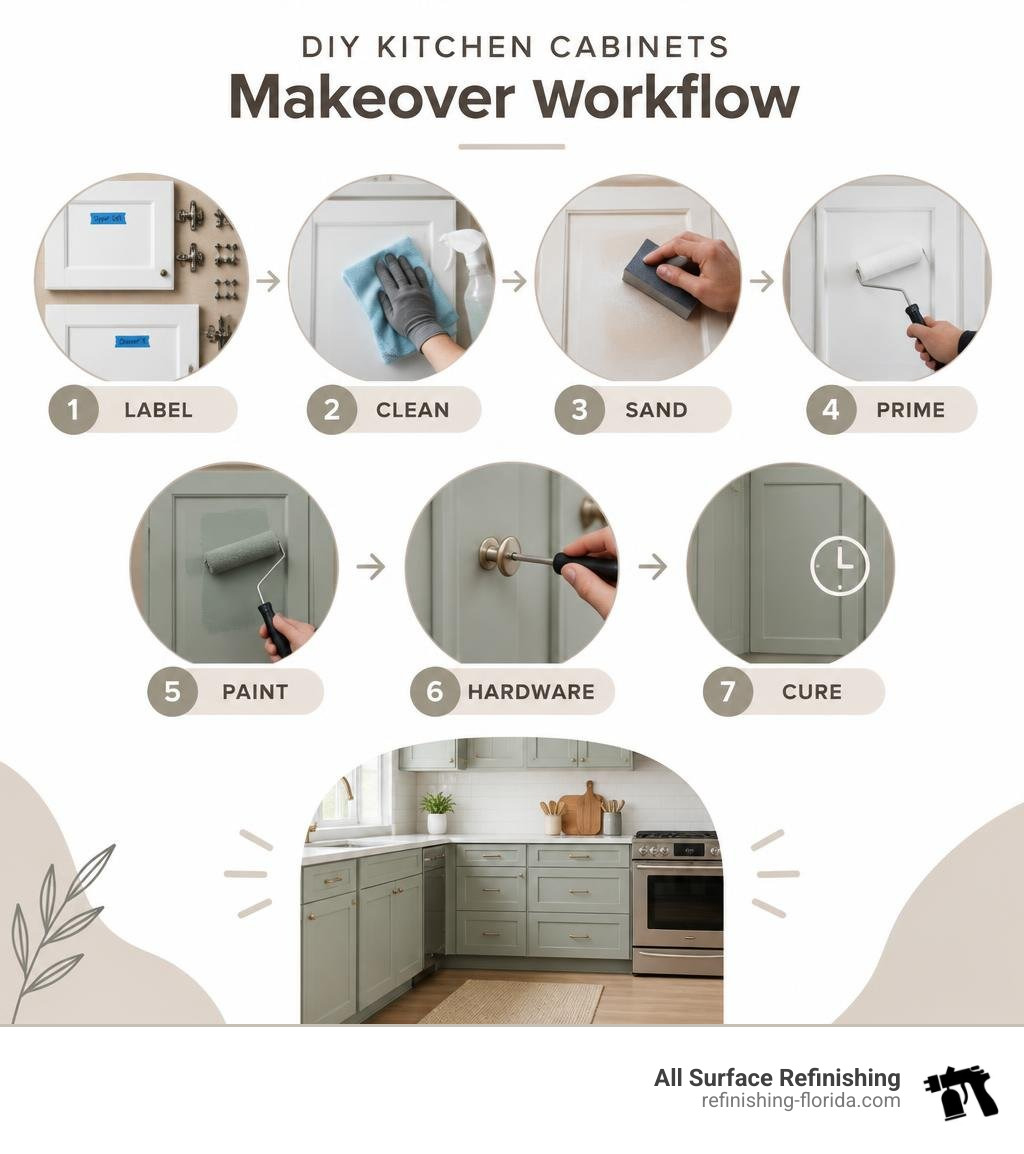
A DIY kitchen cabinets makeover can give sound but dated cabinet boxes a cleaner, more custom look without the cost and disruption of installing new cabinets. For the best result, follow this order:
- Remove and label every cabinet door, drawer, hinge, and screw.
- Clean away grease, scuff-sand for adhesion, and remove all dust.
- Add trim or update end panels if you want more detail.
- Apply a bonding primer, then thin coats of durable cabinet-grade enamel.
- Use a drilling template to install aligned hardware, then let the finish fully cure before heavy use.
Good preparation matters more than fast painting. In fact, cabinet projects are often described as roughly 90% prep and 10% paint. A careful makeover may cost about $350 in materials when tools are already on hand, compared with an estimated $4,000 to $13,000 to buy and install new cabinets in a typical 10-by-10 kitchen.
I am Frank Hernandez, President of All Surface Refinishing, and I have worked in surface refinishing for more than a decade, helping Florida property owners improve kitchens and bathrooms without full replacement. This DIY kitchen cabinets makeover guide shares the practical preparation and finishing principles that make cabinet updates look better and last longer.
Why Upgrade Builder-Grade Cabinets?
Builder-grade cabinets are often called the beige sweatpants of the home improvement world: practical, functional, but entirely unremarkable. If your kitchen layout works well and your cabinet boxes are structurally sound, replacing them creates unnecessary expense, long turnaround times, and heaps of landfill waste.
Renovating sound cabinet boxes preserves hardwood face frames, avoids countertop removal risks, and lets you personalize colors and profiles. Whether your home is in Miami, Fort Lauderdale, or West Palm Beach, a cosmetic overhaul provides an immediate return in style and daily enjoyment.
| Project Approach | Typical Cost (10’x10′ Kitchen) | Estimated Timeline | Disruption Level |
|---|---|---|---|
| New Cabinet Installation | $4,000 – $13,000+ | 4 – 8 weeks | High (Plumbing, counters removed) |
| DIY Cabinet Makeover | $350 – $600 | 2 – 4 weeks (consistent DIY) | Moderate (Boxes stay in place) |
| Professional Cabinet Painting | $1,500 – $3,500 | 3 – 5 days | Low (Handled entirely by pros) |
While a weekend warrior approach is rewarding, understanding your time commitment is critical. If your schedule cannot accommodate weeks of sanding and curing, scheduling professional cabinet refinishing services can achieve factory-grade results with zero DIY stress.
Planning Your DIY Kitchen Cabinets Makeover on a Budget
A successful cabinet transformation starts with an organized workspace and the correct gear:
- PPE Gear: Dust mask (N95 or particulate respirator), safety goggles, and nitrile gloves for chemical cleaning.
- Cleaning Agents: Heavy-duty degreaser (such as Dawn dish soap or a mild TSP substitute) and lint-free microfiber rags.
- Abrasives: 120-grit, 180-grit, and 220-grit sandpaper or sanding sponges.
- Application Tools: 2-inch angled synthetic sash brush, 4-inch high-density foam or micro-plush rollers with a paint tray, painter’s tape, drop cloths, and drying racks.
- Hardware & Woodworking: Cordless drill, hardware installation jig, wood filler, caulking gun with paintable acrylic caulk, and a miter saw if adding trim.
Set up a well-ventilated staging area in your garage, spare room, or covered patio. Good airflow and dust containment protect your freshly applied coats from airborne debris.
Essential Preparation: Disassembly, Labeling, and Surface Cleaning
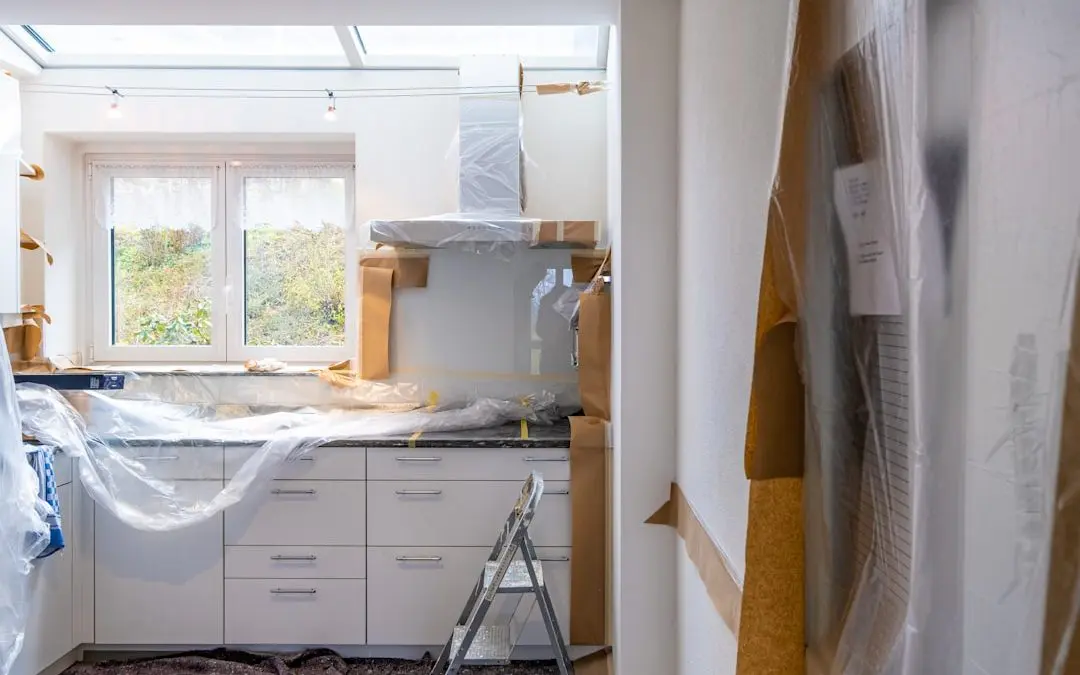
The cardinal rule of cabinet work: never paint cabinet doors while they are hanging on the boxes. Removing doors and drawer fronts guarantees even coverage and eliminates unsightly paint bridging around hinges.
Door Numbering and Organization
Avoid reassembly chaos by labeling each part clearly:
- Draw a simple layout map of your kitchen cabinets on a piece of paper, assigning a unique number to each opening.
- As you remove each door and drawer front, place a piece of painter’s tape in an unpainted hinge cup or on the back edge with its corresponding number.
- Mark orientation (e.g., “#4 Top”).
- Place matching hinges, screws, and hardware into individual, numbered zip-top bags.
Deep Degreasing
Kitchen cabinets collect airborne cooking oils, grease, and hand oils that will cause new paint to bubble or peel. Wash every surface with warm water and a powerful degreaser before sanding. If you sand prior to cleaning, you will drive surface grease deeper into the wood grain. For heavily worn surfaces, thorough kitchen cabinet refurbishing practices make the difference between a finish that lasts and one that chips in months.
Sanding and Flawless Priming Techniques
Once dry, scuff-sand all surfaces using 120- to 180-grit sandpaper. The goal is not to strip down to raw wood, but to break the factory sheen so your primer can form a mechanical bond. Clean off sanding dust using a shop vacuum fitted with a brush attachment, followed by a tack cloth. To master standard prep standards, review how to paint kitchen cabinets the right way.
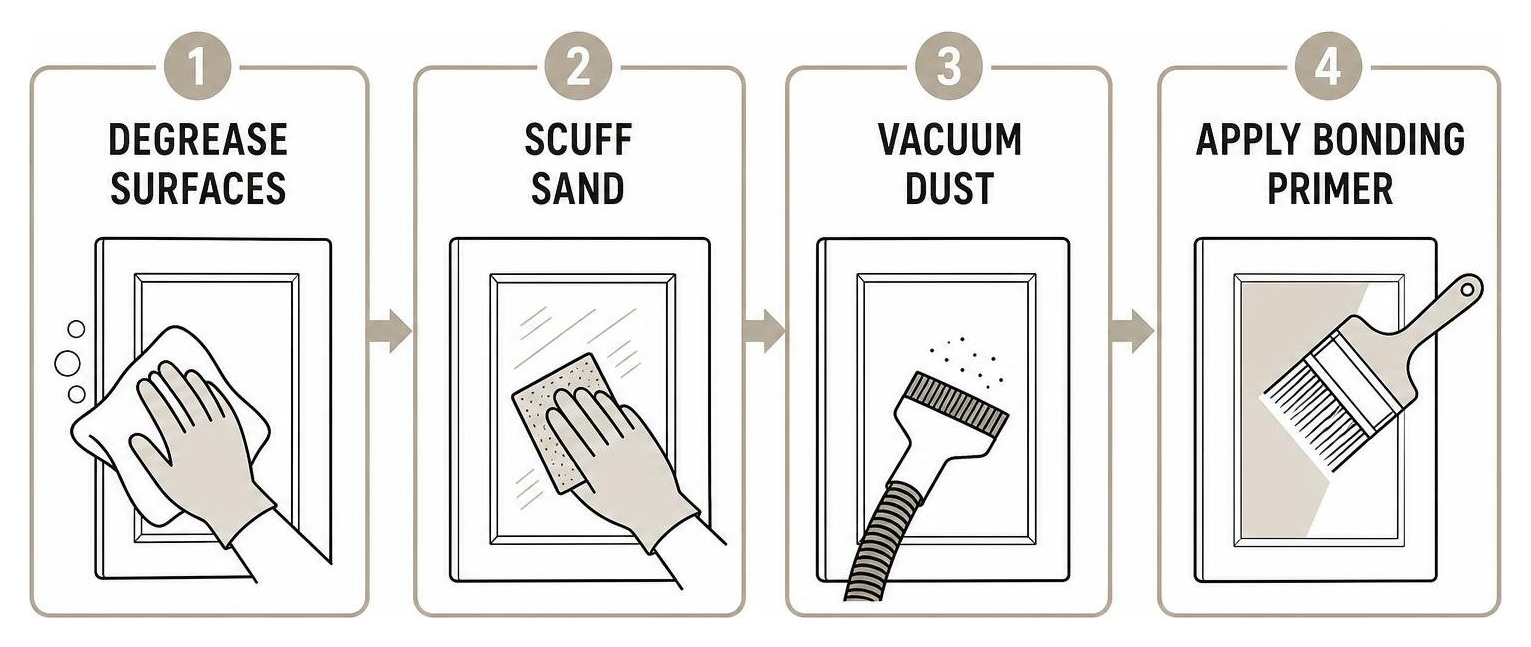
Prime all bare wood, factory finishes, and trim:
- Shellac-Based Primer: Products like Zinsser BIN provide maximum stain blocking, sealing tannins and preventing yellow bleed-through on oak or open-grain woods.
- Bonding Primer: High-adhesion acrylic or oil-modified primers bond securely to slick laminate or factory conversion varnishes.
Apply one even coat of primer. Once cured, perform a light sand with 220-grit sandpaper to knock down raised grain, and wipe clean.
Step-by-Step DIY Kitchen Cabinets Makeover Execution
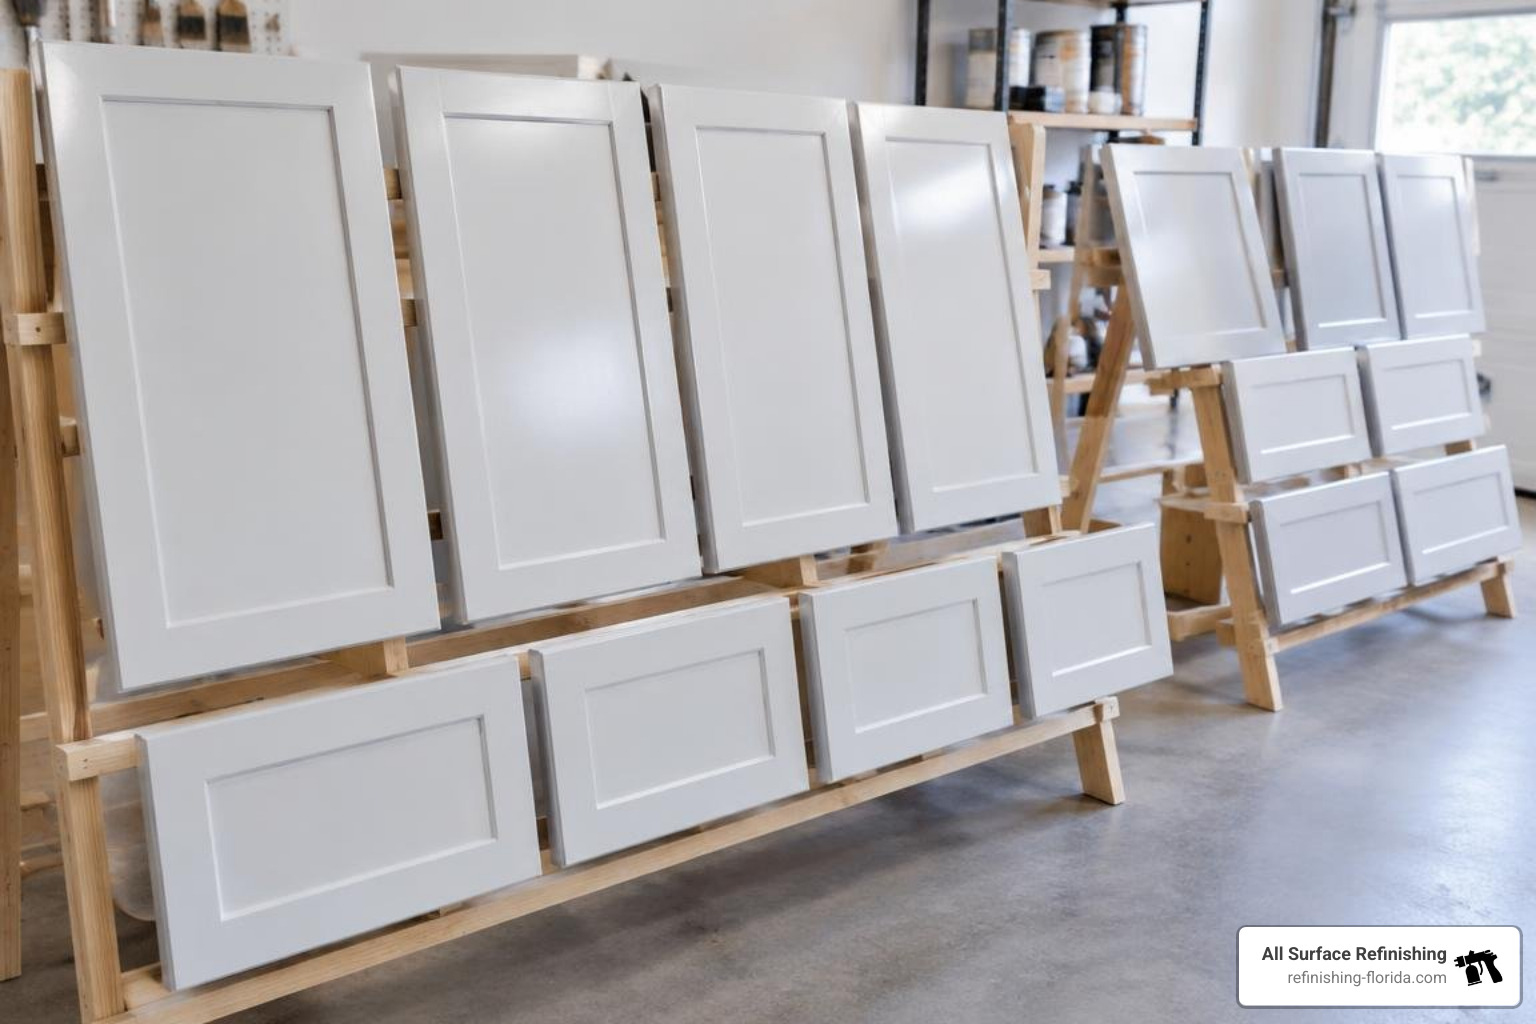
With your surfaces prepped and primed, you can apply your topcoats. Always use dedicated cabinet-grade enamels, such as waterborne alkyds or urethane acrylics. Standard wall latex is too soft and will scuff or stick when doors close. (Please note that we do not sell paint; quality architectural coatings are readily available through your local paint and hardware retailers.)
- Edge Painting: Use a quality 2-inch synthetic brush to coat the profiles, recessed panels, and edges first.
- Flat Surfaces: Immediately follow with a 4-inch microfiber or high-density foam roller to smooth out brush strokes across flat rails, stiles, and center panels.
- Application Volume: Apply two to three thin, even coats rather than one heavy coat. Thick coats create drips and take significantly longer to dry.
- Inter-Coat Sanding: Lightly buff between coats with a 220-grit sanding pad to ensure glass-smooth results.
- Spraying vs. Rolling: For an ultra-smooth factory finish, consider an HVLP or airless sprayer. You can explore techniques for cabinet spray painting without brush strokes as well as comprehensive steps in the DIY Kitchen Cabinet Makeover Guide.
Upgrading Cabinet Doors for a Modern DIY Kitchen Cabinets Makeover
If your kitchen has dated slab doors, you can convert them into timeless Shaker-style doors using thin wood or MDF trim strips:
- Trim Selection: Choose 1/4-inch thick by 2-1/2-inch wide birch plywood, poplar, or moisture-resistant MDF strips.
- Cutting: Measure each door individually. Cut the vertical stiles to run the full length of the door, then cut the horizontal rails to fit snugly between them. Detailed joinery methods can be found in this Builder Grade Cabinet Upgrade Tutorial.
- Attachment: Apply wood glue to the back of each strip, align with the outer door edges, and fasten with 5/8-inch 18-gauge brad nails or clamps.
- Filling and Caulking: Fill all nail holes with wood filler and sand flush. Run a very thin bead of paintable acrylic caulk along the inside seams where the trim meets the door face. Remember: caulk is meant to seal hairline gaps, not mask poor cuts.
Side Panels, Crown Molding, and Custom Trim Accents
Builder-grade cabinet boxes often have thin, printed side panels that look unfinished. You can upgrade exposed ends and runs by:
- End Panels: Apply 1/4-inch trim molding in a matching frame pattern on exposed box sides to give them a cohesive, custom-built appearance.
- Crown Molding: Install flat risers above top wall cabinets to close the gap to the ceiling, then mount decorative crown molding along the top edge for added height.
- Toe-Kicks & Light Rails: Add matching quarter-round or solid trim along base toe-kicks and install bottom light rails to conceal under-cabinet LED task lighting.
Professional Finishing Touches and Hardware Installation
Updating hardware brings your makeover together. Swapping worn brass pulls for modern matte black, brushed brass, or satin nickel fixtures provides an instant refresh.
- Use a Template or Jig: Never eyeball hardware holes. An inexpensive plastic or metal drilling jig ensures that every pull and knob sits at the exact same distance and height across all doors and drawers.
- Filling Old Holes: If your new handles have different hole spacing, fill the old holes with two-part wood filler or epoxy putty before priming and sanding.
- Hinge Adjustments: Reinstall your labeled doors onto their matching cabinet frames. Modern concealed European hinges feature three-way adjustment screws that allow you to correct alignment gaps, leveling the doors across the entire cabinet run.
- Protective Bumpers: Place clear silicone dampers on the inner corners of doors and drawers to cushion closures and protect new paint.
Before beginning, it is wise to calculate the real cost to refinish cabinets yourself to make sure your budget, time, and tool access align with your project goals.
Frequently Asked Questions About Kitchen Cabinet Makeovers
How long does a DIY cabinet project typically take from start to finish?
For a standard kitchen with 20 to 30 doors, expect the process to take between two and four weeks of steady weekend and evening work. While actual painting takes a few hours, cleaning, sanding, priming, and allowing proper dry times between multiple coats require patience.
What type of paint provides the most durable kitchen cabinet finish?
Waterborne alkyd enamels and urethane acrylic cabinet paints offer the best combination of DIY workability and durable hardness. They dry smooth like traditional oil paints but clean up with water and resist grease, scuffs, and repeated scrubbing.
How do I prevent paint from chipping or peeling around cabinet handles?
Chipping around high-touch zones is usually caused by insufficient degreasing or missing bonding primer. Make sure all kitchen oils are removed with a degreaser during prep, use an adhesion-promoting bonding primer, and allow the paint to fully cure (typically 14 to 30 days) before harsh scrubbing.
Conclusion
Transforming your kitchen cabinets on your own is one of the most rewarding home improvements you can tackle. By focusing your energy on careful labeling, deep degreasing, proper sanding, and high-adhesion priming, you can turn plain builder-grade boxes into a durable, custom centerpiece for a fraction of the cost of new cabinetry.
Take your time during each phase, allow coats to dry completely, and maintain your finished surfaces with mild soap and water.
If you find yourself short on time or prefer a fast, showroom-quality finish without dedicating your weekends to sanding and painting, our team at All Surface Refinishing is here to help. With more than 30 years of experience and 14,000+ completed projects across South and Southwest Florida—including Boca Raton, Fort Lauderdale, Coral Gables, Boynton Beach, Hollywood, FL, Jupiter, and surrounding communities—we deliver fast, long-lasting kitchen and bathroom transformations. Contact us today to learn more about our professional cabinet refinishing services and get a free estimate.
