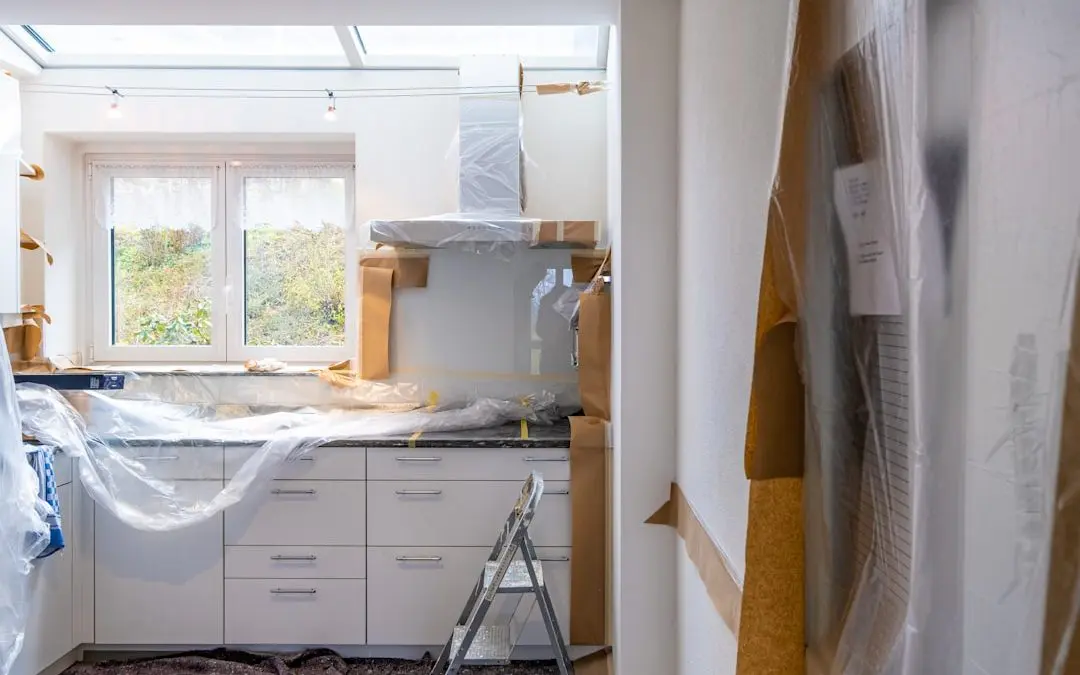
Why the Professional Cabinet Painting Process Is Worth Understanding Before You Start
The professional cabinet painting process follows a structured, multi-phase system — and knowing the steps helps you get better results, whether you hire experts or want to understand what you’re paying for.
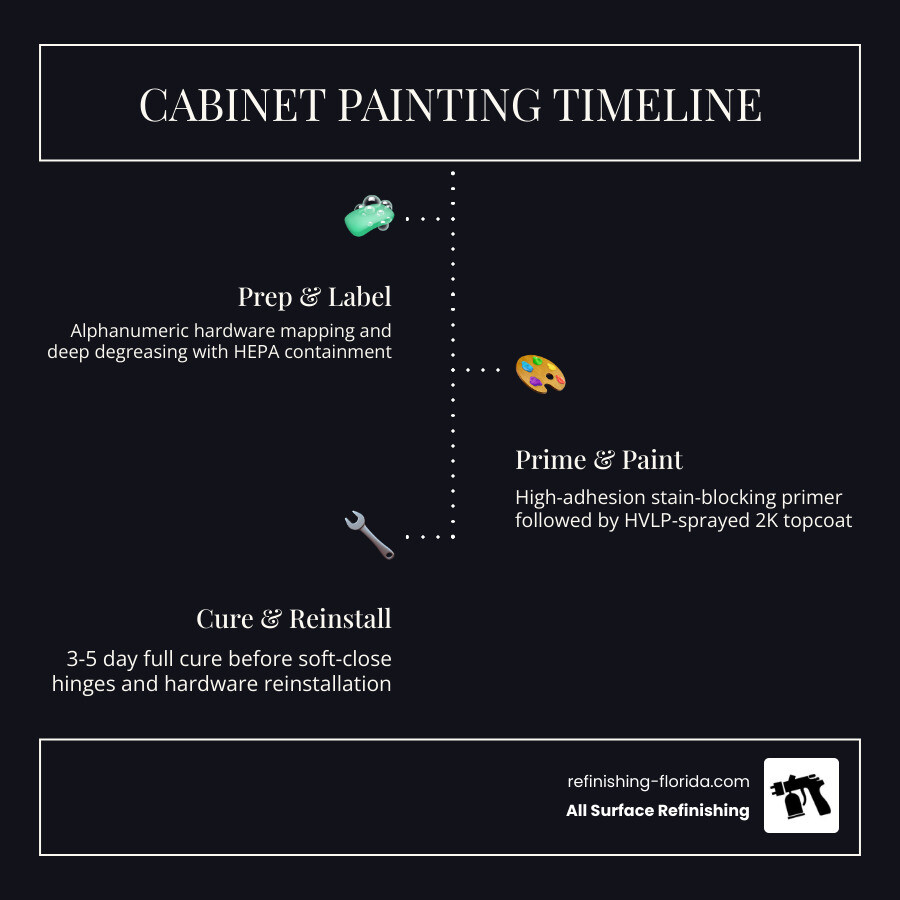
Here’s a quick overview of the professional cabinet painting process:
- Disassembly & labeling — Remove all doors, drawer fronts, and hardware with an alphanumeric tracking system
- Deep cleaning & degreasing — Use industrial-strength TSP substitutes to remove grease and contaminants
- Mechanical sanding — Progress from 120-grit to 220-grit to create a bonding surface for primer
- Priming — Apply two coats of high-adhesion, stain-blocking primer with sanding between coats
- Topcoat application — Spray 2-3 thin coats of industrial-grade paint using HVLP equipment
- Curing & reinstallation — Allow proper curing time before rehinging doors and reinstalling hardware
Most kitchens are completed in 3 to 5 business days by a professional crew — compared to 7 to 10 days minimum for a DIY attempt.
Here’s the reality: a lot of homeowners look at their worn, dated kitchen cabinets and assume a quick repaint will fix things. But standard house paint applied with a brush and roller almost always fails within months on high-contact kitchen surfaces. Grease, moisture, and daily friction demand something more engineered than a weekend project.
That’s exactly where a structured professional approach makes the difference.
I’m Frank Hernandez, President of All Surface Refinishing, and I’ve been refining the professional cabinet painting process in South Florida since 1996 — working with thousands of homeowners who wanted a durable, factory-quality finish without the cost of full replacement. Let me walk you through exactly how it’s done right.
Professional cabinet painting process terms explained:
Professional vs. DIY: Why the Professional Cabinet Painting Process Wins
If you are standing in your kitchen in Coral Gables or Fort Lauderdale, staring at your cabinets and wondering if you should grab a brush yourself, it’s important to understand what separates a “painted cabinet” from a “factory-refinished cabinet.”
The biggest difference lies in the tools and the timeline. While a DIY project often stretches over two weekends (7-10 days minimum), a professional team typically wraps up the entire Professional cabinet painting process in just 3 to 5 days.
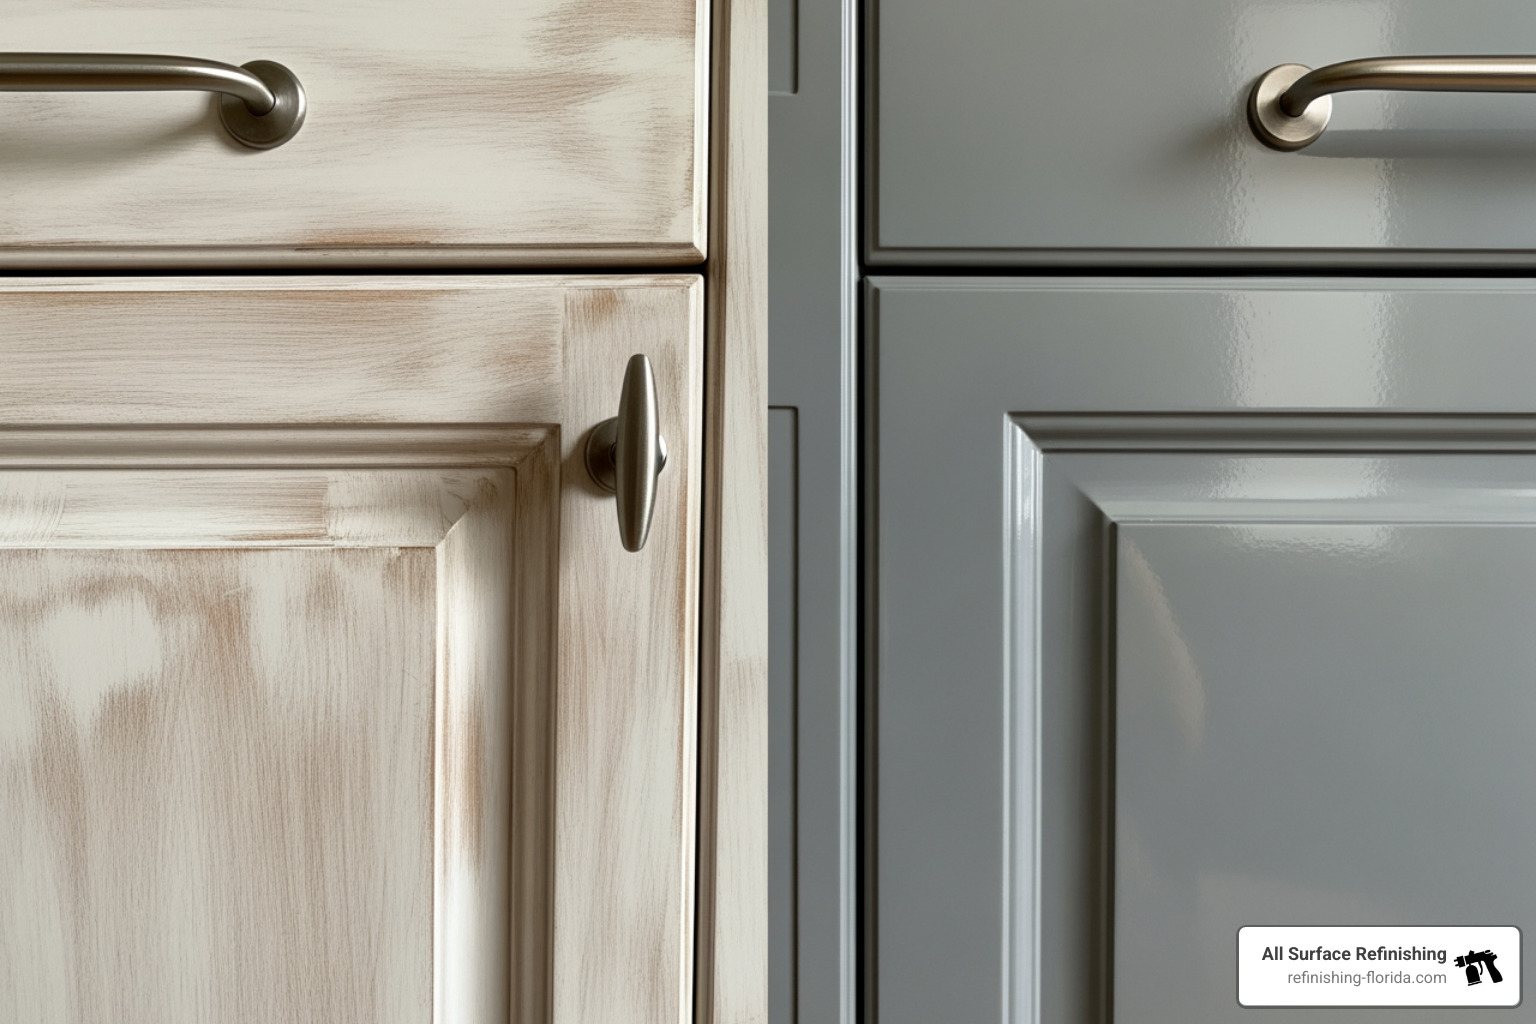
Professionals use High-Volume Low-Pressure (HVLP) spray systems. These systems achieve nearly 90% transfer efficiency, meaning almost all the paint lands exactly where it should, creating a glass-smooth surface. DIYers using brushes or rollers often end up with visible “orange peel” textures or stroke marks. Furthermore, professional preparation accounts for 75% of the total project timeline. If you skip the prep, the paint will peel within 180 days—a common heartbreak for DIYers.
DIY vs. Professional Outcomes
| Feature | DIY Method | Professional Process |
|---|---|---|
| Finish Quality | Visible brush/roller marks | Smooth, factory-like finish |
| Durability | Prone to chipping/peeling | Industrial-grade resistance |
| Timeline | 7–14 days | 3–5 days |
| Equipment | Brushes, rollers, basic sanders | HVLP sprayers, HEPA air scrubbers |
| Preparation | Often minimal or skipped | 75% of total labor time |
Phase 1: Preparation and Adhesion Science
In South Florida’s humid climate—from the beaches of Miami to the estates in Wellington—adhesion is everything. You can’t just slap paint over old varnish and expect it to stay. The Expert Kitchen Cabinet Painting in Boca Raton involves a scientific approach to “opening up” the wood or laminate surface.
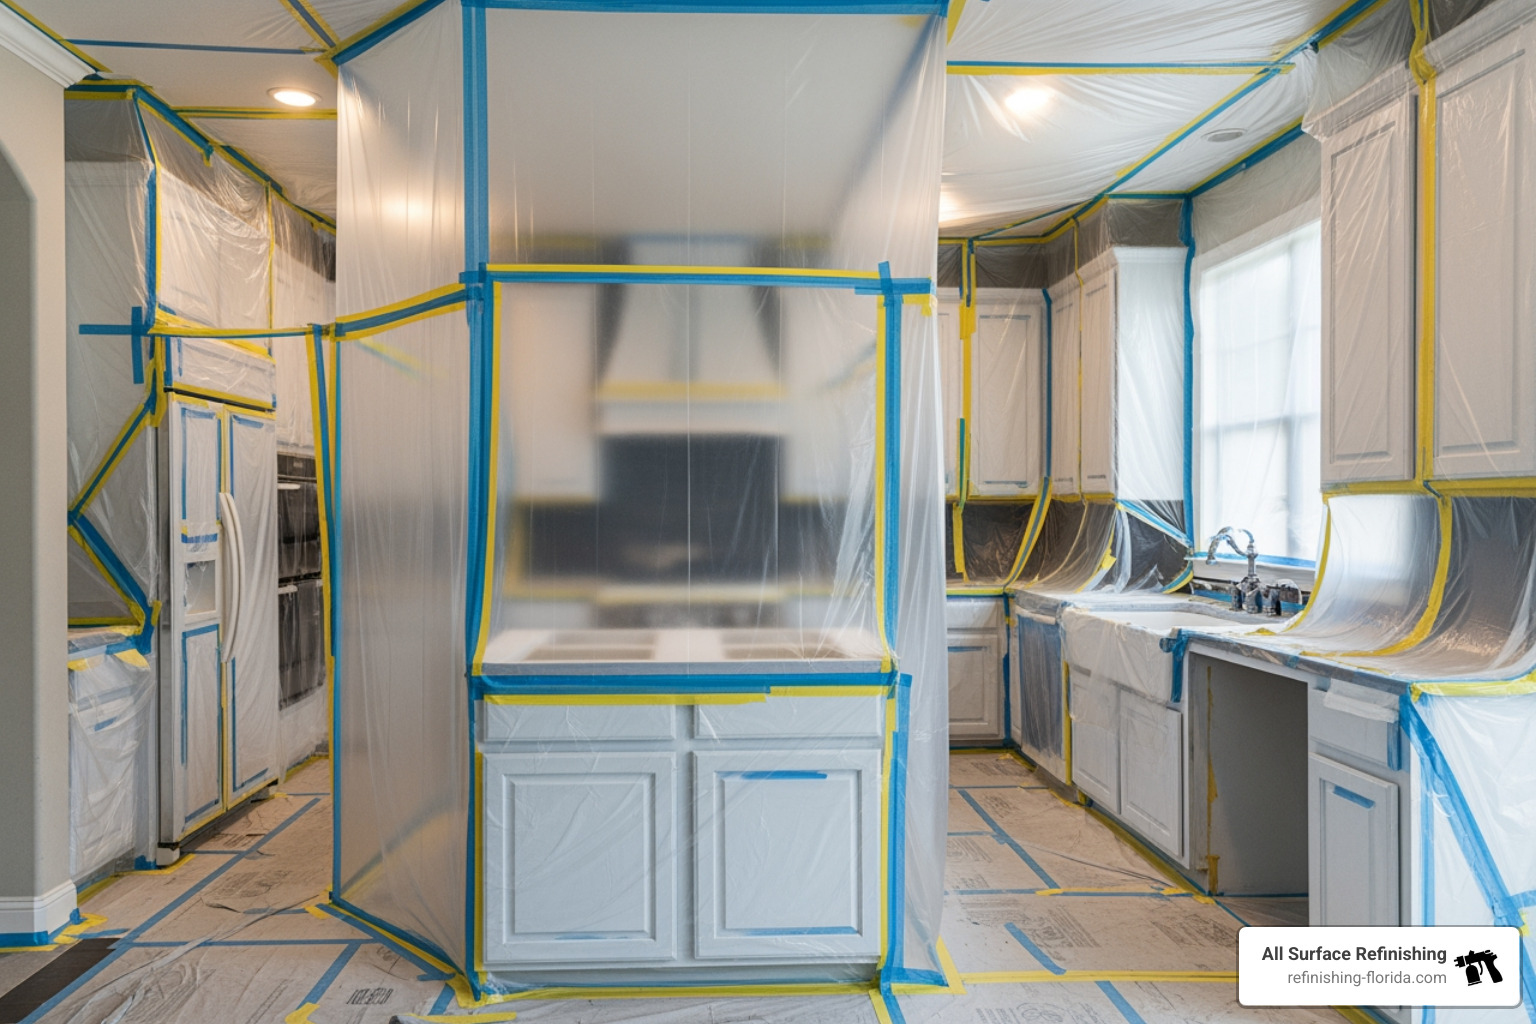
We start by sealing the kitchen. We create containment zones using 4-mil plastic sheeting and tension poles. This protects your home from dust and overspray. Next comes the cleaning. Kitchens are high-grease environments. We use industrial-strength deglossers or TSP substitutes with a 10-minute chemical dwell time to ensure every bit of cooking oil is gone.
If you have oak cabinets—which accounted for roughly 70% of kitchen installs in the late 90s—you have deep wood grains. Professionals use specialized grain fillers to reduce that visible texture by roughly 85%, giving old oak a modern, flat-panel look.
Essential Steps in the Professional Cabinet Painting Process
A crucial part of our professional cabinet painting process is the “map.” We don’t just throw hinges in a bucket.
- Alphanumeric Labeling: Every door and drawer is given a unique code. We map this to a master diagram so that when we return from our spray shop, every piece fits perfectly back into its original spot.
- Hardware Mapping: We label every screw and hinge, ensuring that soft-close mechanisms and alignments remain precise.
- Air Quality Control: During on-site work, we use HEPA air scrubbers. These machines capture 99.97% of airborne particles as small as 0.3 microns, keeping your home’s air clean and safe for your family and pets.
Whether we are working on Cabinet Painting for Homes in Aventura & Hollywood Beach, FL or a condo in Bal Harbor, these steps ensure the environment is as controlled as a laboratory.
Phase 2: Priming and Industrial Coating Application
Once the surfaces are cleaned and mechanically sanded (using a progression from 120 to 220 grit), we move to priming. This isn’t your standard hardware store primer. For Cabinet Painting – Gables and Grove – Miami, Florida , we use high-adhesion, stain-blocking primers—often shellac-based—to prevent tannins from bleeding through. This is especially important for dark-stained woods that want to “leak” brown or yellow spots into a new white finish.
We recommend and use industrial coatings that meet Kitchen Cabinet Manufacturers Association (KCMA) standards. These coatings, such as 2K polyurethanes, create a molecular bond through “cross-linking.” This results in a finish that is five times more durable than standard house paint and can withstand over 1,000 scrub cycles. You can learn more about these high-end techniques in our guide on how to paint cabinets like a pro.
Achieving a Factory Finish with the Professional Cabinet Painting Process
The secret to that “silky” feel you find on brand-new cabinets is the off-site spray booth. While we paint the cabinet frames (the “boxes”) in your home using meticulous masking, we take the doors and drawer fronts to a controlled shop environment.
In the shop, we use HVLP spray systems. Because there is no wind, dust, or humidity fluctuations in the booth, the paint levels perfectly. This hybrid approach—on-site frames and off-site doors—is the gold standard for a Kitchen cabinet painting service. It minimizes the disruption in your home while maximizing the quality of the finish on the most visible parts of your cabinetry.
Frequently Asked Questions about Cabinet Painting
We know that inviting a team into your home in Palm Beach Gardens or Miramar is a big decision. Here are the most common questions we hear during a Cabinet painting cost estimate.
How long does the professional cabinet painting process take?
As of May 2026, our standard production cycle for a medium-sized kitchen is 3 to 5 business days.
- Day 1: Disassembly, labeling, and cleaning. Doors go to the shop.
- Day 2: Masking the kitchen and priming the frames.
- Day 3: Spraying topcoats on the frames and finishing doors in the shop.
- Day 4: Quality checks and curing.
- Day 5: Reassembly and the big reveal.
While the paint is dry to the touch quickly, full chemical curing takes about 30 days. We tell our clients to be “fingernail careful” for the first month.
Do I need to empty my kitchen cabinets before the pros arrive?
Yes and no. You definitely need to clear off all countertops. If we are only painting the exterior of the cabinets (which is standard), you can usually leave the items inside, provided they are pushed back from the front edge. We seal the openings with plastic to prevent dust or overspray from reaching your dishes. However, if you’ve requested that the insides be painted, the cabinets must be completely empty.
Can you paint over laminate or thermofoil cabinets?
Absolutely. In places like Boynton Beach and Hialeah, many homes feature thermofoil or laminate. As long as the underlying material isn’t peeling or water-damaged, we use specialized high-adhesion bonding primers designed specifically for non-porous surfaces. We see a 90% success rate with these materials, giving them a whole new life for a fraction of the cost of replacement.
Conclusion
The professional cabinet painting process is more than just a cosmetic upgrade; it is a technical refinishing system designed to last. By choosing a professional path, you save 60% to 70% compared to the cost of full cabinet replacement while achieving a finish that can last 8 to 12 years with proper care.
At All Surface Refinishing, we bring over 30 years of experience and 14,000 successfully completed projects to every home we visit. Whether you are in Miami-Dade, Broward, or Palm Beach County, we are ready to transform your kitchen with the speed and quality that only three decades of expertise can provide.
Ready for a kitchen that looks brand new? Contact us today for a free estimate and let’s start your transformation.
