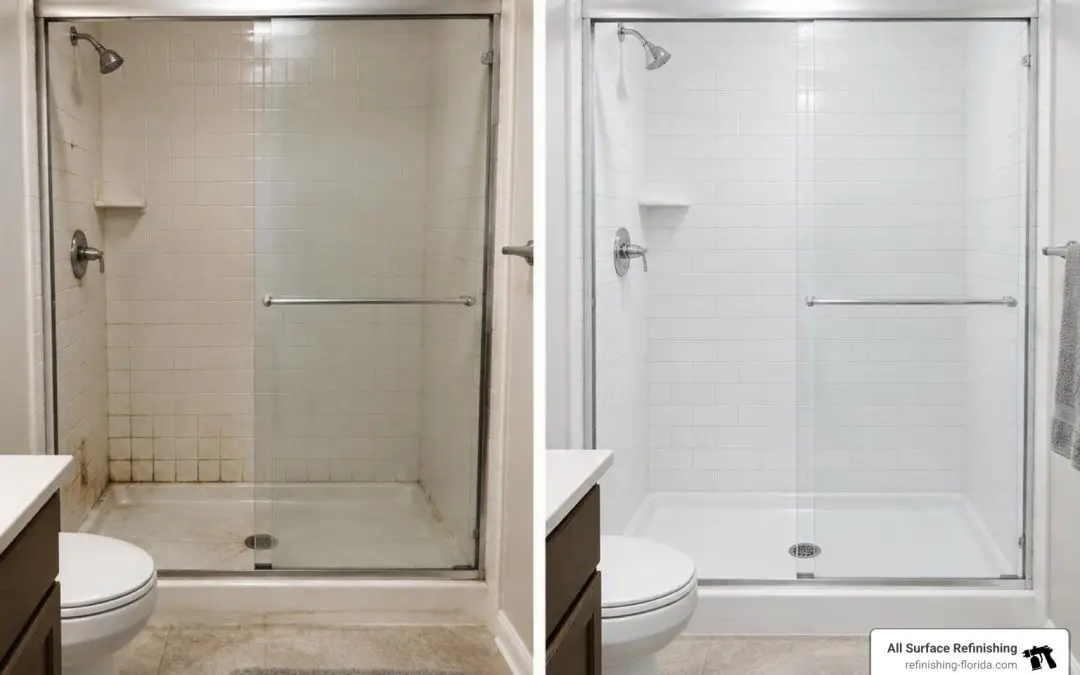
What Shower Refinishing & Repair Can Do for Your Bathroom
Shower Refinishing & Repair restores the look of a worn bathroom shower without tearing it out. A professional can repair suitable chips or cracks, prepare the surface, and apply a new coating to the shower pan, surround, or tile. It works best when the surface beneath the finish is sound; leaks or loose materials need attention first.
Most refinishing jobs take about a day. You can often use the shower again after 24 to 48 hours, depending on the coating and the contractor’s curing instructions.
I’m Frank Hernandez, president of All Surface Refinishing, and I began working as a surface refinisher in 2011. My hands-on experience with Shower Refinishing & Repair helps me explain what can be restored, what needs repair first, and what you should expect from the finished surface.
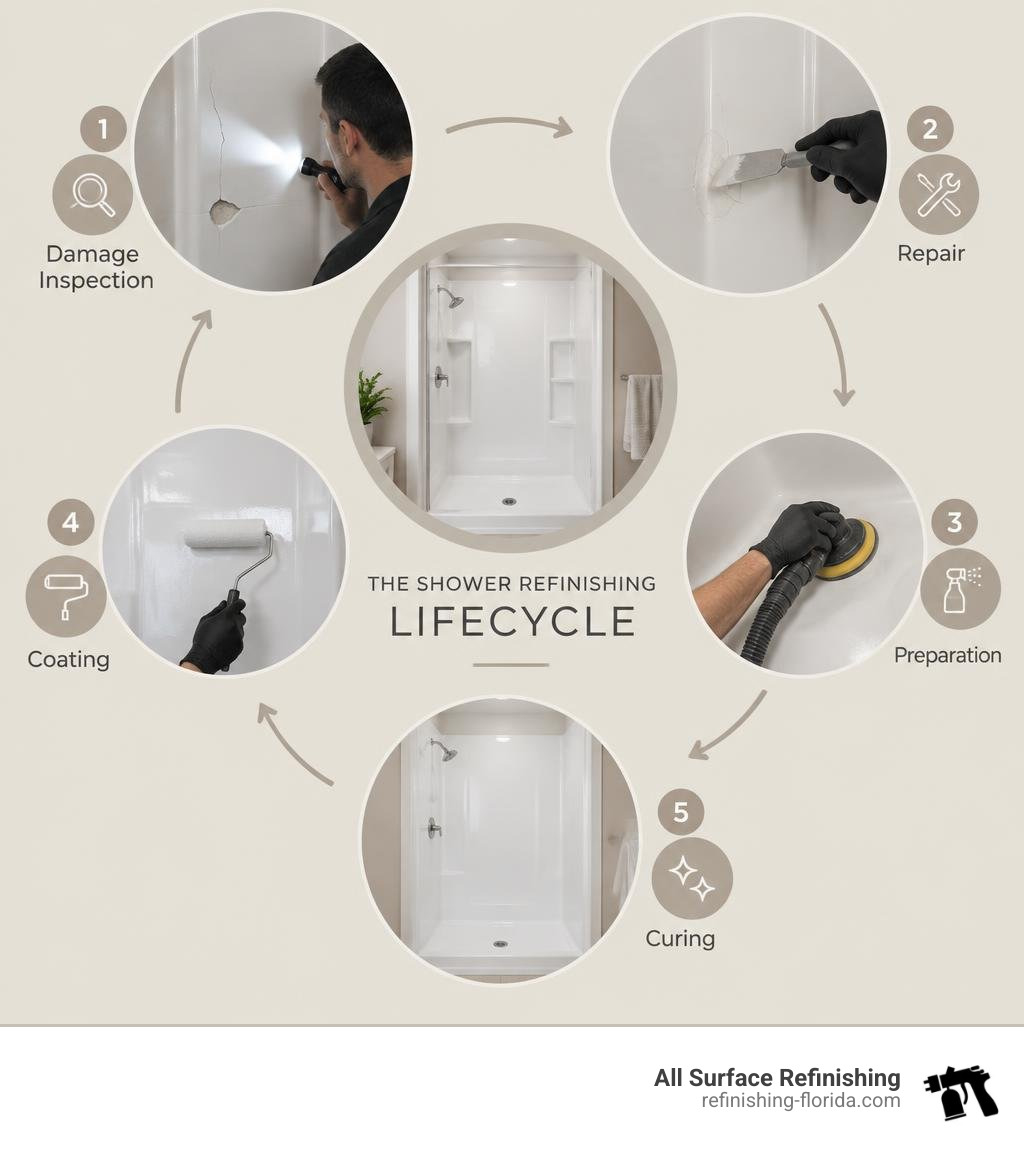
Simple guide to Shower Refinishing & Repair terms:
The Comprehensive Guide to Bathroom Shower Refinishing & Repair
When homeowners across South Florida—from Miami and Fort Lauderdale up through Boca Raton, West Palm Beach, and Stuart—start planning a bathroom update, full tear-outs often feel overwhelming. Demolishing an existing shower enclosure means enduring days or weeks of dust, plumbing disruptions, and discarded materials piling up in landfills.
Refinishing (also called reglazing or resurfacing) takes a smarter route. Rather than ripping out functional bathroom structures, we chemically prep, repair, and apply high-performance coatings directly over the existing surfaces. When evaluating our cost analysis of bathroom remodeling, refinishing consistently saves homeowners between 50% and 75% on their bathroom budget.
| Process | Typical Cost | Downtime | Expected Lifespan | Worksite Disruption |
|---|---|---|---|---|
| Spot Shower Repair | Lowest cost | 12 to 24 Hours | Permanent localized fix | Minimal (isolated area) |
| Full Shower Refinishing | Moderate (significant savings) | 24 to 48 Hours | 10 to 15 Years | Zero demolition; fully contained |
Core Signs Your Bathroom Shower Needs Refinishing & Repair
Over years of daily moisture exposure, even high-quality shower stalls show fatigue. You can review our complete bathroom shower stall reglazing guide to spot these common telltale signs:
- Deep Discoloration & Staining: Hard water minerals and body oils penetrate porous, worn topcoats, creating permanent yellowing or graying.
- Hairline Cracks & Crazing: Small stress fractures in fiberglass or acrylic bases allow standing water to seep underneath.
- Chipping & Flaking Surfaces: Factory enamel or previous low-grade DIY coatings peel away, exposing raw substrates.
- Persistent Mold in Grout Lines: Aged grout holds moisture, feeding mildew that resists standard household cleaners.
- Outdated Color Schemes: Vintage avocado greens, pinks, or beige tiles that make an otherwise clean bathroom look dated.
Compatible Shower Surfaces and Materials
Modern refinishing techniques work across almost every common bathroom fixture material. When restoring ceramic tile surfaces, we seal the surrounding grout lines at the same time, producing a continuous, non-porous barrier. Compatible surfaces include:
- Fiberglass Enclosures: Lightweight surrounds and pans that need structural reinforcement and smooth topcoats.
- Acrylic Shower Pans: Solid-surface bases prone to flex cracks and dulling.
- Ceramic & Porcelain Tile Walls: Wall surrounds that benefit from complete tile and grout encapsulation.
- Cast Iron & Pressed Steel Receptors: Heavy-duty traditional bases that require specialized rust inhibitors and primers.
- Cultured Marble: Synthetic stone panels refreshed to a brilliant, uniform gloss.
Understanding Structural Damage: Cracks, Chips, and Leaks
A flawless cosmetic finish requires a structurally sound foundation. Before applying any primer or topcoat, every crack, chip, and soft spot must be identified and stabilized. Proper water management is essential; according to guidelines in the Measure Guideline: Water Management at Tub and Shower Assemblies, preventing subfloor moisture intrusion is critical for indoor air quality and structural preservation.
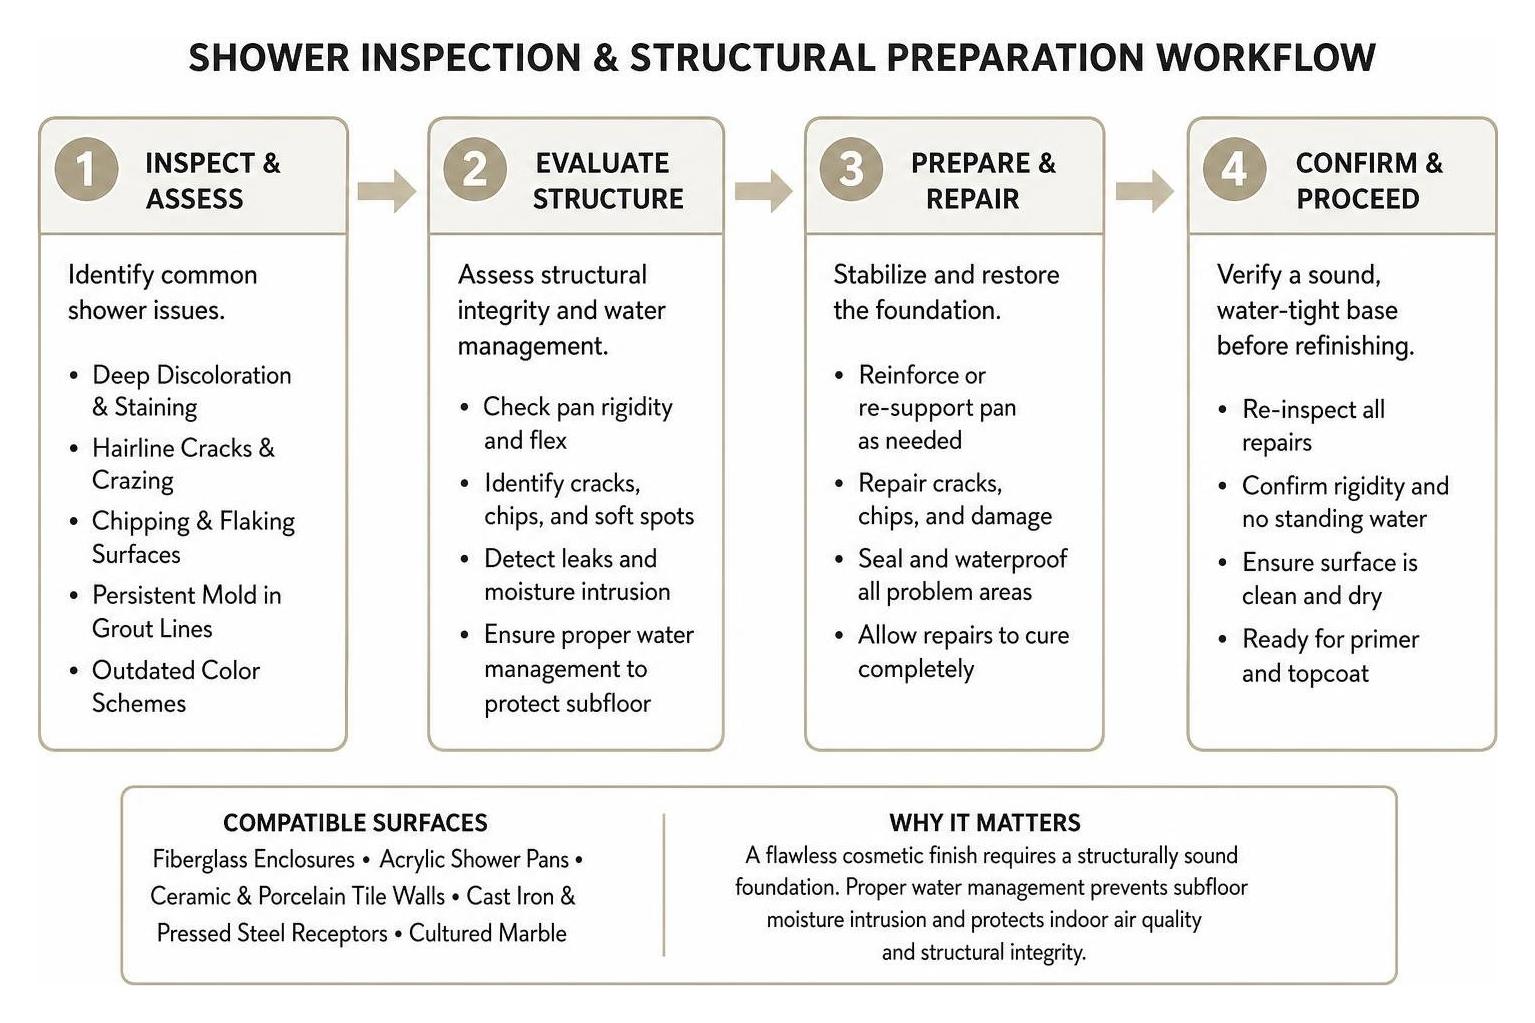
If your pan flexes or shows deep impact fractures, consulting our guide on fixing a cracked bathroom shower tray helps identify the underlying issues that need structural attention before refinishing begins.
Shower Pan and Base Damage Assessment
The shower floor bears the user’s full weight, making base rigidity paramount. Over time, inadequate mortar support under an acrylic or fiberglass base causes the floor to flex, eventually splitting.
During professional repair, technicians inspect the pan for hollow spots. If flexing is detected, expanding structural compounds or supportive overlays are injected beneath the base to restore solid footing. Cracks are reinforced with fiberglass mesh, marine-grade bonding resins, and waterproof structural fillers before being smoothed level. Reviewing bathroom shower pan reglazing methods alongside bathroom shower floor leak repair techniques ensures your base remains watertight and wobble-free.
Crack, Chip, and Tile Grout Repair Considerations
Small chips from dropped shampoo bottles or loose tile corners are addressed before coating:
- Mechanical Beveling: Cracks and chips are ground out slightly to create clean bonding channels.
- Epoxy Compound Filling: High-density, waterproof polyester fillers are applied flush with the surface.
- Grout Stabilization: Missing grout is repaired with modified cementitious compounds to prevent air pockets under the new finish.
- Feather-Sanding: Repaired zones are wet-sanded flush so the repaired area is invisible beneath the final topcoats.
The Professional Bathroom Shower Refinishing & Repair Step-by-Step System
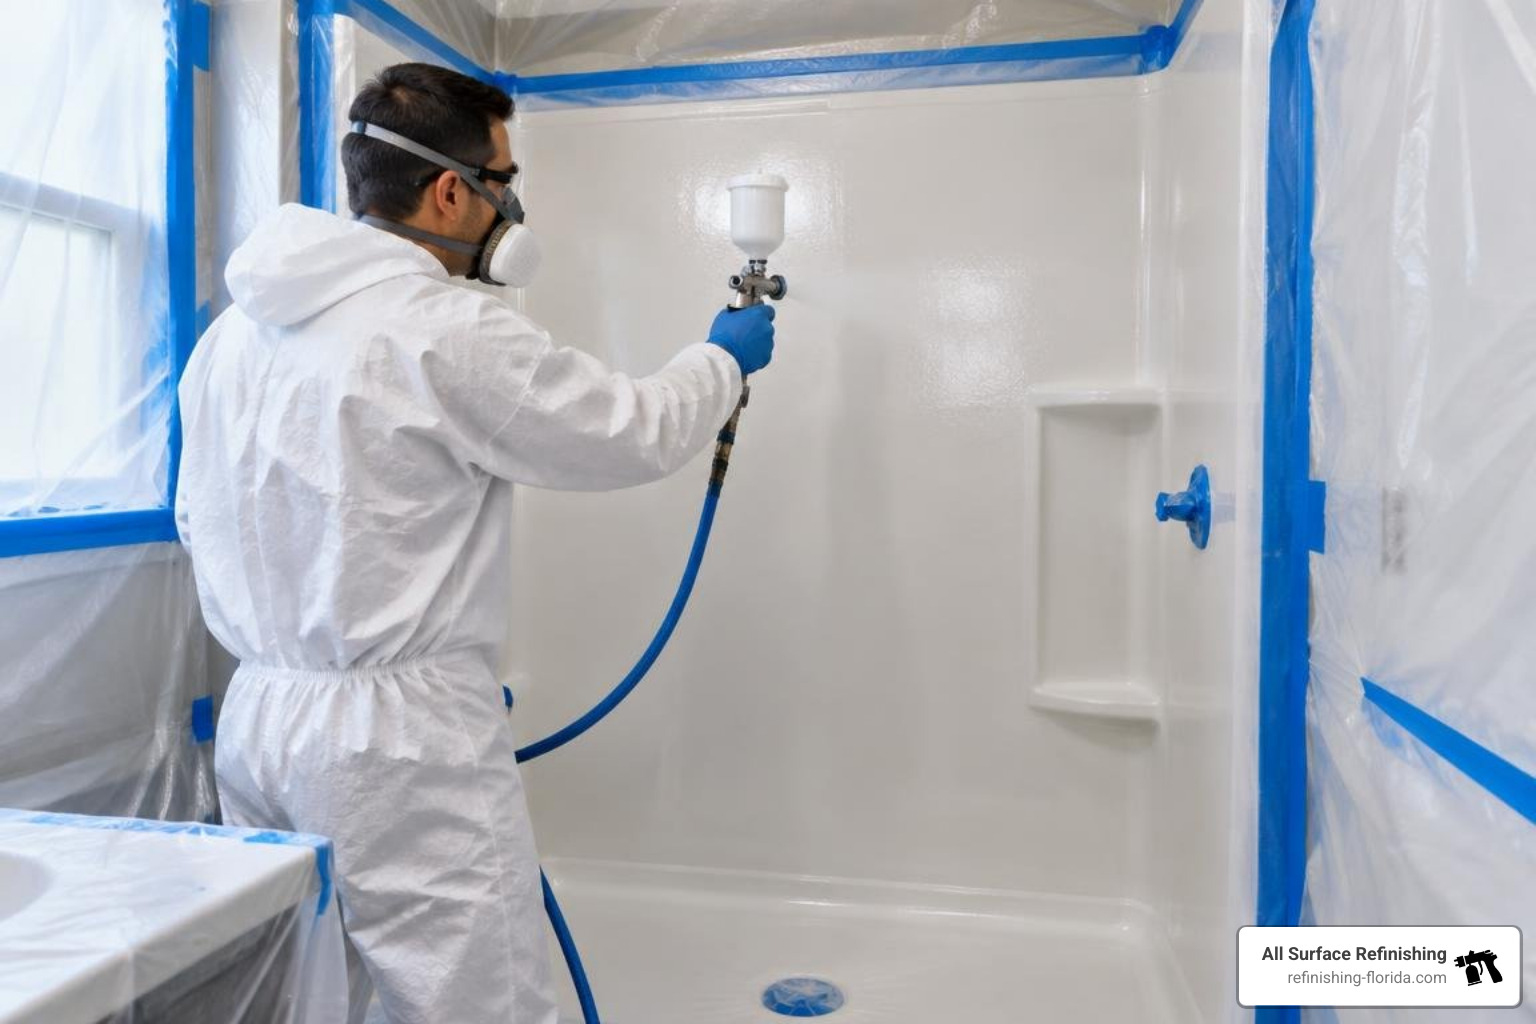
Professional refinishing relies on chemical bonding rather than ordinary paint adhesion. We follow a strict multi-phase application process that guarantees maximum durability.
Chemical Etching, Cleaning, and Masking
Preparation accounts for nearly 75% of the total labor:
- Deep Degreasing & Descaling: Specialized cleaners remove decades of soap scum, body oils, and hard water scale.
- Silicone Removal: Old silicone caulking is completely stripped because coatings cannot adhere to silicone.
- Surface Etching: An acid-free bonding treatment or micro-abrasive sanding process de-glosses the original porcelain or acrylic, creating microscopic anchor patterns.
- Air Containment: Industrial exhaust blowers vent airborne particulates directly outside, keeping your home clean and odor-free.
- Precision Masking: All surrounding bathroom fixtures, walls, shower heads, and valves are sealed with heavy-duty plastic and tape.
Bonding Agents, Primers, and Advanced Coatings
Once the substrate is clean and dry, technicians apply specialized layers:
- Molecular Bonding Agent: An acid-free silane coupling agent fuses chemically to the original mineral or synthetic substrate.
- Epoxy Primer Base: Two coats of corrosion-resistant, high-build epoxy primer seal the surface and lock out moisture.
- Acrylic Urethane Enamel Topcoats: Three to four coats of high-solids acrylic urethane or liquid porcelain enamel are applied using precision HVLP spray equipment. Acrylic urethanes offer superior chemical resistance, UV stability against yellowing, and impact resilience compared to standard epoxy formulas.
Curing Times and Return-to-Service Expectations
Modern low-VOC formulas cure through cross-linking chemical reactions. While the coating becomes dry to the touch in just a few hours, we recommend waiting 24 to 48 hours before running hot water or using soaps. This short cure window lets the protective resin reach full pencil hardness, locking in a durable factory-grade shine.
Safety, Maintenance, and Choosing the Right Contractor
Maximizing Longevity and Proper Cleaning Protocol
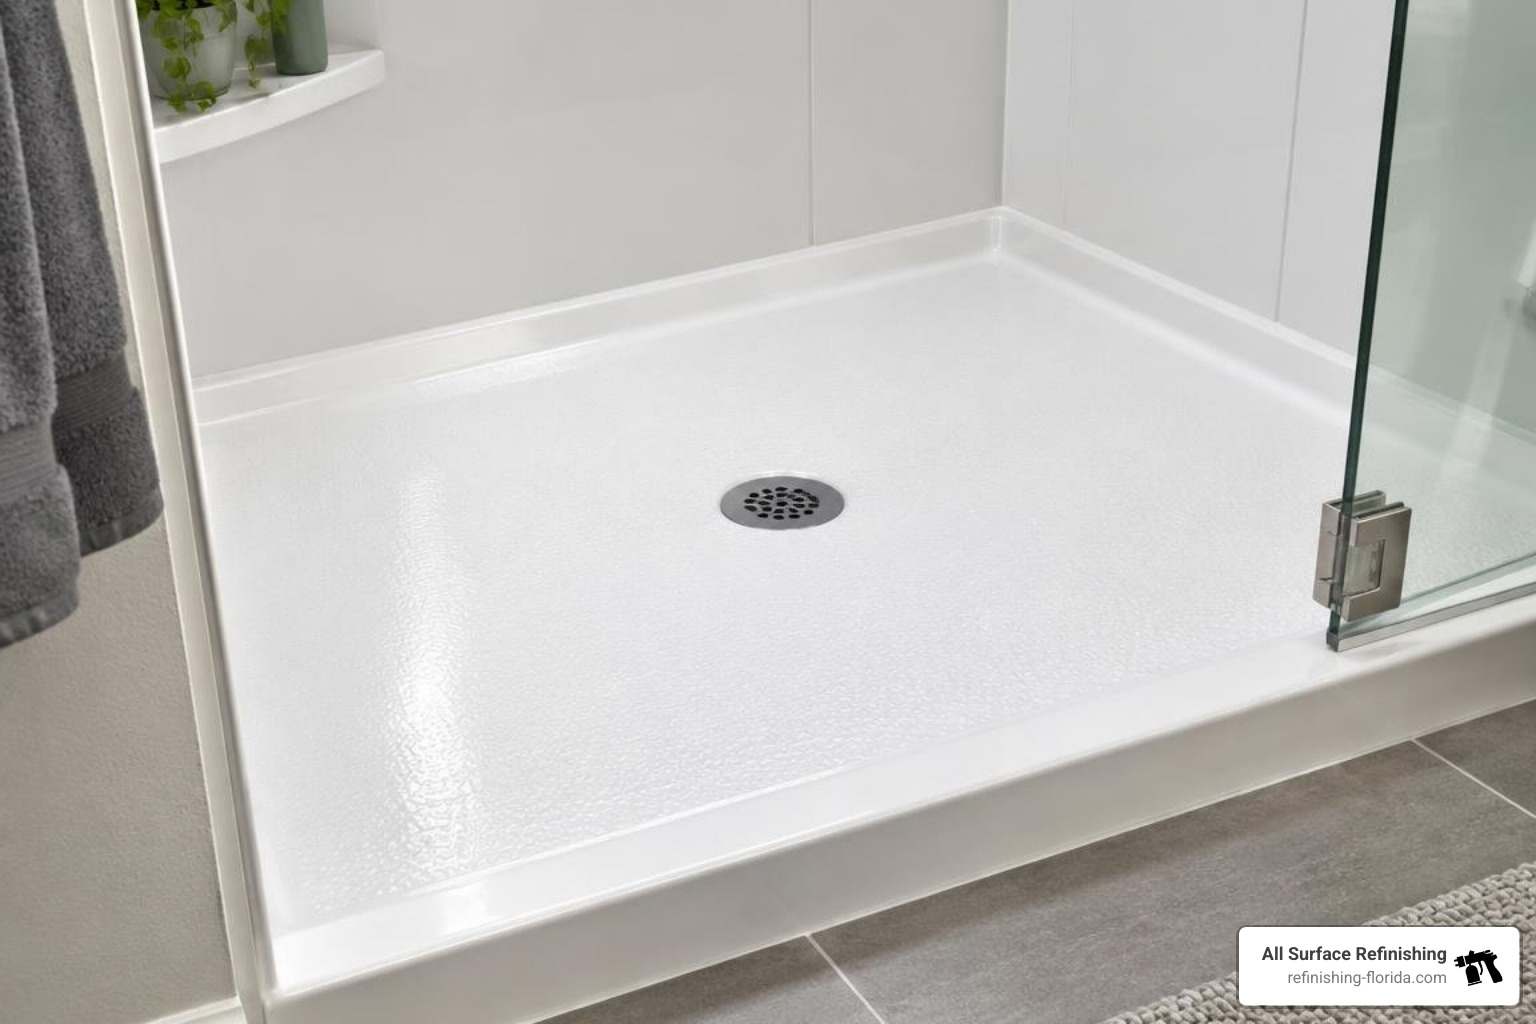
A professionally refinished shower lasts 10 to 15 years when maintained with gentle, non-abrasive care. For extra footing security, ask your technician about applying integrated textures during the final topcoat, and explore our guide on bathroom shower floor safety and traction options.
Follow these daily care best practices:
- Use Non-Abrasive Cleaners: Clean with mild dish soap, diluted white vinegar, or gentle foaming bathroom cleaners.
- Avoid Bleach and Abrasive Powders: Never use scouring powders, abrasive pads, or pure bleach, as they wear down the protective gloss.
- Dry After Use: A quick wipe with a microfiber cloth or squeegee prevents mineral deposits from setting up on the finish.
- Maintain Perimeter Caulking: Re-caulk joints with high-grade kitchen and bathroom silicone as needed to keep water from getting behind the coating.
Selecting a Licensed and Insured Refinishing Specialist
Choosing the right partner protects your investment. Check credentials, warranty terms, and local reviews before hiring. Review these critical questions before hiring a bathroom shower refinisher in Miami Beach, and verify the following on every estimate:
- Licensing & Insurance: Ensure the contractor carries comprehensive general liability and active workers’ compensation.
- Track Record: Look for BBB accreditation and proven longevity in your specific community.
- Clear Warranty Coverage: Reputable specialists provide clear multi-year written warranties covering peeling and bubbling.
- Experienced Crews: Ask if technicians are dedicated refinishing craftsmen rather than general handymen.
Frequently Asked Questions About Bathroom Shower Refinishing
How long does a refinished shower last compared to a new installation?
With routine, non-abrasive care, a professional acrylic urethane refinishing job lasts 10 to 15 years. Refinishing delivers lasting durability at a fraction of the cost, without the mess of demolition.
Can you change the color of existing shower tile and pans during refinishing?
Yes. Refinishing completely covers dated colors—such as almond, avocado green, or peach—with crisp modern shades like pure bright white, biscuit, or custom color matches. The opaque topcoat covers both the tiles and the surrounding grout lines for a clean, uniform look.
How soon can I use my shower after the repair and refinishing process?
Most showers are ready for light touch after 24 hours and full water exposure after 48 hours. Allowing the coating to cure completely ensures long-term chemical resistance and adhesion.
Conclusion
Restoring your bathroom shower does not require weeks of demolition, high plumbing bills, or endless contractor traffic. With over 30 years of experience and more than 14,000 successful kitchen and bathroom resurfacing projects completed across South Florida, our family-owned team at All Surface Refinishing delivers dependable, high-durability transformations in as little as one day.
Whether you live in Miami, Coral Gables, Fort Lauderdale, Hollywood, FL, Boca Raton, West Palm Beach, or Port Saint Lucie, we are ready to revitalize your bathroom fixtures with expert craftsmanship and long-lasting coatings. Reach out to Frank Hernandez and the team today for your free estimate on our expert bathroom shower refinishing services!
