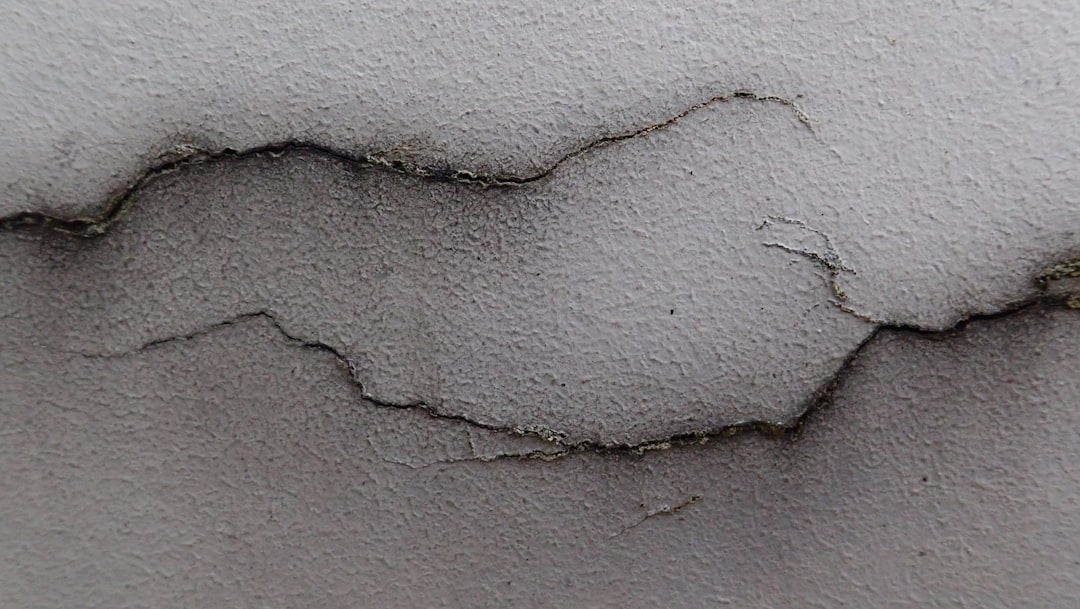
Why Cracked Gelcoat Repair Is Worth Taking Seriously
Cracked gelcoat repair is something every shower tray owner faces eventually — and the sooner you act, the less damage you’ll deal with later.
Here’s the quick answer if you need it now:
- Clean the cracked area with soap and water, then wipe with acetone
- Open the crack into a V-groove using a rotary tool
- Mix gelcoat with 1-2% MEKP catalyst and fill the groove slightly proud
- Seal with plastic wrap or PVA film to block air during curing
- Cure overnight, then wet sand from 400 to 1000 grit
- Polish with a rubbing compound and finish with a protective wax
That’s the core process. But if your crack is deep, spreading, or your tray flexes underfoot, keep reading — you may be dealing with a structural issue that needs a different approach.
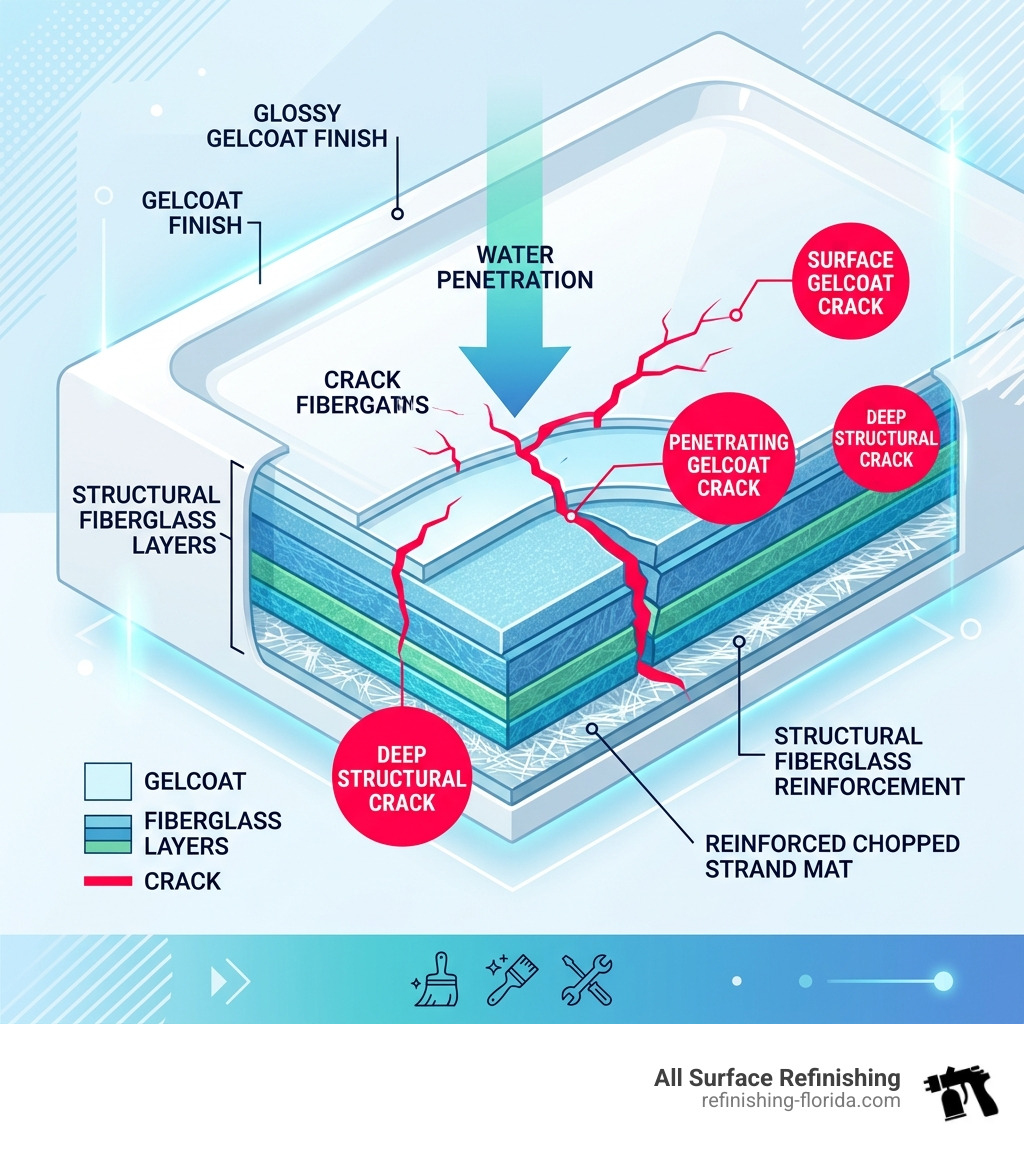
Your shower tray’s gelcoat is a thin but hardworking layer. It seals the fiberglass underneath, protects against moisture, and gives the surface its smooth, glossy finish. When it cracks, it’s not just a cosmetic problem. Water can get in, and once moisture reaches the fiberglass layers beneath, you’re looking at a much bigger repair.
The good news? Most cracks are fixable without ripping anything out.
I’m Frank Hernandez, President of All Surface Refinishing, and I’ve been restoring fiberglass and gelcoat surfaces across South Florida since 1996 — including hundreds of cracked gelcoat repair jobs on shower trays, tubs, and jacuzzis. In this guide, I’ll walk you through exactly what to do.
Handy cracked gelcoat repair terms:
Understanding Gelcoat and Why It Cracks on Bathroom Fixtures
In composite manufacturing, gelcoat is essentially a high-quality, pigmented polyester resin. It is applied to a mold first, and then the fiberglass laminate is built behind it. Think of it as the “skin” of your shower tray or bathtub. While it looks solid, it is actually quite thin—ideally around 20 mils (0.020 of an inch) thick.
So, why does it crack? As we move into April 2026, we are seeing more homeowners in Miami and Fort Lauderdale dealing with aging fixtures that have finally reached their breaking point. There are several scientific and practical reasons for these failures:
- Shrinkage and Brittleness: Gelcoat is naturally more brittle than the fiberglass it covers. During the initial curing process, gelcoat shrinks between 4% and 7%. Because it has less than 1% elongation—meaning it doesn’t like to stretch—it often cracks when the more flexible fiberglass underneath moves.
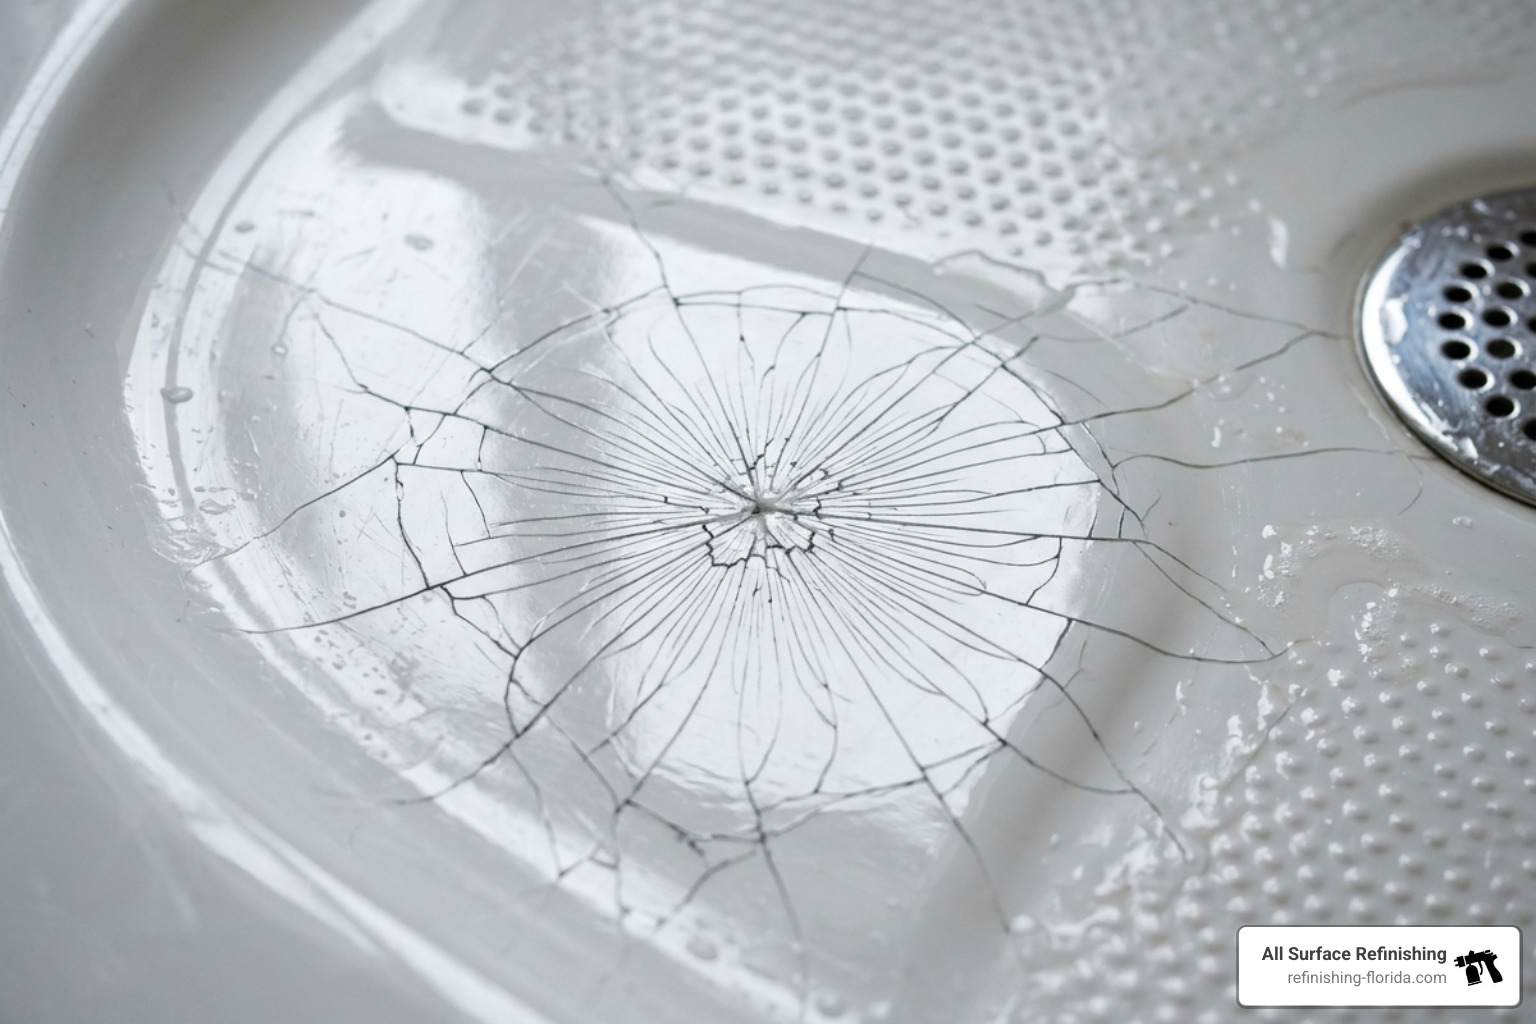
- Thermal Cycling: This is a big one in Florida. We go from hot showers to cool room temperatures daily. This constant expansion and contraction fatigues the material over time, leading to “crazing”—those tiny, web-like cracks that look like a shattered car window.
- Manufacturing Defects: If the gelcoat was applied too thick (especially in corners or edges), it becomes even more prone to cracking because there is no reinforcing fabric to hold it together.
- Impact and Stress: Dropping a heavy shampoo bottle or the constant weight of a person standing on a flexed shower floor creates stress points. According to research on gelcoat properties, these localized pressures are the primary cause of single-line stress cracks.
Identifying Structural Issues in Cracked Gelcoat Repair
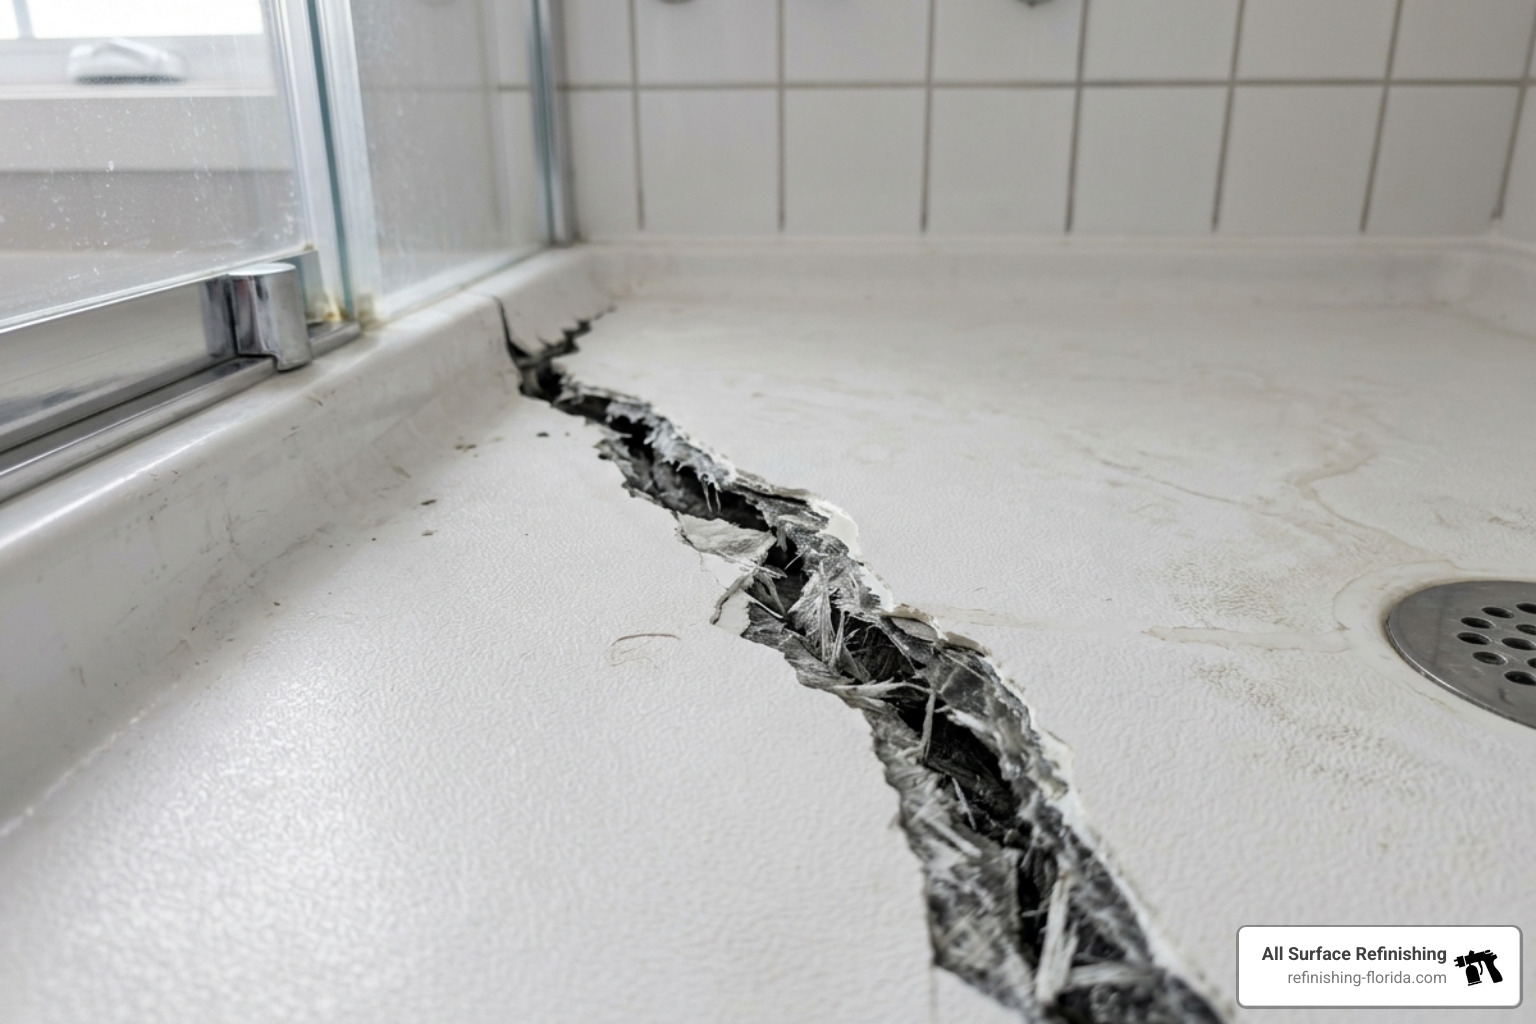
Before you grab your tools, you must determine if you are looking at a cosmetic blemish or a structural failure. A cosmetic crack is just in the “skin.” A structural crack goes all the way through the laminate.
The easiest way to tell is the Tap Test. Take the handle of a screwdriver and lightly tap the area around the crack. A sharp, crisp “ping” usually means the gelcoat is well-bonded. A dull, hollow “thud” is a red flag for delamination—where the gelcoat has separated from the fiberglass.
If you notice the floor of your shower tray flexing or “giving” when you step on it, the crack is likely structural. This often happens in older homes in Boca Raton or Delray Beach where the mortar bed beneath the tray has eroded or shifted. Ignoring this leads to moisture intrusion, which can rot your subfloor or cause mold growth. For those dealing with similar issues in larger fixtures, you can find more information about jacuzzi crack repair and hot tub gel coat repair to see how these principles apply to high-pressure environments.
The Complete DIY Guide to Fixing Your Shower Tray
If you’ve determined the damage is superficial, you can perform a cracked gelcoat repair yourself. The secret to a repair that lasts is the V-groove method. You cannot simply “paint over” a crack; you have to create space for the new material to bond.
Preparation is 90% of the job. You must strip away all wax, soap scum, and oils. We always use acetone for this—it’s non-negotiable for proper adhesion. Once clean, use a rotary tool to carve a shallow “V” along the length of the crack. This increases the surface area for the new gelcoat to grip.
When choosing materials, refer to this comparison:
| Feature | Polyester Gelcoat | Epoxy Resin |
|---|---|---|
| Adhesion | Good (Best for Gelcoat-to-Gelcoat) | Excellent (Strongest bond) |
| UV Resistance | High | Low (Can yellow over time) |
| Ease of Sanding | Easy | More difficult |
| Best Use | Cosmetic surface repairs | Structural reinforcement |
For most shower tray finishes, a standard DIY repair guide suggests sticking with polyester-based gelcoat for the best color match and finish.
Essential Tools for Professional Cracked Gelcoat Repair
To get a factory-fresh result, you’ll need the right kit. You can find specialized fiberglass tub crack repair kits that include many of these items:
- Rotary Tool (Dremel): With a small burr bit for opening cracks.
- Sandpaper: A progression from 80-grit (for prep) up to 2000-grit (for finishing).
- MEKP Catalyst: The hardener used to trigger the cure.
- Safety Gear: Nitrile gloves and a respirator (acetone and gelcoat fumes are strong!).
- PVA Film or Plastic Wrap: Crucial for the curing process.
- Acetone: For cleaning and thinning (if necessary).
Step-by-Step Process for Cracked Gelcoat Repair
- Clean the Area: Wash with marine-grade soap, then wipe thoroughly with acetone.
- Grind the V-Groove: Use your rotary tool to follow the crack, widening it slightly.
- Sand the Edges: Use 80 or 120-grit paper to “feather” the edges around the groove. This helps the new patch blend in.
- Mix the Gelcoat: Follow the manufacturer’s instructions exactly. Usually, it’s 1-2% MEKP catalyst. Pro Tip: Mix only what you can use in 10-15 minutes; in our South Florida heat, it sets fast!
- Apply and Overfill: Use a spreader to press the paste into the groove. Leave it slightly “proud” (higher than the surrounding surface) because gelcoat shrinks as it cures.
- Seal for Airless Curing: Gelcoat will remain tacky if exposed to oxygen. Cover the repair with plastic wrap or spray with PVA (Polyvinyl Alcohol) to create an airtight seal.
- Cure: Let it sit for at least 24 hours.
Achieving a Seamless Finish and Preventing Future Damage
Once the patch is hard, the real magic happens during the sanding and polishing phase. This is where you make the repair disappear.
Start with wet sanding. Use a sanding block to keep the surface level—never use just your fingers, or you’ll create “waves” in the finish. Start with 400-grit and work your way up to 600, 800, and finally 1000 or 2000-grit. The surface should look smooth but dull.
Next, apply a high-quality rubbing compound. Using a buffer or a lot of elbow grease, polish the area until the shine matches the rest of the tray. For the final touch, a coat of marine-grade wax will protect the repair from UV rays and soap scum buildup.
To prevent cracks from returning:
- Regular Maintenance: Wax your tray 2-3 times a year.
- Re-bed Fixtures: If cracks are radiating from a drain or handle, remove the hardware and re-bed it with a flexible sealant like 3M 4200.
- Avoid Harsh Chemicals: Bleach and abrasive cleaners can make gelcoat brittle over time. Stick to mild soaps.
For more specialized tips on maintaining the look of your bathroom fixtures, check out our guide on hot tub surface repair.
Frequently Asked Questions about Gelcoat Repair
How do I know if a crack is structural?
As mentioned, the “Tap Test” is your best friend. If you hear a hollow sound or see the crack physically “opening and closing” when you apply weight to the shower tray, it is structural. Structural cracks require fiberglass reinforcement from behind, not just a surface patch.
Can I use epoxy instead of gelcoat?
Yes, you can. Epoxy has superior adhesive properties, which is why it’s often used for below-waterline boat repairs. However, for a shower tray, epoxy is harder to color-match and can yellow over time when exposed to light. We generally recommend polyester gelcoat for cosmetic surface repairs.
Why do cracks keep reappearing in the same spot?
This usually means the underlying cause wasn’t fixed. If the shower tray is flexing because it isn’t supported properly from underneath, any “patch” you put on top will eventually crack again. In these cases, the tray needs to be stabilized or the bottom rebuilt with fiberglass cloth.
Conclusion
At All Surface Refinishing, we believe you shouldn’t have to live with a bathroom that looks worn out. With over 30 years of experience and 14,000 projects completed, we’ve seen it all—from minor spider cracks in Aventura to major structural failures in Naples.
Whether you are in Miami, Fort Lauderdale, or Boca Raton, our team is dedicated to providing cost-effective, high-quality repairs. If a DIY cracked gelcoat repair feels like more than you want to tackle, or if your shower tray needs a professional touch to look brand new again, we are here to help.
Ready to restore your bathroom’s shine? Explore more info about professional bathtub services and see how we can save you up to 75% over the cost of replacement. Give us a call today!
