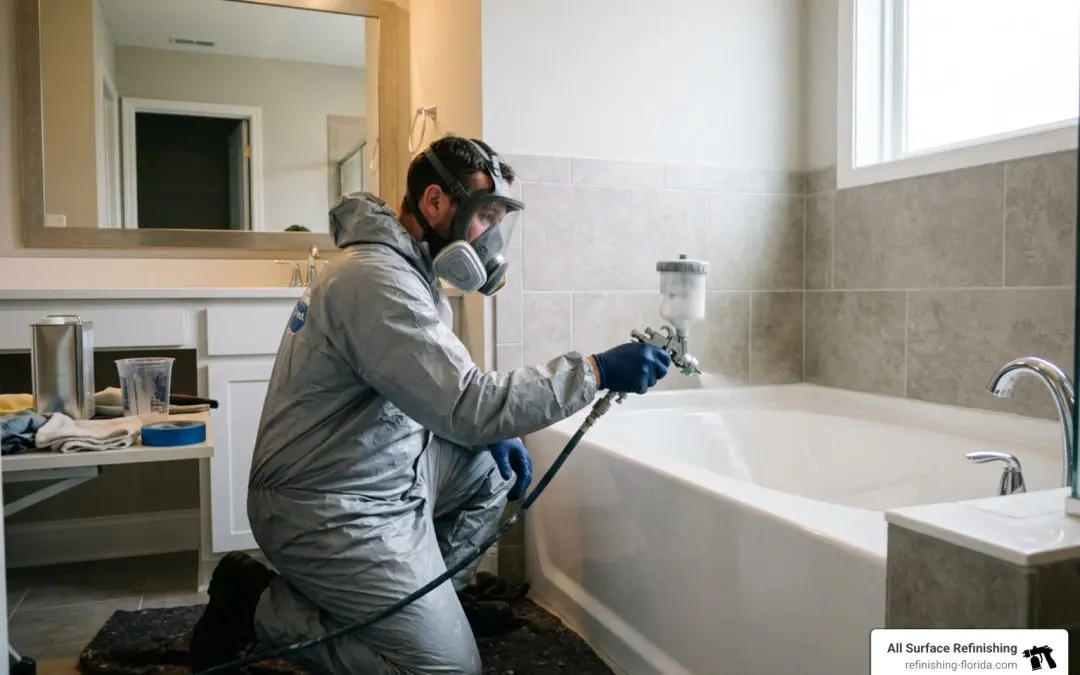
Is Your Bathtub Due for a Refresh? Here’s What You Need to Know
Finding the best tub resurfacing option can save you thousands of dollars compared to a full bathroom replacement. Whether you’re a homeowner with a stained, chipped tub or a property manager refreshing units between tenants, resurfacing is one of the smartest upgrades you can make.
Here are the top tub resurfacing options at a glance:
| Option | Best For | Cost Range | Lifespan |
|---|---|---|---|
| Professional spray-on acrylic urethane | High-traffic bathrooms, best results | $300–$600 | 10–20 years |
| Professional pour-on casting resin | DIY-style with pro-grade finish | $300–$600 | 10–15 years |
| DIY pour-on kit (e.g., Ekopel 2K) | Guest baths, tight budgets | $50–$150 | 3–5 years |
| Full tub replacement | Structural damage only | $3,000–$8,000+ | 20+ years |
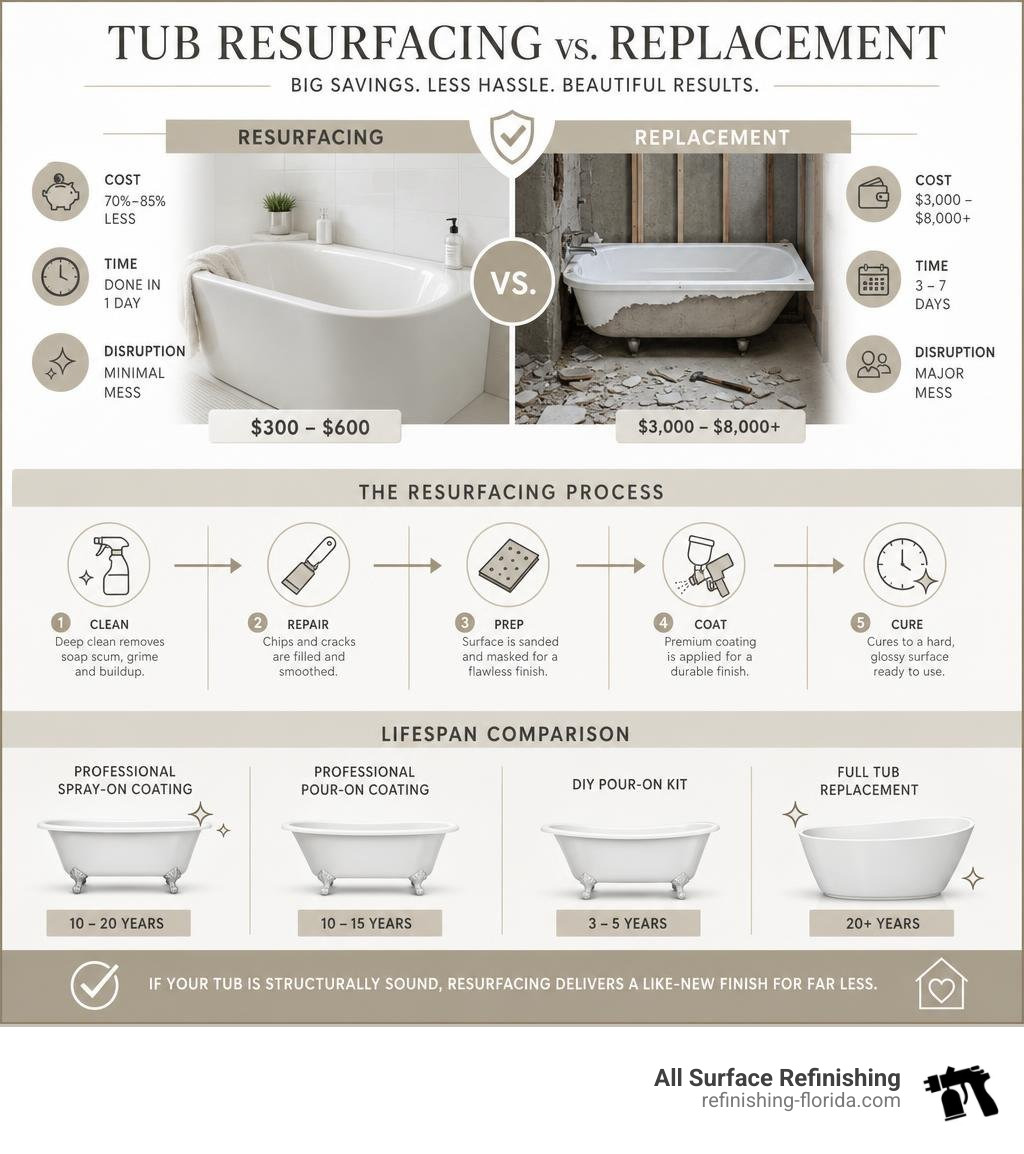
The core idea is simple: if your tub is structurally sound, resurfacing gives you a like-new finish in a single day — at 70% to 85% less than the cost of replacing it.
But not all resurfacing methods are equal. The finish you get depends heavily on the materials used, the prep work done, and whether the job is handled by a professional or a first-time DIYer.
This guide breaks down every major option — from DIY kits to professional spray applications — so you can choose the right one for your tub, your budget, and your timeline.
I’m Frank Hernandez, President of All Surface Refinishing, and with over a decade of hands-on refinishing experience across South Florida, I’ve seen what separates a best tub resurfacing result that lasts 15+ years from one that peels within months. In the sections below, I’ll walk you through exactly what works — and what to avoid.
Comparing Professional Tub Resurfacing Materials and Methods
When we look at the science behind a pristine, high-gloss bathtub finish, the choice of materials determines how long your tub stays shiny and peel-free. In our 30+ years of transforming South Florida bathrooms, we have worked with every imaginable compound. Today, the industry standard for the best tub resurfacing comes down to two primary methods: pour-on casting resins and spray-applied coatings.
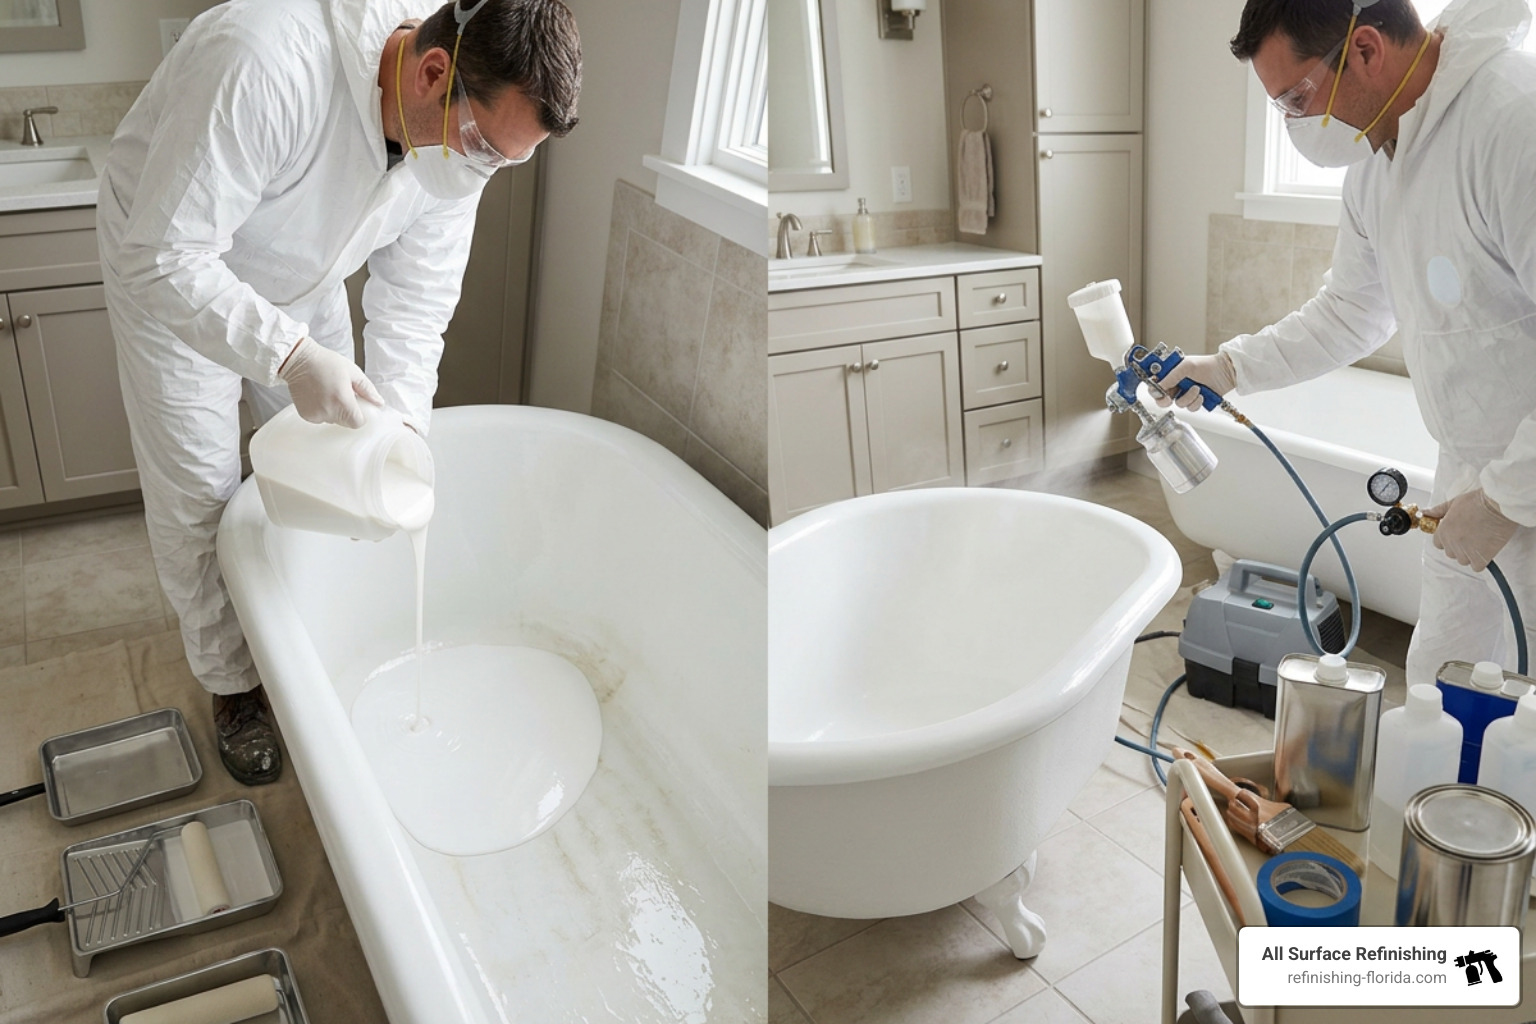
Each method has its own chemical profile, application demands, and aesthetic results. To help you understand the differences, we have put together a quick comparison table of these professional-grade approaches:
| Feature | Pour-On Casting Resin | Spray-On Acrylic Urethane | Odorless Low-VOC Kits |
|---|---|---|---|
| Application Type | Poured & spread with a foam roller | Fine-finish HVLP spray system | Poured or rolled |
| Coating Thickness | Very thick (self-leveling) | Thin, multi-layered | Moderate |
| Odor Level | Odorless / Non-toxic | High odor (requires heavy ventilation) | Low to no odor |
| Set Time | 24 to 36 hours | 3 to 5 hours | 24 to 48 hours |
| Full Cure Time | Up to 30 days | 24 to 36 hours | 7 to 14 days |
| Lifespan | 10–15 years | 15–20 years | 3–5 years (DIY grade) |
Professional Pour-On Tub Casting Resin Applications
Pour-on tub casting resin has gained massive popularity because it provides a thick, glass-like finish that mimics the look of original factory porcelain. These self-leveling tub coatings are poured directly onto the top ledges of the bathtub and allowed to flow down the sides, creating a seamless, high-gloss surface.
The primary advantage of a premium pour-on system is that it is virtually odorless and non-toxic. This makes it incredibly convenient for indoor use in tight spaces like high-rise condos in Bal Harbor, where strong chemical fumes can easily travel to neighboring rooms.
However, pour-on coatings require a strict application environment. The room temperature must be kept strictly between 72°F and 75°F (and absolutely no warmer than 78°F) starting 24 hours before the project begins and continuing throughout the process. While the material sets enough for light use within a 24-hour bathtub cure time, it actually takes up to 30 days to achieve a full deep cure. During this 30-day window, you must avoid placing heavy items or harsh chemicals on the surface.
Professional Spray-Applied Acrylic Urethane Tub Coatings
For the ultimate in durability and a factory-smooth feel, professional spray-applied acrylic urethane remains the gold standard. This method combines the high gloss and hardness of acrylic with the flexibility and impact resistance of polyurethane.
Unlike thick pour-on resins, spray-on coatings are applied in multiple thin, highly controlled layers using high-volume, low-pressure (HVLP) spray systems. This allows our technicians to achieve a perfectly uniform, non-porous finish without any runs or sags.
The downside of traditional spray-on acrylic urethane is the high-odor tub reglazing ventilation required. The chemical solvents used in these commercial-grade coatings emit strong volatile organic compounds (VOCs) during application. To keep your home safe and comfortable, we utilize high-powered window exhaust fans and specialized masking systems to pull fumes out of your living space.
Despite the temporary smell, spray-on acrylic urethane is the most budget-friendly tub option when you factor in its incredible longevity. It cures completely in just 24 to 36 hours, meaning your bathroom downtime is kept to an absolute minimum.
Evaluating the Best Tub Resurfacing Methods: DIY Kits vs. Professional Services
It is tempting to walk into a local home improvement store in Broward County, grab a $50 DIY roll-on epoxy kit, and plan a weekend project. But before you roll up your sleeves, it is crucial to understand the massive gap in performance, looks, and longevity between DIY kits and professional resurfacing.
Why Professional Application Yields the Best Tub Resurfacing Results
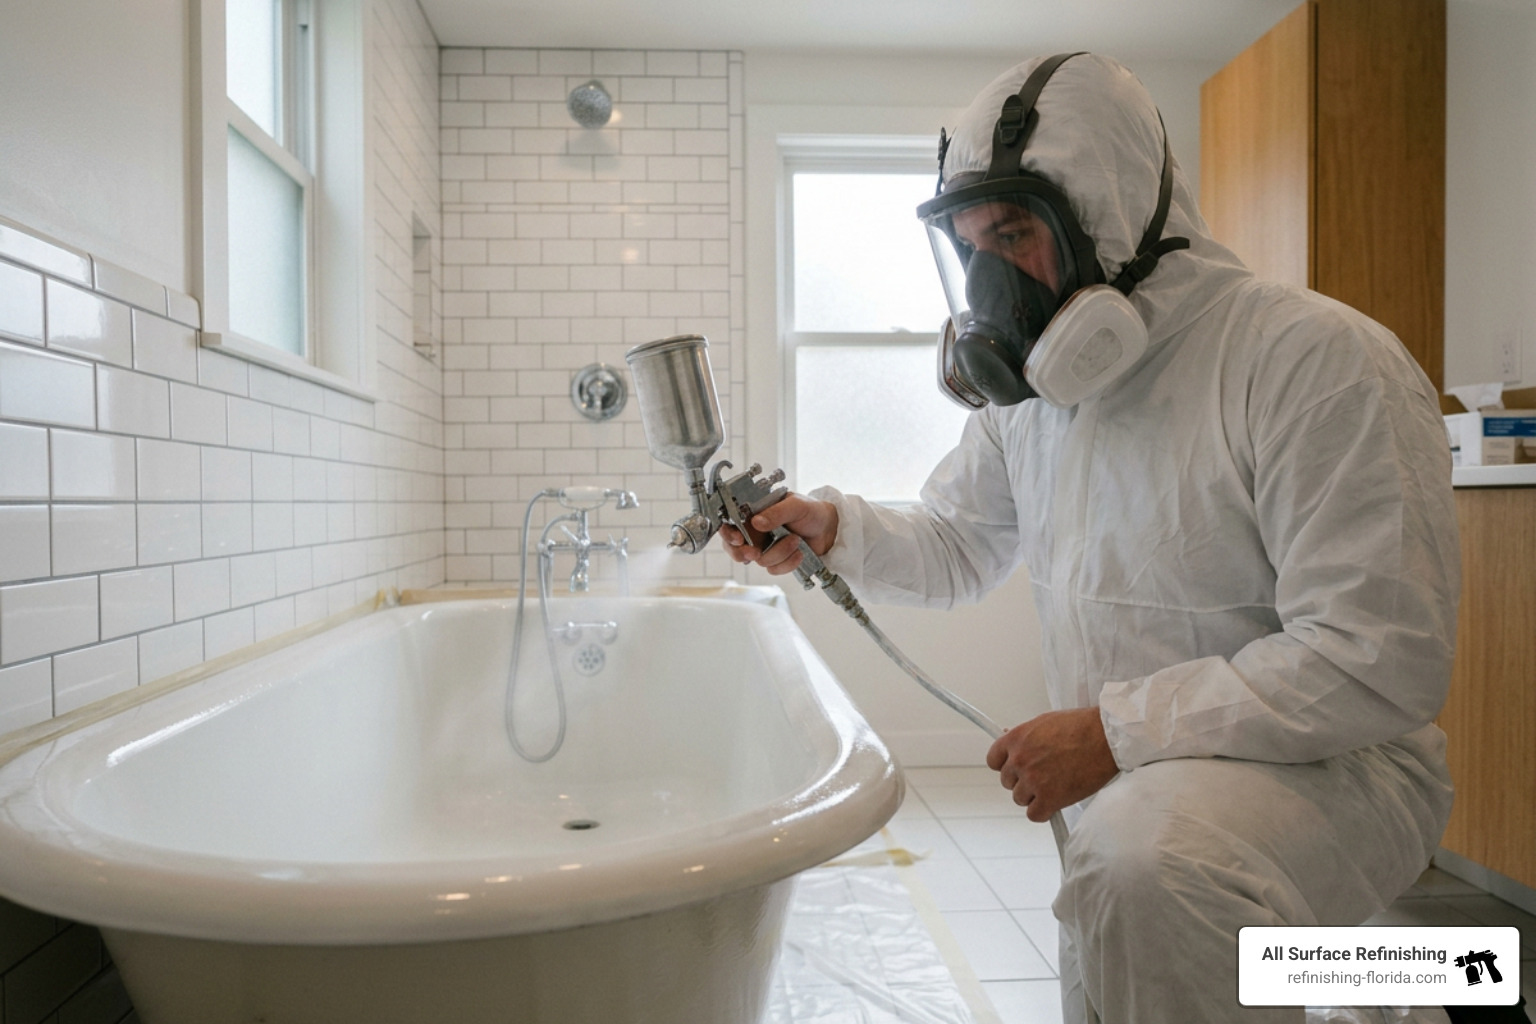
The difference between a DIY job and a professional finish comes down to chemistry and equipment. Professional refinishing is not just “painting” a tub; it is a multi-step molecular bonding process.
When we resurface a tub, we don’t just scuff the surface and apply paint. We use industrial-strength molecular bonding agents that chemically fuse the new acrylic urethane coating to the original porcelain, fiberglass, or cast iron. This creates a permanent, non-porous barrier that will not peel or chip under daily use. To learn more about the technical details of this process, check out our Professional Bathtub Resurfacing Complete Guide.
Furthermore, our professional spray equipment allows us to apply the coating with microscopic precision. This is why nine out of ten people cannot tell the difference between a professionally resurfaced tub and a brand-new factory model. If you are looking to elevate your home’s value, hiring local professional bathtub standards in Bal Harbor, FL, ensures your bathroom looks pristine.
The Risks and Limitations of DIY Tub Resurfacing Kits
DIY kits, on the other hand, typically rely on basic epoxy paints that you roll or brush on. Because these coatings are thin and lack advanced bonding chemistry, they are highly prone to brush marks, uneven thickness, and premature failure.
While a DIY kit might seem like a great way to save money on tight bathroom budgets, they carry significant guest bathrooms durability risks. Under the constant moisture and heat of a daily shower, cheap roll-on epoxies quickly begin to bubble, crack, and peel.
If you are wondering whether the DIY route is worth the effort, we highly recommend reading our detailed breakdown: Is bathtub reglazing worth it?. Often, homeowners who try to save a few bucks with a DIY kit end up calling us a year later to strip off the peeling mess—which actually costs more than doing it professionally the first time! To understand the financial side of things, read our guide on How much does it really cost to resurface your old tub? and weigh your options with Is refinishing your bathtub worth it?.
Step-by-Step Bathtub Surface Preparation and Application Process
If there is one absolute secret to achieving the best tub resurfacing finish, it is the preparation. As the saying goes in our industry, “Your finish is only as good as your foundation.” Skipping even a single prep step guarantees that your new coating will peel off within a year.
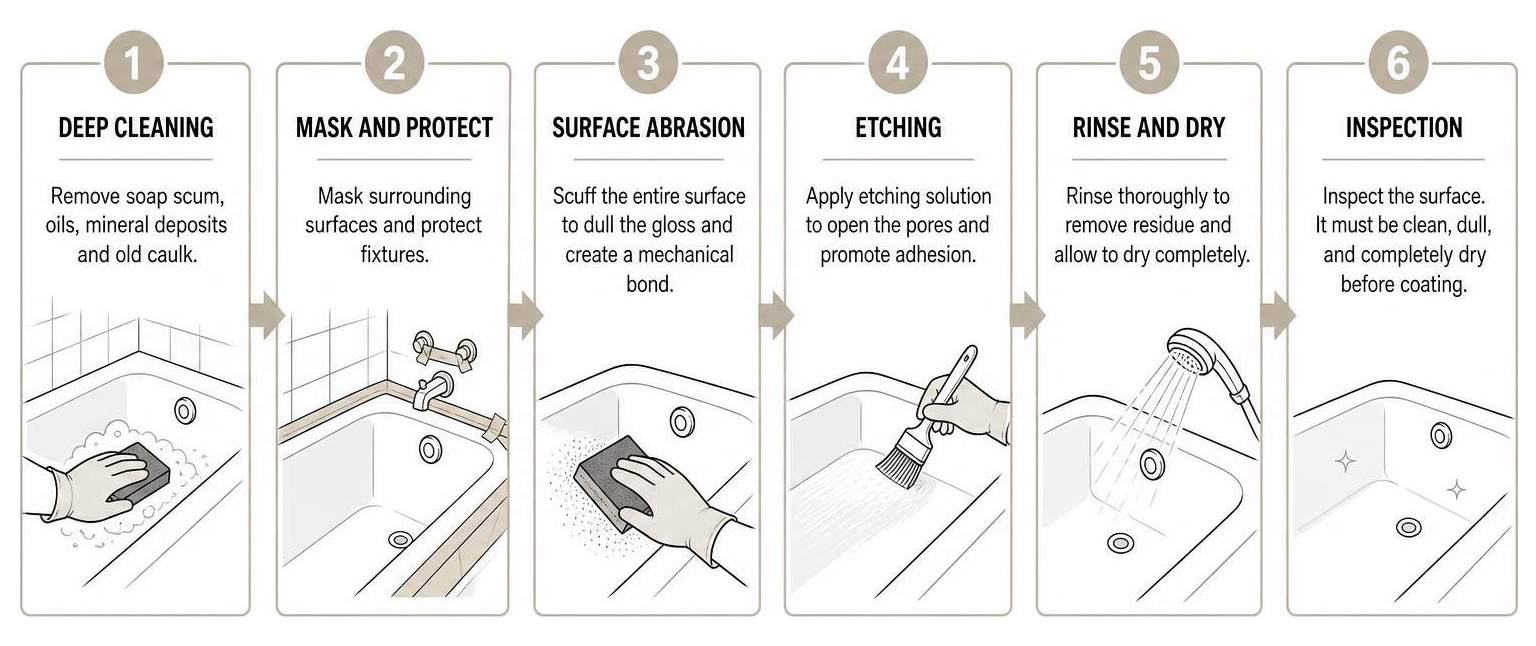
To help you understand what a professional-grade preparation looks like, we have broken down our exact process into clear, actionable steps. You can also view our simplified guide on How to resurface a bathtub in 6 simple steps.
Essential Bathtub Surface Preparation Steps
- Deep Cleaning and Removing Bathtub Soap Scum: We begin by scrubbing the tub with specialized industrial cleaners to remove decades of soap scum, body oils, mineral deposits, and silicone caulk. Standard household cleaners will not cut it here; the surface must be chemically pristine.
- Sanding the Bathtub Surface: Next, we sand the entire surface using specialized sandpaper (typically 100 to 220 grit) to scuff the original glaze. This mechanical sanding creates microscopic “teeth” on the surface, giving the new coating something to grab onto.
- Hydrofluoric Acid Tub Etching: For porcelain and cast iron tubs, we apply a professional-grade hydrofluoric acid etching agent. This acid microscopically eats into the slick porcelain, transforming a glass-smooth surface into a porous, velcro-like texture. Warning: Hydrofluoric acid is extremely hazardous and should only be handled by trained professionals with proper safety gear.
Repairing Bathtub Chips and Structural Cracks
Once the tub is clean and etched, we must repair every single surface imperfection. Applying a new glaze over an unrepaired chip or crack is like building a house on cracked concrete—it will fail.
For minor chips and scratches, we use professional-grade tub repair supplies, such as highly water-resistant tub fillers and specialized hardeners. Unlike standard automotive body fillers, which can react adversely with cast iron and swell in wet environments, our fillers are engineered specifically for high-moisture bathroom environments.
We apply these fillers to any dings, sand them completely flat, and then use precision tub airbrush tools (like a lightweight 1 lb. Badger Air Brush) to blend the repaired areas seamlessly before the final topcoat is sprayed. This meticulous attention to detail is why we highly recommend reading our comprehensive Bathtub Resurfacing Complete Guide to understand why professional repairs are non-negotiable.
Common Bathtub Durability Issues and How to Avoid Them
Even the highest-quality resurfacing job can run into issues if the tub is abused or if the application process was rushed. The most common complaints we hear from homeowners who used low-quality services or tried DIY kits are bathtub peeling, cracking, and staining.
Fortunately, these issues are completely avoidable if you follow professional tub resurfacing standards in Broward County. If your current tub is already showing signs of wear, read our guide on Bathtub coating peeling off quick fixes and long term solutions to see how to address it.
How to Maintain Your Tub for the Best Tub Resurfacing Lifespan
Once your tub has been professionally resurfaced, caring for it is incredibly simple—but you must throw out your old cleaning habits.
- Use Non-Abrasive Bathtub Cleaners: Never use abrasive scouring powders (like Comet or Ajax), steel wool, or harsh scrubbing pads. These will scratch the high-gloss finish, making it dull and hard to clean over time. Instead, use gentle, spray-on cleaners like Scrubbing Bubbles or Tilex, and wipe with a soft microfiber cloth.
- Avoiding Bleach on Resurfaced Tubs: Avoid harsh bleach-based cleaners, which can chemically break down the acrylic urethane over time. For tough stains, a paste of baking soda and water applied gently with a magic eraser works wonders.
- Keep It Dry: Always rinse the tub surface after use to prevent soap buildup, and never leave wet washcloths or plastic bathmats sitting in the bottom of the tub, as they can trap water against the finish.
For more detailed tips on keeping your tub looking brand new, read our expert analysis: The truth about how long your resurfaced tub will stay shiny.
Preventing Bathtub Adhesion Failure and Peeling
Adhesion failure—where the new coating lifts away from the original tub—is almost always caused by moisture entrapment during the curing phase or a dripping bathtub faucet.
If a faucet has a slow drip, that constant stream of water running down the drain will prevent the new glaze from curing properly around the drain flange. Over the next few weeks, water will creep under the uncured edge, leading to massive peeling.
Before we begin any resurfacing project, we always ensure that all plumbing is completely dry and leak-free. We also apply high-quality chemical bonding agents to act as a barrier, ensuring that moisture cannot penetrate the seal between the old tub and the new finish.
Frequently Asked Questions About Tub Reglazing
What is the typical cost of professional tub resurfacing vs. replacement?
A full bathtub replacement is rarely as simple as buying a new $500 tub. When you factor in the cost of hiring a plumber, tearing out tile walls, disposing of the old heavy cast iron tub, and repairing drywall, a standard replacement quickly balloons into a major bathroom remodeling project costing between $3,000 and $8,000+.
In contrast, a professional tub resurfacing typically costs between $300 and $600. This represents a massive savings of 70% to 85% over replacement, allowing you to allocate your bathroom remodeling budget to other upgrades like new vanities or modern lighting. For a complete cost breakdown, check out our Bathtub Refinishing Costs Ultimate Guide.
How long does the tub resurfacing process take and what is the cure time?
Our professional resurfacing process is incredibly fast. A standard 1-day bathtub project completion takes approximately 3 to 5 hours of active on-site work.
Once the spray-on acrylic urethane is applied, we recommend waiting 24 hours for light use (like a quick shower) and 36 hours for a full cure before taking a deep bath. This is a massive improvement over a full replacement, which can leave your bathroom unusable for a week or more!
Can you resurface fiberglass, cast iron, and acrylic tubs?
Yes! Professional tub resurfacing is highly versatile and compatible with almost all common tub materials. This includes classic porcelain enamel tubs, heavy cast iron tubs, modern fiberglass surrounds, acrylic shower pans, and even pressed steel tubs.
Because each material expands and contracts differently under hot water, we adjust our bonding agents and preparation steps to match the specific physical properties of your tub’s material, ensuring a flawless bond every single time.
Conclusion
When it comes to updating your bathroom, finding the best tub resurfacing option is the most cost-effective, fast, and eco-friendly decision you can make. By preserving your high-quality original fixture and avoiding the dusty mess of demolition, you can enjoy a gorgeous, high-gloss bathroom transformation in just 24 hours.
At All Surface Refinishing, we bring over 30 years of experience and more than 14,000 completed projects to every home we service across South and Southwest Florida. Whether you are looking to refresh a standard tub or want to Transform your bathroom with professional Jacuzzi tub resurfacing, our team is here to deliver a factory-smooth, long-lasting finish backed by our written warranty.
Ready to skip the high costs of replacement and fall in love with your bathroom again? Read The Ultimate Guide to Professional Bathtub Resurfacing in South Florida for more details, or contact us today to get your free quote!
