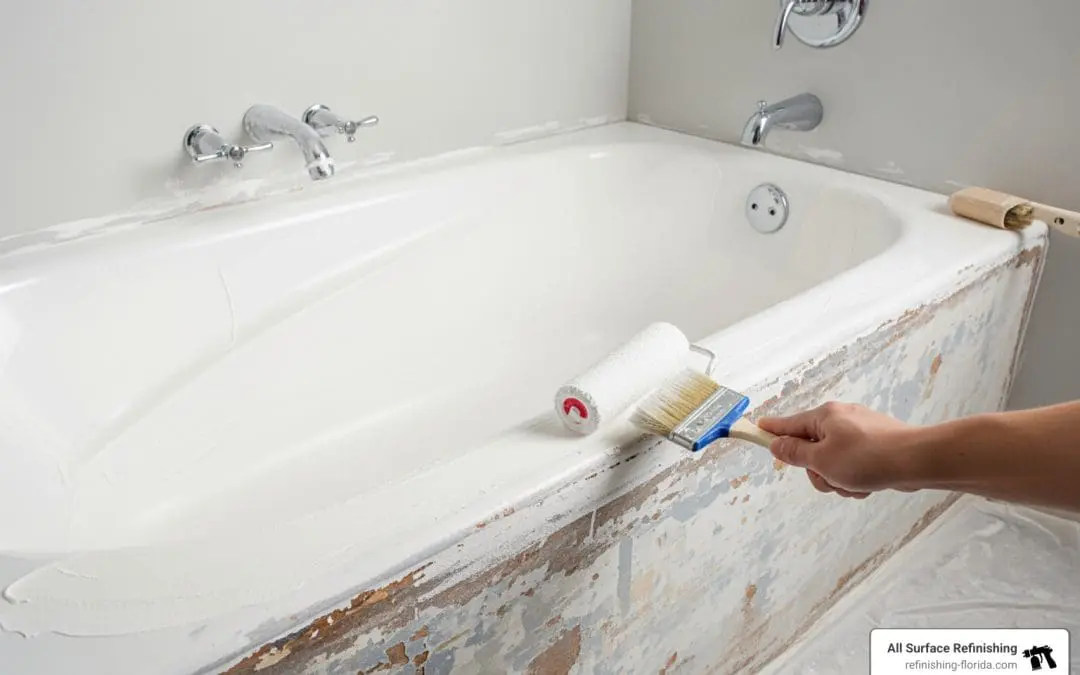
Why DIY Bathtub Resurfacing Can Save You Thousands
Bathtub resurfacing DIY is a budget-friendly way to restore a worn, stained, or outdated tub — without tearing out your bathroom.
Here’s the quick version of how it works:
- Remove all hardware and old caulk
- Clean the surface thoroughly to remove soap scum and oils
- Etch or sand the surface to create adhesion
- Apply epoxy coating in two thin coats
- Cure for 24-72 hours before use
Cost comparison at a glance:
| Option | Typical Cost |
|---|---|
| DIY refinishing kit | $50 – $200 |
| Professional reglazing | $330 – $600 |
| Full bathtub replacement | $4,100 – $14,000 |
That’s a massive gap. And for many tubs — especially ones that are structurally sound but just look tired — DIY resurfacing is a legitimate fix.
That said, it’s not a perfect solution for every situation. The prep work is demanding, the chemicals are serious, and a rushed job can peel within months. This guide walks you through everything you need to know to get it right.
I’m Frank Hernandez, President of All Surface Refinishing and a professional surface refinisher with over a decade of hands-on experience — including countless bathtub resurfacing diy assessments and professional refinishes across South Florida. I’ve seen what works, what fails, and exactly where most homeowners go wrong.
Is Bathtub Resurfacing DIY the Right Choice for Your Bathroom?
Before you run to the hardware store in Miami or Fort Lauderdale to grab a kit, we need to talk about whether your tub is actually a candidate for a facelift. In our 30+ years of experience at All Surface Refinishing, we’ve found that homeowners often mistake “ugly” for “broken.”
If your tub is simply the “wrong” color (we’re looking at you, 1970s avocado green and harvest gold), or if it has minor surface stains and tiny spiderweb cracks, bathtub resurfacing diy is an excellent option. It’s also a great move for those living in Aventura or Boca Raton who are looking for a “stop-gap” measure before a major remodel in a few years.
However, if your tub has deep structural cracks, actual holes, or persistent leaks that are damaging your floorboards, no amount of epoxy paint will save it. In those cases, you’re looking at a replacement.
Material Compatibility
Most DIY kits are designed to work on:
- Porcelain: The classic glass-like coating over steel or cast iron.
- Fiberglass: Common in many South Florida developments; it’s lightweight but prone to dulling.
- Acrylic: Similar to fiberglass but more durable.
- Cast Iron: These are the “monoliths” of the bathroom world. They can weigh up to 500 pounds! If you have one of these, resurfacing is almost always better than trying to haul it out of a second-story condo in Coral Gables.
According to How to Resurface a Bathtub, the decision usually comes down to the “bones” of the tub. If the structure is solid, resurfacing can extend its life by several years.
The Financial Reality
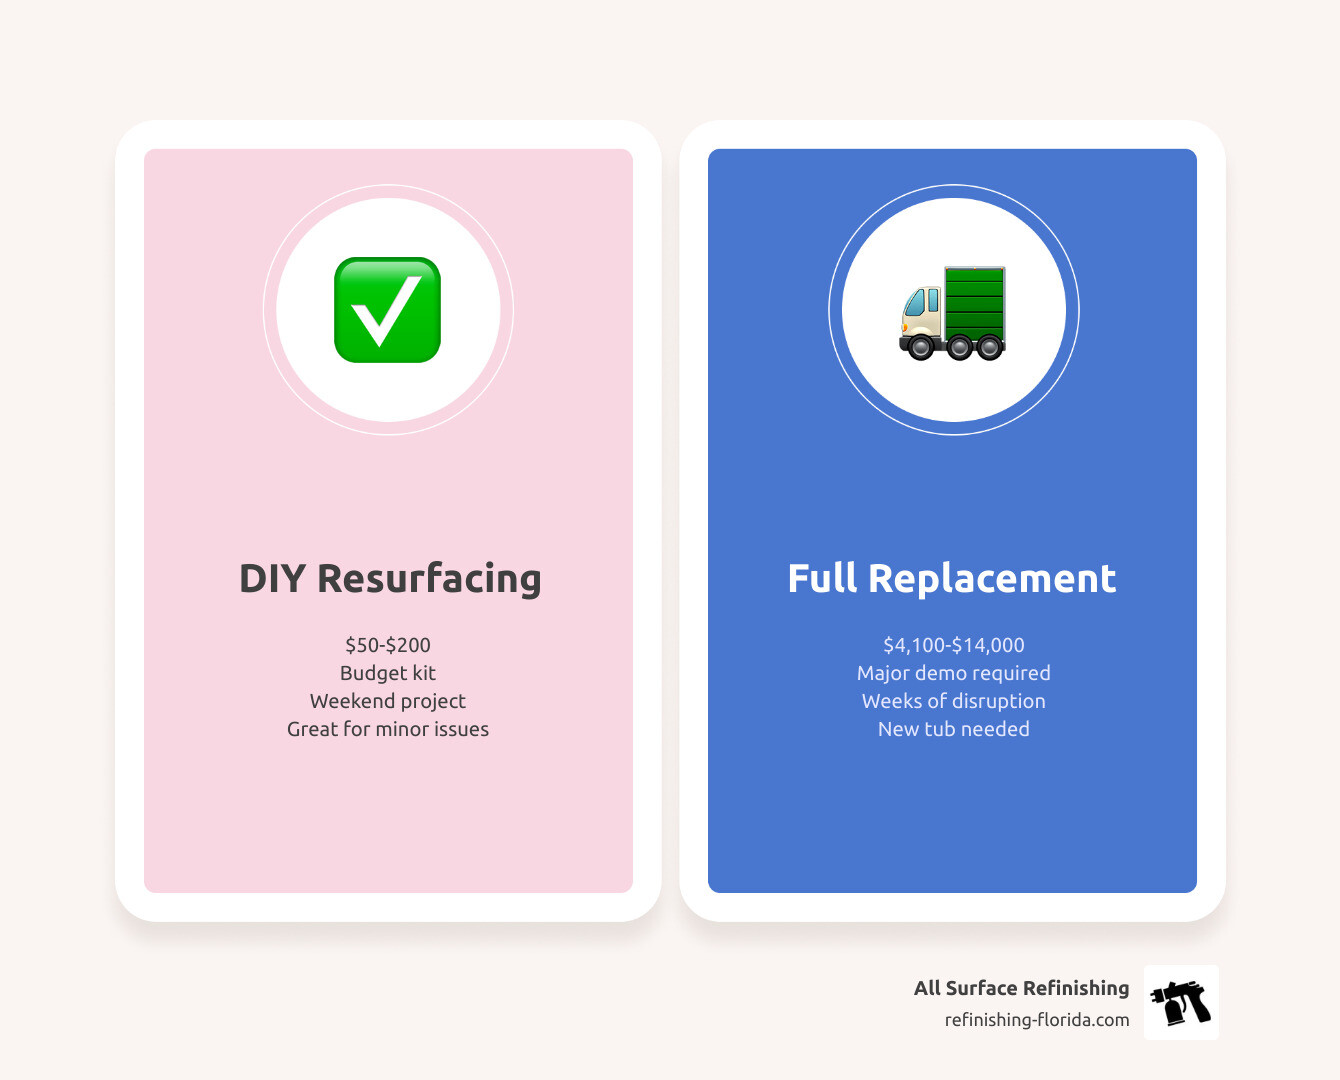
Let’s talk numbers. The average cost for a professional to replace a bathtub ranges from $4,100 to $10,600, and we’ve seen high-end Miami Beach projects hit $14,000. Why? Because you aren’t just buying a tub. You’re paying for:
- Demolition and disposal (removing a 500lb cast iron tub can cost $1,000 alone).
- New plumbing and hardware ($1,500+).
- Retiling the walls that get damaged during the pull-out.
- Professional labor.
In contrast, a DIY kit costs between $50 and $200. Even if you have to redo it in three years, the savings are astronomical. For a deeper dive into whether this path makes sense for your wallet, check out Is Bathtub Reglazing Worth It? Your Step-by-Step DIY Answer.
| Factor | DIY Resurfacing | Professional Replacement |
|---|---|---|
| Cost | $50 – $200 | $4,100 – $14,000 |
| Time | 1 Weekend | 1 – 2 Weeks |
| Durability | 2 – 5 Years | 15 – 20 Years |
| Mess | Chemical fumes/dust | Major construction debris |
Essential Tools and Safety Gear
If you’ve decided to tackle bathtub resurfacing diy, don’t skimp on the supplies. This isn’t like painting a bedroom; you are working with high-VOC (Volatile Organic Compound) epoxies that can be harmful if inhaled or touched.
The Safety Checklist
- Organic Vapor Respirator: A standard dust mask is useless here. You need a respirator with NIOSH-approved organic vapor cartridges.
- Ventilation: If your bathroom doesn’t have a window (common in many Pembroke Pines or Hollywood apartments), you must set up a high-volume exhaust fan. Some DIYers even use a flexible duct hose to vent fumes out of the nearest window.
- Nitrile Gloves and Eye Protection: Epoxy is a pain to get off your skin and dangerous for your eyes.
The Project Toolkit
- Etching Powder or Acid: This “roughens” the surface so the paint sticks.
- 120-Grit and 400-Grit Sandpaper: For creating a “mechanical tooth” on the surface.
- Tack Cloth: Essential for removing every single microscopic speck of dust before painting.
- High-Quality Foam Roller and Brushes: Cheap brushes shed bristles, which will then be permanently encased in your tub’s new finish.
- Silicone Digester: To remove every trace of old caulk (epoxy will NOT stick to silicone).
For a complete breakdown of the technical side, especially for those heavy tubs, see The Ultimate Guide to Resurfacing Your Cast Iron Tub at Home. You can also find a great starting point in this Beginner’s Guide to Bathtub Refinishing: 9 Simple Steps.
The Step-by-Step Resurfacing Process
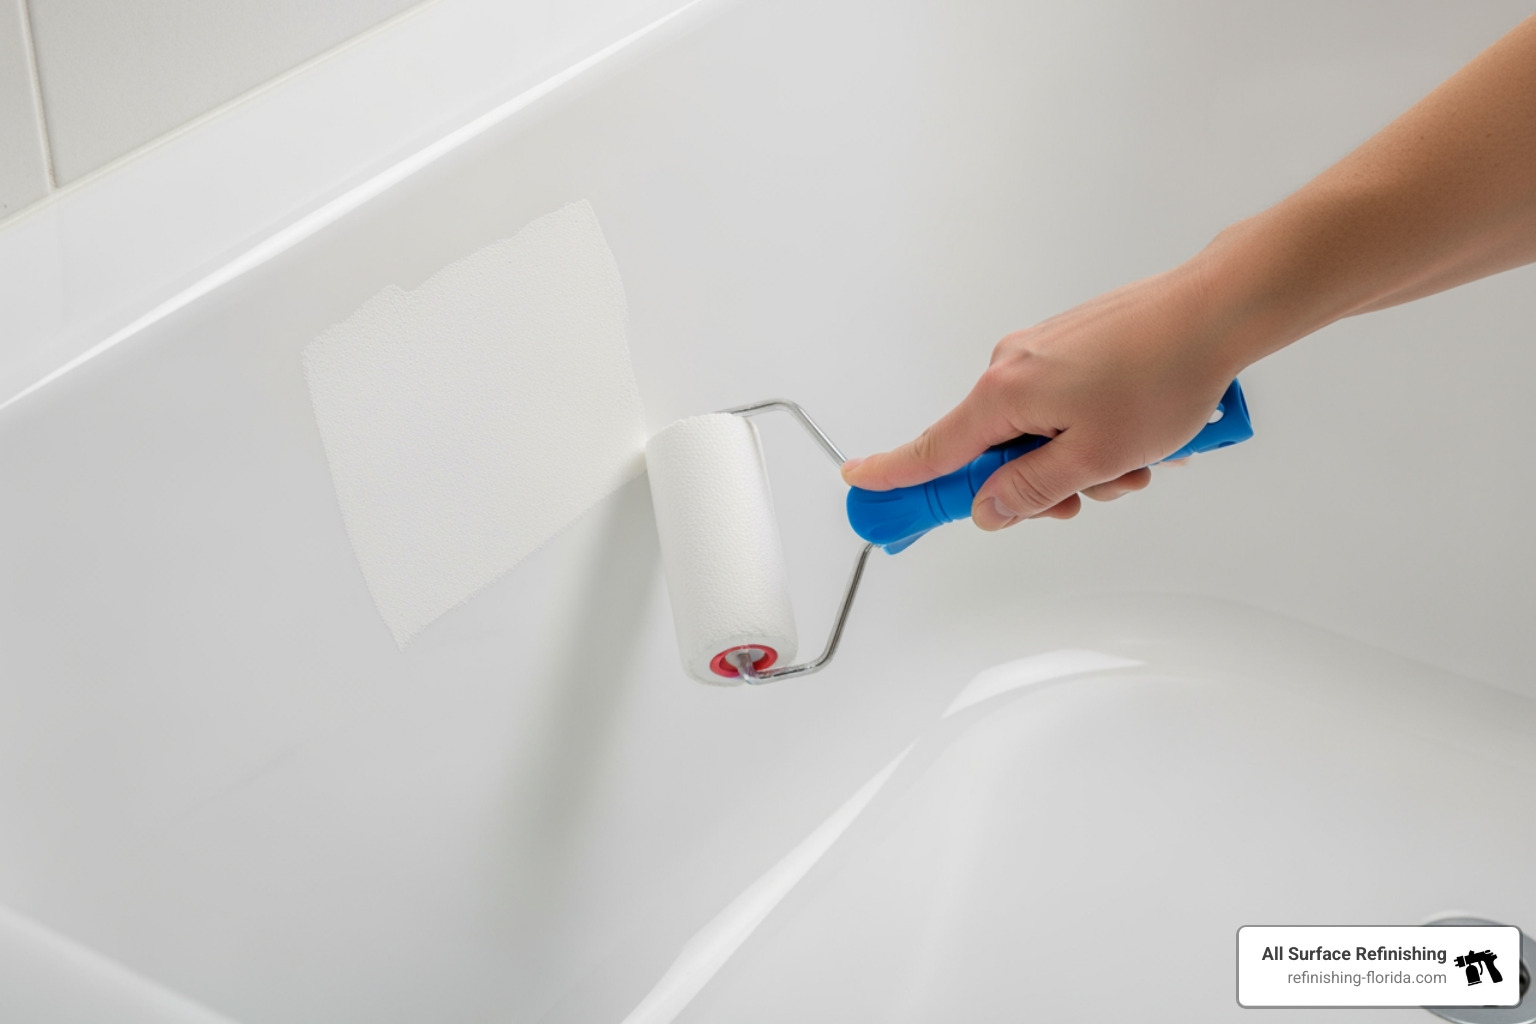
Preparation is 80% of the job. If you spend four hours on this project, three of them should be spent cleaning and sanding. As we say at All Surface Refinishing, “The finish is only as good as the prep.”
Required Materials List:
- DIY Refinishing Kit (Rust-Oleum, BATHWORKS, or Ekopel 2K)
- Heavy-duty cleaner (like Bar Keepers Friend or bleach)
- Painter’s tape and plastic drop cloths
- Abrasive pads (Scotch-Brite)
- Acetone or lacquer thinner
- New silicone-free caulk
For a comprehensive walkthrough, we recommend reading The Ultimate DIY Bathtub Reglazing Guide: From Worn-Out to Wow.
Step-by-Step Instructions for Bathtub Resurfacing DIY
1. Strip and Clean
Start by removing the drain flange and overflow plate if possible. If you can’t remove them, you’ll have to tape them off perfectly, but removing them ensures a cleaner edge. Use a utility knife to scrape away every bit of old caulk. Use a silicone digester to ensure no residue remains. Then, scrub the tub like your life depends on it. Use an abrasive cleaner to remove all soap scum, body oils, and mineral deposits.
2. Etch the Surface
Most kits come with an etching powder. Apply it according to the instructions. This chemical reaction creates millions of microscopic pores in the porcelain. If your kit doesn’t have an etchant, you must sand the tub thoroughly with 120-grit sandpaper until the original shine is completely gone and the surface looks dull.
3. The “Squeak Test”
Rinse the tub and let it dry completely. Rub your fingers over the surface. It should “squeak.” If it feels slick or greasy, you still have soap residue, and your paint will peel.
4. Masking and Dust Removal
Tape off the walls, floors, and fixtures. Use a tack cloth to wipe down the entire tub. Even one stray hair or dust bunny will look like a boulder once it’s painted over. Cover the faucet with a plastic bag to prevent any drips from ruining the wet epoxy.
5. Mix and Apply
Follow your kit’s instructions for mixing the resin and hardener. Once mixed, you usually have a “pot life” of about 60 to 90 minutes before the paint hardens in the tray.
Apply the first coat in thin, even strokes. Don’t worry if it looks a bit transparent; the second coat will provide the opacity. Use a foam roller for the large flat areas and a high-quality brush for the corners. For more details on the painting phase, see How to Repaint a Bathtub in 7 Easy to Follow Steps.
6. Second Coat and Curing
Wait the recommended time (usually 1-2 hours) before applying the second coat. Once finished, let it sit. Do not touch it. Do not let the cat in the bathroom. Do not even look at it too hard!
The Long-Term Durability of Bathtub Resurfacing DIY
We have to be honest with you: a bathtub resurfacing diy project will not last as long as a professional job. While we provide finishes that can last 10 to 15 years, a DIY kit typically has a lifespan of 2 to 5 years.
Common reasons for DIY failure include:
- Peeling: Usually caused by poor cleaning or failing to remove silicone residue.
- Yellowing: Some cheaper epoxy kits react to UV light or harsh cleaning chemicals.
- Orange Peel Texture: Caused by using a roller that isn’t compatible or applying the paint too thickly.
To get the most out of your hard work, avoid suction-cup bath mats. These are the “arch-nemesis” of refinished tubs. The suction can literally pull the new finish right off the porcelain. Instead, look for adhesive non-slip strips or “hacks” found in 5 DIY Bathtub Renewal Hacks.
Frequently Asked Questions
Can I resurface a jacuzzi or fiberglass tub?
Yes! However, you must ensure the kit you buy is specifically rated for fiberglass or acrylic. These materials expand and contract with hot water more than cast iron does, so the coating needs a bit more flexibility. If you have a jacuzzi, be extremely careful not to get epoxy into the jets, as this can cause mechanical failure. For similar projects around the house, you might also be interested in DIY Resurfacing Countertops.
How long do I have to wait to shower?
This is the hardest part for our busy South Florida families. While some kits like BATHWORKS claim you can use the tub in 24 hours, we strongly recommend waiting at least 48 to 72 hours. Even if it feels dry to the touch, the chemical hardening (curing) is still happening deep within the layer. If you use it too soon, the finish will remain soft and prone to scratching. Some high-end kits like Ekopel 2K actually take 30 days to reach maximum “rock-hard” durability, though you can usually shower after 24-36 hours.
Is the smell from the chemicals dangerous?
Yes, the fumes from traditional epoxy kits are intense. They contain solvents that can cause headaches, dizziness, or worse. This is why we emphasize the organic vapor respirator. If you are sensitive to smells, look for “odorless” kits like Ekopel, which are becoming more popular for DIYers in tight spaces like condos in Kendall or Hialeah.
Conclusion
Taking on a bathtub resurfacing diy project is a rewarding way to save thousands of dollars and breathe new life into your bathroom. By following the steps of cleaning, etching, and careful application, you can achieve a result that looks fantastic and lasts for years.
However, we know that not everyone has a full weekend to spend scrubbing a tub in a respirator. If the process sounds a bit too daunting, or if you want a finish that is backed by 30+ years of expertise and lasts over a decade, we are here to help.
At All Surface Refinishing, we’ve completed over 14,000 projects across South and Southwest Florida. Whether you are in Miami, Fort Lauderdale, West Palm Beach, or Boca Raton, our team can provide a professional-grade transformation in just a few hours — without the DIY stress.
Ready to see what a professional touch can do? More info about bathtub services is just a click away. Whether you DIY it or call the pros, your “new” tub is waiting!
