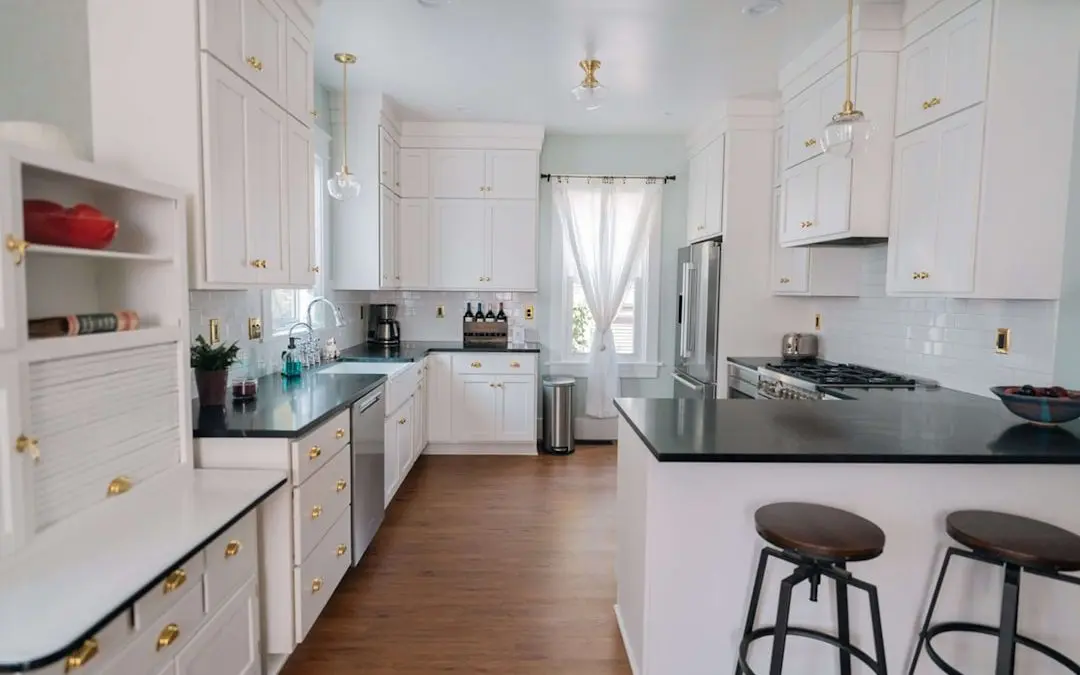
Why Florida Homeowners Are Skipping the Sandpaper in 2026
Cabinet painting without sanding is exactly what it sounds like — refreshing your kitchen or bathroom cabinets using modern chemical prep methods instead of hours of dusty, back-breaking sanding. Here’s the quick answer if you’re in a hurry:
How to paint cabinets without sanding:
- Remove doors, drawers, and hardware (label everything)
- Deep clean all surfaces with a TSP degreaser
- Apply liquid deglosser (liquid sandpaper) to dull the finish
- Prime with a bonding primer
- Apply 2-3 thin coats of cabinet-grade paint
- Allow full curing time before heavy use
That’s it. No sanding dust. No respirator. No covering every surface in your home.
This approach works because modern bonding primers create a chemical grip on your existing cabinet finish — instead of relying on the mechanical grip that sanding creates. The result? Up to 50% less prep time, and a finish that can last 5+ years when done correctly.
In South Florida — where humidity, heat, and salt air put extra stress on painted surfaces — choosing the right products and prep steps matters even more than it does in other parts of the country.
I’m Frank Hernandez, President of All Surface Refinishing, and I’ve been refinishing cabinet and kitchen surfaces across Miami-Dade, Broward, and Palm Beach counties since 1996 — including countless cabinet painting without sanding projects in Florida’s demanding climate. In the sections below, I’ll walk you through everything you need to get a durable, professional-looking result without touching a piece of sandpaper.
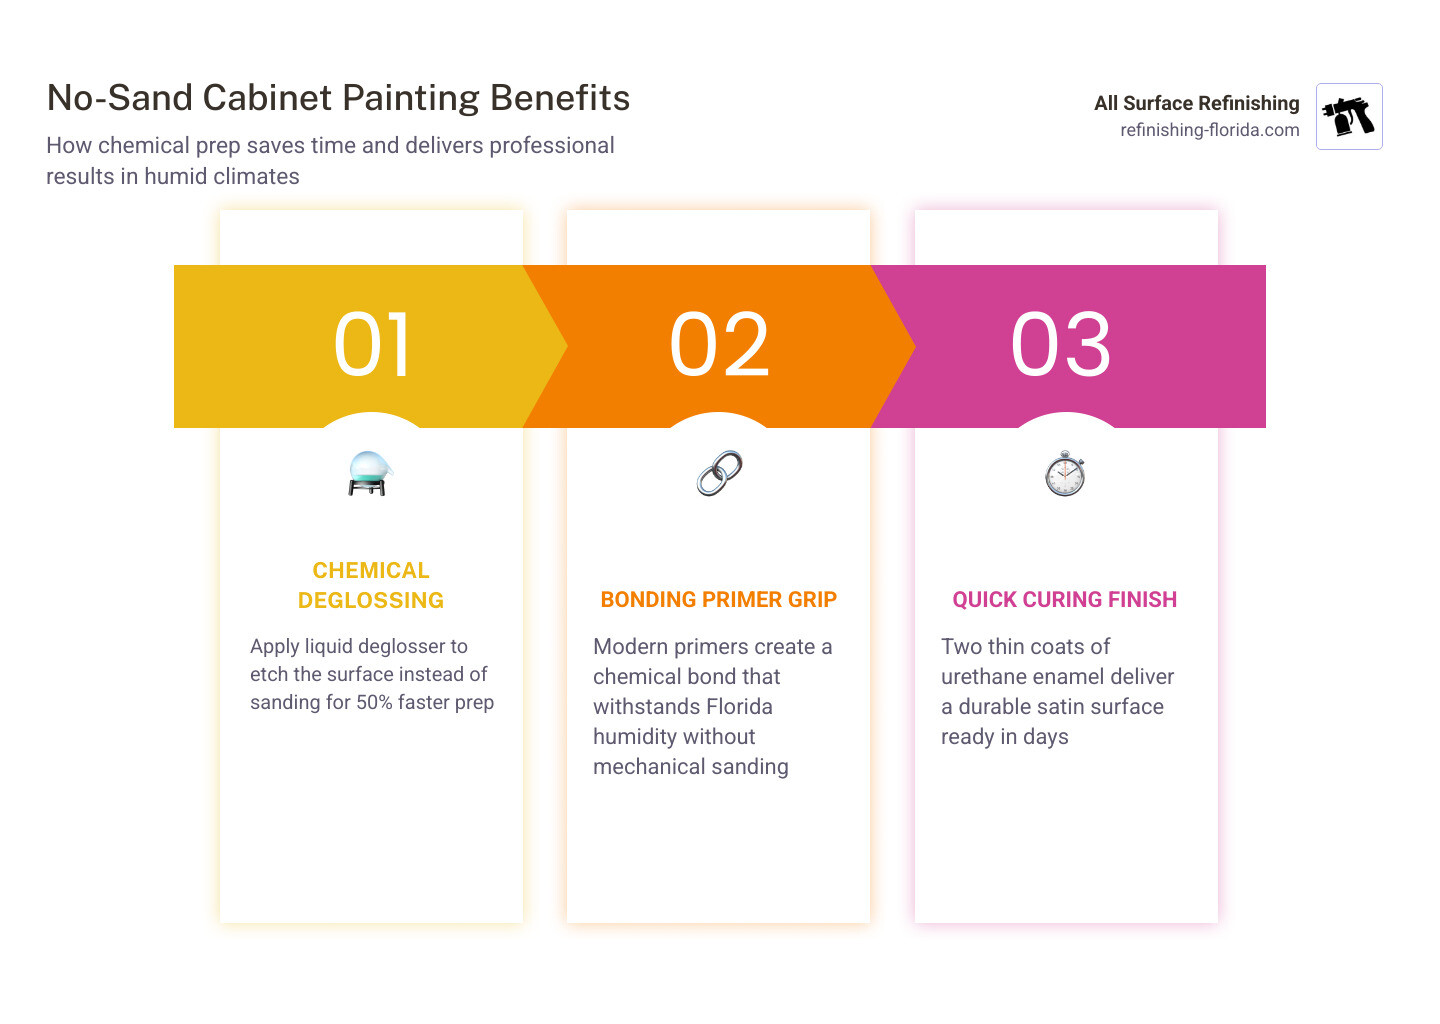
Cabinet painting without sanding vocabulary:
Understanding the Method of Cabinet painting without sanding
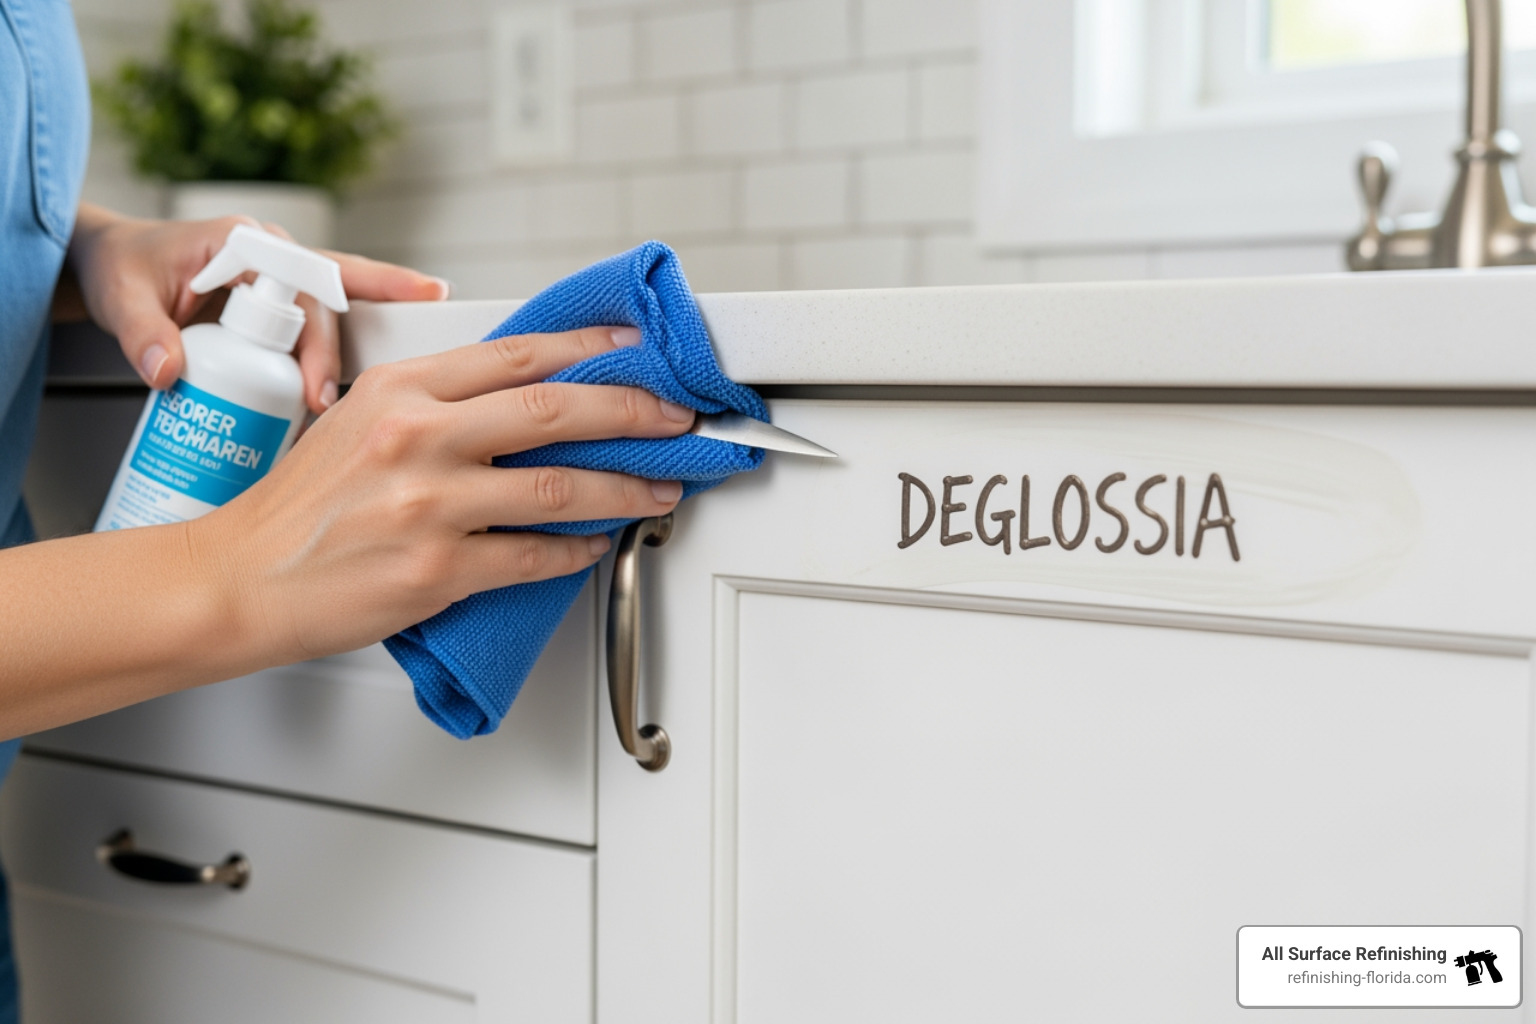
Traditionally, painting cabinets meant days of manual labor. You had to sand through the old varnish to create “tooth” for the new paint. In a typical kitchen with 30 doors, this could take 20 to 25 hours of pure sanding. Not only is it exhausting, but it fills your West Palm Beach or Coral Gables home with fine dust that can bypass standard HVAC filters and linger for months.
The Cabinet painting without sanding method replaces mechanical abrasion with chemical etching. Instead of using sandpaper to roughen the surface, we use a liquid deglosser (often called “liquid sandpaper”). These chemicals dull the glossy factory finish, removing oils and contaminants while microscopically opening the surface.
When you follow this with a high-performance bonding primer, you aren’t just laying paint on top of wood; you are creating a chemical bridge. Modern bonding primers are designed to adhere to slick surfaces like polyurethane, varnish, and even laminate at a molecular level.
According to How to Paint Kitchen Cabinets Without Sanding – This Old House, this method is a game-changer for maintaining kitchen functionality. Because there is no dust, you don’t have to seal off the rest of your house. It’s a cleaner, faster, and more efficient way to boost your home value. Real estate experts often note that a fresh kitchen can increase home value by 5-10%, and doing it yourself can save you between $3,000 and $8,000 compared to a full professional replacement.
For a deeper dive into why prep is king, check out A Practical Guide to Painting Kitchen Cabinets Professionally.
Essential Materials and Preparation for Florida Homes
To succeed with Cabinet painting without sanding, you need the right “arsenal.” In the humid climate of Miami or Fort Lauderdale, you can’t cut corners on product quality.
Essential Supply List:
- TSP (Trisodium Phosphate) or a Degreaser: Necessary to remove cooking grease, especially near the stove.
- Liquid Deglosser: Our chemical substitute for sanding.
- Bonding Primer: Look for “high-adhesion” or “stain-blocking” on the label.
- Cabinet-Grade Paint: Urethane alkyd enamels are the 2026 gold standard.
- Synthetic Brushes: A 2 1/2-inch angled brush for details.
- Mohair or High-Density Foam Rollers: These provide the smoothest, “orange-peel-free” finish.
- Painter’s Tape and Drop Cloths: To protect your countertops and floors.
- Microfiber Cloths: For applying deglosser and wiping away residue.
Preparation is the most critical phase. As many DIYers have shared on How to Paint Kitchen Cabinets Without Sanding, skipping the cleaning step is the number one cause of paint failure. If there is a microscopic layer of grease from last night’s empanadas on that cabinet, the paint will peel.
For a simplified checklist of the prep process, see How to Paint Cabinets in 5 Easy Steps.
Preparing Surfaces for Cabinet painting without sanding
Before you open a single can of paint, you must prep the “hot zones”—the areas around the stove, dishwasher, and handles where grease and skin oils accumulate.
- Hardware Removal: Take off all hinges and handles. Don’t try to paint around them; it looks amateur and the paint will eventually chip at the edges.
- The Labeling System: This is a pro tip we use at All Surface Refinishing. Use pieces of painter’s tape to label each door and its corresponding opening (e.g., “U1” for Upper 1). Put the screws and hinges in labeled sandwich bags. You’ll thank us later when you aren’t playing a 40-piece jigsaw puzzle during reassembly.
- Deep Cleaning: Scrub every inch with TSP. If the water doesn’t “sheet” off the surface, there is still grease.
- Surface Repairs: Use a high-quality wood filler to fix any dings or scratches. Since we aren’t sanding the whole door, you’ll only need to lightly sand the specific spots where you applied filler.
If you’re feeling overwhelmed by the prep, Give Your Cabinets a Fresh Look: Top Painting Services in Miami is always an option for homeowners who want the look without the labor.
Choosing the Right Primers and Paints
In Florida, the high humidity can slow down drying times and affect adhesion. You need products that can handle the “steam room” environment of a busy kitchen.
| Feature | Oil-Based Coatings | Water-Based Urethane Enamels |
|---|---|---|
| Drying Time | Slow (24+ hours) | Fast (2-4 hours) |
| Odors/VOCs | High | Low |
| Yellowing | Prone to yellowing | Stays true to color |
| Cleanup | Mineral Spirits | Soap and Water |
| Durability | Extremely Hard | Hard & Flexible (Great for FL) |
We generally recommend water-based urethane alkyd enamels for 2026 projects. They offer the hardness of oil-based paint but the ease and color-retention of water-based formulas. Most importantly, they have “self-leveling” properties, meaning they flatten out as they dry to hide brush marks.
Step-by-Step Instructions for Cabinet painting without sanding

Now for the transformation. Follow these steps to ensure your Cabinet painting without sanding project looks like it was done by a pro.
Step 1: The Chemical Scuff Apply the liquid deglosser using a lint-free microfiber cloth. Work in circular motions. You’ll notice the shine of the old finish starting to look dull or “matte.” This is the chemical etching at work. Make sure you get into the corners of recessed panels.
Step 2: The Bonding Prime Apply one thin, even coat of bonding primer. Don’t worry about full color coverage yet; the primer’s job is to stick, not to look pretty. As noted in How to Paint Kitchen Cabinets Without Sanding, using a primer specifically labeled for “slick surfaces” or “cabinets” is non-negotiable.
Step 3: The First Coat Once the primer is dry (usually 2-4 hours in Florida), apply your first coat of enamel. Start with the “insides” of the door panels using a brush, then use your mohair roller for the flat “stiles” and “rails.”
Step 4: The Second (and Third) Coat Always apply at least two coats of paint. Thin coats are better than one thick coat. Thick coats lead to drips and take forever to cure in Broward County humidity.
Step 5: Reassembly Wait at least 24-48 hours before reattaching the doors. Even if the paint feels dry to the touch, it is still soft. If you hang them too early, the doors might “stick” to the frames and pull the paint off when you open them.
Achieving a Smooth Professional Finish
To get that factory-smooth look without a sprayer, you need to master the roller. Use a mohair roller or a high-density foam roller. These apply the paint in a very thin, even layer.
If you are painting oak cabinets, you have a unique challenge: the deep grain. No amount of paint will hide those “valleys.” If you want a smooth surface on oak, you must apply a grain filler after cleaning but before priming. This extra step fills the pores of the wood, allowing the paint to sit flat.
For those who want the absolute minimum effort, The Lazy Person’s Guide to Changing Cabinet Colors Without Painting offers some alternative ideas, though nothing beats the durability of a proper paint job.
Maintaining Your Painted Cabinets in Florida’s Climate
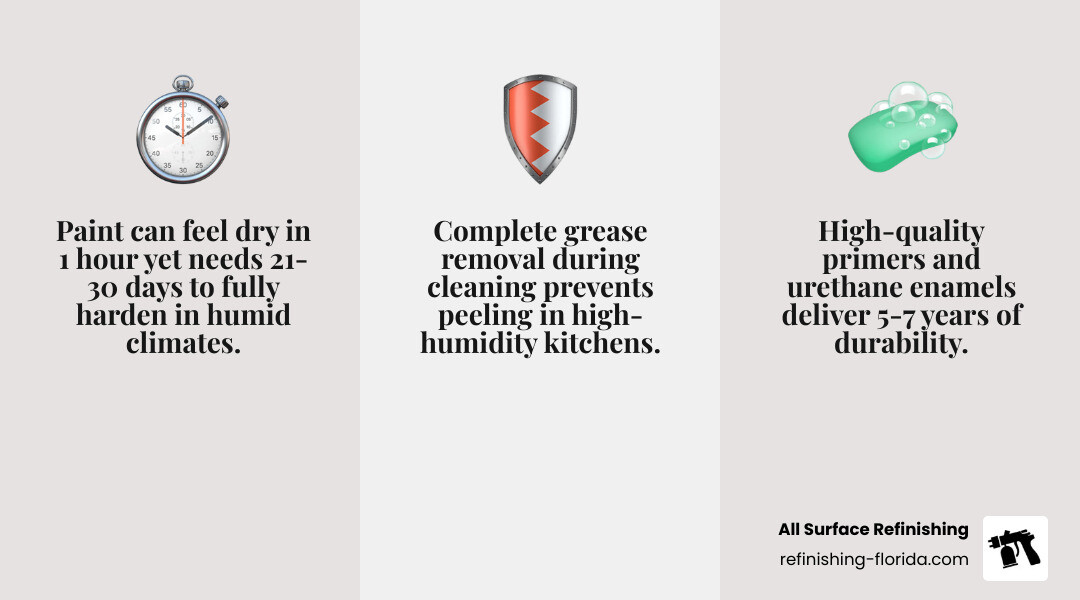
In South Florida, “curing” is different than “drying.” Your paint might be dry to the touch in an hour, but it can take 21 to 30 days to reach its full industrial hardness. During this first month, be “Florida-gentle” with your cabinets.
Maintenance Tips for 2026:
- Humidity Control: Keep your A/C at a consistent temperature during the first week to help the paint cure evenly.
- Cleaning: Never use abrasive sponges or harsh chemicals like bleach. A soft microfiber cloth with mild dish soap and warm water is all you need.
- Spills: Wipe up water or grease immediately. While modern enamels are moisture-resistant, standing water can eventually soften the finish.
- Touch-ups: Keep a small jar of your cabinet paint and a tiny artist’s brush in your pantry. If you accidentally bang a heavy pot into a corner, you can fix it in seconds.
For more on long-term care, our Cabinet Painting Services Complete Guide covers everything from cleaning protocols to durability expectations.
Frequently Asked Questions
How long does the no-sand method last in high humidity?
When using high-quality bonding primers and urethane enamels, a no-sand project can easily last 5 to 7 years. The key is the cleaning phase. In high-humidity areas like Boca Raton or Miami Beach, ensuring the surface is 100% grease-free is what prevents peeling.
Can I use this method on laminate or thermofoil cabinets?
Yes! In fact, sanding laminate is often a bad idea because the “wood” layer is so thin. Bonding primers are specifically designed for these non-porous surfaces. However, if your thermofoil is already peeling or bubbling, painting won’t fix it—the underlying MDF is likely damaged.
Is it cheaper to paint cabinets myself or hire a pro in Fort Lauderdale?
DIY is significantly cheaper, usually costing between $200 and $600 for premium supplies. However, professional refinishing saves you about 40+ hours of labor and provides a “factory” finish that is difficult to replicate with a roller. If you have a large kitchen with 40+ openings, the time savings of hiring a pro often outweigh the material costs.
Conclusion
Cabinet painting without sanding is the most efficient way to breathe new life into your Florida home without the nightmare of sanding dust. By focusing on deep cleaning, using a liquid deglosser, and investing in a high-quality bonding primer, you can achieve professional results on a DIY budget.
At All Surface Refinishing, we’ve spent over 30 years perfecting the art of surface transformation. Whether you are in Aventura, Boynton Beach, or anywhere across Miami-Dade, Broward, and Palm Beach counties, we know what it takes to make a finish last in our unique climate. We’ve completed over 14,000 projects, helping homeowners get the kitchen of their dreams without the “nightmare” of a full remodel.
If you decide the project is a bit too big to tackle this weekend, we’re here to help. Transform your kitchen today with expert Cabinet Painting Services and let us handle the prep, the painting, and the cleanup for you.
