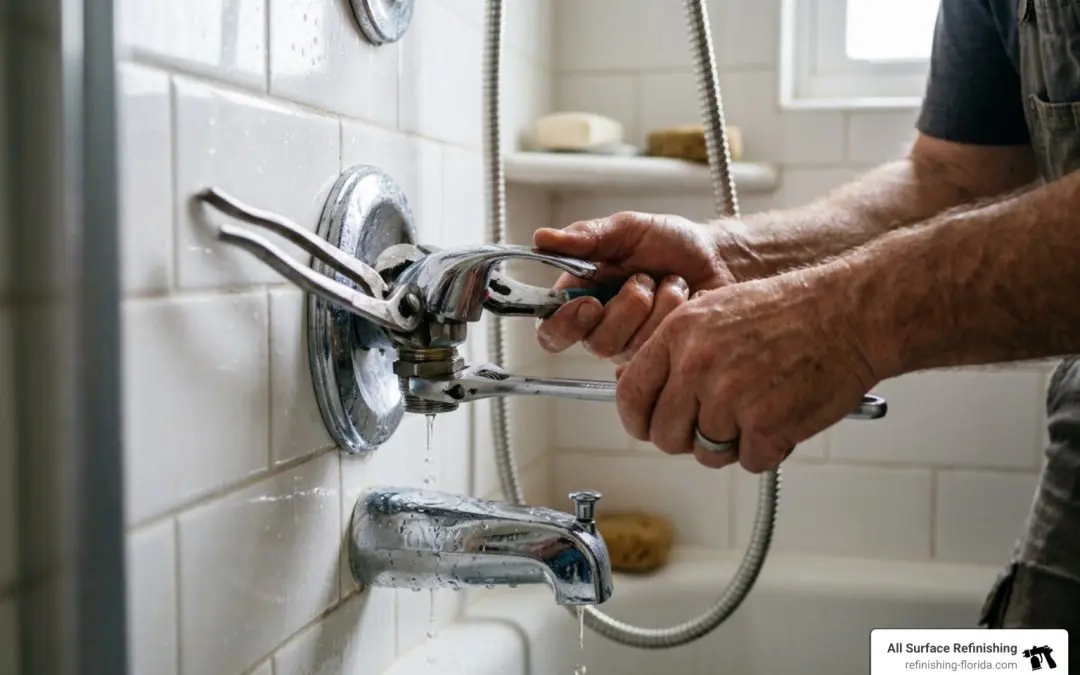
Why a Leaking Shower Costs You More Than You Think
Fix leaking shower problems before they turn into expensive headaches. Here’s a quick overview of how to tackle the most common shower leaks:
| Leak Type | Likely Cause | Quick Fix |
|---|---|---|
| Drips when water is OFF | Faulty valve cartridge | Replace the cartridge |
| Leaks when water is ON | Loose connection or worn O-ring | Tighten or replace the seal |
| Wet floor around base | Cracked shower pan or grout | Reseal or patch the pan |
| Water stains on walls | Hidden valve or pipe leak | Call a professional |
| Reduced spray + dripping | Mineral buildup | Vinegar soak |
That slow, steady drip-drip-drip from your shower isn’t just annoying. According to the EPA, a leaking shower head can waste up to 3,000 gallons of water per year. Even a modest drip clocks in at around 347 gallons annually — and if your shower drips faster, at roughly 30 drops per minute, you’re looking at over 1,000 gallons down the drain every year.
Beyond wasted water, ignored leaks can lead to mold growth, structural damage, and skyrocketing utility bills. The good news? Most shower leaks are fixable without tearing everything apart.
I’m Frank Hernandez, President of All Surface Refinishing, and with nearly 30 years of hands-on experience restoring bathrooms across South Florida, I’ve seen how a small leak left untreated can turn a simple fix leaking shower job into a costly renovation. Let’s walk through exactly how to find the source and fix it.
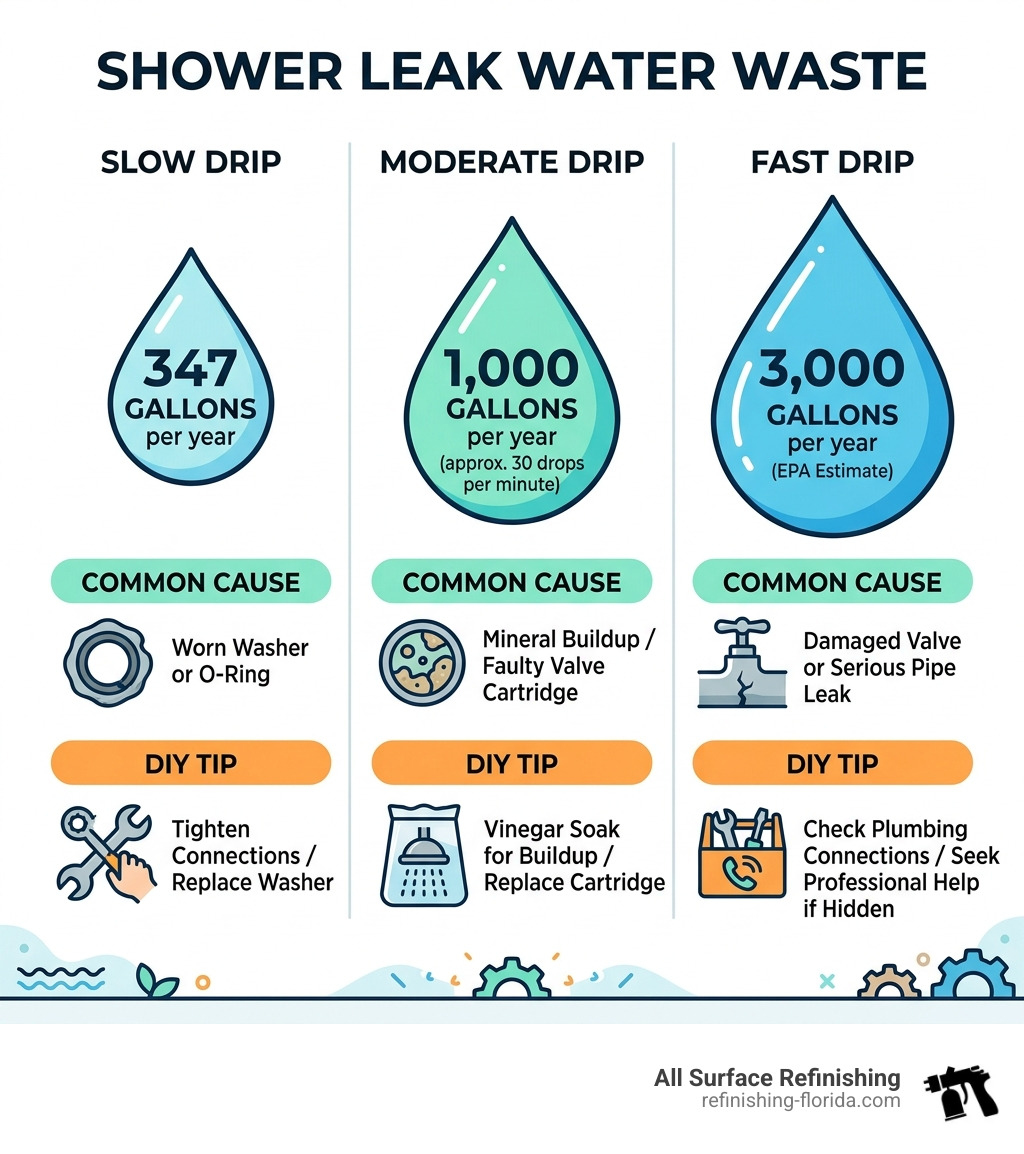
Know your fix leaking shower terms:
Diagnosing the Source: Why is Your Shower Leaking?
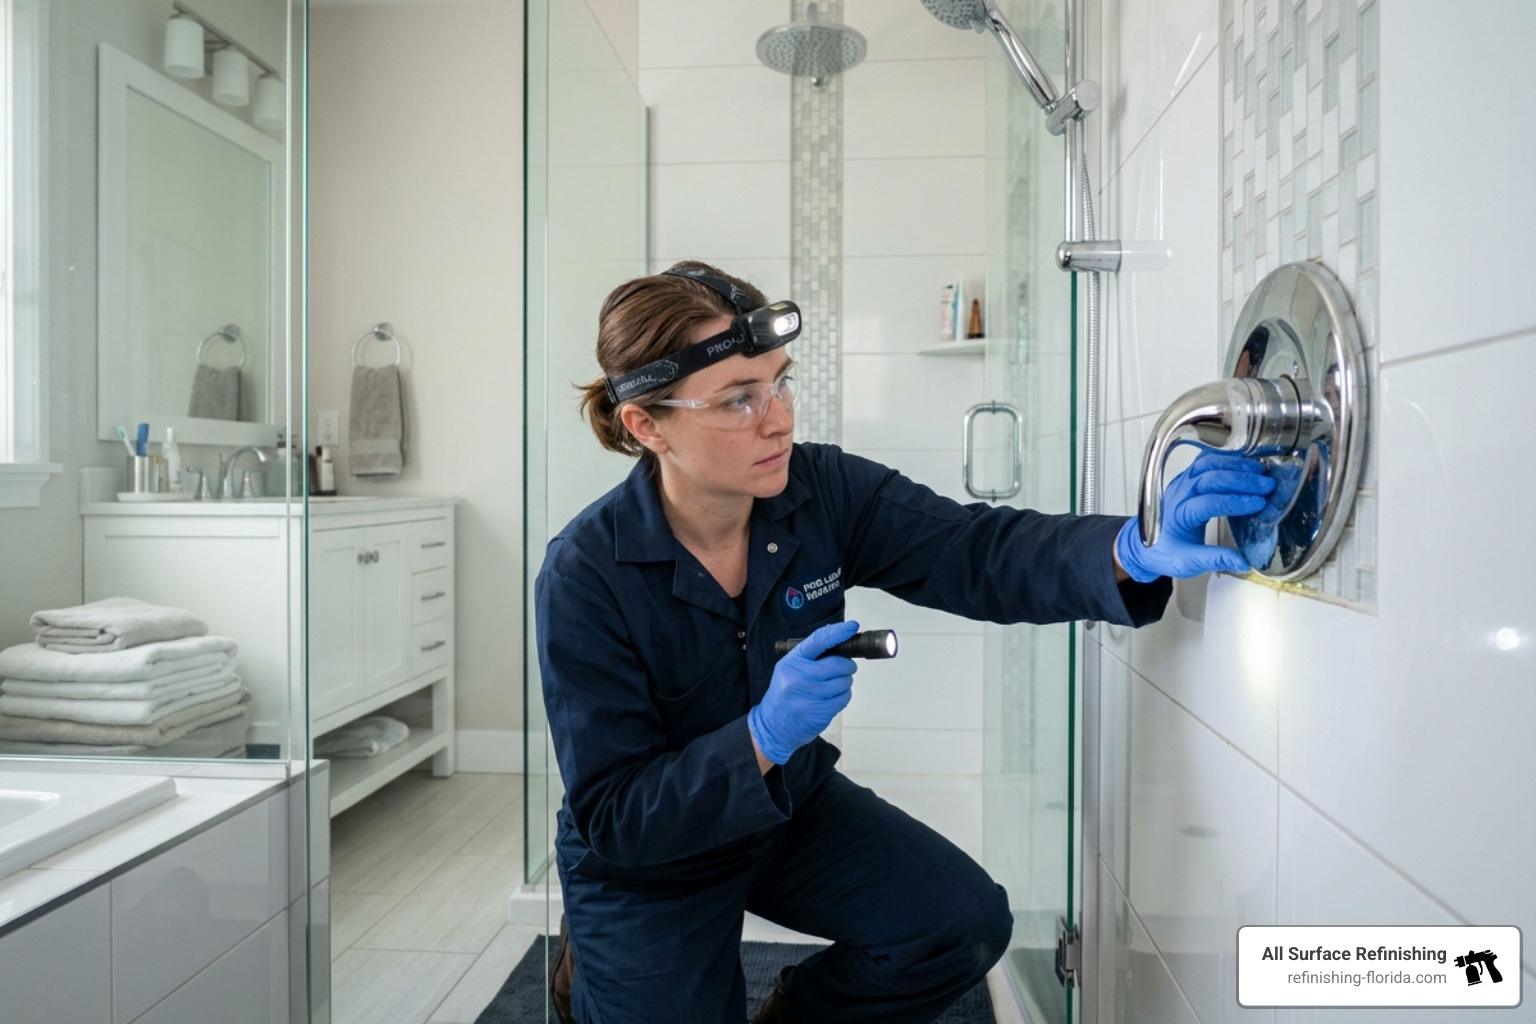
Before you grab your wrench, you need to play detective. The timing of the leak tells us exactly where the problem lies. We always tell our clients in Miami and Boca Raton that a systematic approach saves both time and money.
The Water ON vs. OFF Test
This is the golden rule of shower diagnostics.
- If it leaks when the water is OFF: The problem is behind the wall in the valve or the cartridge. The seals that are supposed to stop the water flow have failed.
- If it leaks only when the water is ON: The issue is likely at a connection point, such as the shower head threads, the swivel ball, or a cracked shower arm.
For more detailed troubleshooting, you can check out this guide on what you need to know to troubleshoot a leaky shower.
Common Culprits
- The Valve Cartridge: This is the most frequent cause of a steady drip. Over about 10–15 years, these components wear out.
- Mineral Buildup: In South Florida, hard water is a reality. Calcium and lime can clog the tiny holes in your shower head, forcing water to leak out of the joints instead.
- Hidden Wall Leaks: These are the “silent killers” of bathrooms. If you notice a musty odor, peeling paint on the other side of the bathroom wall, or damp baseboards, you likely have a leak in the internal piping. Check out our guide on everything you need to know about fixing your Miami shower for more on these tricky situations.
Essential Tools and Steps to Fix Leaking Shower Heads
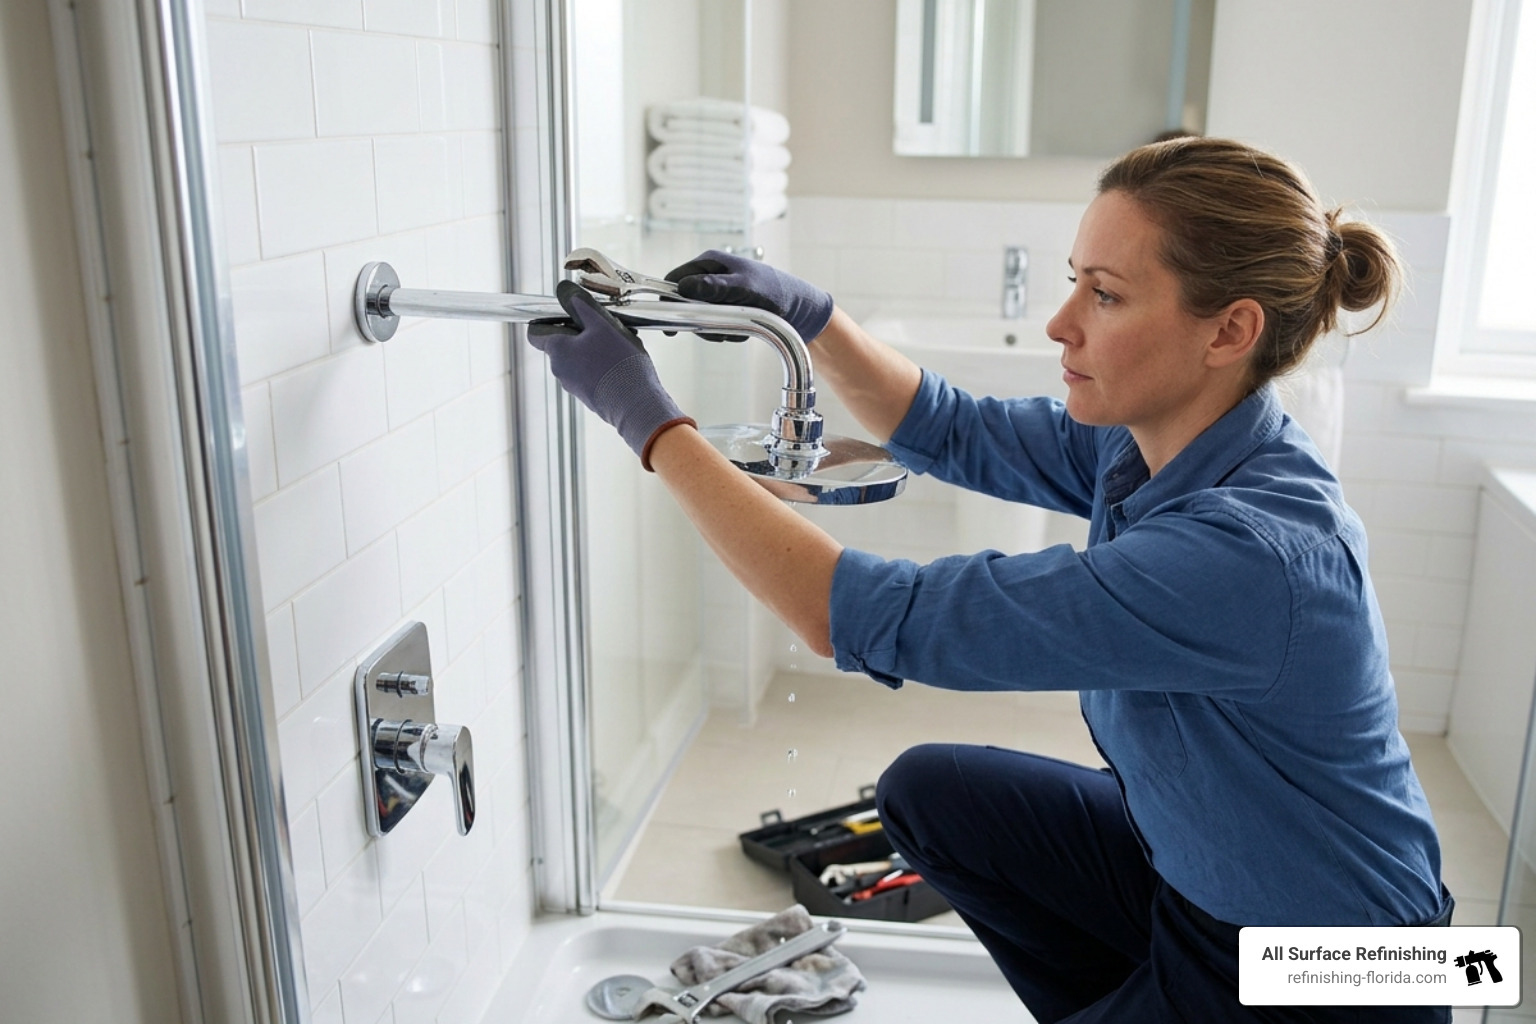
To fix leaking shower heads, you don’t need a truckload of tools. Most of these items are probably already in your garage in Fort Lauderdale or West Palm Beach.
Your Repair Kit:
- Adjustable wrench or channel-lock pliers
- Needle-nose pliers
- Thread seal tape (Teflon tape)
- Replacement rubber washers and O-rings
- White vinegar
- A soft cloth (to protect your shower’s finish)
How to fix leaking shower threads and swivels
If water is spraying out from the connection where the shower head meets the arm, it’s usually a tape or washer issue.
- Shut off the water: While you can often do this at the shower handle, turning off the main water supply is the safest bet for deeper repairs.
- Remove the shower head: Wrap a soft cloth around the nut to prevent scratching the chrome and turn it counter-clockwise with your wrench.
- Clean the threads: Remove any old, crusty plumber’s tape and mineral deposits.
- Apply Teflon tape: This is where most DIYers go wrong. Wrap the tape clockwise 3–5 times around the shower arm threads. Wrapping it clockwise ensures the tape stays tight as you screw the shower head back on.
- Check the washer: If the rubber washer inside the shower head looks cracked or flattened, replace it.
- Reinstall: Hand-tighten the head first, then give it a slight turn with the wrench. Don’t over-tighten, or you might crack the plastic components! For a deeper dive into this process, see this step-by-step on how to fix a leaking shower head.
Cleaning mineral buildup to fix leaking shower spray
Sometimes your shower isn’t “leaking” so much as it is “choking.” Hard water deposits can block the flow, causing back-pressure that forces water out of the swivel joint.
- The Vinegar Soak: Fill a plastic bag with white vinegar and submerge the shower head. Secure it with a rubber band and let it sit for at least an hour (overnight is better).
- The Scrub: Use an old toothbrush to clear the nozzles. You’ll be amazed at how much “junk” comes out!
Repairing Faucet Valves and Cartridges
When the shower drips even when the handle is turned hard to the “off” position, you’re dealing with a valve issue. Most modern homes in Broward and Palm Beach counties use a single-handle pressure-balance valve.
Replacing the Cartridge
The cartridge is the “brain” of your shower valve. When it fails, the water won’t stop.
- Turn off the main water: This is non-negotiable. Open the faucet to drain any remaining pressure.
- Remove the handle: Pop off the decorative cap and unscrew the handle.
- Remove the escutcheon plate: This is the large metal plate against the wall.
- Pull the clip: Most cartridges (like Moen or Delta) are held in by a small metal “U” clip. Use your needle-nose pliers to pull it up.
- Swap the cartridge: Use a cartridge puller or pliers to pull the old unit out. Pro tip: Take the old cartridge to a local hardware store in Hollywood or Coral Springs to ensure you get an exact match.
- Lubricate and Install: Apply a little silicone faucet grease to the new O-rings, slide it in, replace the clip, and put the handle back on.
Detailed steps for different brands can be found in this Home Depot guide on how to fix a leaky shower faucet. For information on what these repairs might cost you, see the price of a perfect shower: a guide to repair costs.
Addressing Shower Pan and Hidden Wall Leaks
If the leak isn’t coming from the head or the handle, but you’re finding water on the floor or stains on the ceiling below, you have a more serious problem.
| Symptom | Source | Severity |
|---|---|---|
| Water pooling only after use | Cracked grout or caulk | Low to Medium |
| Water pooling during “Flood Test” | Leaking shower pan/liner | High |
| Dampness in adjacent room | Pipe leak behind wall | Critical |
| Stains on escutcheon plate | Valve gasket failure | Medium |
The Shower Pan Flood Test
To determine if your shower base is the problem, perform a flood test. Plug the drain completely (you can use duct tape or a rubber stopper) and fill the base with about two inches of water. Mark the water level. Wait 20–30 minutes. If the water level drops and you see moisture appearing around the base or on the floor below, your shower pan is compromised.
We have handled thousands of these cases at All Surface Refinishing. Often, the issue is a failed drain flange or a crack in an acrylic base. You can learn more about these specific repairs in our comprehensive guide to shower floor leak repair and our article on repairing your acrylic shower base like a pro.
Sealing and Waterproofing
Sometimes the “leak” is just water escaping through old, cracked grout or deteriorated silicone caulk.
- Recaulking: Scrape away the old, moldy caulk, clean the area with rubbing alcohol, and apply a fresh bead of 100% silicone kitchen and bath caulk.
- Grout Repair: If the grout is cracked, water can seep behind the tiles and rot the wallboard. This is a common issue in older homes in Coral Gables and Miami Shores.
Frequently Asked Questions about Shower Repairs
When should I call a professional plumber?
While many homeowners can fix leaking shower heads or cartridges, you should call a pro if:
- You need to solder copper pipes behind the wall.
- You find significant mold growth or soft, rotting wood.
- The leak persists after you’ve replaced the cartridge and seals.
- You live in a high-rise condo in Aventura or Sunny Isles where a leak could damage multiple units below you.
How much money does a leaking shower waste?
As of April 2026, water rates continue to rise across Florida. A leak that wastes 3,000 gallons a year isn’t just an environmental tragedy; it can add significantly to your monthly utility bill. In California, a similar leak costs residents about $5.22 annually, but in South Florida, the secondary costs of mold remediation and structural repair can reach thousands of dollars.
Can I use a temporary fix for a leaking shower pan?
If you have a cracked pan, you can use a temporary rubberized coating or waterproof tape to stop the immediate flow. However, these are “band-aids.” For a permanent solution that doesn’t involve the mess of a full demolition, professional refinishing is your best bet. We can rebuild the bottom of a fiberglass or acrylic shower to be stronger than it was when it was new.
Conclusion
Taking the time to fix leaking shower issues today can save you a fortune tomorrow. Whether it’s a simple vinegar soak to clear mineral buildup or a cartridge swap to stop a midnight drip, most of these fixes are well within the reach of a determined DIYer.
However, if you find that your shower pan is cracked, your tiles are outdated, or your grout is a moldy mess, you don’t have to face a $10,000 remodel. At All Surface Refinishing, we’ve spent over 30 years helping homeowners from Jupiter down to Homestead. With over 14,000 projects completed, we specialize in high-quality, cost-effective transformations. We can repair and refinish your shower in just 2–3 days, saving you up to 75% over the cost of replacement.
If you’re in Miami, Boca Raton, Fort Lauderdale, or anywhere in between, and you’re ready to make your shower right, we’re here to help. Check out our professional shower refinishing services and let’s get that bathroom looking (and performing) like new again!
