Planning Your Oak Kitchen Cabinets Makeover: Cabinet Refinishing
To execute an oak kitchen cabinets makeover, start by degreasing all surfaces, sanding to scuff the old finish, filling the deep oak grain, applying a high-adhesion bonding primer, and finishing with durable enamel topcoats. This process transforms dated golden oak into a modern, smooth, and long-lasting finish without the cost and waste of a full replacement.
When homeowners walk into a kitchen dominated by 1990s builder-grade golden oak, their initial reaction is often to call for a dumpster. We see it all the time across South Florida: cathedral arch doors, heavy yellow undertones, and scratched varnish. However, solid oak boxes built decades ago are frequently sturdier than modern flat-pack replacements. Opting for a strategic transformation protects your wallet and keeps hundreds of pounds of solid wood out of local landfills.
Demolishing a kitchen to install brand-new custom cabinetry easily spirals into a major financial undertaking. High-end overhauls that include tear-outs, new floor-to-ceiling shaker units, luxury fixtures, and custom range hoods can run upwards of $275,000 and take four months or longer. In contrast, an oak kitchen cabinets makeover focuses on the existing footprint, cutting project timelines down to just days or a couple of weekends while delivering an equally stunning aesthetic.
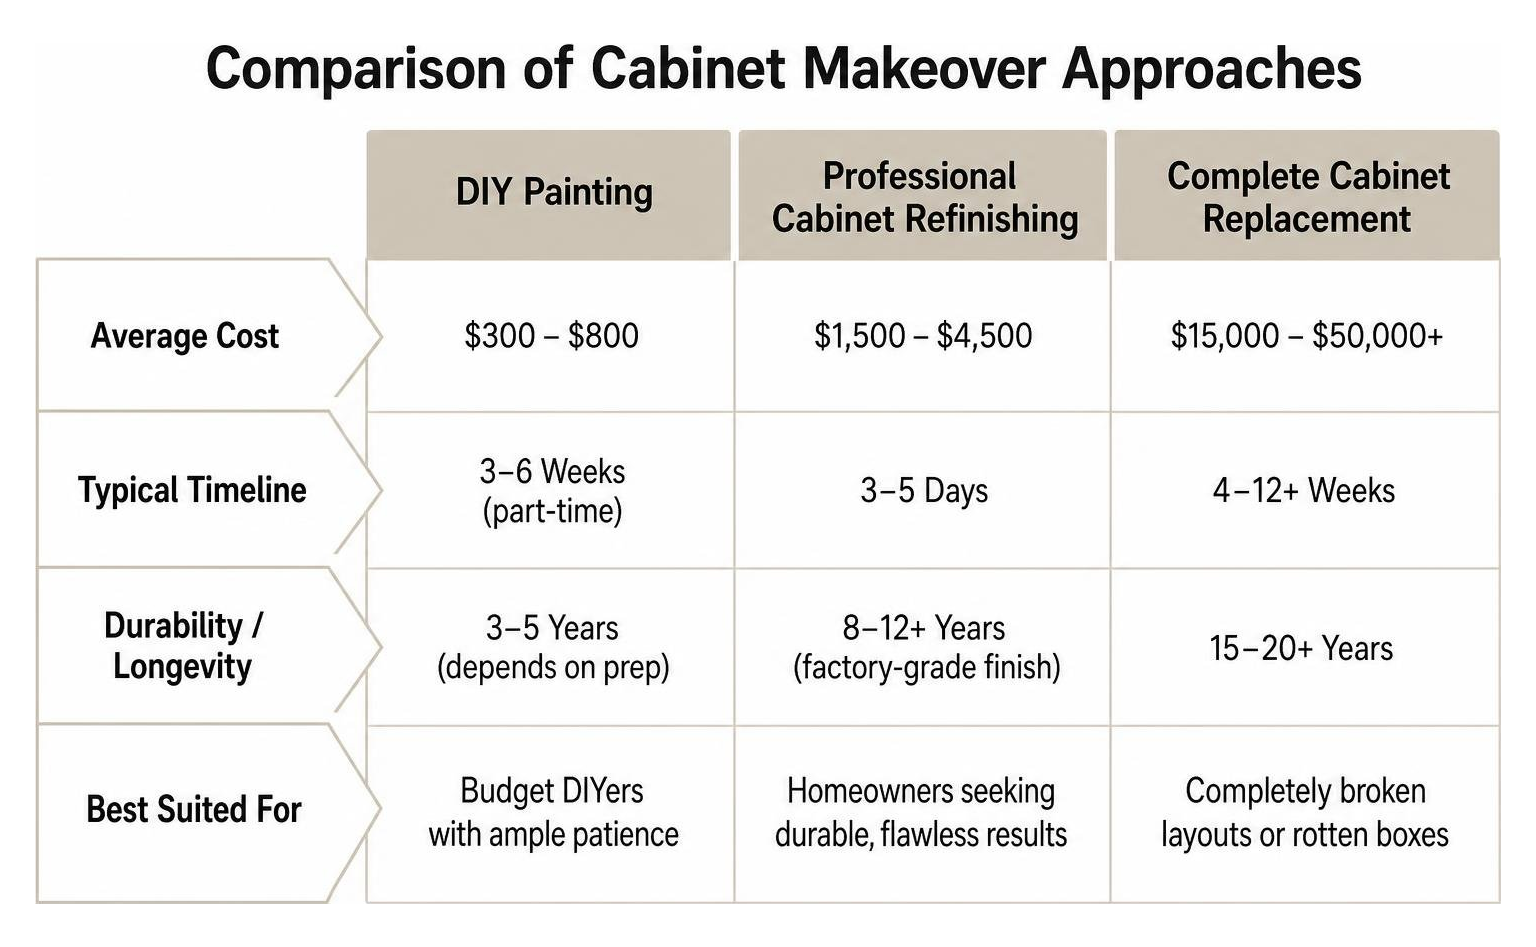
| Remodeling Approach | Average Cost | Typical Timeline | Durability / Longevity | Best Suited For |
|---|---|---|---|---|
| DIY Painting | $300 – $800 | 3–6 Weeks (part-time) | 3–5 Years (depends on prep) | Budget DIYers with ample patience |
| Professional Cabinet Refinishing | $1,500 – $4,500 | 3–5 Days | 8–12+ Years (factory-grade finish) | Homeowners seeking durable, flawless results |
| Complete Cabinet Replacement | $15,000 – $50,000+ | 4–12+ Weeks | 15–20+ Years | Completely broken layouts or rotten boxes |
Planning ahead allows you to decide whether you want to embrace oak’s natural texture or create an ultra-smooth, modern profile. By setting clear goals before removing a single hinge, you ensure the project runs smoothly and stays on budget.
Comparing Cabinet Refinishing and Painting Costs
The primary driver behind any cabinet makeover is cost efficiency. Full kitchen gut-renovations rarely yield a 100% return on investment when selling, whereas cosmetic updates like cabinet painting and refinishing consistently offer some of the highest ROI in the home improvement industry.
When you retain your existing layout, you bypass the cascading expenses of moving plumbing lines, rewiring electrical runs, and repairing drywall. In fact, professional refinishing generally saves property owners 30% to 50% compared to tearing out and installing new custom units. Those preserved funds can then be funneled into high-impact complementary upgrades, such as refinished countertops, modern undermount sinks, or upgraded appliances.
Assessing Cabinet Condition and Storage Potential
Before committing to a makeover, inspect the structural health of your cabinetry:
- Inspect the Cabinet Boxes: Check the interior plywood or particleboard sides and bottoms, particularly beneath the kitchen sink. If the boxes are sturdy, plumb, and free of structural water damage, they are prime candidates for refinishing.
- Evaluate the Face Frames and Doors: Solid oak doors rarely warp, but check the hinges and mounting points to ensure the screws still bite securely into the wood.
- Review Layout and Storage Opportunities: You do not need to tear down walls to improve daily functionality. A clever cabinet transformation featured on Homedit demonstrated how a non-working dishwasher space was converted into a sleek three-drawer storage stack, painted to match the rest of the teal kitchen run.
- Maximize Corner and Pantry Storage: Keep your existing corner lazy Susans, tall pantry towers, and deep base cabinets intact. Modernizing their exterior finish instantly updates the room’s visual weight while preserving valuable square footage.
Essential Steps for Prepping and Painting Oak Cabinets
Oak is a gorgeous, durable hardwood, but its deep, open grain presents specific challenges during painting. Oak features coarse vascular patterns that drink up liquid and leave miniature pits if not addressed properly. Achieving a lasting, furniture-grade finish requires following the right sequence:
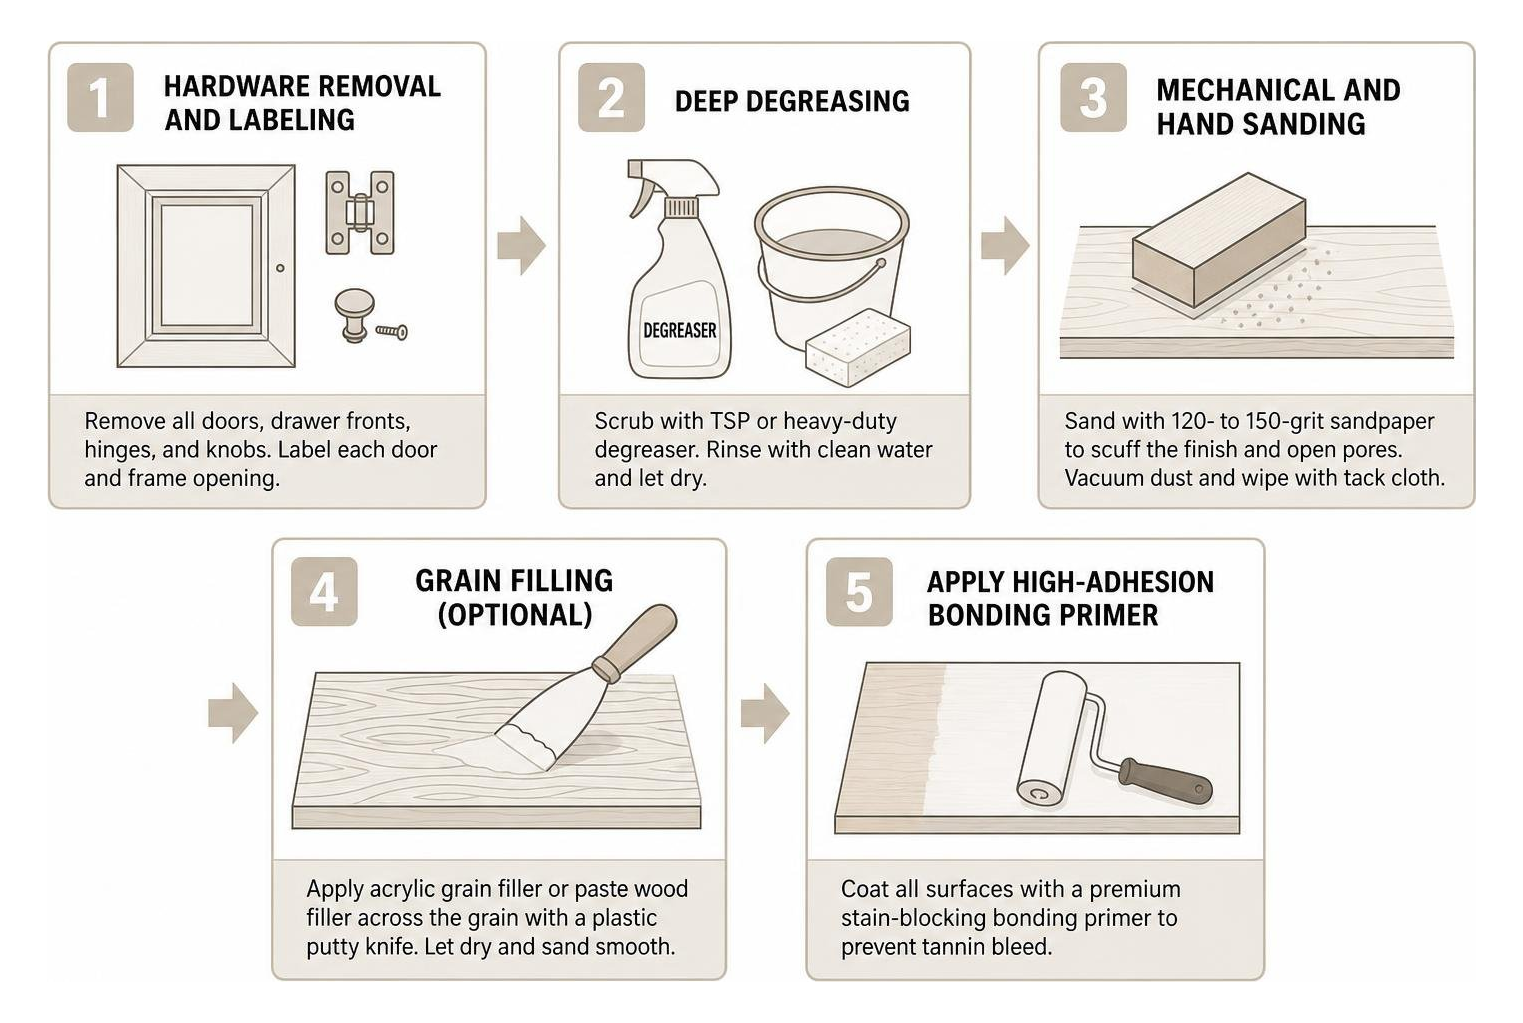
- Hardware Removal and Labeling: Remove all doors, drawer fronts, hinges, and knobs. Number each door and corresponding frame opening using painter’s tape to avoid alignment headaches during reassembly.
- Deep Degreasing: Kitchens accumulate airborne cooking oils and grease over time. Scrub every square inch with Trisodium Phosphate (TSP) or a dedicated heavy-duty degreaser, then wipe down with clean water. Skipping this step ruins paint adhesion.
- Mechanical and Hand Sanding: Sand the factory clear coat using 120- to 150-grit sandpaper to scuff the sheen and open the surface pores. Vacuum the dust and wipe the surfaces down using tack cloths.
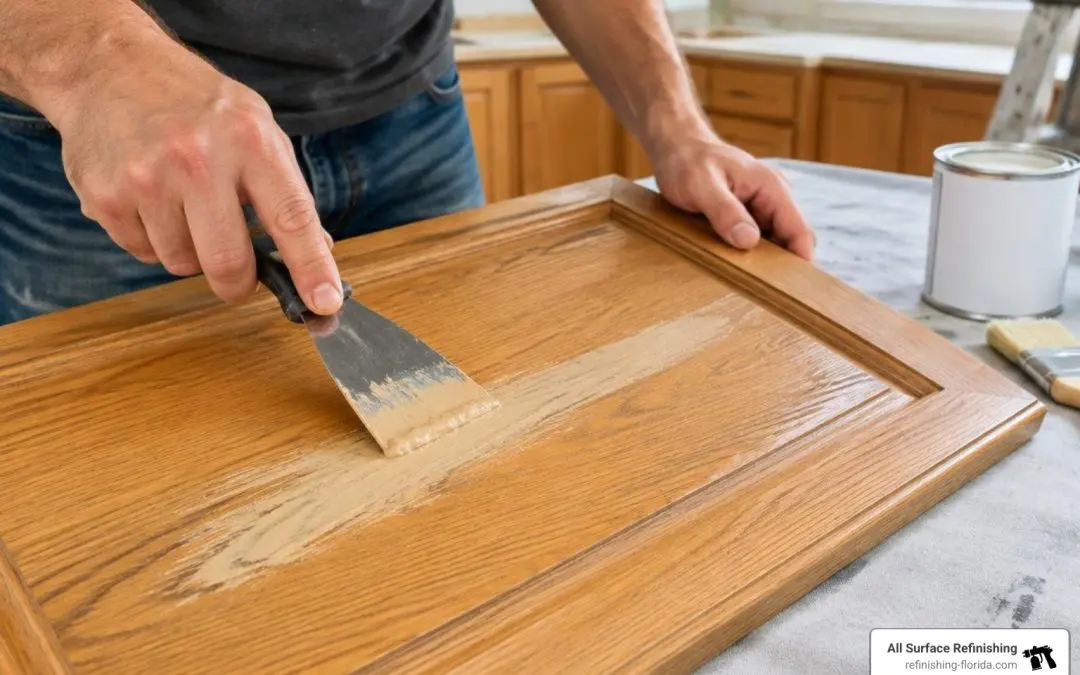
- Grain Filling (Optional but Recommended): To eliminate the distinctive oak texture for a sleek look, apply a specialized acrylic grain filler or paste wood filler with a plastic putty knife, working across the grain.
- Applying a High-Adhesion Bonding Primer: Coat all surfaces with a premium stain-blocking bonding primer (shellac- or oil-based primers work best to prevent oak tannins from bleeding through).
- Applying Durable Enamel Topcoats: Apply two to three thin, even coats of urethane-modified alkyd or waterborne acrylic enamel paint, lightly sanding with 220-grit between coats.
For a deeper dive into application methods and drying steps, check out our guide on how to paint kitchen cabinets the right way.
Proper Preparation to Conceal Heavy Oak Grain
If your goal is a smooth, contemporary surface that looks like it came straight from a designer showroom, you cannot rely on paint alone to fill oak’s deep pores. Oak’s open grain structure will telegraph right through multiple coats of latex paint, leaving an uneven, textured finish.
To achieve an ultra-smooth profile:
- Apply a thin coat of water-based grain filler, forcing the compound deep into the recessed grain lines.
- Allow it to dry fully according to manufacturer instructions, then sand smooth with an orbital sander using 180- to 220-grit paper.
- Repeat with a second thin coat if deep fissures remain.
- Seal the raw wood and filler with an enamel undercoater or high-build primer.
This detailed preparation forms the foundation of proper kitchen cabinet refurbishing, preventing premature peeling and ensuring the topcoat locks seamlessly onto the timber.
Choosing the Best Paint Colors for an Oak Kitchen Cabinets Makeover
The right color can take a kitchen from tired and dark to open, bright, and inviting. Give your space a fresh feel by thoughtfully changing your cabinet color to balance lighting, wall colors, and flooring:
- Crisp White & Off-White: Timeless choices like Benjamin Moore Simply White or Sherwin-Williams Alabaster bounce natural light around the room, making small kitchens feel twice their size.
- Deep Navy & Midnight Hues: Navy lowers paired with crisp white uppers create a tailored two-tone look that grounds the cooking space.
- Earthy Greens & Sage: Muted olive and sage tones bridge the gap between traditional warmth and modern organic design, pairing beautifully with resurfaced stone-look counters.
- Rich Teal: A bold choice for homeowners who want personality. As highlighted in design showcases, saturated jewel tones can completely modernize a kitchen while celebrating the home’s unique character.
- Charcoal & Soft Black: Darker hues provide striking contrast against bright, refinished surfaces and light backsplashes.
When choosing your sheen, a satin or semi-gloss finish is best. Matte finishes absorb oils and are difficult to scrub, while high-gloss paints can highlight subtle surface imperfections.
Elevating Your Makeover with Modern Hardware and Cabinet Details
Once the cabinet finish is complete, the finishing touches bring the entire kitchen together. Swapping out standard 1990s brass pulls for modern profiles delivers immediate visual impact.
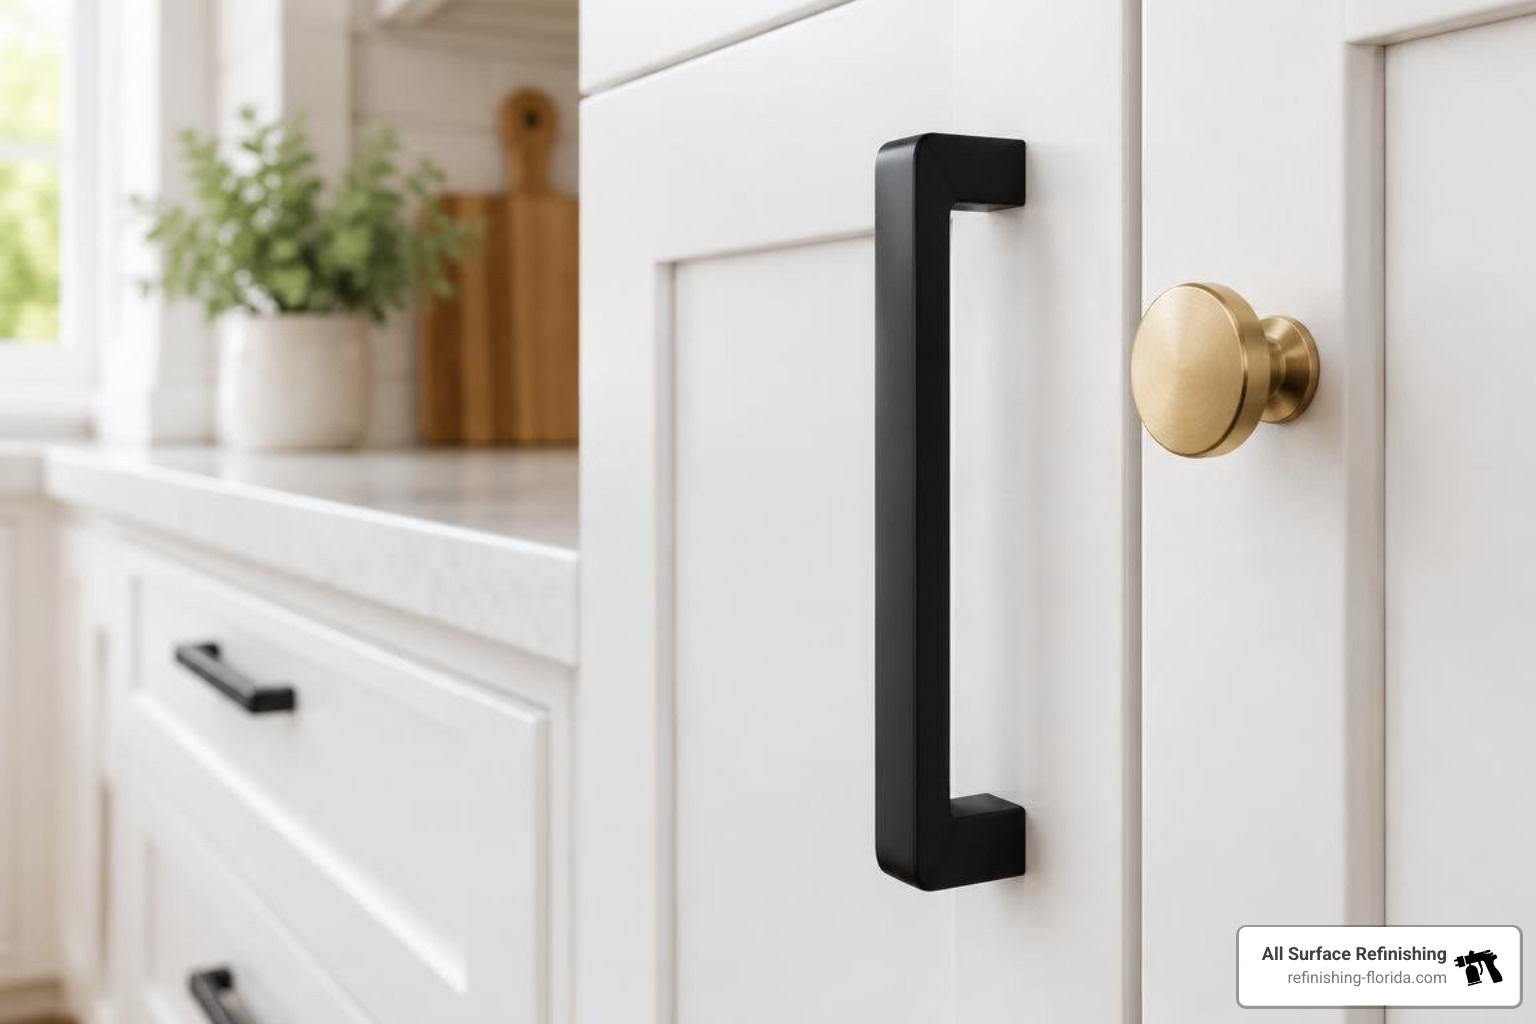
- Hardware Selections: Matte black pulls offer a striking industrial or modern farmhouse contrast against white and light gray cabinets. For jewel tones, navy, or deep green cabinetry, warm brushed brass or satin bronze hardware adds high-end sophistication.
- Crown Molding and Trim: Adding custom crown molding to the tops of standard upper cabinets creates a seamless built-in appearance. As seen in a detailed $500 DIY kitchen transformation, installing upper trim and painting it with the cabinets creates the look of expensive, custom millwork for a fraction of the cost.
- Under-Cabinet Lighting: Concealed LED strip lighting illuminates dark counters, highlights backsplashes, and brightens work areas.
- Backsplash and Tile: Pairing freshly painted cabinets with clean, refinished tile and updated fixtures unifies the entire room.
Design Styles for an Oak Kitchen Cabinets Makeover
You can tailor your cabinet transformation to fit several popular interior design aesthetics:
- Modern Farmhouse: Combine warm off-white or light gray painted cabinetry with matte black bar pulls, a deep apron-front sink, and bright, refinished countertops.
- Transitional Style: Balance traditional warmth with clean contemporary lines. Pair painted shaker-style profiles with satin nickel hardware, resurfaced stone-look countertops, and subtle decorative accents.
- Contemporary Minimalism: Select smooth, grain-filled cabinet fronts painted in moody charcoal, soft beige, or deep forest green, accented by sleek edge-pull hardware.
- Two-Tone Aesthetic: Paint the upper cabinets in a crisp neutral while finishing base units and islands in deep navy, rich teal, or charcoal. This anchors the room without sacrificing natural light.
Frequently Asked Questions About Updating Oak Cabinets
How long does a DIY oak cabinet makeover take?
A thorough DIY cabinet makeover typically takes between three to six weeks when working during evenings and weekends. The bulk of the timeline involves labor-intensive prep: cleaning, hardware removal, grain filling, sanding, priming, and applying multiple topcoats. Rushing between coats often causes paint to blister or peel, so patience is key.
Can you paint over honey oak without grain showing?
Yes, but it requires applying a dedicated grain filler before priming. High-build bonding primers help level minor imperfections, but filling deep oak grain pores with an acrylic wood paste prior to sanding is the most reliable way to achieve a completely smooth, grain-free finish.
When should you hire a professional for cabinet refinishing?
While a DIY approach can save on upfront labor, hiring a professional refinishing team is best if you want a factory-smooth, durable spray finish without surrendering weeks of free time. Professionals utilize specialized HVLP spray systems, industrial bonding agents, and enclosed dust-control setups to complete jobs in just three to five days.
Conclusion
An outdated kitchen does not mean you have to endure the expense, mess, and disruption of a complete tear-out. Solid oak cabinets are built to last, and with the right preparation, high-performance coatings, and modern hardware, they can serve as the centerpiece of a beautiful, contemporary cooking space for years to come.
Whether you are dreaming of crisp coastal whites, dramatic deep blues, or warm organic tones, our team at All Surface Refinishing brings over 30 years of hands-on experience and more than 14,000 completed resurfacing projects to your home. We specialize in transforming worn, dated surfaces across South Florida into durable, factory-grade centerpieces.
Ready to revitalize your space? Explore our expert cabinet refinishing and painting services today and discover how simple, affordable, and rewarding a kitchen transformation can be!
