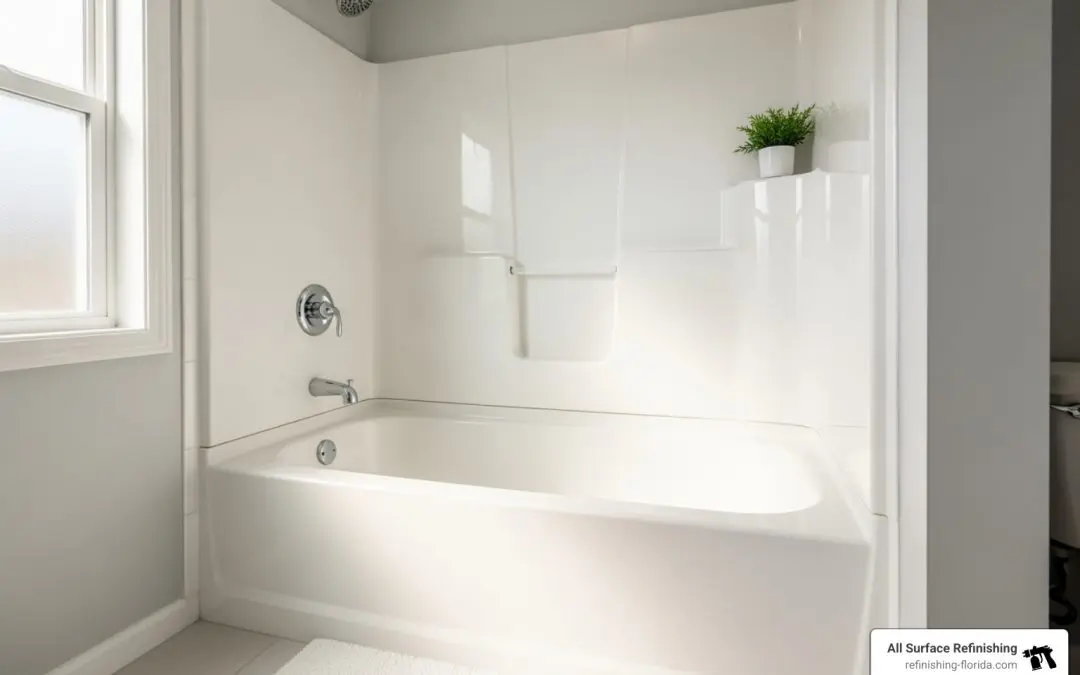
Why Shower Tub Combo Refinishing Transforms Bathrooms Without the Replacement Hassle
Shower tub combo refinishing is the process of restoring your existing bathtub and shower walls with a new, durable coating—saving you up to 90% compared to replacement while giving you a like-new finish in just 24-72 hours.
Quick Facts About Refinishing:
- Cost: $335-$629 professional vs. $3,000+ replacement
- Time: 3-5 hours to complete, ready to use in 1-3 days
- Durability: Lasts 10-15 years with proper care
- Materials: Works on porcelain, fiberglass, acrylic, and cultured marble
- Result: Glossy, smooth finish that looks brand new
If your bathtub and shower combo has a dull finish, stubborn stains, minor chips, or an outdated color, you don’t need to tear it out. Refinishing restores the surface at a fraction of replacement costs, with minimal disruption to your home. According to Home Advisor, refinishing typically costs between $335 and $629, while a full replacement can easily exceed $3,000 when you factor in removal, plumbing, and tile work.
The process works by thoroughly cleaning the surface, repairing any damage, etching or sanding for adhesion, then applying multiple coats of specialized epoxy or acrylic urethane coating. Professional refinishers use advanced materials like aliphatic acrylic polyurethane—the same coating NASA developed for extreme durability. The result is a non-porous, easy-to-clean surface that can last 10-15 years or more with proper maintenance.
One homeowner put it simply: “Refinishing a bathtub is so much easier than I thought it would be.” Whether you tackle this as a DIY project or hire professionals, refinishing offers a practical solution for updating your bathroom without the mess, expense, and weeks of downtime that replacement requires.
I’m Frank Hernandez, President of All Surface Refinishing, and I’ve been serving South Florida homeowners since 1996 with shower tub combo refinishing services throughout Miami-Dade, Broward, and Palm Beach counties. My team and I specialize in changing worn bathtubs and showers into beautiful, durable surfaces that exceed our clients’ expectations—often saving them thousands compared to replacement.
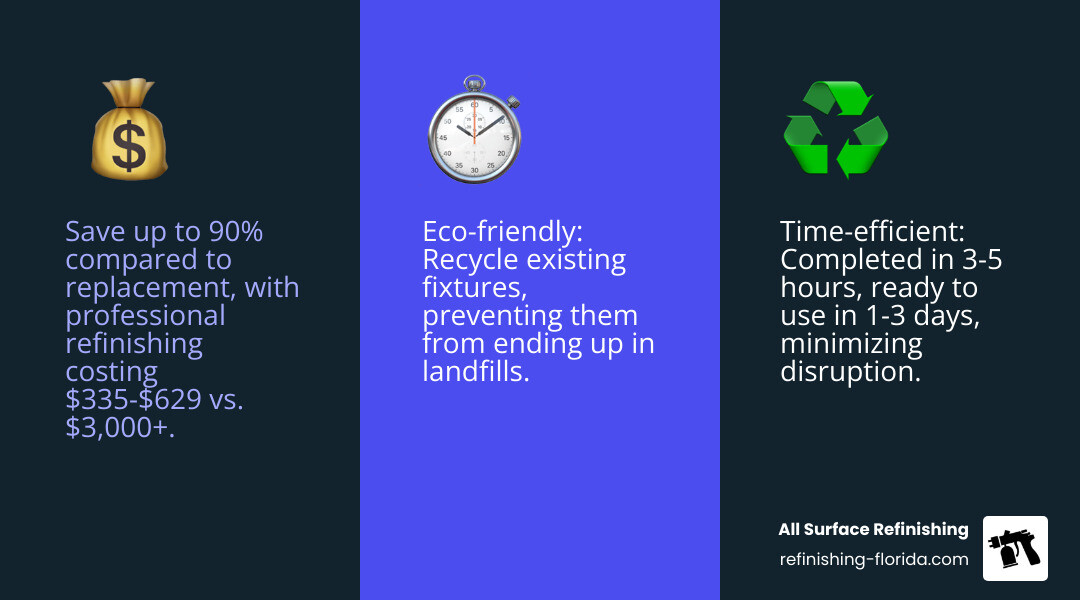
Why Refinish? Deciding Between Refinishing and Replacement
Choosing between refinishing and replacing your shower tub combo is a common dilemma for many homeowners. While a full replacement might seem like the only option for a tired-looking bathroom, we’re here to tell you that refinishing offers a compelling alternative with numerous advantages.
Key Benefits of Refinishing Your Shower Tub Combo
Refinishing your shower tub combo provides a host of benefits that make it an attractive option for updating your bathroom:
- Significant Cost Savings: This is often the biggest motivator. Refinishing can save you 90% or more compared to the cost of a full replacement. While a DIY kit might cost around $30-$100 in total supplies, professional services average around $480 (ranging from $335 to $629). Compare this to the thousands of dollars required for demolition, new fixtures, plumbing, and tile work associated with replacement.
- Time Efficiency: We know your time is valuable. A professional shower tub combo refinishing job can be completed in as little as three to five hours, with the surface ready for use in just 24 to 72 hours. This means minimal disruption to your daily routine, unlike a replacement project that can drag on for days or even weeks.
- Eco-Friendly Choice: By choosing to refinish, you’re giving your existing fixtures a second life. This reduces landfill waste and minimizes the environmental impact associated with manufacturing new materials and disposing of old ones. It’s a sustainable way to refresh your home.
- Aesthetic Update: Whether your tub is an outdated color or simply lacks its original luster, refinishing can completely transform its appearance. We can restore a dull, matte finish to a glossy, like-new sheen, making your entire bathroom feel fresh and modern.
- Color Customization: Refinishing allows for a wide range of color options. You’re not limited to standard white; we can match existing colors or create a custom hue to perfectly complement your bathroom’s decor.
- Increased Property Value: Kitchens and bathrooms are key selling points for homes. A refreshed, clean-looking shower tub combo can significantly improve your bathroom’s appeal, potentially increasing your home’s market value.
Signs Your Shower Tub Combo Needs Refinishing
How do you know if refinishing is the right path for your shower tub combo? Look for these common indicators:
- Dull Finish: If your once-shiny tub now appears matte or lacks its original gloss, it’s a prime candidate for refinishing. The surface often feels rough to the touch.
- Stubborn Stains: Are you constantly scrubbing away at hard water stains, rust marks, or soap scum that just won’t disappear? A worn surface becomes porous, allowing grime to penetrate and become much harder to clean. Refinishing creates a new, non-porous layer that resists staining.
- Minor Scratches and Small Chips: Everyday wear and tear can lead to minor surface imperfections. Refinishing can effectively fill and smooth out these small damages, preventing them from worsening. For more on repairs, check our guide on Tub Repair.
- Outdated Color: If your bathroom still boasts an avocado green or baby blue tub from decades past, refinishing is an excellent way to modernize its look without the hassle of demolition.
- Peeling or Flaking Surface: This is a clear sign that the original finish (or a previous refinishing job) is failing. A new, properly applied refinish can restore integrity to the surface.
- Hard to Clean: If cleaning your tub has become an arduous chore due to a rough or porous surface, refinishing will provide a smooth, easy-to-maintain finish.
While refinishing can address many cosmetic and minor surface issues, it’s important to note that it’s not a solution for structural problems. If your tub leaks, has deep visible cracks, large holes, or widespread mold/mildew indicating underlying structural damage, replacement might be the more appropriate option.
What Types of Shower Tubs Can Be Refinished?
The good news is that shower tub combo refinishing is versatile and can be applied to a wide range of materials commonly found in South Florida homes. We regularly work with:
- Porcelain: A classic and durable material, porcelain tubs can often become chipped or dull over time. Refinishing restores their neat shine.
- Fiberglass: Common in many modern homes, fiberglass can scratch easily and lose its gloss. Refinishing brings it back to life.
- Acrylic: Similar to fiberglass, acrylic tubs can also benefit greatly from a fresh, new coating.
- Cultured Marble: This engineered material can be prone to staining and dullness, which refinishing effectively addresses.
- Cast Iron: These heavy-duty tubs are built to last, but their enamel can chip or wear. Refinishing is a fantastic way to preserve these sturdy fixtures. You can learn more in our Cast Iron Tub Refinishing Guide.
The Complete Guide to Shower Tub Combo Refinishing
Whether you’re considering a DIY project or planning to hire professionals, understanding the steps involved in shower tub combo refinishing is crucial. Here’s a comprehensive look at the process.
Essential Tools and Materials
Having the right tools and materials is paramount for a successful refinishing project.
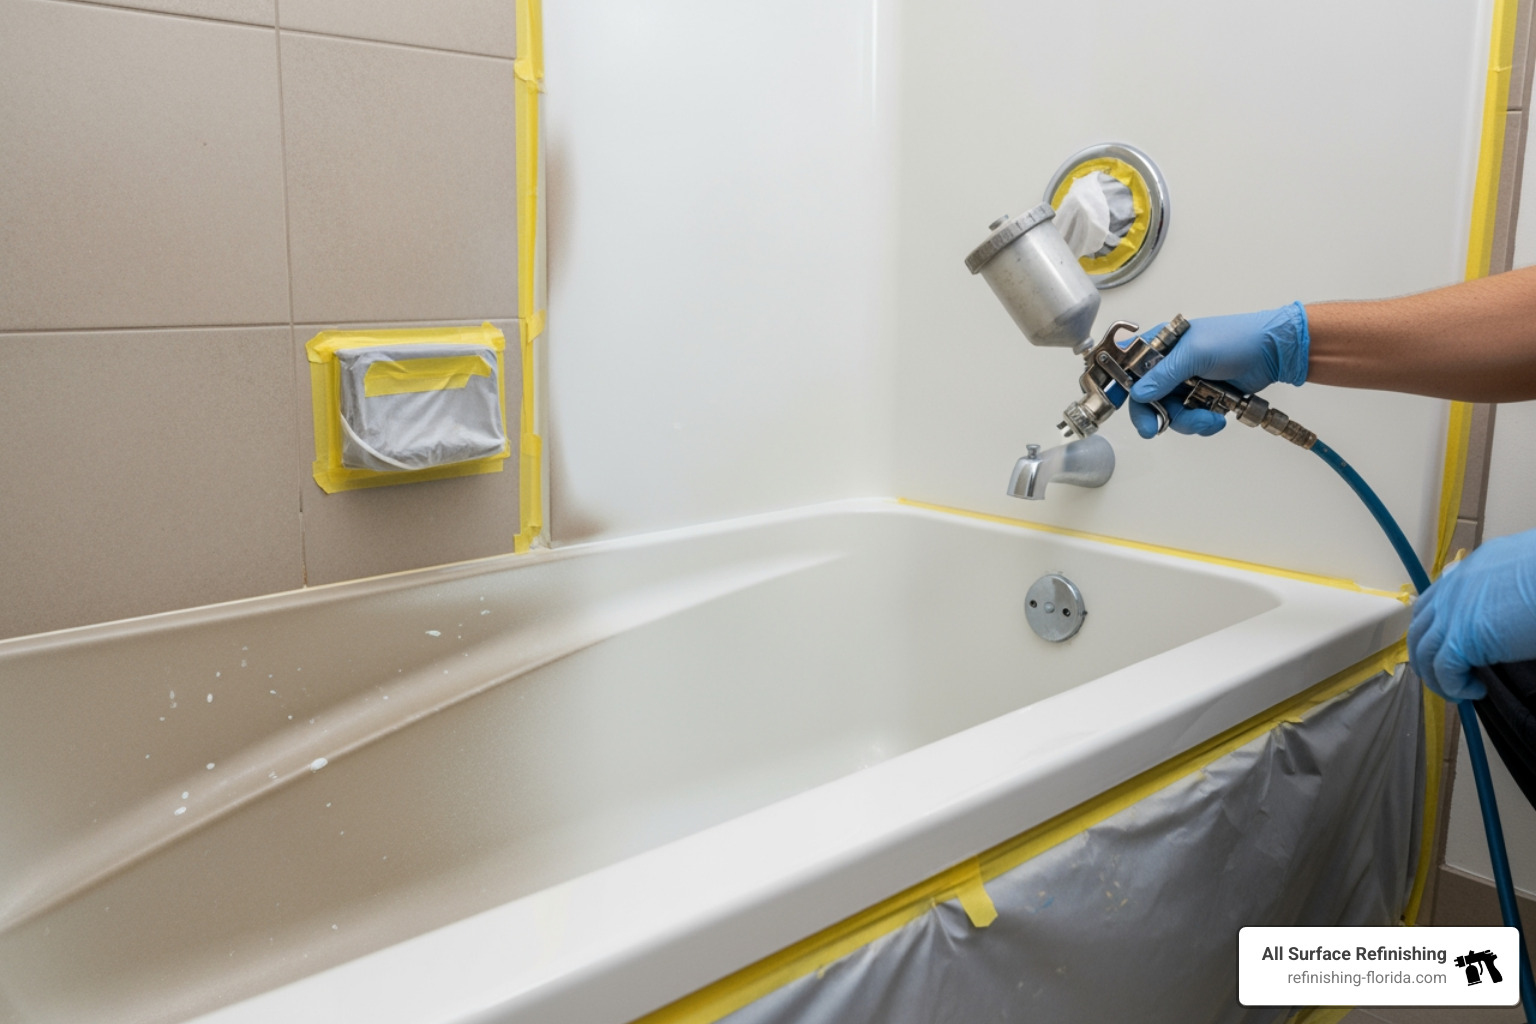
Here’s a list of what you’ll typically need:
- Bathtub Refinishing Kit: This is the core of your project, usually containing a two-part epoxy or acrylic urethane coating.
- Abrasive Cleaners: Products like CLR, Limeaway, or Bar Keepers Friend are essential for deep cleaning.
- Sandpaper: Various grits (e.g., 120-grit, 220-grit, 400-600 wet/dry) are needed for scuffing and smoothing. An orbital sander can save a lot of elbow grease.
- Painter’s Tape: For masking off surrounding areas and fixtures.
- Drop Cloths: To protect floors and nearby surfaces from spills and overspray.
- Tack Cloth: Crucial for removing fine dust particles after sanding.
- High-Density Foam Rollers: These are resistant to strong epoxy and provide a smooth finish.
- Small Paint Roller and Tray: To fit the foam rollers.
- Paintbrushes: Stiff, high-quality brushes for edges and corners, and chip brushes for detailed work.
- Tub Repair Putty: For filling chips, cracks, and other imperfections.
- Safety Gear: A respirator mask (full-face respirator is best), chemical-resistant gloves, safety glasses, closed-toe shoes, long pants, and a long-sleeve shirt are non-negotiable.
- Other Essentials: Screwdriver, putty knife, utility knife, abrasive pad, bleach, sponge, cloth, box fan (for ventilation), paper towels, caulk gun, and shower caulk (silicone rated for bathrooms).
Step 1: Preparation and Cleaning
This is arguably the most critical step, as proper preparation ensures the new coating adheres correctly and lasts for years.
- Remove Hardware: Start by removing all removable hardware, including drain covers, overflow plates, spouts, and handles.
- Remove Old Caulk: Use a putty knife, utility knife, or caulk remover to carefully scrape away all old caulk around the tub and shower walls. Hidden moisture or damage might be revealed here, indicating potential repairs needed before proceeding.
- Deep Clean the Surface: Clean the entire shower tub combo thoroughly. Use abrasive cleaners like CLR or Limeaway to remove soap scum, hard water deposits, and grime. For stubborn stains, Bar Keepers Friend can be very effective, especially for fiberglass. For fiberglass, a solution of 1-part white vinegar and 1-part water can also help with lighter stains. Rinse the surface completely and dry it. Any remaining residue will compromise adhesion.
- Repair Chips and Cracks: Fill any chips, cracks, or deep scratches with a specialized tub repair putty. Allow it to dry completely according to the product instructions, then sand smooth until flush with the surrounding surface. For more detailed guidance on specific repairs, see our article Beyond the Break: A Guide to Acrylic Shower Repair.
Step 2: Sanding and Etching for Adhesion
Once clean and repaired, the surface needs to be prepared to accept the new finish.
- Scuff the Entire Surface: The goal here is to create a rough, dull texture, not to remove the old finish entirely (unless it’s peeling). For DIY, use 120-grit sandpaper with an orbital sander (much easier than steel wool!) or 400-600 grit wet/dry sandpaper by hand. For old cast iron tubs, a rust-removing drill attachment can be very effective. If the tub is very old, consider a lead paint test before heavy sanding. Professional services often use an etching powder or a proprietary bonding agent to chemically prepare the surface, creating microscopic pores for superior adhesion.
- Rinse and Dry Completely: After sanding or etching, thoroughly rinse the entire shower tub combo to remove all dust and residue. Allow the surface to dry completely. We mean completely—any moisture can cause adhesion problems.
- Use a Tack Cloth for Dust Removal: This is a critical step often overlooked in DIY projects. After the surface is dry, wipe it down with a tack cloth. This special cloth picks up any remaining fine dust particles that could otherwise lead to a bumpy or uneven finish.
Step 3: Applying the New Finish
With the surface perfectly prepped, it’s time for the change!
- Mask Surrounding Areas: Use painter’s tape and drop cloths to carefully mask off all areas you don’t want to be refinished, including faucets, drains, surrounding walls, and floors. Create a “spray booth” effect if possible to minimize dust contamination.
- Mix the Epoxy Coating: Carefully follow the instructions on your refinishing kit for mixing the two-part epoxy or acrylic urethane. These coatings often have a limited “pot life,” so work quickly once mixed.
- Apply Thin, Even Coats: For DIY, use a stiff paintbrush for corners and edges, and a high-density foam roller for the larger surfaces of the tub and shower walls. Work from top to bottom, applying thin, even coats. This helps prevent drips and ensures a smooth finish. Many kits recommend two to three coats. Professionals often use specialized spray equipment for an incredibly smooth and uniform finish, applying advanced coatings like aliphatic acrylic polyurethane—a two-part urethane invented by NASA for its extreme durability.
- Follow Kit Instructions for Drying Times: Allow adequate drying time between coats (often overnight for DIY kits). Applying the next coat too soon can lead to bubbling or an uneven finish.
Step 4: Curing and Finishing Touches
The final steps bring your project to a beautiful, usable conclusion.
- Allow 24-72 Hours to Cure: After the final coat, resist the urge to use your newly refinished shower tub combo. Most DIY kits require 24 to 72 hours for the coating to fully cure before it can withstand water and daily use. Professional jobs can sometimes cure faster, ready in 12 to 24 hours.
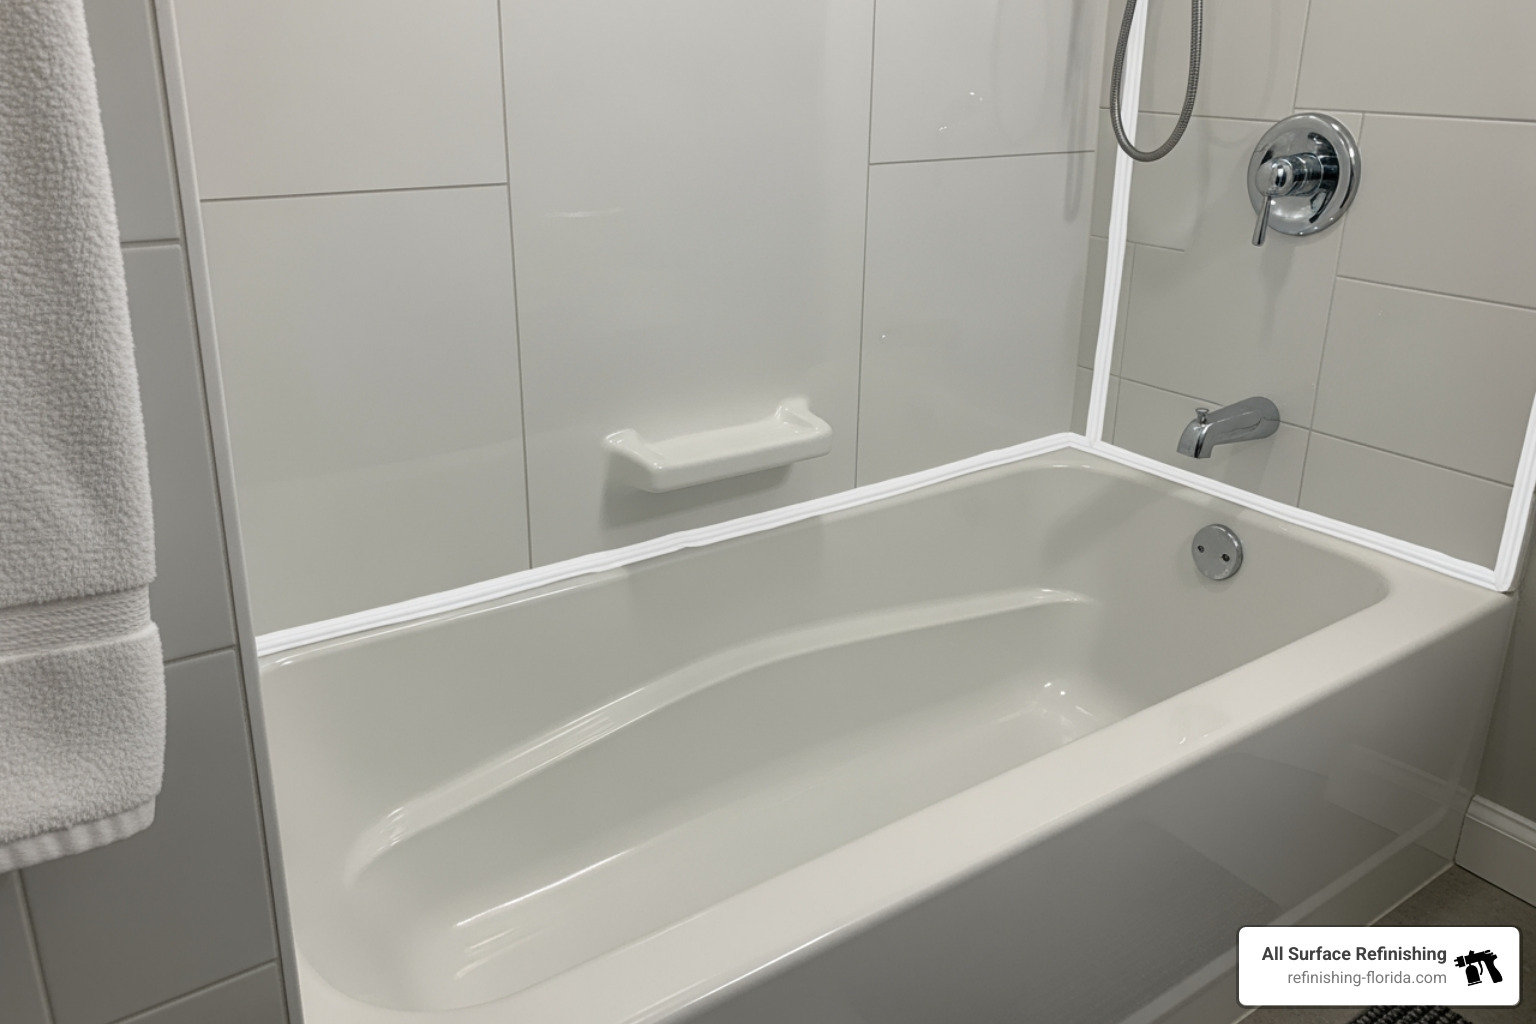
- Re-Caulk Edges: Once fully cured, remove all painter’s tape. Apply fresh, high-quality silicone caulking specifically rated for bathrooms around all edges of the tub and where the shower walls meet other surfaces. Allow the caulk to cure overnight before exposing it to water.
- Reinstall Hardware: Carefully reattach all hardware that was removed in Step 1.
Safety First: Critical Precautions for Shower Tub Combo Refinishing
Working with refinishing chemicals requires serious attention to safety. We can’t stress this enough:
- Proper Ventilation: Ensure the bathroom is extremely well-ventilated. Open windows and doors, turn on the exhaust fan, and use a box fan placed in a window to blow air out of the room. Chemical fumes can be heavy and linger, posing a health risk.
- Use a Respirator Mask: A high-quality respirator mask is non-negotiable. It protects your lungs from harmful chemical fumes.
- Wear Gloves and Safety Glasses: Chemical-resistant gloves protect your skin, and safety glasses or goggles shield your eyes from splashes and fumes.
- Protect Skin: Wear closed-toe shoes, long pants, and a long-sleeve shirt to minimize skin exposure.
- Read all instructions: Always read and follow the specific safety instructions provided with your refinishing kit. For more information on safety during refinishing projects, refer to CDC recommendations on refinishing safety.
Professional vs. DIY: Making the Right Choice
Deciding whether to tackle shower tub combo refinishing yourself or hire a professional is a significant decision. Both options have their merits, primarily differing in cost, time commitment, and the quality of the final result.
Cost, Time, and Quality: DIY vs. Hiring a Pro
Here’s a comparison to help you weigh your options:
| Feature | DIY Refinishing | Professional Refinishing |
|---|---|---|
| Cost | ~$30 (kit) to ~$100 (total supplies) | $335-$629 (average $480) |
| Time | One weekend (3-5 hours application, 2-3 days cure) | 3-5 hours application, 12-24 hours cure (ready in 1-3 days) |
| Quality | Can be good, but risk of peeling, uneven finish, strong odors, dust contamination | High-gloss, smooth, uniform appearance, professional-grade adhesion, minimal odor due to ventilation |
| Longevity | Varies, potentially shorter due to application variables | 10-15 years or more (with proper care) |
| Warranty | None | Typically 5-year warranty (residential) |
While DIY kits are tempting for their low upfront cost, achieving a truly professional, durable finish requires extensive preparation, specialized materials, and skilled application. We often see about 25% of our work involves redoing someone else’s attempt to refinish a bathtub. This highlights the challenges of DIY, where achieving a glossy, smooth, and uniform appearance like a new bathtub can be difficult without the right tools and expertise. For a deeper dive into cost implications, consult our Bathtub Refinishing Costs: Ultimate Guide.
Understanding the Terminology: Refinishing vs. Reglazing
These terms are often used interchangeably, but there’s a subtle distinction:
- Refinishing: This is the umbrella term for the entire process of restoring a worn or damaged surface. It encompasses all steps: cleaning, surface preparation, repairs, sanding/etching, and finally, the application of a new coating. We also use the term Resurfacing to describe this comprehensive process.
- Reglazing: This specifically refers to the application of the new coating or “glaze” onto the prepared surface. It’s one step within the broader refinishing process. When we Reglaze Tub surfaces, we are performing the final coating application.
The Professional Advantage: Warranty and Superior Materials
When you choose professional shower tub combo refinishing, you’re investing in expertise and quality that DIY often can’t match.
- Professional-Grade Coatings: We use advanced, high-tech acrylic urethane coatings. These are often two-part urethanes, like the aliphatic acrylic polyurethane developed by NASA, known for its resistance to abrasion, impact, extreme temperatures, and color retention. These materials are far superior to what’s typically found in retail DIY kits.
- Superior Bonding Agents: Professionals often use proprietary bonding agents that create a chemical bond between the old surface and the new finish. This ensures exceptional adhesion and durability, often without the need for corrosive acid etching, which is an older technology.
- Guaranteed Adhesion: With professional services, you receive the peace of mind that comes with a warranty. Many reputable companies offer a five-year warranty for residential services against peeling or other adhesion failures, ensuring your investment is protected. For more details on what to expect, read our Professional Bathroom Reglazing Guide.
Maintaining Your Newly Refinished Surface
A newly refinished shower tub combo is an investment that can last for many years with the right care. Just like a new tub, it requires proper maintenance to ensure its longevity and pristine appearance.
How Long Does a Refinished Shower Tub Combo Last?
With proper care and maintenance, a professionally refinished shower tub combo can extend the useful life of your fixtures for up to 10 to 15 years or even more. The lifespan depends on several factors:
- Usage Frequency: A tub used daily by a large family might show wear faster than one in a guest bathroom.
- Cleaning Methods: The type of cleaners you use significantly impacts the finish’s durability.
- Maintenance Habits: Promptly addressing issues like leaky faucets or standing water helps preserve the coating.
Our goal is to provide a finish that lasts, allowing you to Revive Your Tub with Bath Resurfacing for a decade or more.
Cleaning and Care for Long-Term Durability
Here’s how to keep your refinished shower tub combo looking its best:
- Use Non-Abrasive Cleaners: Opt for mild, liquid cleaners. Natural options like baking soda and water, or vinegar and water, are perfect. Most bathtubs become worn and dull from abrasive cleansers, not from time itself.
- Avoid Harsh Chemicals: Stay away from bleach, ammonia, and scrubbing powders. These can damage the new finish and void any warranty.
- No Suction Cup Mats: Suction cup bath mats can trap moisture underneath, potentially leading to damage or lifting of the finish. If you need a mat, choose a vinyl one and remove it after each use to allow the surface to dry. For more on keeping your shower safe, see our Shower Safety Secrets: Easy Ways to Make Your Shower and Bathtub Non-Slip.
- Repair Leaky Faucets Promptly: Constant drips can cause staining and wear on the finish.
- Ensure Proper Ventilation: Good bathroom ventilation helps prevent moisture buildup, which can prolong the life of your finish.
- Wipe Down Regularly: A quick wipe-down after each use can prevent soap scum and hard water buildup.
- Address Chips/Scratches Immediately: If a minor chip or scratch occurs, contact us for repair to prevent it from spreading.
Frequently Asked Questions about Shower Tub Combo Refinishing
We often get asked similar questions by homeowners curious about shower tub combo refinishing. Here are some of the most common ones:
Can you change the color of your shower tub combo?
Absolutely! One of the fantastic benefits of shower tub combo refinishing is the ability to completely change the color of your fixtures. You’re not stuck with the original color, or even just standard white. We can match almost any existing color or create a custom color of your choosing. This means you can transform an outdated color to a modern, fresh look that perfectly complements your bathroom decor. Whether you’re in Boca Raton, Fort Lauderdale, Miami, West Palm Beach, or any of our service areas across South Florida, we can help you achieve the exact aesthetic you desire.
What are the biggest challenges in a refinishing project?
Even with a comprehensive guide, shower tub combo refinishing can present challenges, especially for DIY enthusiasts:
- Ensuring Adequate Ventilation: The fumes from refinishing chemicals are strong and require robust ventilation. This isn’t just about comfort; it’s a critical safety concern. Many DIYers underestimate the necessary air exchange.
- Achieving a Smooth, Even Finish: Avoiding drips, runs, and uneven application can be tricky. The coatings dry quickly, leaving little room for error. Dust particles settling on the wet surface can also create imperfections.
- Meticulous Surface Preparation: The durability of the new finish hinges entirely on how well the original surface is cleaned, repaired, and etched/sanded. Any shortcuts here will lead to premature peeling or failure.
- Odor Management: While professional services use ventilation systems to minimize odors, the solvents in new acrylic finishes are necessary for hardness and durability. Even with precautions, some odor can linger for 24-48 hours until the finish fully cures.
These challenges are precisely why many homeowners in South Florida choose to entrust their shower tub combo refinishing to experienced professionals.
Conclusion: A Beautiful Bathroom is Within Reach
Your shower tub combo is a centerpiece of your bathroom, and its condition significantly impacts the overall feel of the space. As we’ve explored, shower tub combo refinishing offers a powerful, cost-effective, and eco-friendly alternative to full replacement. You can enjoy a beautifully updated bathroom without the demolition, the lengthy downtime, or the hefty price tag.
Whether you’re looking to refresh a dull surface, cover stubborn stains, repair minor damage, or simply update an outdated color, refinishing provides a durable, like-new finish that can last 10 to 15 years with proper care. While a DIY approach can save money, professional services offer superior materials, expert application, and the peace of mind of a warranty.
For homeowners across South Florida, from the vibrant communities of Miami and Fort Lauderdale to the serene landscapes of West Palm Beach and Boca Raton, All Surface Refinishing stands as your trusted partner. With over 30 years of experience and 14,000+ successful projects, our team is equipped to deliver exceptional shower tub combo refinishing results. We understand the unique needs of Florida homes and are committed to changing your bathroom with efficiency and quality.
Ready to transform your bathroom? Explore our Services: Bathtub page to get a quote from our experts in Fort Lauderdale, Miami, West Palm Beach, and beyond. Let us help you revitalize your shower tub combo and fall in love with your bathroom all over again!
