Introduction
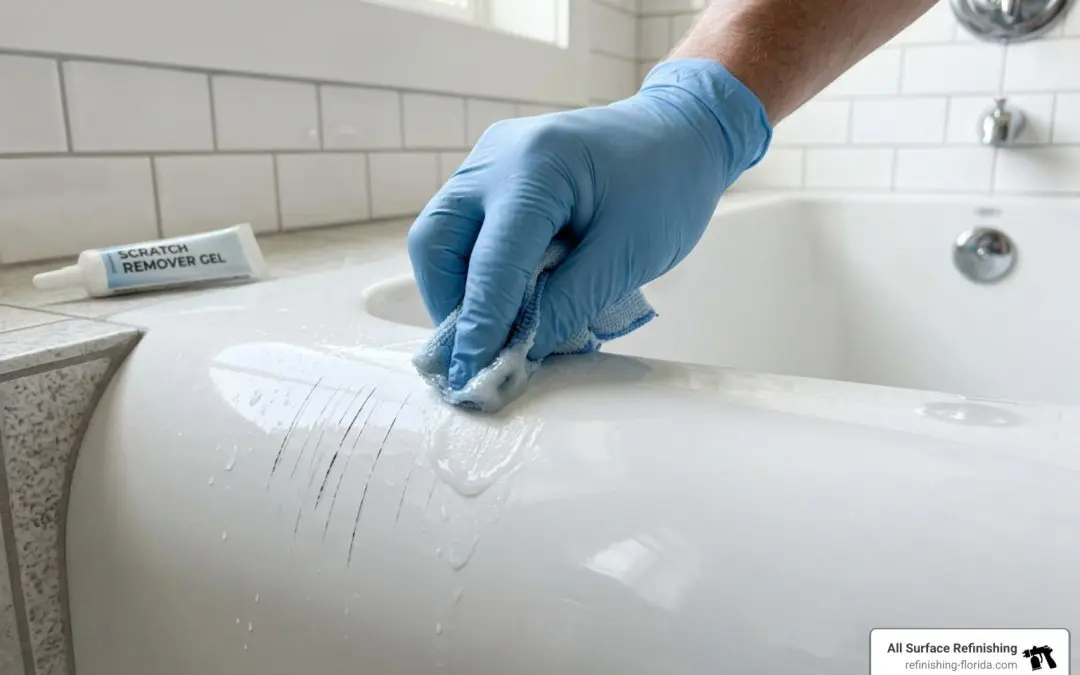
A bathtub scratch remover can restore your tub’s finish without the cost or hassle of full replacement — here’s a quick breakdown of your best options:
Quick Answer: How to Remove Bathtub Scratches
| Scratch Type | Best Solution |
|---|---|
| Light scuffs | Non-abrasive toothpaste or liquid polish, buffed with a microfiber cloth |
| Surface scratches | Polishing compound or a 3-step fiberglass/acrylic scratch remover kit |
| Deep gouges or chips | Epoxy or polyester filler repair kit with color matching |
| Structural cracks or peeling | Call a professional refinisher |
Most minor scratches on acrylic, fiberglass, or porcelain tubs can be handled at home with the right product and a little patience. Deeper damage — especially cracks, rust pitting, or large chips — is a different story, and we’ll cover when to call in a pro later in this guide.
Bathtubs take a beating. Dropped shampoo bottles, abrasive scrubbers, pet claws, and harsh chemical cleaners all leave their mark over time. What starts as a small scratch can dull the entire surface, making an otherwise solid tub look worn and neglected. The good news? In most cases, you don’t need to replace anything.
This guide walks you through everything — from identifying your tub’s material to choosing the right repair method and keeping scratches from coming back.
I’m Frank Hernandez, President of All Surface Refinishing, and with over a decade of hands-on refinishing experience across South Florida, I’ve seen every type of bathtub scratch remover situation imaginable — from minor scuffs on acrylic tubs to deep gouges in porcelain. Whether you’re tackling a DIY fix or deciding when it’s time to call a pro, the steps below will help you make the right call.
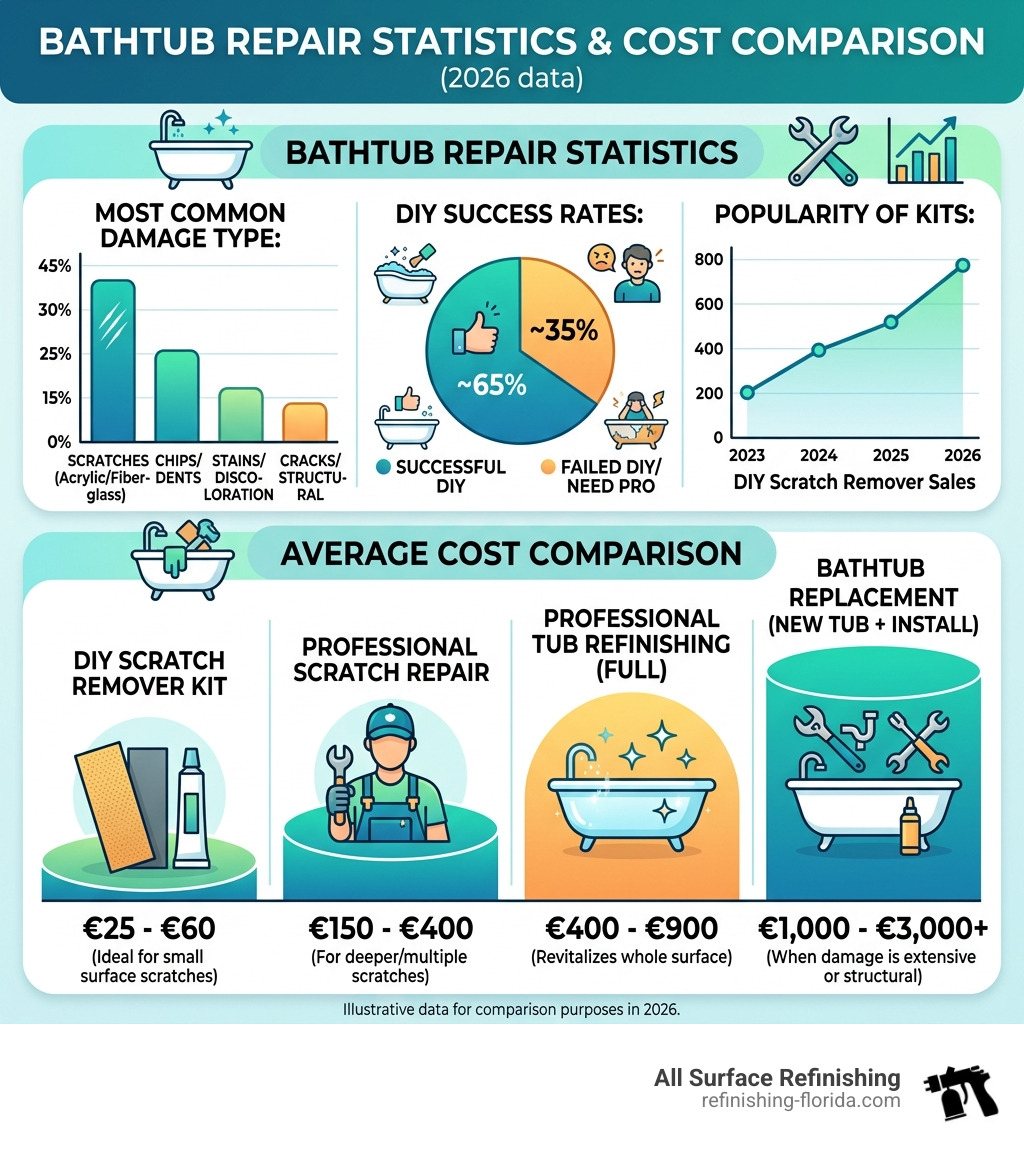
As we move through April 2026, many homeowners in South Florida—from the high-rises of Aventura to the historic homes of Coral Gables—are looking for ways to refresh their bathrooms without the $3,000+ price tag of a full tub replacement. Scratches are the most common complaint we hear. They aren’t just an eyesore; they are magnets for soap scum and mineral deposits.
Common causes of these imperfections include:
- Abrasive Cleaners: Using scouring pads or powders like Comet on acrylic or fiberglass.
- Heavy Objects: Dropping a handheld showerhead or a heavy glass bottle.
- Pet Claws: Giving your dog a bath can lead to “racing stripes” along the tub floor.
- Installation Mishaps: Scuffs that happen when the tub is being moved into place.
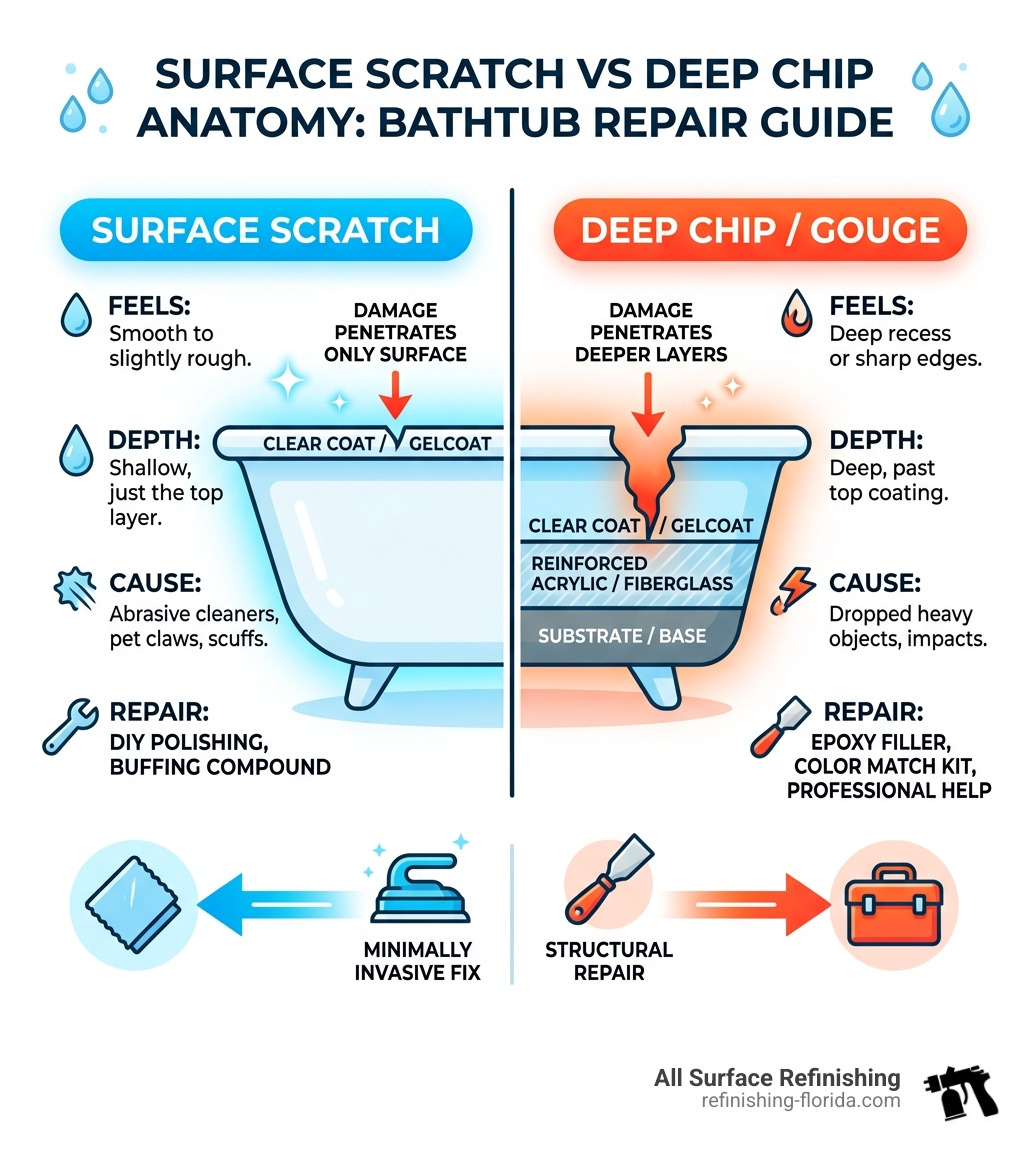
Understanding the anatomy of the damage is key. A surface scratch is merely a disruption in the top gloss layer. A deep chip or gouge, however, penetrates the “skin” of the tub, exposing the underlying material (like the dark metal of cast iron or the porous fibers of fiberglass).
Identifying Your Surface and the Best Bathtub Scratch Remover
Before you grab a bathtub scratch remover, you must know what your tub is made of. Using a porcelain repair kit on an acrylic tub can lead to chemical peeling, while sanding a porcelain tub with the wrong grit will simply ruin the finish.
| Feature | Acrylic | Fiberglass | Porcelain on Steel | Cast Iron |
|---|---|---|---|---|
| Surface Temp | Warm to the touch | Warm to the touch | Cold | Very Cold |
| Flexibility | Slight flex under weight | Significant flex/creaks | Rigid | Rock solid |
| Scratch Risk | High (soft surface) | High | Low | Very Low |
| Common Repair | Polishing/Buffing | Resin Fillers | Epoxy Touch-up | Porcelain Enamel |
If you have an acrylic drop-in bathtub, you’re dealing with a solid surface where the color goes all the way through. This makes it a great candidate for DIY repair. For more complex issues, check out our complete bathtub repair guide.
Determining Material Compatibility
Acrylic and fiberglass are often confused. Acrylic is a vacuum-formed sheet reinforced with fiberglass, while “fiberglass” tubs (often called Gelcoat) have a thin, shiny layer of polyester resin on top. If your tub feels “plastic-y” and warm, it’s one of these two. Porcelain and cast iron are heavy, cold, and magnetic. If you have a fiberglass unit that has lost its luster, you might consider fiberglass bathtub resurfacing to bring back that factory shine.
Assessing Damage Severity
We recommend the “fingernail test.” Run your nail across the scratch.
- Surface Scuff: Your nail glides over it. These are usually just “transfer marks” from a rubber mat or a plastic bucket.
- Light Scratch: You feel a slight catch, but the color is the same as the rest of the tub.
- Deep Gouge: Your nail drops into a valley. These require a filler-based bathtub scratch remover.
- Structural Crack: If the tub flexes and the crack opens, this is a safety hazard.
For a deeper dive into the restoration process, see our guide on how to restore a bathtub surface the right way.
DIY Methods for Minor Surface Scuffs
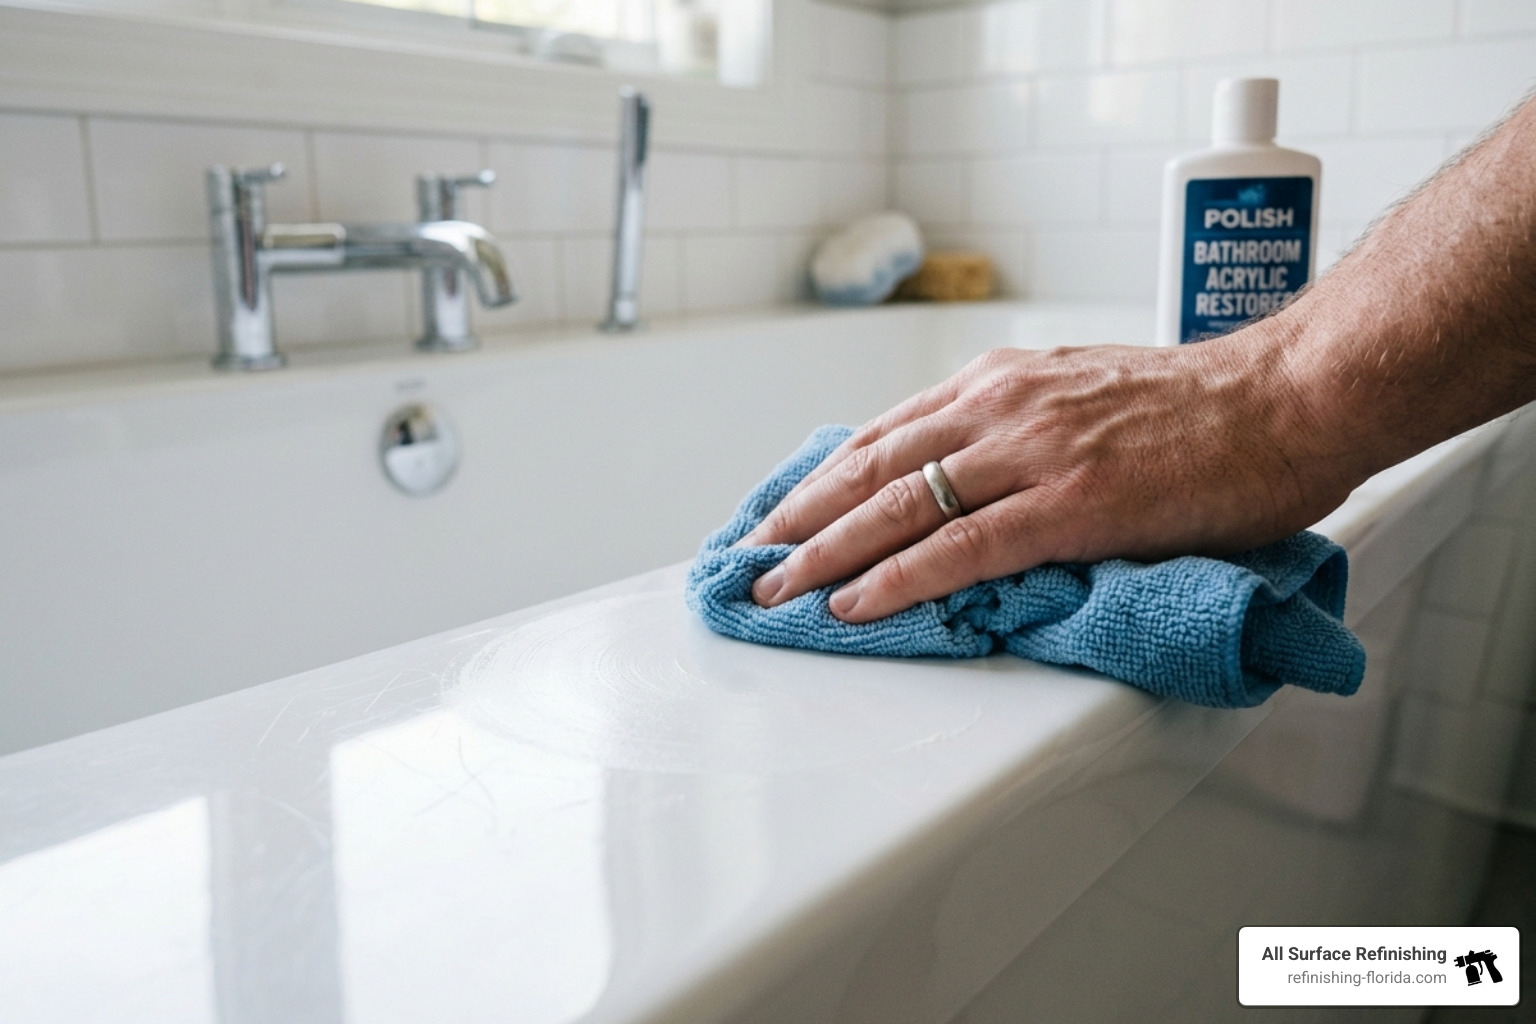
For those annoying “hazy” marks caused by a scouring pad, you might not need a specialized kit.
Household Items as a Temporary Bathtub Scratch Remover
- Non-Abrasive Toothpaste: Plain white toothpaste (not gel) acts as an incredibly fine polishing compound. Rub it in circular motions with a damp cloth, then rinse.
- Baking Soda Paste: Mix baking soda with a tiny bit of water. It’s mild enough for acrylic but effective for removing scuffs.
- Car Wax: High-quality car wax can fill in microscopic scratches and restore shine to acrylic tubs. Just be careful—never apply wax to the tub floor, as it creates a major slip-and-fall risk!
Polishing and Buffing for Shine
If the tub looks dull, a liquid polisher like Gel-Gloss or even a fine metal polish can work wonders. Use a microfiber cloth and apply steady, circular pressure. This “elbow grease” method is often the best bathtub scratch remover for acrylic surfaces that have lost their “new tub” glow. For more tips, refer to this guide on removing scouring pad scratches.
Step-by-Step Guide to Using a Bathtub Scratch Remover Kit
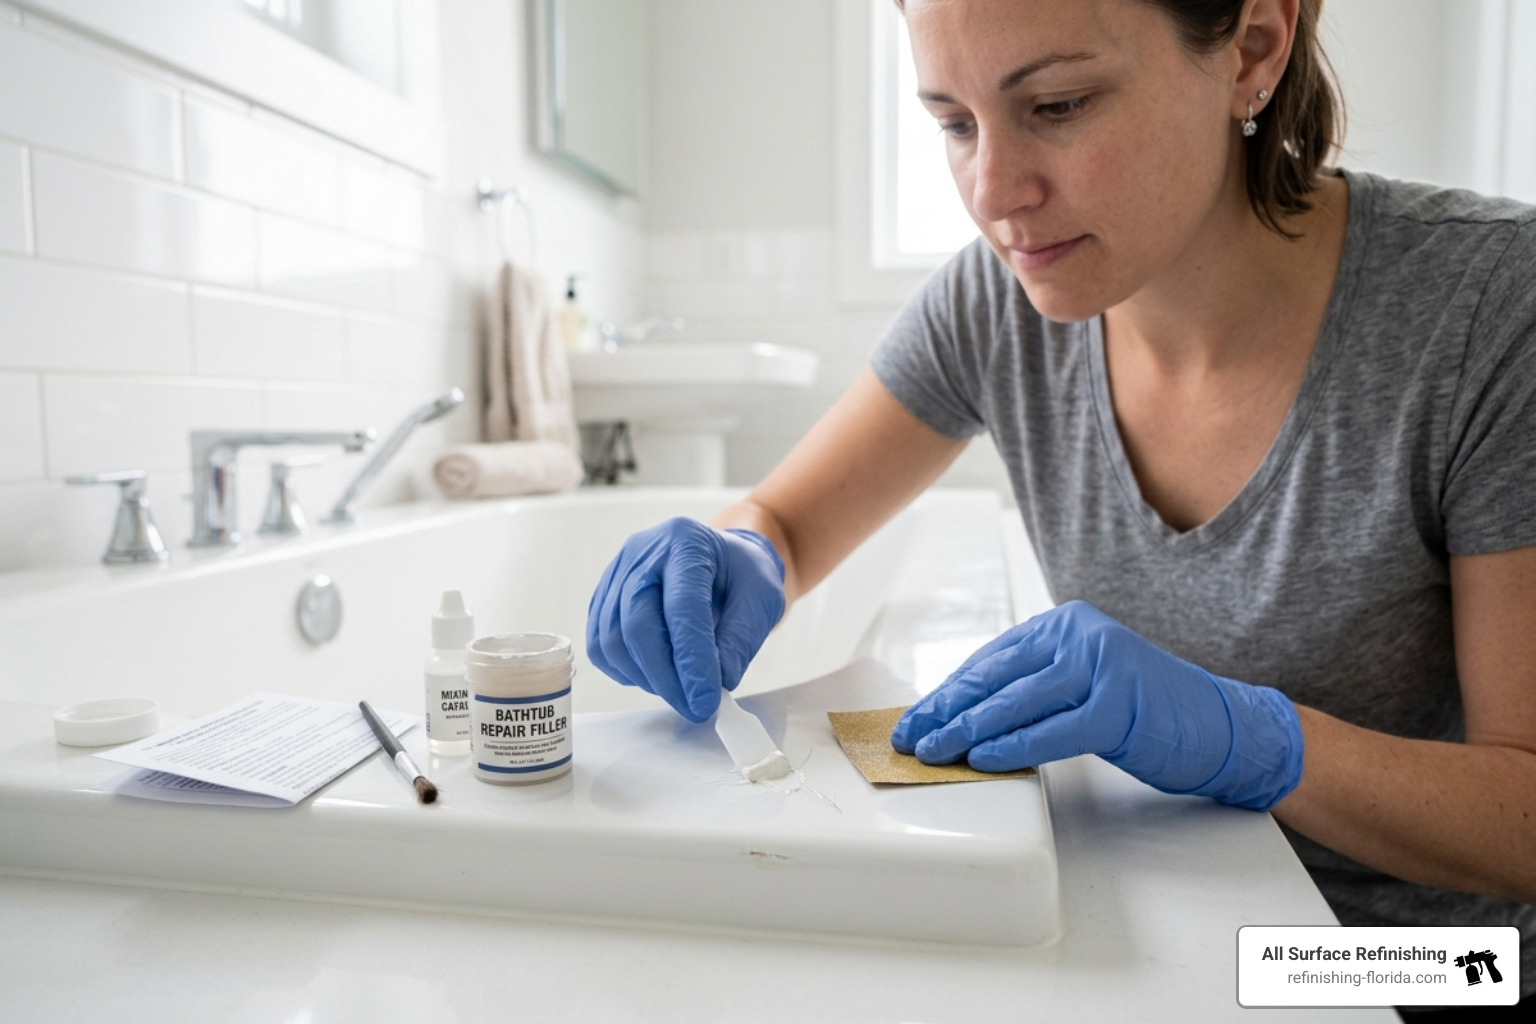
When the scratch is deep enough to see from the bathroom door, it’s time for a professional-grade DIY kit. These are widely available at Home Depot or Amazon, often under brands like BATHWORKS or NADAMOO.
Choosing the Right Bathtub Scratch Remover for Deep Gouges
Look for kits that include:
- Two-part Epoxy or Polyester Filler: This creates a waterproof, rock-hard bond.
- Color Paste: Most tubs are “White,” but many in Florida homes are “Biscuit” or “Almond.” Some kits allow you to mix colors for a perfect match.
- Sanding Paper: You’ll need a variety of grits, typically ranging from 400 to 2000.
If you are working on a classic metal fixture, specific cast iron tub repair techniques are required to prevent the filler from popping out due to the metal’s rigidity.
Preparation and Application of a Bathtub Scratch Remover
- Clean and Dry: This is the most important step. Use isopropyl alcohol to remove all soap scum and oils. The area must be bone-dry.
- Sanding: If the scratch has raised edges, lightly sand it with 600-grit wet/dry paper to level it.
- Mix and Fill: Mix the filler according to the kit instructions. Apply it in thin layers. Remember: fillers often shrink slightly as they cure, so a second “overfill” layer might be needed.
- Leveling: Once cured (usually 24 hours), wet-sand the patch with 1000-grit, then 2000-grit paper until it is flush with the surrounding surface.
- Safety First: These kits contain VOCs. Open a window and turn on the exhaust fan. If you notice rust, you’ll need to treat that first—see our guide on patching rusty bathtub spots.
Maintenance and Prevention Strategies
Once you’ve removed the scratches, you want to keep them away. In our 30+ years of experience across South Florida, we’ve found that maintenance is 90% of the battle.
Protecting the Repaired Area
Repaired spots are slightly more porous than the original factory finish. Applying a polymer-based sealer or a specialized “shine restorer” every six months can help seal the patch and prevent it from staining. If you want to go beyond a simple patch, you can learn how to restore your tub completely.
Safe Cleaning Practices for 2026
- Ditch the Scrubber: Throw away those green scouring pads. Use a soft sponge or a microfiber cloth.
- Mild Soap: Good old-fashioned dish soap is often the best cleaner for acrylic and fiberglass.
- Rinse After Use: Rinsing the tub after every shower prevents the buildup of hard water minerals (common in West Palm Beach and Miami-Dade water) that eventually require “heavy” cleaning.
When to Call a Professional for Bathtub Repair
While a bathtub scratch remover kit is great for a 1-inch scratch, it isn’t a miracle worker. You should call us at All Surface Refinishing if:
- The Damage is Structural: Cracks on the tub floor can lead to leaks that rot your subfloor.
- The Finish is Peeling: If the tub was previously refinished and is now flaking, a DIY kit won’t stick. You need a professional strip and recoat. Check out our solutions for peeling bathtub coatings.
- Color Matching is Critical: Getting a “Bone” color to look invisible on a large surface is an art form.
- The Tub is Rusty: Rust requires specialized inhibitors that consumer kits often lack.
Frequently Asked Questions about Tub Scratches
Can I use these kits on showers, tiles, and sinks?
Yes! Most bathtub scratch remover kits formulated for acrylic or porcelain work perfectly on shower stalls, ceramic tiles, and porcelain sinks. Just ensure the material matches (e.g., don’t use a fiberglass kit on a stone countertop).
How long do DIY scratch repairs typically last?
A well-applied DIY patch usually lasts 2 to 5 years. Its lifespan depends heavily on the location (repairs on the tub floor fail faster due to weight and water pressure) and your cleaning habits.
Are there color options for almond or bone-colored tubs?
Yes. While “White” is the standard, many manufacturers offer “Biscuit,” “Almond,” and “Linen.” If you can’t find a match, some professional-grade kits include primary color tints so you can custom-blend the shade.
Conclusion
At All Surface Refinishing, we believe your bathroom should be a sanctuary, not a source of stress. Whether you’re in Boca Raton, Fort Lauderdale, or way down in Key West, a few scratches shouldn’t stand in the way of a beautiful tub.
With over 30 years of experience and 14,000+ completed projects across Florida, we’ve mastered the art of making tubs look brand new again. If your DIY efforts haven’t given you the results you want, or if you’re facing a repair that feels a bit too big for a weekend project, we’re here to help. We provide high-quality, cost-effective resurfacing that transforms your space in just one day.
Ready to stop the scratches for good? Learn more about our professional bathtub services and get your free quote today.
