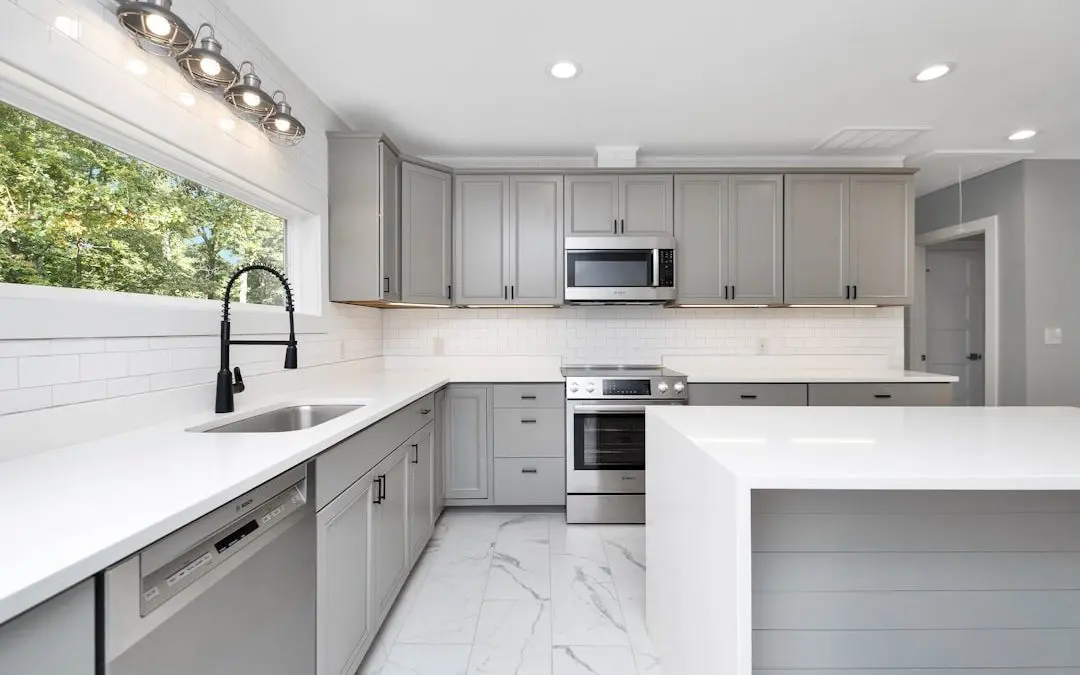
Is Painting Kitchen Cabinets Worth It? Here’s What You Need to Know
Painting kitchen cabinets is one of the highest-ROI updates you can make to your home. Before diving into the full guide, here’s a quick summary:
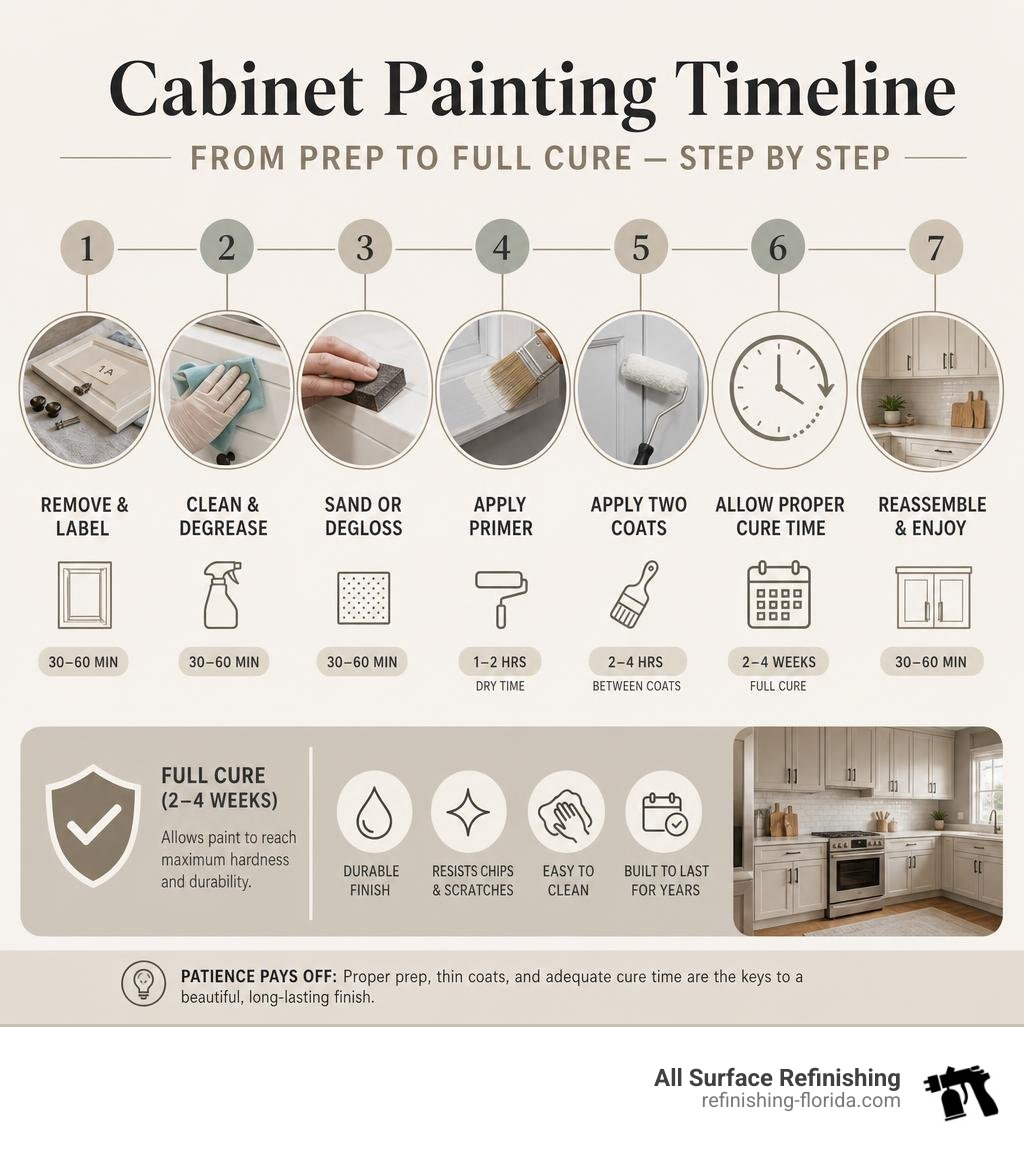
How to paint kitchen cabinets (overview):
- Remove doors, drawers, and hardware — label everything
- Clean and degrease all surfaces thoroughly
- Lightly sand or chemically degloss to improve adhesion
- Apply a quality bonding primer
- Apply two thin coats of cabinet-grade enamel paint
- Allow proper cure time (2-4 weeks for full hardness)
- Reassemble cabinets
Cost at a glance:
| Method | Typical Cost |
|---|---|
| DIY materials | $200 – $600 |
| Professional painting | $1,500 – $6,500 |
| New cabinet replacement | $8,000 – $25,000 |
Your kitchen cabinets take a beating every single day — grease, moisture, slammed doors, and years of wear. When they start looking dull, chipped, or just plain outdated, the instinct is often to replace them. But full cabinet replacement can run anywhere from $8,000 to $25,000. Painting them, on the other hand, can cost as little as $200 to $600 in materials — a savings of 70-80%.
The catch? Done wrong, painted cabinets peel, chip, and look worse than before. The difference between a finish that lasts a decade and one that fails within a year almost always comes down to preparation — not painting skill.
This guide walks you through every step, so you get it right the first time.
I’m Frank Hernandez, President of All Surface Refinishing, and with nearly three decades of hands-on experience painting kitchen cabinets and refinishing surfaces across South Florida, I’ve seen every mistake — and every shortcut that actually works. Let’s get into it.
Handy Painting kitchen cabinets terms:
Planning and Preparing for Painting Kitchen Cabinets
Preparation is where 80% of your success lies. If you skip the prep, your beautiful new paint will start peeling off in sheets within months, especially around “hot zones” like the stove and sink where grease and moisture accumulate.
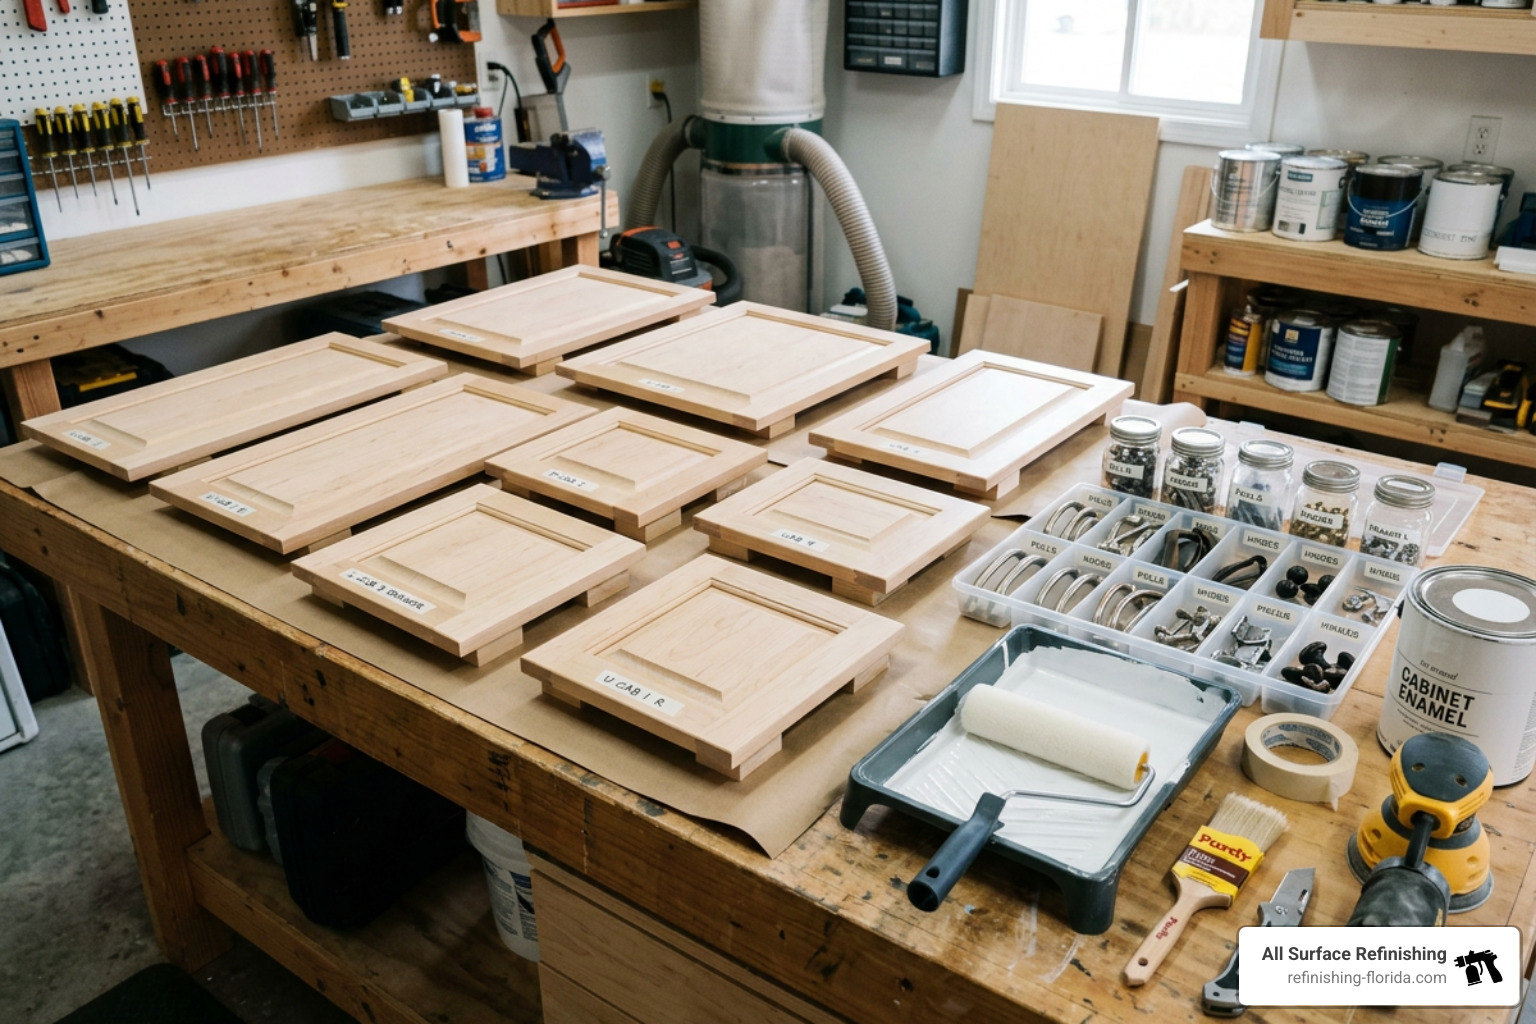
Before you touch a paintbrush, you need to systematically dismantle and clean your workspace.
- Empty Your Cabinets: Remove all dishes, food, and cookware. While some internet “hacks” claim you can paint with items inside, the risk of getting paint on your favorite dinnerware is too high.
- Remove Hardware and Doors: Use a screwdriver or drill to remove all hinges, handles, and pulls. Do not try to paint around them; it looks amateurish and leads to paint binding inside the hinges.
- Label Everything: This is the ultimate time-saving trick. Write a number on a small piece of painter’s tape and stick it inside the hinge cup of each door. Place a corresponding numbered piece of tape inside the cabinet box opening. Bag the screws and hinges in individual plastic baggies labeled with the same number. Trust us, when it comes time to reassemble, you will thank yourself.
- Clean and Degrease: Kitchen cabinets are coated in an invisible film of cooking oils, steam residue, and hand oils. Standard soap and water won’t cut it. Use a heavy-duty degreaser like a Trisodium Phosphate (TSP) substitute or Krud Kutter. Scrub every square inch with a non-scratch pad, then wipe down with clean water to remove any chemical residue.
For a comprehensive checklist of tools and setup steps, refer to the How to Paint Kitchen Cabinets | Cabinet Painting Kit & Checklist | Behr guide.
Assessing Cabinet Materials: Wood, Laminate, and Melamine
Not all cabinets are created equal, and the material of your cabinets dictates your preparation strategy:
- Solid Wood (Oak, Maple, Cherry): Wood is the most forgiving material to paint. However, open-grain woods like oak have deep pores that will show through the paint. If you want a perfectly smooth, modern finish, you will need to apply a grain filler before priming.
- Laminate and Melamine: These materials are completely non-porous and slick. Paint cannot naturally grab onto them. For laminate, you must use a high-performance bonding primer designed specifically to bite into slick surfaces. Skipping this step on laminate is a guarantee of paint failure.
The Debate: Painting Kitchen Cabinets In Place vs. Removing Doors
It is incredibly tempting to leave the cabinet doors on their hinges, tape off the walls, and start painting. We strongly advise against this.
Painting doors in place leads to runs, drips, and uneven coverage. Gravity is your enemy when applying self-leveling cabinet paints on vertical surfaces. Additionally, paint will inevitably build up in the hinges, causing them to squeak, bind, or chip the paint when opened.
Removing the doors and laying them flat on a dedicated workspace — such as sawhorses or painter’s tripods — allows the paint to flow out and level naturally, giving you that factory-smooth finish. It also makes it much easier to protect your countertops, floors, and appliances from stray splatters.
For a deeper dive into why professional setups yield better results, check out How to Paint Kitchen Cabinets the Right Way.
To Sand or Not to Sand: The Chemistry of Adhesion
In the cabinet painting world, there is a constant battle between physical grip (sanding) and chemical grip (deglossers and primers).
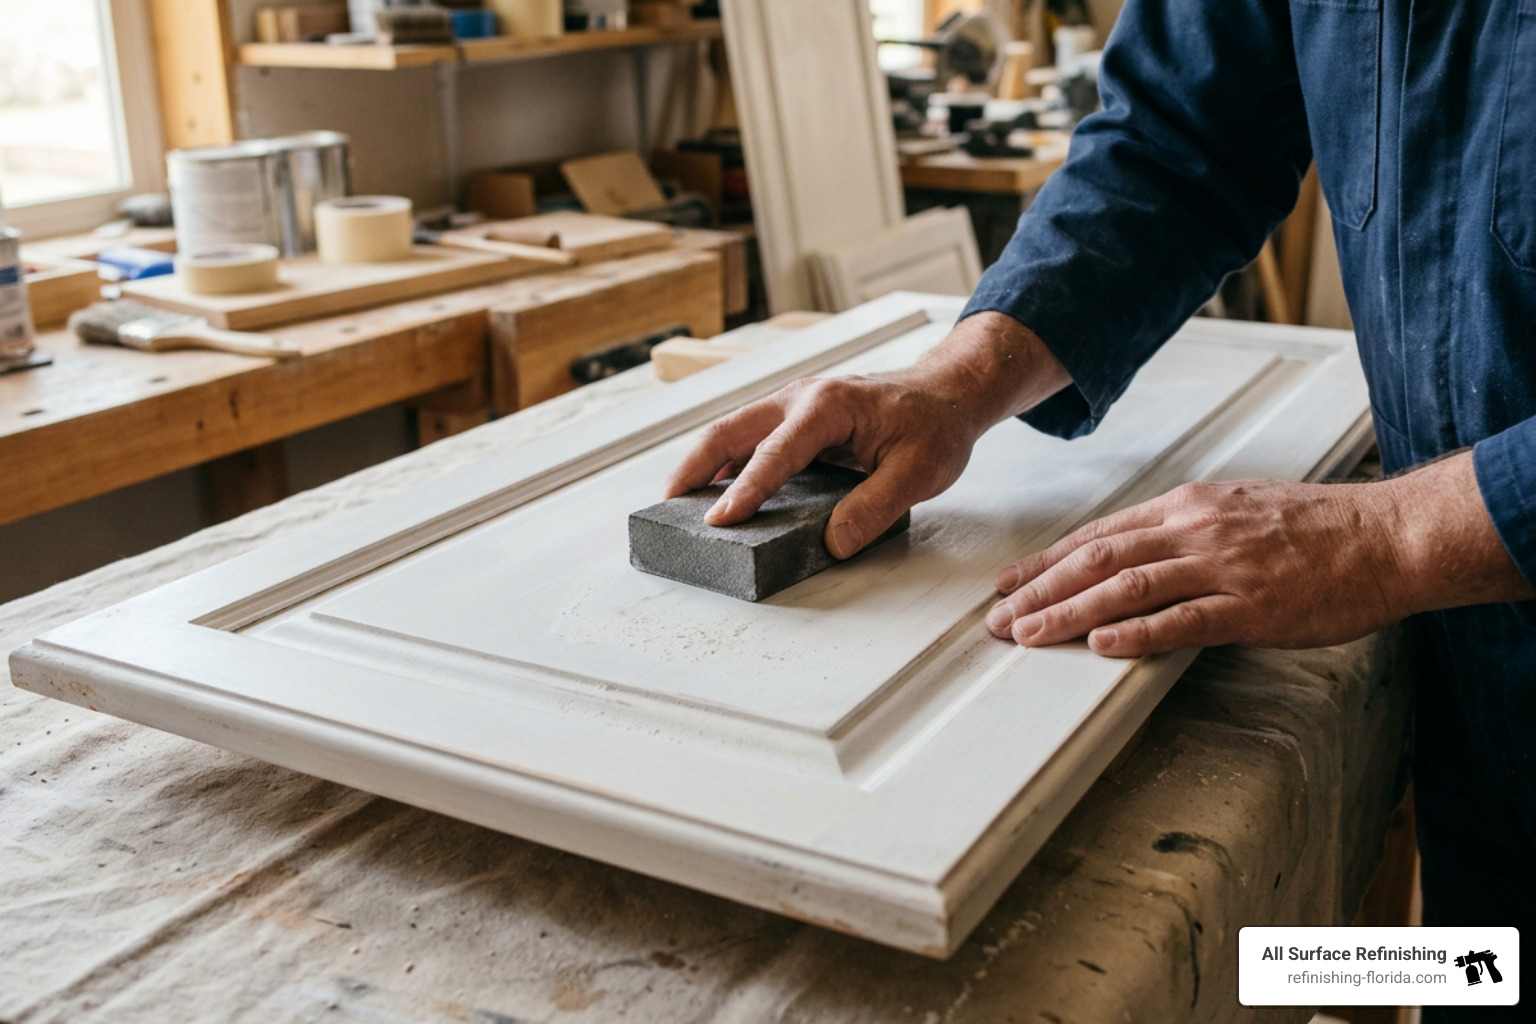
Traditional manual sanding can be a massive headache. It generates fine particulate wood dust (often smaller than 5 microns) that easily bypasses standard HVAC filters and can linger in your home’s ductwork for months.
However, you do not need to sand down to bare wood. You only need to “scuff sand” to break the glossy factory clear coat. Using a 220-grit sanding sponge to lightly dull the surface gives the primer a mechanical grip.
If you want to skip the dust entirely, you can turn to the chemistry of chemical adhesion. A high-quality liquid deglosser (often called “liquid sandpaper”) can be wiped over the cabinets to chemically etch the existing finish, preparing it to bond with your primer.
To see how these two methods compare in a simplified workflow, read through How to Paint Cabinets in 5 Easy Steps.
When Sanding is Absolutely Necessary
While chemical deglossers are fantastic, there are times when you simply cannot skip the sandpaper:
- Peeling or Flaking Finishes: If the existing paint or varnish is cracking, bubbling, or peeling, chemical deglossers will not fix the underlying structural failure. You must sand the surface down to a stable layer.
- Physical Damage: Dents, deep scratches, and gouges must be filled with a high-quality wood filler and sanded completely flat and flush with the surrounding wood.
- Grain Leveling: If you are painting oak and want to eliminate the heavy wood texture, sanding down your grain filler is mandatory.
The No-Sanding Method for Painting Kitchen Cabinets
If your cabinets are in good structural shape (no peeling or deep damage), you can successfully use a no-sanding method.
First, clean the cabinets meticulously with a degreaser. Second, apply a high-performance liquid deglosser using lint-free microfiber cloths, ensuring you wear nitrile gloves and have good ventilation.
Third, apply a specialized bonding primer. A precatalyzed shellac-based primer (like Zinsser BIN) is the gold standard here. Shellac-based primers stick to absolutely anything, block wood tannins from bleeding through light paint colors, and dry in under an hour.
For a detailed walkthrough of this dust-free approach, see How to Paint Kitchen Cabinets Like a Pro In 10 Easy Steps.
Choosing the Best Paints, Primers, and Finishes
Never use standard wall paint on kitchen cabinets. Wall paint is formulated to be flexible and breathable, which makes it soft. Cabinet paint must dry to a hard, durable, block-resistant finish that can handle grease, impact, and frequent scrubbing.
Here is how the main types of cabinet coatings compare:
| Paint Type | Durability | Ease of Application | Cleanup | Best For |
|---|---|---|---|---|
| Waterborne Alkyd Enamel | High | Medium (Self-leveling) | Water | DIYers wanting a professional look |
| Acrylic Polyurethane | Very High | Hard (Best sprayed) | Water/Solvent | Maximum durability and moisture resistance |
| Standard Latex Paint | Low | Easy | Water | Not recommended for cabinets |
Waterborne alkyd enamels (such as Benjamin Moore Advance or Sherwin-Williams Emerald Urethane Trim Enamel) are the modern standard. They offer the durability and smooth leveling of traditional oil-based paint but clean up easily with soap and water and have low VOC emissions.
When choosing a sheen, steer clear of flat or matte finishes — they trap grease and are incredibly difficult to clean. Instead, opt for Satin or Semi-Gloss. Satin is excellent for hiding minor surface imperfections while still offering great washability. Semi-gloss provides a bit more shine and is slightly easier to wipe down, making it perfect for busy family kitchens.
For inspiring color palettes and finish ideas, check out The Ultimate List of Painted Kitchen Cabinet Ideas for 2025.
Step-by-Step Application Techniques for a Professional Finish
Once your cabinets are prepped, primed, and dry, it is finally time to paint.
Here is a step-by-step diagram of the ideal application process:
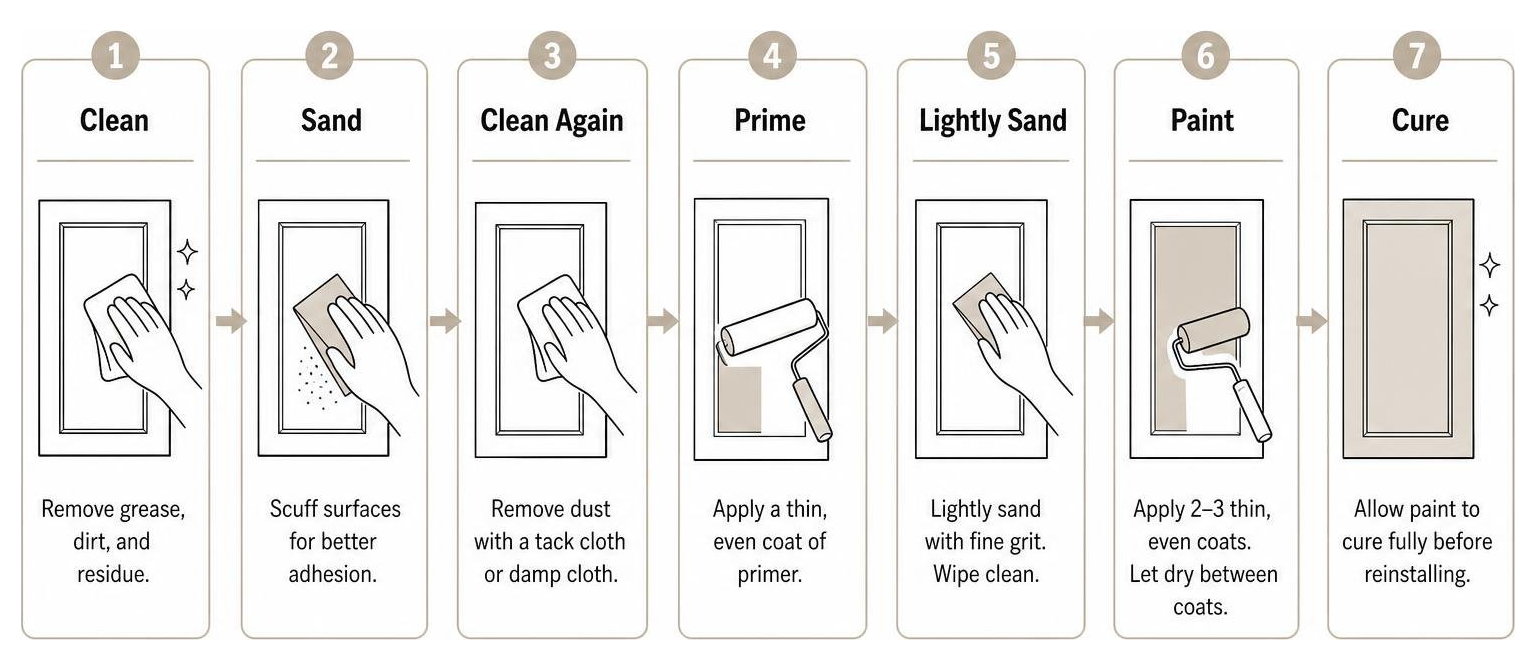
The Brush and Roller Method
If you are painting by hand, use a high-quality 2-inch angled sash brush with synthetic bristles (nylon/polyester) for the detailed, recessed areas. For the flat panels, use a 4-inch mini roller with a mohair or high-density foam cover. Foam and mohair rollers apply very thin coats and do not leave behind the stipple texture of standard nap rollers.
The “Laying Off” Technique
When brushing, always finish a section with long, light, continuous strokes in the direction of the wood grain. This is called “laying off,” and it helps pull out any brush marks before the paint begins to set.
Work in Thin Coats
Two thin coats will always look cleaner and hold up longer than one thick coat. Thick coats trap solvent underneath, leading to a soft finish that sag, runs, and peels easily.
Respect the Drying and Curing Times
In South Florida’s humid climate — from Miami and Fort Lauderdale up to West Palm Beach — paint takes longer to dry. Always wait at least 4 to 6 hours between coats for waterborne alkyds, and up to 24 hours if the humidity is exceptionally high.
To learn more about mastering these application techniques, read A Practical Guide to Painting Kitchen Cabinets Professionally.
Frequently Asked Questions about Cabinet Painting
How long does the cabinet painting and curing process take?
While the paint may feel dry to the touch within a couple of hours, there is a major difference between “drying” and “curing.” Drying is simply the evaporation of water or solvents. Curing is the chemical process where the paint molecules cross-link to reach maximum hardness.
Most premium cabinet paints take 21 to 30 days to fully cure. During this curing window, you must handle the cabinets with extra care. Avoid slamming the doors, and do not use harsh chemical cleaners on them.
Do I need to apply a topcoat or sealer after painting?
If you use a high-quality, cabinet-grade enamel (like a waterborne alkyd or acrylic polyurethane), you do not need a topcoat. These paints are designed to cure to a hard, protective shell on their own. Adding a clear polyurethane topcoat over light-colored paint can actually cause the finish to yellow over time due to UV exposure.
What are the typical costs of DIY vs. professional cabinet painting?
A DIY project typically costs between $200 and $600 for high-quality paint, primer, degreasers, sandpaper, brushes, and rollers.
Hiring a professional cabinet painting specialist generally ranges from $1,500 to $6,500, depending on the size of your kitchen and the number of openings (doors and drawers). While the upfront cost is higher, professional refinishing includes industrial-strength coatings, dust-free preparation, and a factory-smooth spray finish that is incredibly difficult to replicate with a brush and roller.
To see a detailed breakdown of these expenses, explore Kitchen Cabinet Painting Costs Explained.
Conclusion
Painting your kitchen cabinets is an incredibly rewarding project that can completely revitalize your home without the massive price tag of a full remodel. However, it requires patience, meticulous attention to detail, and a commitment to proper preparation.
If the thought of spending your weekends cleaning, sanding, and balancing cabinet doors on sawhorses feels overwhelming, we are here to help. At All Surface Refinishing, we bring over 30 years of experience and 14,000+ completed projects to kitchens and bathrooms across South and Southwest Florida.
We serve homeowners in Aventura, Boca Raton, Boynton Beach, Broward County, Miami, West Palm Beach, and the surrounding areas. We do not sell retail paint, but we do provide world-class, professional cabinet painting and refinishing services that deliver a factory-smooth, durable finish in a fraction of the time.
Ready to skip the mess and get the kitchen of your dreams? Get a Professional Cabinet Painting Quote from us today!
