Is Fiberglass Shower Refinishing Worth It? Here’s What You Need to Know First
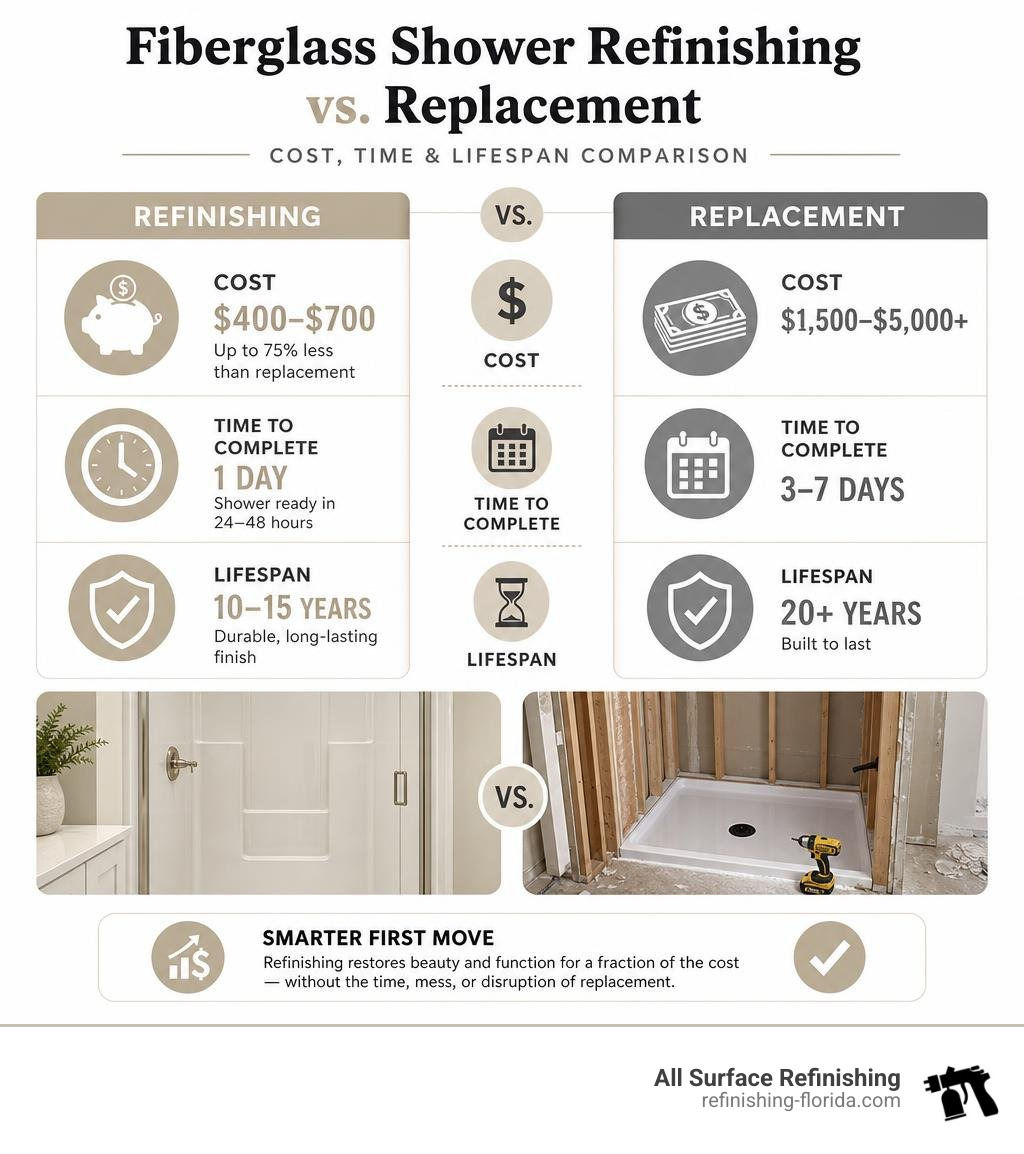
Fiberglass refinishing for your shower is one of the fastest, most affordable ways to restore a worn, stained, or cracked shower stall — without tearing anything out.
Quick answer for South Florida homeowners:
| Option | Average Cost | Time to Complete | Lifespan |
|---|---|---|---|
| DIY refinishing kit | $30–$100 | Half a day | 2–5 years |
| Professional refinishing | $400–$700 | 1 day | 10–15 years |
| Full replacement | $1,500–$5,000+ | 3–7 days | 20+ years |
If your fiberglass shower looks dull, discolored, or has minor cracks — refinishing is almost always the smartest first move. It saves up to 75% compared to replacement, and you can use your shower again within 48 hours.
That said, not all refinishing approaches are equal. DIY kits from the hardware store and professional-grade coatings perform very differently — and choosing the wrong one can cost you more in the long run.
This guide walks you through everything: the process, the products, and when to call a pro.
I’m Frank Hernandez, President of All Surface Refinishing, and I’ve been applying professional fiberglass shower refinishing coatings across South Florida since 1996 — first as a hands-on technician, then building a team that has completed thousands of bathroom restorations from Miami-Dade to Fort Lauderdale and beyond. That field experience shapes every recommendation in this guide.
What is Fiberglass Tub and Bathroom Shower Refinishing?
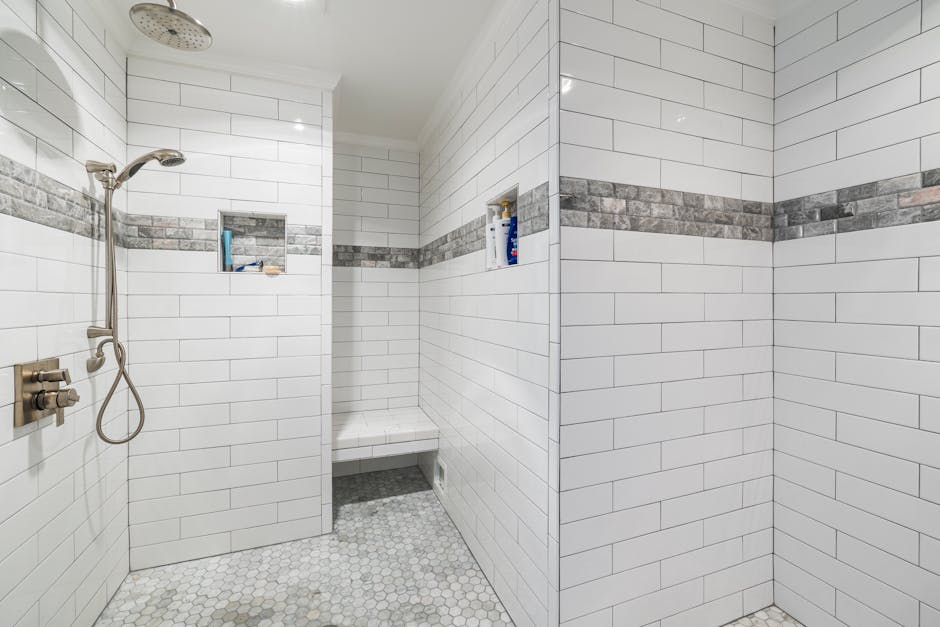
At its core, fiberglass refinishing shower technology is a surface restoration process. It is not “painting” your bathroom shower with standard hardware store latex or oil-based paint. Instead, it is a highly specialized chemical process where a brand-new, factory-grade protective barrier is bonded directly to your existing fiberglass, gel coat, or acrylic surface.
When fiberglass fixtures leave the factory, they are coated in a glossy material called gel coat. Over years of daily use, scrubbing with harsh chemicals, and exposure to hard Florida water, this gel coat wears thin. It becomes porous, meaning dirt, body oils, soap scum, and mold get trapped inside the microscopic pores of the surface. No matter how hard you scrub, the shower still looks dirty, yellowed, or stained.
Refinishing strips away those contaminants, repairs structural damage like cracks or chips, and applies an advanced acrylic polyurethane bathroom coating that chemically fuses with the original fiberglass substrate. The result is a non-porous, high-gloss finish that looks and performs like a brand-new fixture. For more information on how this process works on different shower layouts, you can explore More info about professional bathroom shower services.
Refinishing vs. Replacement: Bathroom Cost and Time Breakdown
When South Florida homeowners in cities like Fort Lauderdale, West Palm Beach, or Stuart look at their outdated or damaged fiberglass bathroom showers, their first instinct is often to call a contractor for a full replacement. However, a full bathroom demolition comes with massive hidden costs and disruptions:
- Demolition and Structural Prep: Fiberglass shower stalls are typically installed before the drywall and door frames are finished during initial home construction. To get a one-piece fiberglass shower out, contractors usually have to cut it into pieces, tear out surrounding drywall, and sometimes even alter the bathroom doorway.
- Plumbing and Permitting: Moving or replacing the drain and shower valve to match a new stall often requires a licensed plumber and municipal building permits, adding hundreds of dollars and days of waiting to the project.
- Remodeling Landfill Waste: Tearing out a perfectly repairable fiberglass shower adds bulky, non-biodegradable plastic and fiberglass waste to our local Florida landfills.
- Project Duration: While professional refinishing takes just 3 to 4 hours (with a 24-to-48-hour curing window), a full bathroom shower replacement routinely leaves your home a dusty construction zone for 3 to 7 days.
By opting for professional reglazing, you can easily realize up to 75% bathroom refinishing savings compared to the cost of a complete remodel. To learn more about how this budget-friendly alternative works in our local coastal areas, check out The Ultimate Guide to Bathroom Shower Refinishing Stuart.
Why DIY Bathroom Shower Refinishing Kits Often Fail
If you search online for a “fiberglass tub refinishing kit,” you will find thousands of products. Popular DIY bathroom epoxy kits (like the Rust-Oleum Tub & Tile 2-Part Kit or pour-on epoxy solutions like Ekopel) have thousands of reviews and are bought by thousands of homeowners every month. However, there is a massive gulf between a DIY bathroom kit and a professional-grade application.
Most DIY consumer kits rely on epoxy-based chemistries. While epoxy is hard, it has two major weaknesses when used in a bathroom shower:
- Yellowing: Epoxy is highly sensitive to UV light. In sunny South Florida bathrooms with windows, an epoxy coating will quickly yellow over time.
- Brittleness: Epoxy dries incredibly rigid. Fiberglass, by its very nature, is a flexible material. When you step into your fiberglass shower base, the floor flexes slightly under your weight. Because epoxy cannot flex with the fiberglass, it eventually develops micro-cracks, leading to premature peeling and water intrusion.
Additionally, DIY application methods like brush-on, foam rollers, or basic consumer pour-on techniques make it incredibly difficult to achieve a smooth, factory-like finish. Rollers leave texture (orange peel), and brushes leave visible stroke marks. Professional refinishers use high-volume, low-pressure (HVLP) spray systems to apply high-tech acrylic urethane coatings. This material remains flexible enough to move with the fiberglass while providing a hard, glass-like, non-yellowing surface.
If you want to understand how to properly prep and resurface a shower base without the risk of a DIY failure, read our article on how to Transform Your Bathroom Shower: The Easy Way to Resurface Your Base.
The Professional Step-by-Step Fiberglass Bathroom Shower Refinishing Process
Whether you decide to attempt a DIY project or hire us to do it professionally, understanding the steps involved is key to ensuring a long-lasting finish. The secret to a successful fiberglass refinishing shower project is 90% preparation and 10% application. If you cut corners on the prep work, the coating will peel — guaranteed.
Before starting, safety must be your top priority. Professional coatings contain strong solvents and isocyanates that require specialized safety gear, including a full-face respirator with organic vapor cartridges, protective goggles, and heavy-duty nitrile gloves. Additionally, setting up high-powered exhaust ventilation systems to draw fumes out of the bathroom window is essential to keep your home safe and odor-free. For a deeper look at repairing structural problems before applying a new coat, read The Complete Guide to Fixing Your Cracked Bathroom Shower Tray.
Phase 1: Cleaning, Sanding, and Repairing Cracks in Bathroom Showers
The first phase is all about stripping the shower down to its bare, clean substrate:
- Deep Chemical Cleaning: We use industrial-strength, non-acidic degreasers and cleaners (such as TSP or specialized surface prep agents) to completely strip away decades of soap scum, body oils, hard water mineral deposits, and mold.
- Caulk Removal: Every trace of old silicone or acrylic caulk must be completely scraped away. New refinishing coatings will not adhere to silicone; if any residue is left behind, the coating will immediately lift and peel in those spots.
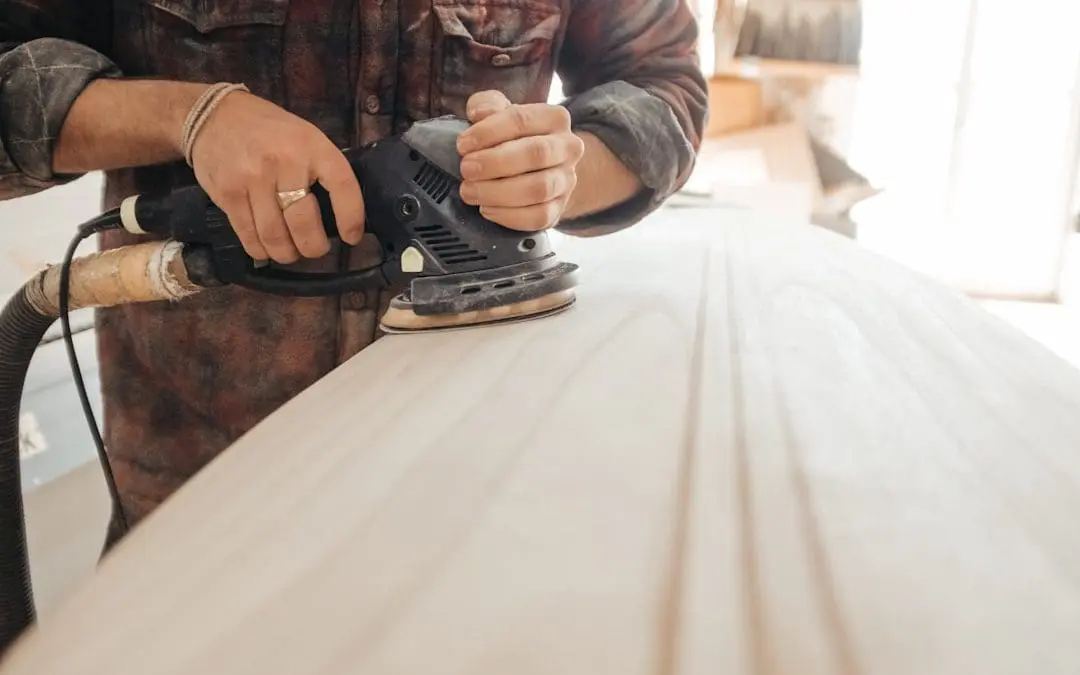
- Sanding: Once clean, the entire surface is thoroughly sanded using wet-and-dry sandpaper (typically starting with a medium 220-grit to create a mechanical “tooth” for the new coating, followed by a finer 400-grit to smooth it out).
- Repairing Structural Damage: Fiberglass shower floors often develop stress cracks due to a lack of proper support underneath. We repair these by cleaning out the crack, laying down a structural fiberglass mesh, and applying a waterproof polyester or epoxy resin filler to rebuild the area. This ensures the floor is structurally sound and completely leak-proof before any coatings are applied.
If you are dealing with a leaking shower floor or structural cracks, check out our guide on how to Stop the Flood: A Comprehensive Guide to Bathroom Shower Floor Leak Repair.
Phase 2: Applying the Fiberglass Refinishing Bathroom Shower Coating
Once the surface is completely clean, dry, and structurally repaired, the coating process begins:
- Applying the Bonding Agent: Because fiberglass is non-porous, we apply a proprietary molecular bonding agent (such as our specialized primer system). This agent chemically fuses the new topcoat to the old fiberglass, ensuring they become a single, inseparable layer.
- Spraying the Topcoat: Using professional HVLP spray equipment, we apply multiple thin, uniform coats of high-performance acrylic polyurethane. Spraying prevents the brush marks and uneven thickness common with DIY roller kits.
- Curing and Sealing: After the final coat is applied, the shower must cure. While some modern coatings dry to the touch in a few hours, the chemical cross-linking process takes 24 to 48 hours to fully cure. During this time, the shower must be kept completely dry. Once cured, we apply fresh, high-grade mold-resistant silicone caulk along the seams.
For a detailed look at the application phase and how to achieve a factory-grade finish, read Reglaze and Renew: How to Resurface Your Bathroom Shower Like New.
DIY vs. Professional Fiberglass Bathtub and Bathroom Shower Refinishing
To help you decide whether to tackle this project yourself or hire a professional, we have put together a direct comparison of the two approaches:
| Feature | DIY Bathroom Refinishing Kits | Professional Refinishing (All Surface Refinishing) |
|---|---|---|
| Materials Used | Consumer-grade epoxy or basic acrylic kits | High-performance acrylic polyurethane & molecular bonding agents |
| Application Tool | Foam roller, brush, or aerosol spray cans | Professional HVLP spray systems |
| Surface Prep | Basic hand sanding & standard household cleaners | Multi-step deep clean, mechanical etching, and commercial crack repair |
| Durability & Lifespan | 2 to 5 years (prone to yellowing and peeling) | 10 to 15 years with proper care |
| Warranty | None (or limited to product replacement) | Written professional warranties |
| Safety Risks | Exposure to fumes without proper ventilation/PPE | Safely handled by trained pros with full exhaust setups |
While a DIY kit can be a fun weekend project for a guest bathroom that rarely gets used, a master bathroom shower requires the durability that only professional-grade materials and techniques can provide. If you are planning a bathroom update in the Miami area, check out 5 Questions to Ask Before Hiring a Bathroom Shower Refinisher in Miami Beach.
Frequently Asked Questions about Bathroom Shower Stall Reglazing
How long does a refinished fiberglass bathroom shower last?
With proper care and maintenance, a professionally refinished fiberglass shower will easily last 10 to 15 years. A DIY kit, on the other hand, typically lasts between 2 and 5 years before it starts showing signs of wear or peeling around the drain.
To maximize the lifespan of your newly refinished shower, you must avoid abrasive cleaning products. Harsh scrubbing powders (like Comet or Ajax), steel wool, and abrasive scrub sponges will scratch the glossy protective topcoat, making it dull and porous once again. Instead, use mild, non-abrasive cleaners like Dawn dish soap, green bathroom cleaners, or a simple solution of vinegar and water. For a complete list of approved cleaning methods, read our Bathroom Shower Stall Reglazing Complete Guide.
What are the most common mistakes that cause peeling in bathroom showers?
The absolute number one cause of refinishing failure is poor prep work. If even a microscopic film of soap scum, body oil, or silicone caulk residue is left on the fiberglass, the new coating will fail to bond and will eventually peel.
Other common mistakes include:
- Trapped Moisture: If the fiberglass substrate is not completely dry before the primer is applied, moisture will get trapped underneath, creating bubbles that eventually pop and peel.
- Improper Curing: Turning on the water or using the shower before the coating has fully cured (usually 24 to 48 hours) will ruin the chemical bond.
- Silicone Caulk Failure: Failing to apply a proper bead of silicone caulk along the edges where the shower meets the wall or floor can allow water to seep behind the coating, causing it to lift.
To learn how to avoid these common pitfalls on your shower base, see Fix That Floor: Repairing Your Acrylic Bathroom Shower Base Like a Pro.
Can you change the color of a fiberglass bathtub or bathroom shower?
Yes, absolutely! Color customization is one of the biggest benefits of the refinishing process. If you have an outdated 1980s pink, beige, or yellow fiberglass shower stall, we can completely transform it to a modern, bright white, almond, or grey finish.
In upscale South Florida communities like Bal Harbor, Coral Gables, and Palm Beach, we are seeing a major trend toward clean, high-gloss white finishes that make smaller bathrooms feel larger, brighter, and more hygienic. We can also apply multi-color stone-look finishes to shower walls, giving your bathroom a luxury granite or marble aesthetic at a fraction of the cost of real stone.
Conclusion
Refinishing your fiberglass shower is the ultimate budget-friendly way to breathe new life into an outdated or damaged bathroom. Whether you are preparing your home for sale in Boca Raton, updating a rental property in Fort Lauderdale, or simply tired of looking at a stained shower stall in Miami, refinishing delivers a beautiful, durable transformation without the mess and high cost of a full demolition.
At All Surface Refinishing, we have over 30 years of hands-on experience and have completed more than 14,000 successful transformations across South and Southwest Florida. We use only the highest-grade, commercial-grade acrylic polyurethane coatings and professional HVLP spray systems to ensure your shower looks like new and lasts for years to come.
Ready to save up to 75% compared to replacement? Schedule Professional Bathroom Shower Services with All Surface Refinishing today and get your free, no-obligation quote!
