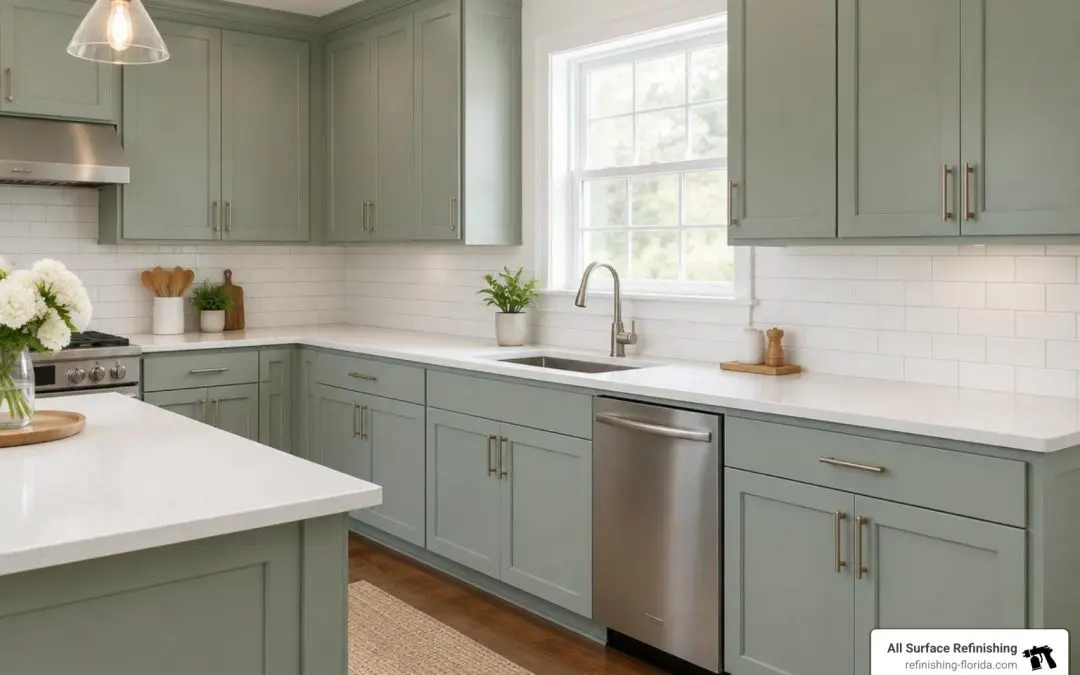
How to Paint Kitchen Cabinets the Right Way
To paint kitchen cabinets, remove and label the doors and hardware. Clean off grease, lightly sand the surfaces, and use a primer suited to the cabinet material. Then apply two thin coats of cabinet paint, letting each coat dry as directed. Wait until the finish is firm before reinstalling the doors.
I’m Frank Hernandez, president of All Surface Refinishing, and I’ve spent more than 10 years refinishing surfaces. I bring that hands-on experience to cabinet painting kitchen cabinets across South Florida, where careful prep makes all the difference.
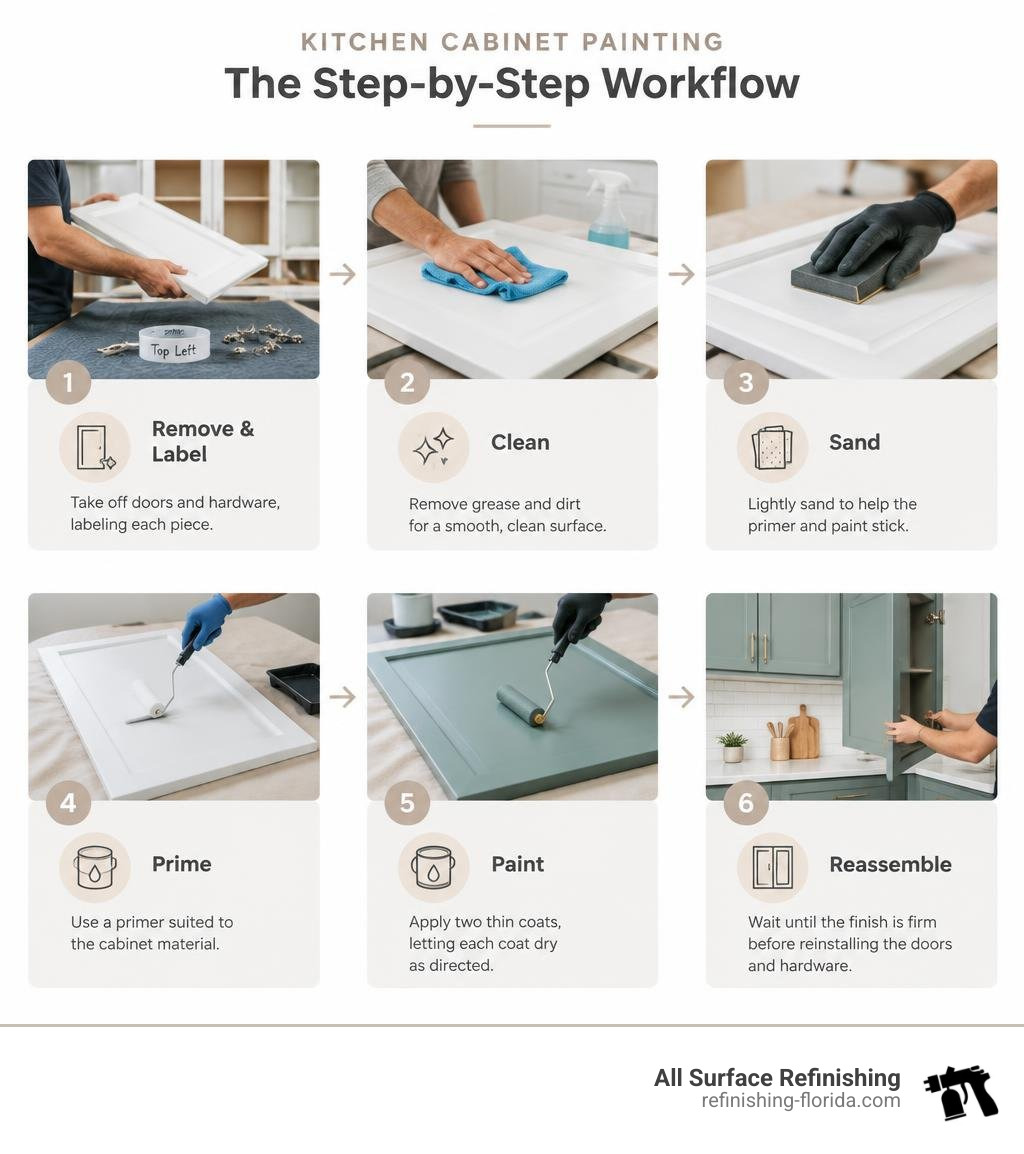
Cabinet painting kitchen cabinets vocab explained:
Essential Preparation for Cabinet Painting Kitchen Cabinets
A beautiful finish starts long before you open a can of paint. In fact, 80% of a factory-grade result comes down to preparation. Setting up a dedicated workspace protects the rest of your home from overspray and sanding dust while giving you the room needed to work efficiently.
Start by sealing off the kitchen entryways with plastic sheeting. Lay heavy-duty canvas drop cloths over flooring, and mask countertops, backsplashes, and major appliances using quality painter tape. If you plan to work on doors and drawer fronts in a garage or utility area, set up sturdy drying racks or sawbucks with riser blocks so you can coat edges cleanly. Following a thorough cleaning and degreasing guide alongside proper ventilation safeguards your cooking space and ensures every surface is ready to receive new coatings. To see how professionals map out this phase, review these insights on how to paint kitchen cabinets.
Hardware Removal and Cabinet Labeling
Never attempt to paint around hinges or knobs. Paint seeps into moving hinge joints, causing binding, chipping, and an amateur appearance.
- Remove every door, drawer face, knob, pull, latch, and hinge.
- Number each cabinet door and its corresponding frame opening using small pieces of painter tape (for example, Upper Left 1 = UL1).
- Place hinges, screws, and pulls into labeled plastic bags corresponding to each opening.
- If you plan on installing new hardware with different hole spacing, fill the old holes with a two-part wood filler or auto-body filler now, sanding them flush before priming.
- Cover drawer slide mechanisms with tape to prevent paint buildup from hindering smooth operation.
Deep Cleaning and Degreasing Cabinet Surfaces
Kitchen cupboards collect aerosolized cooking oils, steam, and hand oils that actively repel paint. Applying paint over greasy residue guarantees adhesion failure and premature peeling.
Wash every square inch of the cabinet frames, drawer fronts, and doors with a heavy-duty degreaser such as trisodium phosphate (TSP) or an equivalent grease-cutting cleaner. Use a non-scratch scrub pad to break down stubborn deposits around stove areas and door edges. Once scrubbed, wipe all surfaces down twice with clean, damp microfiber cloths to lift away chemical residue. Allow the wood or composite substrate to dry completely before touching it with sandpaper.
Sanding and Surface Prep for Cabinet Painting Kitchen Cabinets
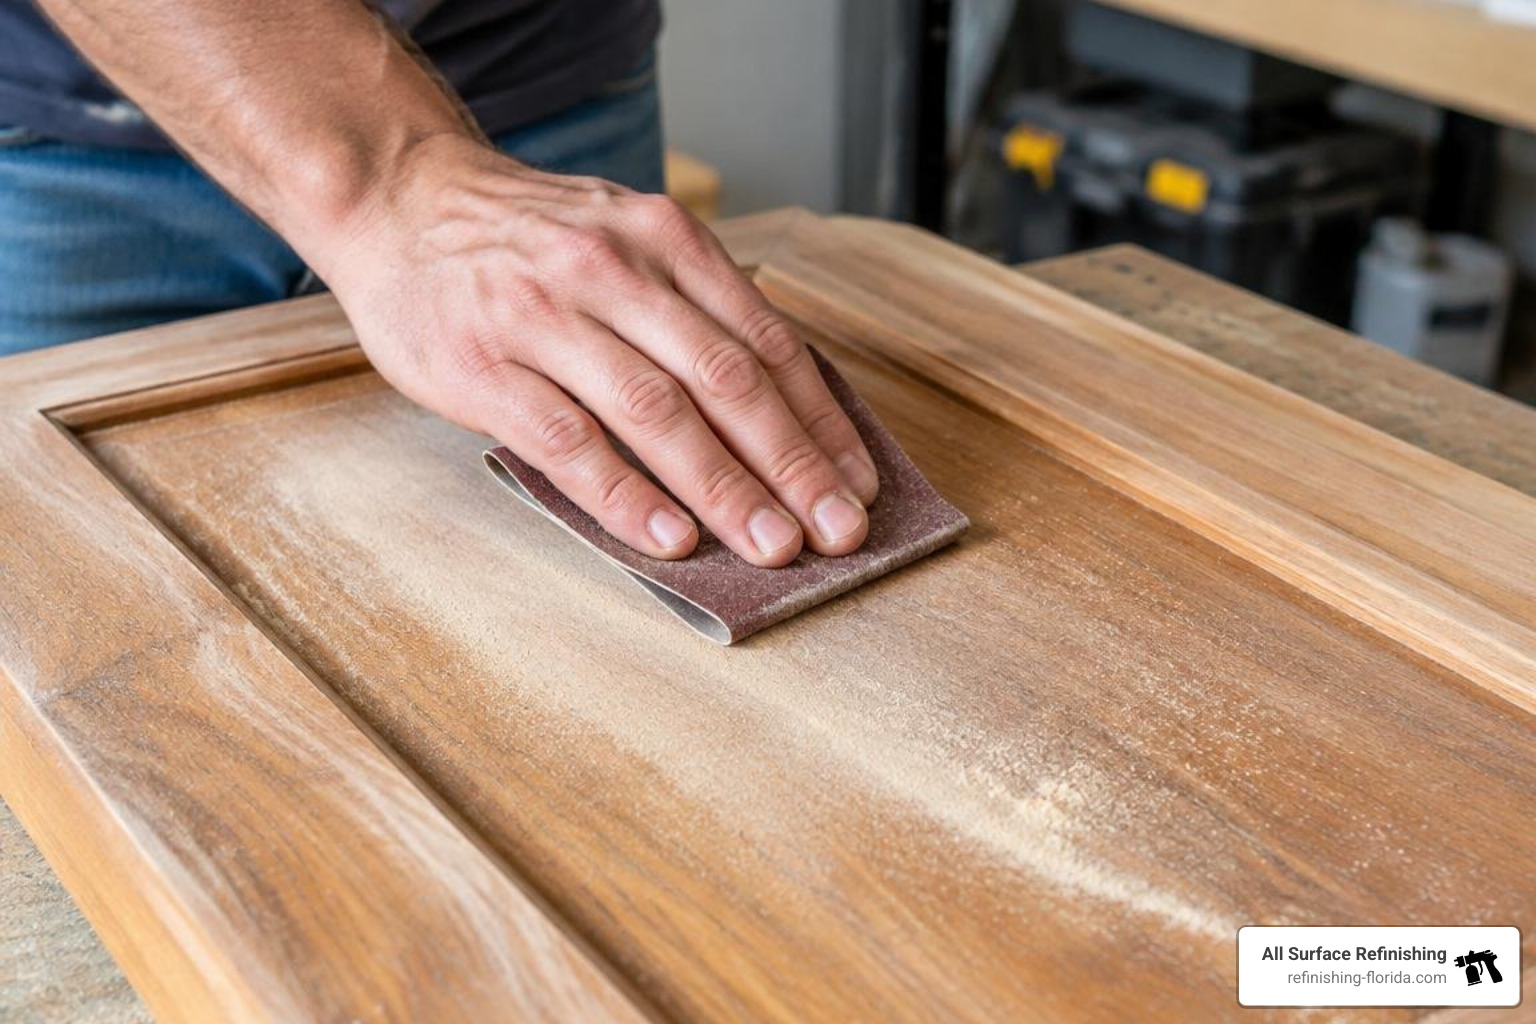
Sanding creates a mechanical profile (tiny micro-grooves) that allows primers and paints to permanently anchor to the surface.
- Initial Scuffing: Use 120-grit to 150-grit sandpaper or sanding sponges over existing varnishes, polyurethanes, or paints to knock down high spots and eliminate factory gloss.
- Smoothing: Follow up with 220-grit paper to leave a uniform, satin-smooth feel without deep scratches.
- Dust Management: Vacuum all surfaces with a brush attachment, then wipe every profile thoroughly using a clean tack cloth.
For homeowners exploring low-dust alternatives, our guide on painting without sanding techniques explains how chemical bonding agents perform across South Florida’s humid climate.
Primer Selection by Cabinet Material
Primer acts as the bridge between your raw or treated cabinet substrate and your topcoat. Using the wrong primer leads to tannin bleed-through, peeling, or bubbling.
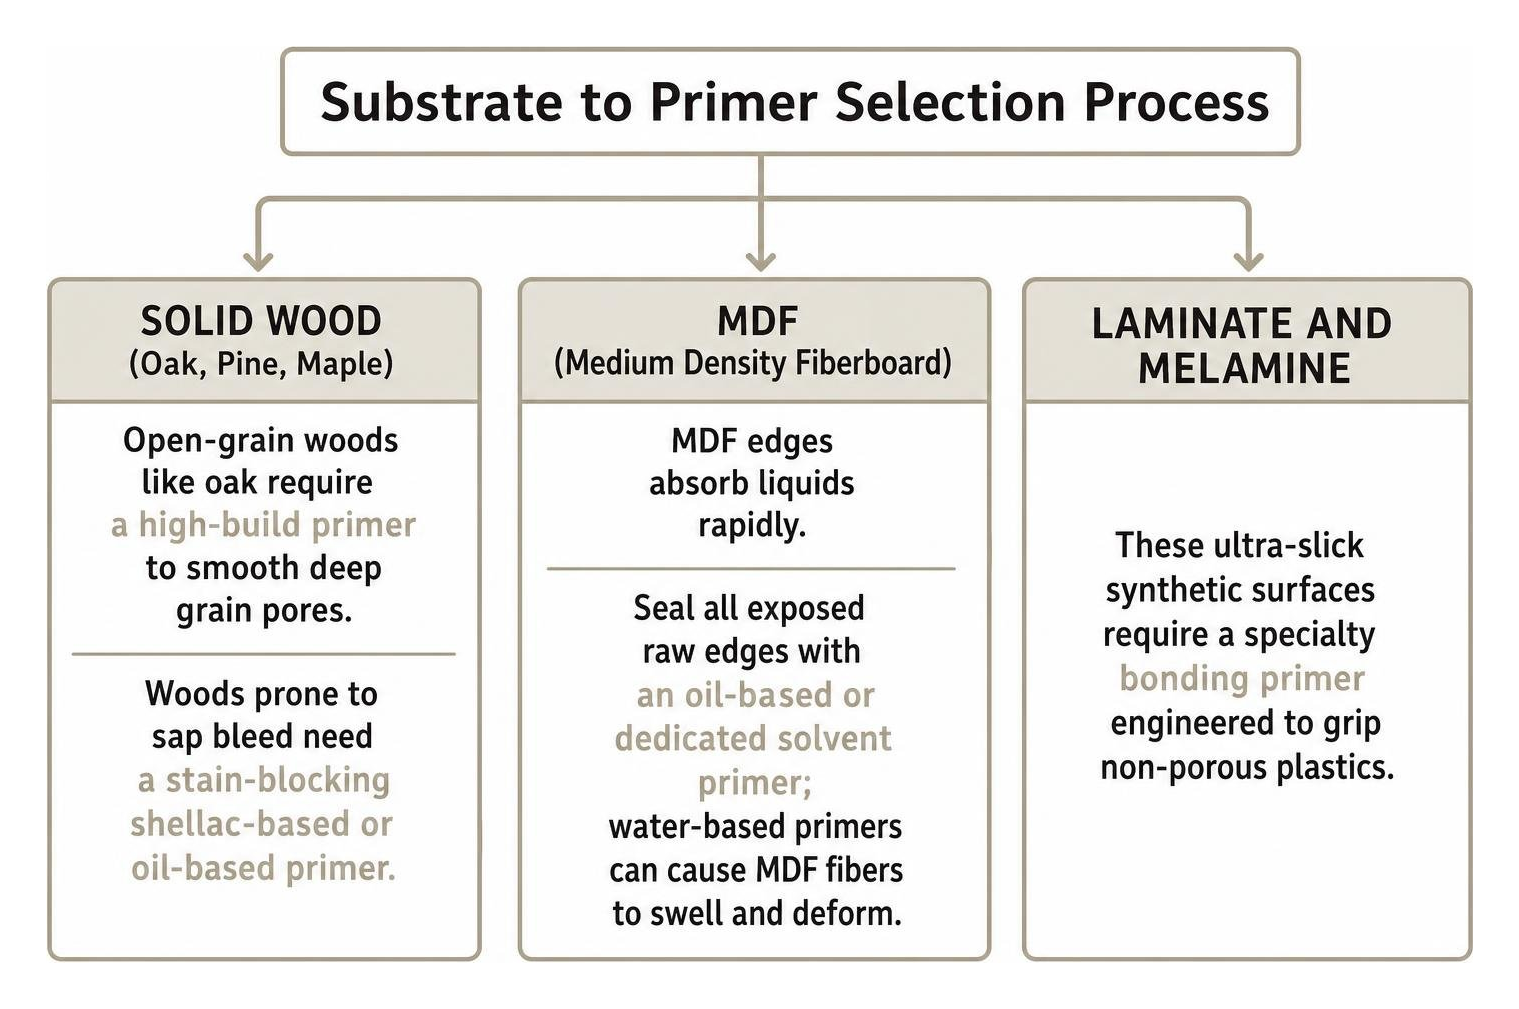
- Solid Wood (Oak, Pine, Maple): Open-grain woods like oak require a high-build primer to smooth deep grain pores, while woods prone to sap bleed need a stain-blocking shellac-based or oil-based primer.
- MDF (Medium Density Fiberboard): MDF edges absorb liquids rapidly. Seal all exposed raw edges with an oil-based or dedicated solvent primer; water-based primers can cause MDF fibers to swell and deform.
- Laminate and Melamine: These ultra-slick synthetic surfaces require a specialty bonding primer engineered to grip non-porous plastics.
For deeper insights into base coatings, explore these primer application tips.
Selecting Paint Types, Colors, and Sheens
Kitchen cabinets endure constant handling, steam, fluctuating temperatures, and accidental impacts. Standard wall latex paint is too soft and will quickly fail on cabinetry. You need a dedicated enamel formulation that cures to a hard, washable barrier.
Water-based acrylic-alkyd hybrids and waterborne urethanes offer the best balance for modern kitchens. They deliver the leveling and rock-hard durability of traditional oil-based paints while providing low odor, fast drying times, and water cleanup. Crucially, waterborne formulas resist yellowing over time, keeping light colors crisp.
Choosing Colors and Sheens for Cabinet Painting Kitchen Cabinets
Sheen impacts both the appearance and the washability of your kitchen:
- Satin: Provides a soft, velvety luster that hides minor substrate imperfections while resisting everyday moisture.
- Semi-Gloss: Offers superior stain resistance, moisture repellency, and wipeability, making it ideal for busy family kitchens.
- Modern Eggshell / Low-Lustre Enamels: Formulated specifically for cabinetry to balance scrub resistance with contemporary, glare-free aesthetics.
When picking shades, our team has helped thousands of homeowners change kitchen cabinet colors with outstanding results. Popular modern palettes include:
- Warm Greys and Greiges: Soft neutrals that bring earthy sophistication.
- Sage and Olive Greens: Calming hues that connect indoor spaces to tropical Florida landscapes.
- Deep Navy and Charcoal: Dramatic accent choices for kitchen islands and lower runs.
- Timeless Off-White and Crisp Ivory: Clean classics that reflect natural light and make smaller kitchens feel expansive.
Coordinating Cabinets with Countertops, Backsplashes, and Hardware
Your cabinets represent the largest visual surface area in the kitchen, so balance their undertones with your surrounding materials:
- Quartz and Marble: Cool white or grey-veined stone pairs naturally with navy, charcoal, or pure white cabinets.
- Warm Granite and Butcher Block: Earthy stone and rich woods pair well with creamy ivories, warm greiges, and sage tones.
- Hardware Integration: Matte black handles ground lighter cabinet tones; brushed brass and warm gold bring striking luxury to navy, forest green, and black cabinetry; brushed nickel or polished chrome delivers a clean, cohesive look across modern shaker profiles.
Step-by-Step Application for a Flawless Finish
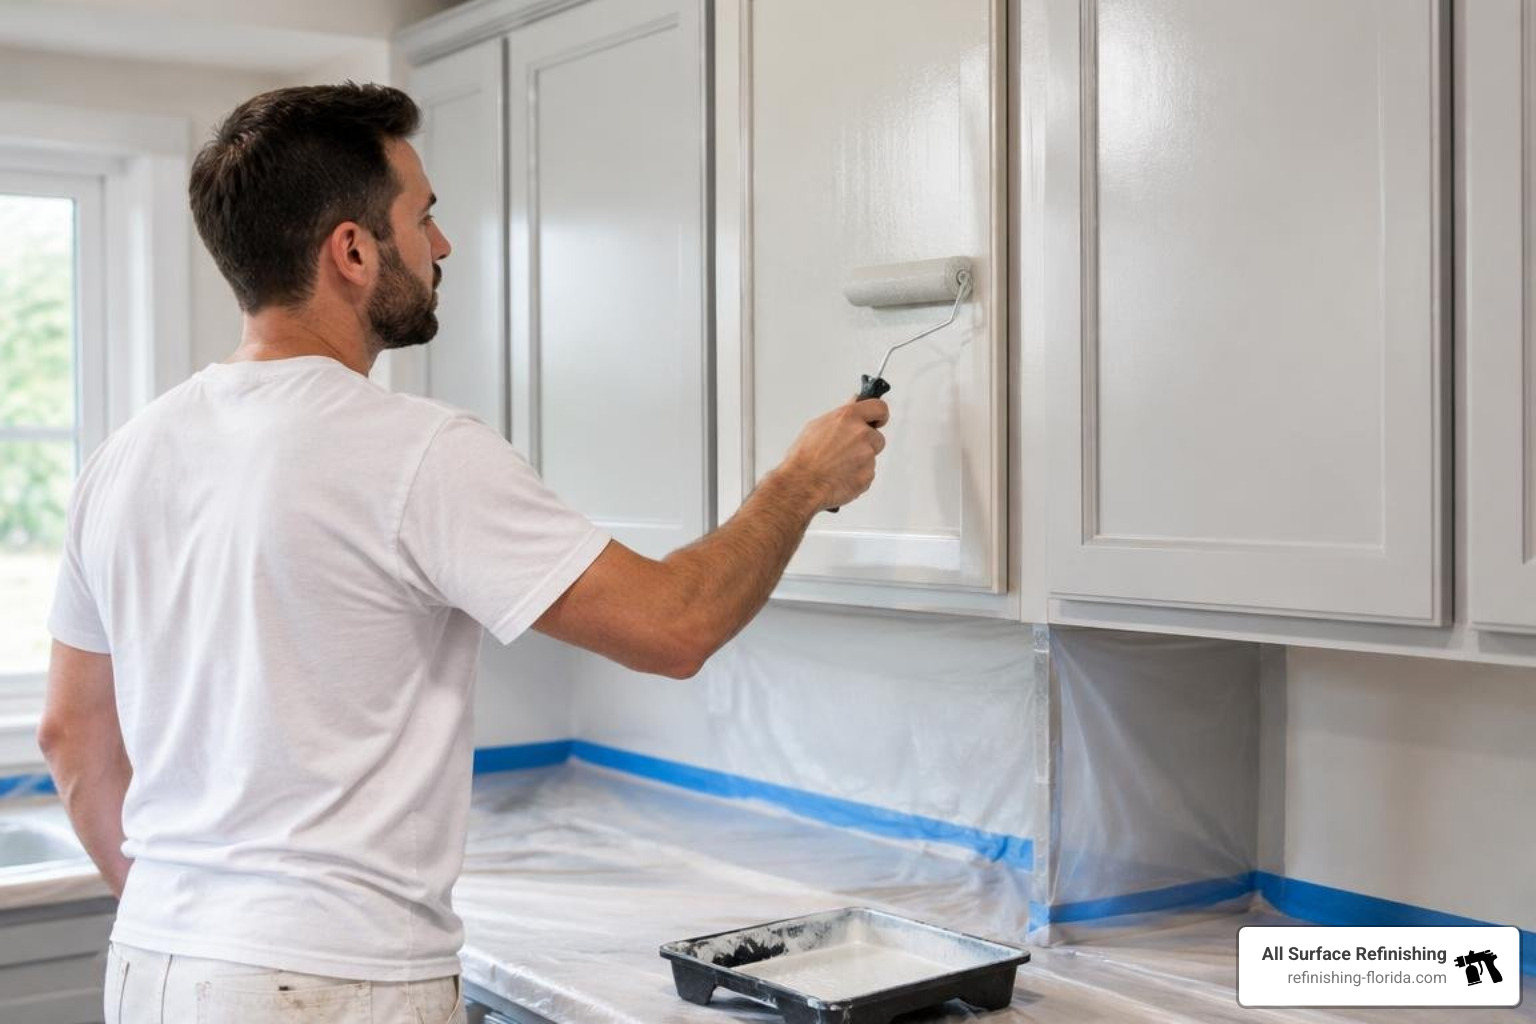
Achieving a smooth, brush-stroke-free finish requires patience, thin coats, and steady technique. Thick coats trap solvents underneath, leading to drips, soft spots, and extended drying windows.
Painting Cabinet Boxes and Face Frames
- Cut in the Edges: Use a premium 2-inch to 2.5-inch angled sash brush with synthetic bristles to paint inside corners, recesses, and edges along walls.
- Roll the Flats: Follow immediately with a high-density micro-fiber or foam mini-roller along face frames and side panels.
- Lay Off / Back-Brush: While the paint is still wet, gently pull your brush tips along the wet rolled section in the direction of the wood grain to pop air bubbles and level out orange-peel texture.
- Maintain a Wet Edge: Work continuously from one section to the next without pausing midway through a frame rail or stile.
Spraying vs. Rolling Cabinet Doors and Drawers
While rolling and back-brushing yields great results, using an HVLP (High Volume Low Pressure) or airless paint sprayer produces an ultra-smooth, factory-like finish.
Homeowners interested in an immaculate appearance often turn to spray painting cabinets because spraying distributes atomized micro-droplets without physical tool contact. If you choose to spray or roll your doors:
- Lay doors completely flat on risers to encourage self-leveling and prevent runs.
- Coat the back side first, allow it to dry, flip, and coat the front face and edges.
- Maintain consistent distance and overlap each pass by 50% when spraying.
Drying Times, Recoating, and Proper Reassembly
Rushing the reassembly is the most common DIY mistake. There is a critical difference between dry time and cure time:
- Dry to Touch: Usually 2 to 4 hours under normal conditions.
- Recoat Window: Typically 4 to 8 hours. Lightly scuff-sand with a 320-grit sanding pad between coats, vacuum, and tack away dust before applying the second coat.
- Assembly Window: Wait at least 48 hours before hanging doors and reinstalling hardware.
- Full Chemical Cure: High-performance enamels require 14 to 30 days to reach peak hardness and moisture resistance.
When rehanging, stick soft silicone bumper pads on the inner door corners to prevent the fresh paint from sticking to the frames.
Cabinet Painting: Cost and Longevity Comparison
Before tackling this project yourself, weigh the realistic investment of time, specialized tools, and materials against professional refinishing services.
| Feature / Factor | DIY Cabinet Painting | Professional Cabinet Refinishing |
|---|---|---|
| Typical Upfront Cost | $250 – $700 (Tools, primers, topcoats, sundries) | Moderate investment based on kitchen size and layout |
| Labor Time Required | 30 – 60 hours across multiple weekends | 3 – 5 days total turnaround time |
| Finish Quality | Good (Minor brush/roller textures possible) | Mirror-smooth, factory-grade spray finish |
| Substrate Adhesion | Dependent on DIY prep and primer choices | High-bond commercial primers and catalyzed topcoats |
| Longevity | 3 – 7 years with careful maintenance | 10 – 15+ years of high-durability service |
| Equipment Needed | Brushes, rollers, respirators, sanders, spray tent | Industrial HVLP/Airless rigs, HEPA extraction, drying racks |
Reviewing the DIY cabinet painting costs helps you evaluate whether buying high-grade spray gear and dedicating multiple weekends aligns with your household schedule.
Long-Term Maintenance: How to Clean and Protect Painted Cabinets
Once your cabinets have fully cured, simple, proactive care keeps the enamel looking vibrant and chip-free for years:
- Routine Cleaning: Wipe spills immediately using a soft microfiber cloth dampened with warm water and a few drops of mild dish soap.
- Avoid Harsh Chemicals: Never use abrasive scouring pads, bleach, ammonia, or petroleum-based furniture polishes, which soften and degrade paint films.
- Moisture Control: Wipe down areas near your coffee maker, dishwasher vent, and sink where steam concentrates.
- Quick Touch-Ups: Store leftover paint in an airtight container in a climate-controlled room. Use a fine-tip artist brush to dab small accidental chips before moisture penetrates the exposed substrate.
Frequently Asked Questions About Cabinet Painting
Can you paint over laminate or high-gloss cabinets without sanding?
While liquid deglossers and specialty bonding primers allow paint to adhere to slick laminate, skipping mechanical sanding entirely increases the risk of chipping over time. We always recommend combining a thorough scuff-sanding with a dedicated bonding primer to establish maximum mechanical and chemical grip.
How long should you wait before reinstalling doors and using painted cabinets?
Wait at least 48 hours before handling doors, mounting hinges, and hanging them back on the frames. Treat the surfaces gently for the first 30 days while the paint completes its full chemical cure. Avoid aggressive scrubbing or hanging damp kitchen towels over door edges during this initial curing window.
Why does paint chip or peel on kitchen cabinets?
The most common causes of peeling paint are grease contamination left on the surface before painting, skipping primer, failing to sand glossy factory finishes, or using standard interior latex wall paint instead of durable cabinet enamel. In South Florida, painting in high-humidity conditions without proper climate control can also compromise adhesion.
Conclusion
A well-executed cabinet paint job breathes fresh life, color, and character into your kitchen while keeping thousands of dollars in your pocket compared to tearing out structural framework. Whether you opt for a DIY weekend transformation or partner with an experienced team, prioritizing deep cleaning, mechanical sanding, appropriate primers, and durable enamels ensures your results stand up to daily culinary action.
At All Surface Refinishing, we take pride in delivering smooth, long-lasting kitchen updates to homeowners throughout South Florida, including Miami, Fort Lauderdale, West Palm Beach, Boca Raton, Coral Gables, Boynton Beach, Hollywood, FL, Jupiter, and surrounding communities across Broward, Miami-Dade, Palm Beach, and Martin counties. If you want a flawless, factory-grade finish without the dust, disruption, or guesswork, contact us today to discuss your professional cabinet refinishing project and request your custom quote.
— Frank Hernandez, President of All Surface Refinishing
