Your Bathtub Doesn’t Need to Be Replaced — It Needs the Right Supplies
If your tub is stained, chipped, or just looks dated, DIY tub resurfacing supplies can save you thousands of dollars compared to a full replacement. Here’s a quick look at what you’ll need:
Essential DIY tub resurfacing supplies at a glance:
| Supply | Purpose | Estimated Cost |
|---|---|---|
| Two-part epoxy or resin kit | Main refinishing coating | $20–$170 |
| Etching cream or powder | Prepares surface for adhesion | Included in most kits |
| 120-grit wet/dry sandpaper | Scuffs surface for bonding | ~$5–$10 |
| Foam rollers | Applies coating evenly | ~$5–$10 |
| N95 respirator + gloves | Safety during application | ~$15–$25 |
| Tack cloth | Removes dust after sanding | ~$3–$5 |
| Masking tape | Protects fixtures and edges | ~$5 |
The total cost of a DIY project typically runs $50–$200 — a fraction of the $3,000+ cost of full tub replacement.
A worn-out or discolored bathtub is frustrating. But most tubs don’t need to be torn out — they just need a fresh surface. With the right supplies and a free weekend, you can restore a tub to a clean, glossy finish that lasts for years.
That said, the results depend heavily on two things: choosing the right kit for your tub type, and doing the prep work correctly. This guide covers both.
I’m Frank Hernandez, President of All Surface Refinishing, with over 15 years of hands-on experience in surface refinishing — including evaluating which DIY tub resurfacing supplies actually hold up and which ones fall short. That background shapes every recommendation in this article.
Why Choose DIY Tub Resurfacing Supplies Over Replacement?
We often see homeowners in Miami and Fort Lauderdale staring at an avocado-green tub from the 1970s and thinking, “This has to go.” But before you call a contractor for a full demolition, consider the math. According to the National Kitchen and Bath Association, the total cost to remove and replace a bathtub often exceeds $3,000 when you factor in plumbing, tile work, and disposal fees.
By using high-quality DIY tub resurfacing supplies, you can achieve a similar look for about 75% less than a professional service and roughly 95% less than a full replacement.
Cosmetic vs. Structural Damage
Resurfacing is the perfect solution for cosmetic issues. If your tub has “spiderweb cracks,” outdated colors, or a surface that feels like sandpaper due to years of harsh chemical cleaning, a resurfacing kit is your best friend.
However, we always tell our neighbors in Boca Raton and Boynton Beach: if your tub is leaking through the floor or has deep, rusted-out holes, supplies alone won’t save it. Resurfacing is a finish, not a structural fix. For more on this decision, check out our guide on Is Professional Bathtub Resurfacing Worth It Finding Services In Your Area/ and see if you’re ready for the challenge in Is Bathtub Reglazing Worth It Your Step By Step Diy Answer/.
Essential Tools and DIY Tub Resurfacing Supplies for Success
Success in refinishing is 90% preparation and 10% application. If you skip the prep, your beautiful new finish will peel off faster than a bad sunburn after a day at Hollywood Beach.

The Prep Arsenal
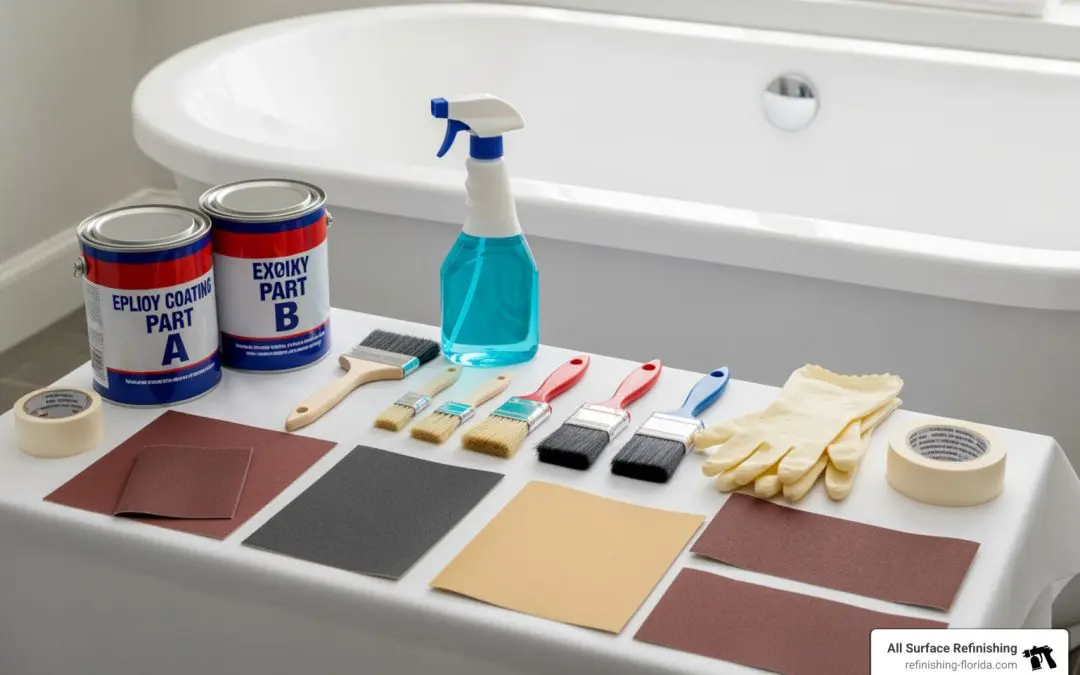
To get a professional-looking finish, you need more than just the paint. Here is the list of DIY tub resurfacing supplies you should have on hand:
- Etching Cream or Powder: Most kits, like the 20 oz. DIY Bathtub and Tile Refinishing Kit- White – The Home Depot , include a chemical etcher. This “eats” the top layer of the original glaze to create a porous surface for the new epoxy to grab onto.
- 120-Grit Wet/Dry Sandpaper: You’ll need this to scuff the surface further. Sanding ensures mechanical adhesion, which is vital for longevity.
- Tack Cloth: This is a sticky cheesecloth used to pick up microscopic dust particles after sanding. Even a tiny bit of dust can cause “fisheye” bumps in your finish.
- Masking Tape and Plastic: You aren’t just painting the tub; you’re protecting the rest of your bathroom. Tape off the drain, the overflow, and the walls meticulously.
- Safety Gear: Do not ignore this. Most DIY kits contain high VOCs (Volatile Organic Compounds). You need an N95 respirator (at minimum), eye protection, and chemical-resistant nitrile gloves.
Best DIY Tub Resurfacing Supplies for Chip and Crack Repair
If your tub has a few “battle scars,” you need to fill them before the main coating goes on.
- Resin-Based Fillers: These are usually two-part compounds (filler + cream hardener). A small 4-ounce kit can repair about 10 to 12 quarter-sized chips.
- Floor Crack Repair: If your fiberglass tub floor is flexing or has a large crack, you might need a structural kit. Some kits, priced around $170, include expanding foam to inject under the tub for support, preventing the repair from cracking again. For more details on fixing these specific issues, see our Beyond The Break A Diy Guide To Acrylic Shower Repair/.
Choosing the Right DIY Tub Resurfacing Supplies for Your Material
Not all tubs are created equal. Before you buy your DIY tub resurfacing supplies, identify what your tub is made of:
- Porcelain over Cast Iron: These are heavy and durable. They take to etching very well. Check out The Ultimate Guide To Resurfacing Your Cast Iron Tub At Home/ for material-specific tips.
- Fiberglass and Acrylic: These are lighter and can flex. You must ensure your kit is specifically labeled for these materials, as they require different bonding agents.
- Ceramic Tile: Many kits can also resurface the surrounding tile, giving your whole bathroom a unified look.
Top-Rated DIY Tub Resurfacing Supplies for Every Project
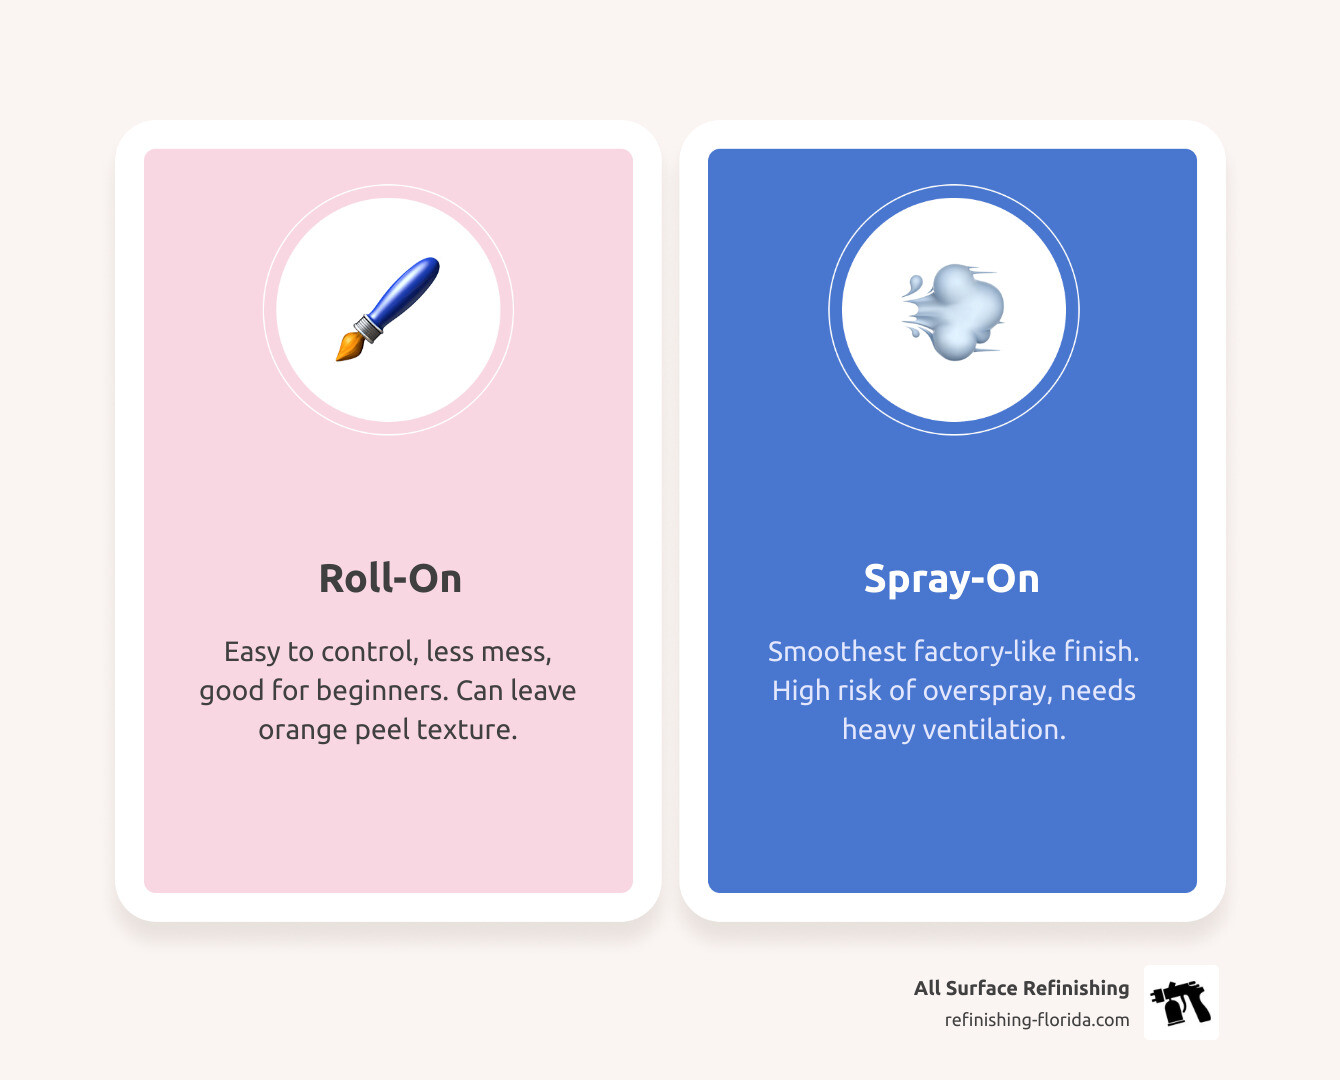
When shopping for DIY tub resurfacing supplies, you’ll generally find three application methods. Here is how they stack up:
| Method | Pros | Cons | Best For |
|---|---|---|---|
| Roll-On | Easy to control, less mess, good for beginners. | Can leave “orange peel” texture or roller fibers. | Standard DIY projects. |
| Spray-On | Smoothest finish, looks like a factory coat. | High risk of overspray, requires heavy ventilation. | Small repairs or experienced DIYers. |
| Pour-On | Thickest coating, self-leveling, usually odorless. | Can be messy, requires careful temperature control. | High-traffic tubs and deep gloss. |
Top Picks for 2026
- Rust-Oleum Specialty Tub & Tile: A classic two-part epoxy. It’s affordable (around $20–$42) and widely available. It dries to the touch in an hour, but needs 3 days to fully cure. You can find it at retailers like Lowe’s: Rust-Oleum Specialty Specialty Tub Tile White Gloss Tub Tile Refinishing kit ( Kit ) .
- Ekopel 2K Pour-On: This is a premium option ($120). It’s odorless, which is a huge plus for small Florida bathrooms with poor ventilation. It creates a very thick, porcelain-like finish that is 20x stronger than standard paints.
- Bathworks Kits: These are professional-grade kits adapted for DIYers. They often include slip-guard additives for the tub floor, which we highly recommend for safety.
Step-by-Step Guide to Using Your DIY Tub Resurfacing Supplies
Ready to sweat? Here is the workflow we recommend for homeowners from Jupiter down to Homestead.
Step 1: Clean and Strip
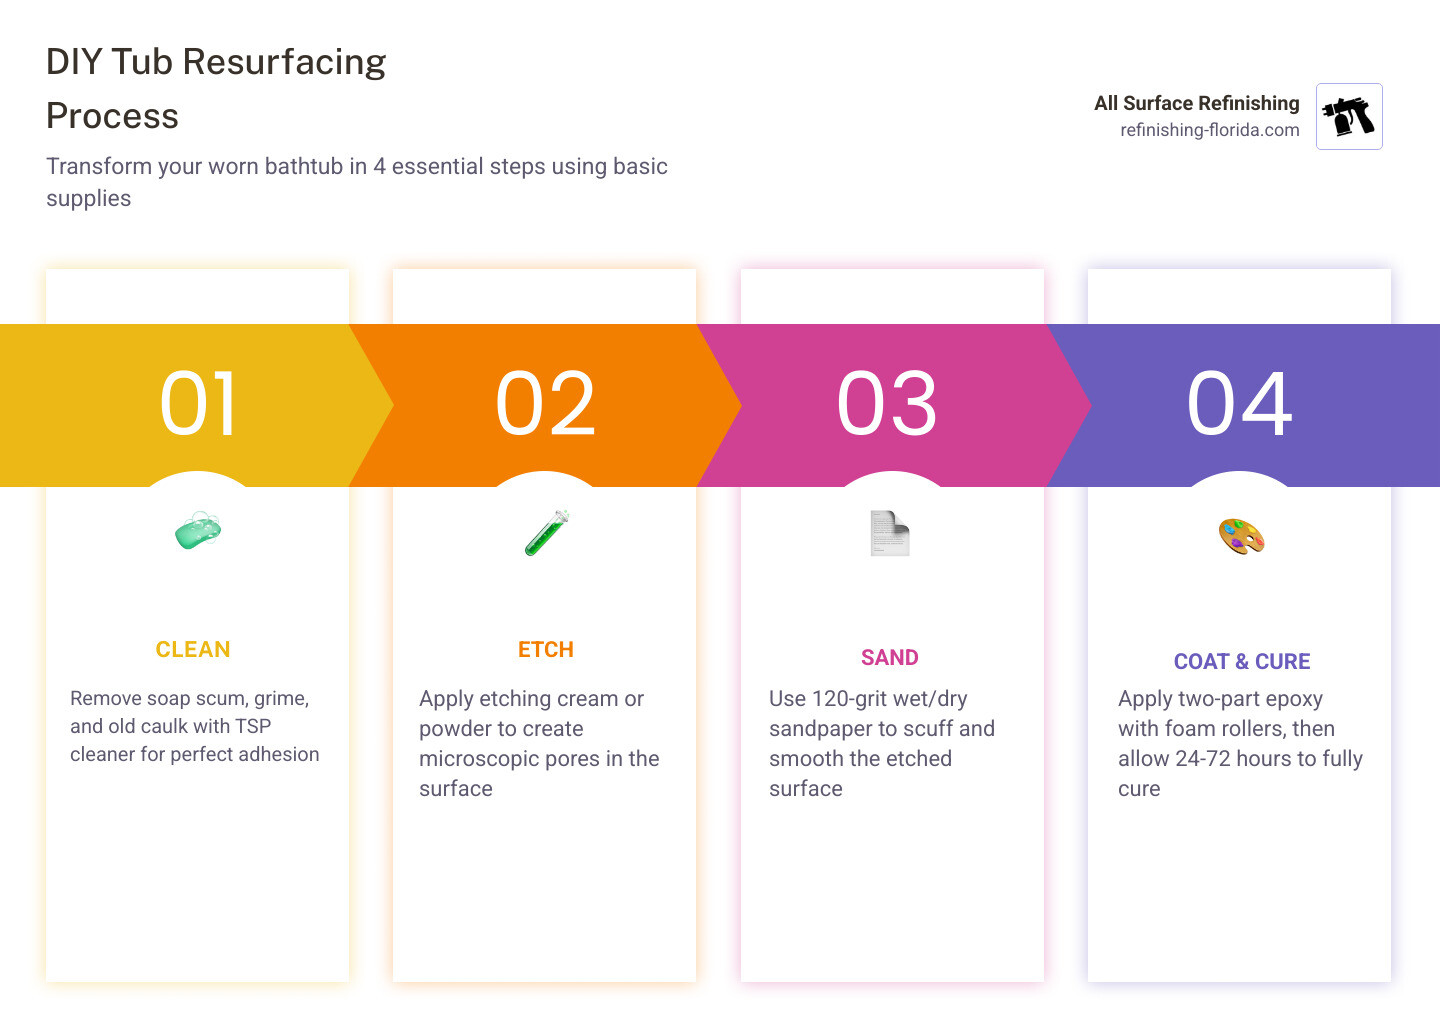
Remove all existing caulk with a blade. Use an abrasive cleaner (like Comet or bleach) to remove every trace of soap scum and body oils. If the surface isn’t surgically clean, the new finish will peel.
Step 2: Etch and Sand
Apply your etching cream according to the kit instructions. Scrub it in, rinse it off, and then sand the entire tub with 120-grit sandpaper. You want the tub to look “dull”—if it’s still shiny, the paint won’t stick.
Step 3: Dry and Dust
This is where many fail. The tub must be bone-dry. Use a hair dryer on the edges and drain. Use your tack cloth to remove every speck of dust. If you see a hair, get it out!
Step 4: Mix and Apply
Most DIY tub resurfacing supplies involve a two-part resin. Once you mix the hardener into the resin, you have a “pot life” of about 3 to 4 hours.
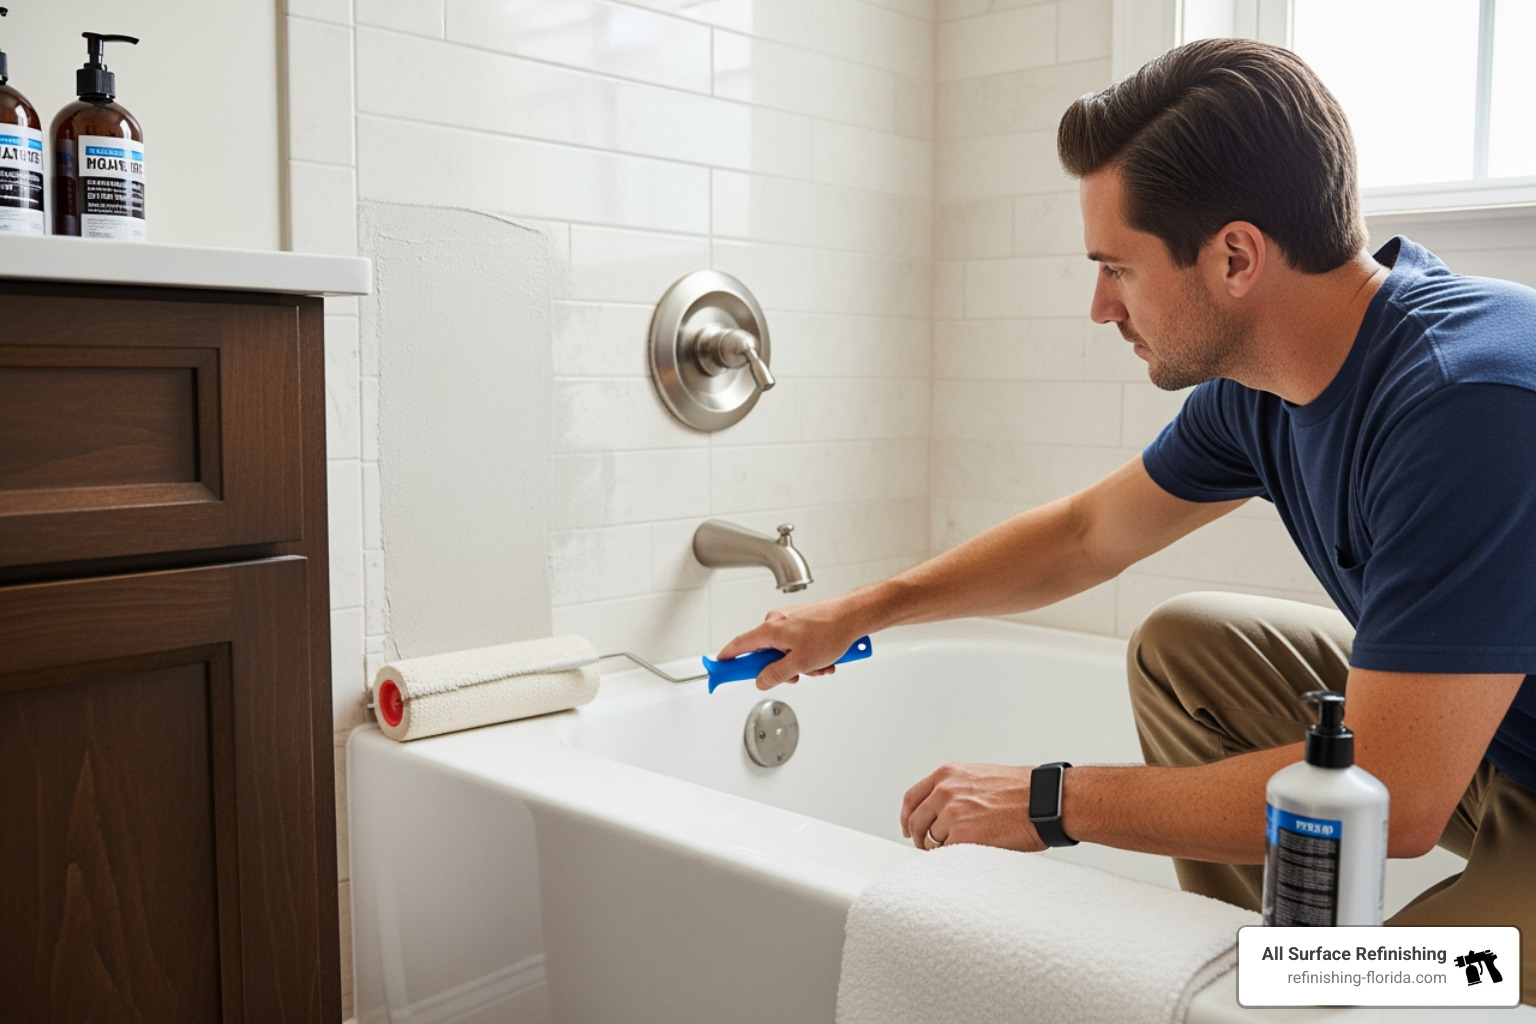
- Rolling: Use high-quality foam rollers. We suggest buying 5 or 6; they tend to degrade quickly when exposed to these chemicals.
- Brushing: Use a sponge brush for the corners and edges.
- Coating: Apply thin, even coats. Two coats are usually standard, but some kits allow for up to four.
For a deeper dive into the painting process, check our steps in How To Repaint A Bathtub In 7 Easy To Follow Steps/ and How To Restore Bathtub Surface The Right Way/.
Step 5: The Long Wait (Curing)
While the tub might be dry to the touch in 10 hours, it is not ready for a bubble bath. Most kits require 24 to 72 hours of curing time. During this time, keep the bathroom door closed to prevent dust or pet hair from landing on the wet surface. A full chemical cure can actually take up to 30 days—so avoid suction-cup bath mats or harsh cleaners for the first month.
Frequently Asked Questions about DIY Tub Resurfacing
How long does a DIY tub resurfacing project take to cure?
Most projects take one full weekend. You’ll spend Saturday morning cleaning and prepping, and Saturday afternoon applying the coating. The tub is usually “ready for use” in 24 to 48 hours, though some epoxy kits suggest waiting a full 72 hours before getting the surface wet.
Can I change the color of my bathtub with a DIY kit?
Absolutely. While “White” is the most popular choice for that clean, modern look, many kits come in “Biscuit,” “Bone,” or “Almond.” Some specialty kits even allow for custom color matching using toothpick-sized drops of tint.
When is a tub too damaged for DIY resurfacing supplies?
If you see large areas of black, flaky rust or if the tub floor feels like it’s about to give way when you stand in it, supplies won’t help. Also, if you’ve already tried a DIY kit and it’s peeling, the labor required to strip the old DIY mess is often so intense that it’s better to call in a professional or replace the unit.
Conclusion
Getting the right DIY tub resurfacing supplies is the first step toward a bathroom you can actually be proud of. Whether you’re in a high-rise in Aventura or a family home in Pembroke Pines, a refinished tub provides that “new home” feel without the “new home” price tag.
However, we know that DIY isn’t for everyone. The fumes can be intense, the prep work is back-breaking, and if you mess up the mixing ratio, you’re left with a sticky mess.
If you decide the project is a bit more than you want to handle this weekend, All Surface Refinishing is here to help. With over 30 years of experience and 14,000+ projects completed across South Florida—from West Palm Beach to Miami—we offer professional-grade transformations that last 10-15 years. We use specialized spray equipment and high-tech acrylic urethanes that DIY kits simply can’t match.
Ready to see the difference a professional touch can make? More info about bathtub services is just a click away. Whether you do it yourself or let us handle the heavy lifting, your tub deserves a second chance!
