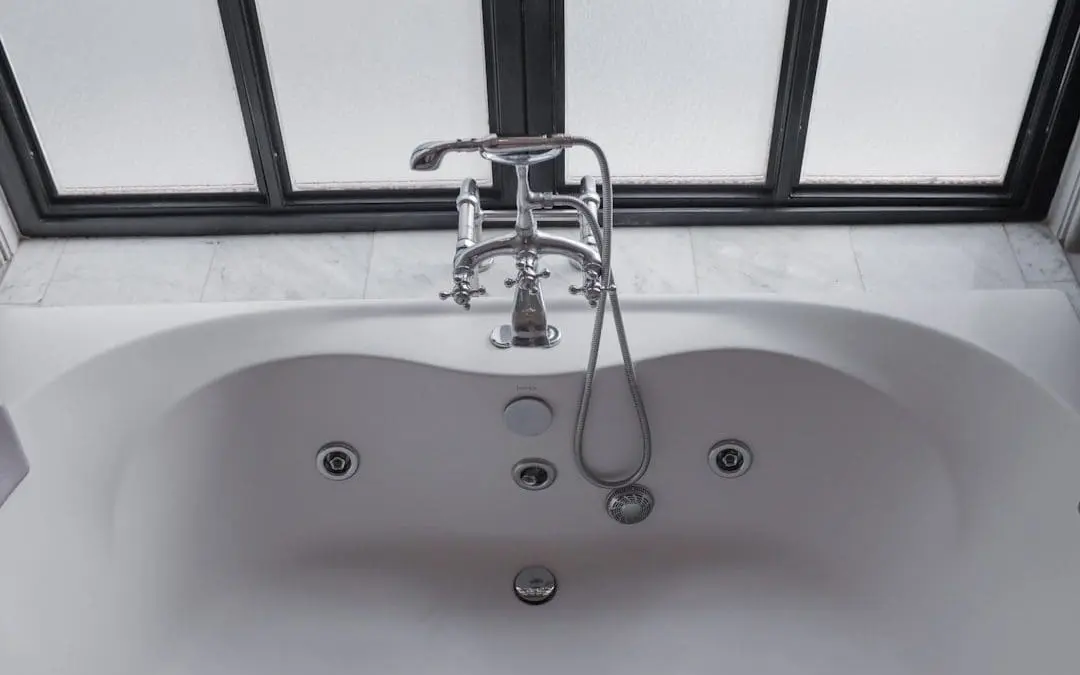
Understanding Jetted Tubs: Compatibility and Specific Challenges
Before rolling up your sleeves, you need to understand that refinishing a Jacuzzi tub is fundamentally different from working on an ordinary alcove tub. While a standard tub features smooth, continuous walls, a jetted unit is a complex piece of hydrotherapy equipment.
When you look into whirlpool jacuzzi tub 101 hydrotherapy benefits and features, you quickly realize how interconnected the plumbing, jet nozzles, and shell integrity really are. The intricate contours, internal pipework, and multiple wall penetrations present unique bonding and sealing hurdles that require meticulous handling.
Materials and Surface Compatibility
Most residential jetted tubs in South Florida homes are crafted from one of three primary materials:
- Acrylic: The most popular choice in modern construction. Acrylic is non-porous, rigid, and holds color well. However, it requires thorough scuffing with 400-grit wet/dry sandpaper so new coatings can mechanically grip the surface. For detailed repairs, consult our hot tub acrylic repair complete guide.
- Fiberglass: Common in older homes, fiberglass is lightweight but prone to flexion. As water fills the tub and bathers step inside, the shell flexes slightly. If you use a rigid, low-grade topcoat, this flexion causes hairline cracks and premature peeling.
- Cast Iron with Porcelain enamel: Heavily insulated and durable, cast iron tubs require specialized chemical acid etching (typically using hydrofluoric acid) to etch the glass-like porcelain layer prior to applying an epoxy primer.
Biofilm Flushing and Hardware Removal Challenges
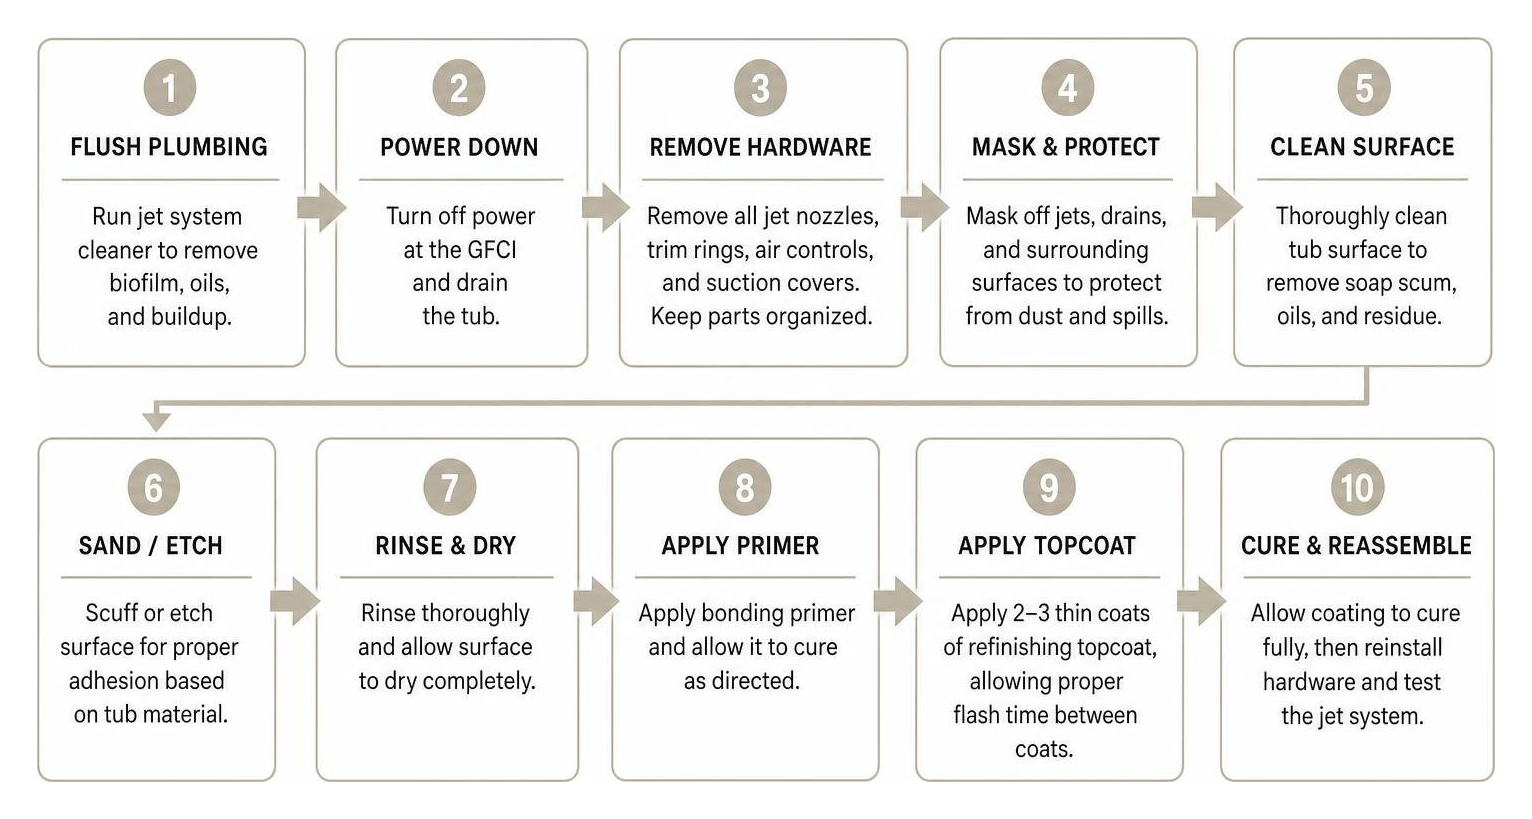
The biggest mistake homeowners make is painting directly over hardware. You must remove all jet nozzles, trim rings, air controls, and suction intake covers before applying any coatings. Leaving hardware attached leads to paint bridging, which breaks and peels the moment water forces its way behind the ring.
Before removing a single nozzle, you must eliminate internal plumbing contamination. Over years of use, body oils, soap scum, and hard water build up inside the hidden hoses, creating a dark sludge known as biofilm.
If you coat the tub without clearing this out, the first time you run the jets, biofilm will flush back onto your fresh finish and ruin it. To avoid leaks and plumbing disasters during this phase, check out our guide on how to dont let your spa day turn into a leak nightmare jacuzzi repair guide.
Step-by-Step Guide to Refinishing Jacuzzi Tub Bathrooms
If you are set on attempting a DIY transformation, following a strict, multi-stage process is vital. Shortcuts during surface preparation are the single biggest cause of coating failure. For a deeper look at professional standards, read our guide on how to refinish jacuzzi tub.
Essential Materials for Refinishing Jacuzzi Tub Surfaces
To achieve a clean finish, gather these items before starting:
- Industrial cleaner/degreaser and bleach
- 400-grit wet/dry sandpaper and abrasive scuff pads
- Hydrofluoric acid etching agent (for porcelain/cast iron)
- Auto body filler (Bondo) and putty knife
- High-grade painter’s tape and heavy masking paper/plastic
- Solvent-resistant foam rollers, high-density brushes, or an HVLP spray system
- Two-part epoxy primer and high-performance acrylic polyurethane topcoat
- Personal Protective Equipment: Respirator with organic vapor cartridges, safety goggles, and heavy-duty nitrile gloves
Deep Cleaning, Etching, and Masking
- Flush the Plumbing: Fill the tub with warm water above the highest jets. Add two cups of household bleach and a low-foaming dishwasher detergent. Run the jets for 15 minutes to flush out biofilm. Drain completely.
- Remove Hardware: Turn jet nozzles a quarter-turn counterclockwise to unscrew or pop them off. Carefully unsnap or unscrew trim rings and intake covers. Bag, label, and set them aside.
- Clean and Degrease: Scrub the entire tub using an industrial cleaner to strip away body oils, soap scum, and limescale. Rinse thoroughly with clean water.
- Etch or Sand the Shell: Scuff acrylic and fiberglass thoroughly using 400-grit sandpaper until the high-gloss sheen is completely dulled. If working on cast iron, apply an acid etching compound to create microscopic texture for bonding.
- Repair Structural Damage: Fill deep scratches, gouges, or chips with Bondo body filler. Once dry, sand smooth until flush with the surrounding tub profile. For structural cracks, follow our steps for jacuzzi crack repair.
- Mask Off Key Components: Roll up paper towels or painter’s tape to plug the inside of each jet orifice, ensuring paint cannot enter the internal pipework. Carefully mask surrounding wall tiles, hardware valves, floor areas, and the drain perimeter.
Coating Application, Curing, and Jet Reassembly
- Apply Adhesion Promoter & Epoxy Primer: Spray or roll a thin, even coat of high-adhesion epoxy primer. Primer acts as the double-sided tape that locks the topcoat to the underlying shell.
- Apply Topcoat Layers: Apply two to three thin coats of acrylic polyurethane refinishing topcoat. Wait the recommended flash-off time between coats (usually 15 to 20 minutes). Work from the far back corner toward the front wall to avoid reaching across wet paint.
- Allow Curing Time: Let the tub cure undisturbed for a minimum of 48 to 72 hours before allowing light moisture contact. The surface will fully cure and harden over 5 to 7 days.
- Trim and Reinstall: Once fully hardened, take a sharp utility knife or razor blade and lightly score the tape line around every jet opening before peeling away masking material. This prevents the tape from tugging and lifting the new coating. Reinstall your cleaned jet nozzles and trim hardware. For additional tips on surface longevity, review our article on hot tub surface repair.
DIY vs. Hiring a Professional: Costs, Cure Times, and Warranties
While a store-bought DIY kit can look tempting on paper, the performance gap between a consumer paint tub kit and high-grade professional equipment is substantial.
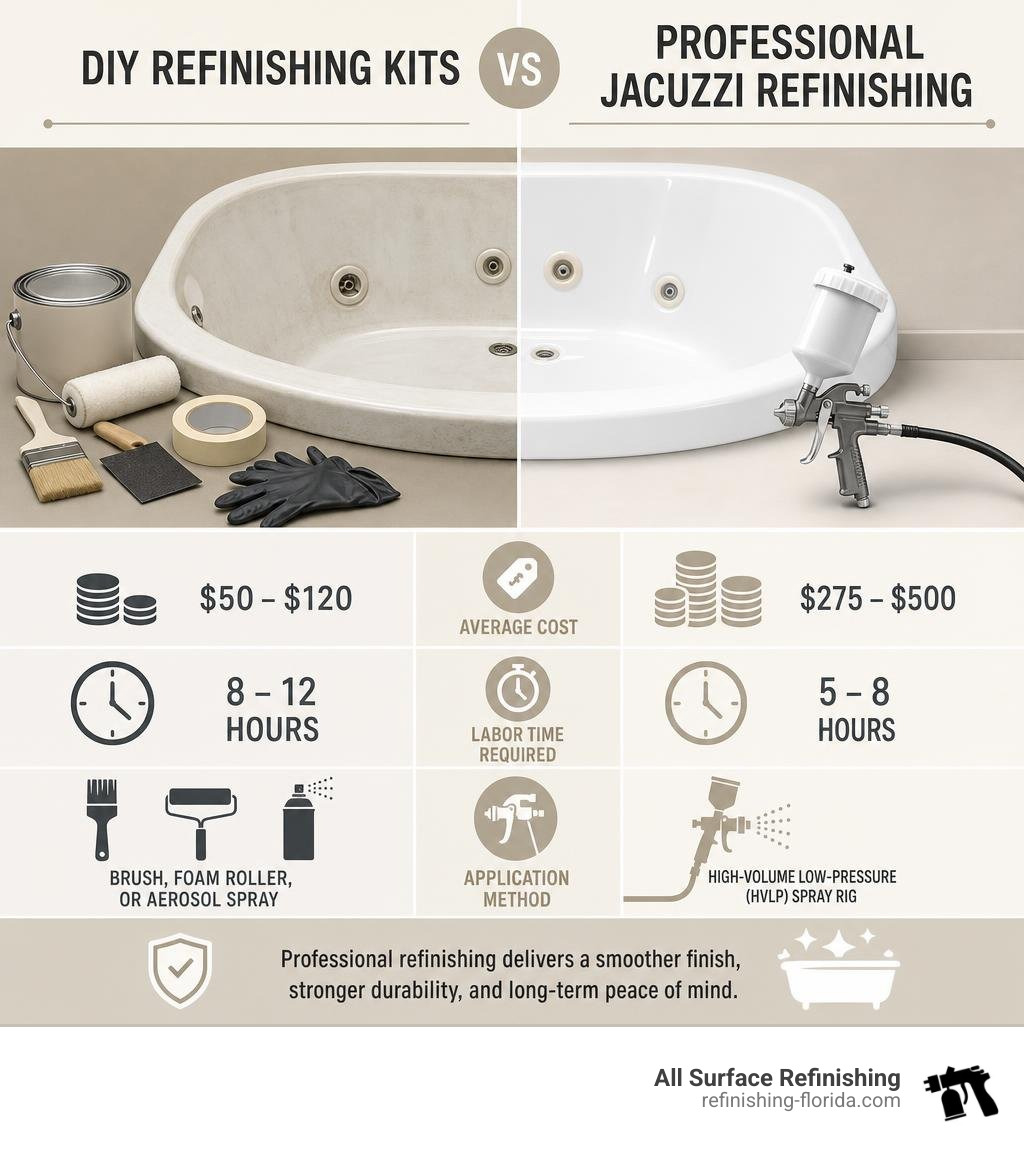
| Feature / Detail | DIY Refinishing Kits | Professional Refinishing |
|---|---|---|
| Average Cost | $50 – $120 | $275 – $500 |
| Labor Time Required | 8 – 12 hours | 5 – 8 hours |
| Application Method | Brush, foam roller, or aerosol spray | High-Volume Low-Pressure (HVLP) spray rig |
| Preparation Quality | Scrubbing, basic sanding | Industrial degreasing, acid etching, full chip repair |
| Durability Expectancy | 1 to 3 years | 10 to 15+ years |
| Cure Time Before Use | 72 hours to 7 days | 24 to 48 hours |
| Warranty Coverage | None | 3 to 10 years backed by written guarantee |
While buying a roll-on kit seems budget-friendly, professional refinishers use specialized exhaust ventilation, professional-grade HVLP spray systems, and industrial-strength aliphatic polyurethane coatings that form a chemical bond with the tub. Before deciding, make sure you dont get soaked by high hot tub resurfacing prices.
Common Pitfalls When Refinishing Jacuzzi Tub Features
Refinishing a jetted unit presents unique challenges. Avoid these frequent mistakes to ensure long-lasting results:
- Peeling Around Jet Edges: Skipping edge-scoring with a razor blade before removing tape will pull up the fresh topcoat.
- Painting Over Jet Trim: Leaving nozzles attached locks them in place permanently and leads to paint peeling off from water pressure.
- Skipping Biofilm Flushing: Failing to clean internal plumbing before painting forces hidden sludge out through the jets, ruining the finish.
- Rushing Cure Times: Using fast-curing paint hardeners weakens the atomic bond of the finish, causing premature chipping.
If you encounter unexpected mechanical issues during the job, refer to our troubleshooting guide on how to conquer these jacuzzi whirlpool tub repair challenges.
Refinish, Replace, or Convert? Making the Right Choice
When dealing with an old, discolored, or dated jetted tub, homeowners generally consider three choices: refinishing, replacing, or converting the space into a walk-in shower.
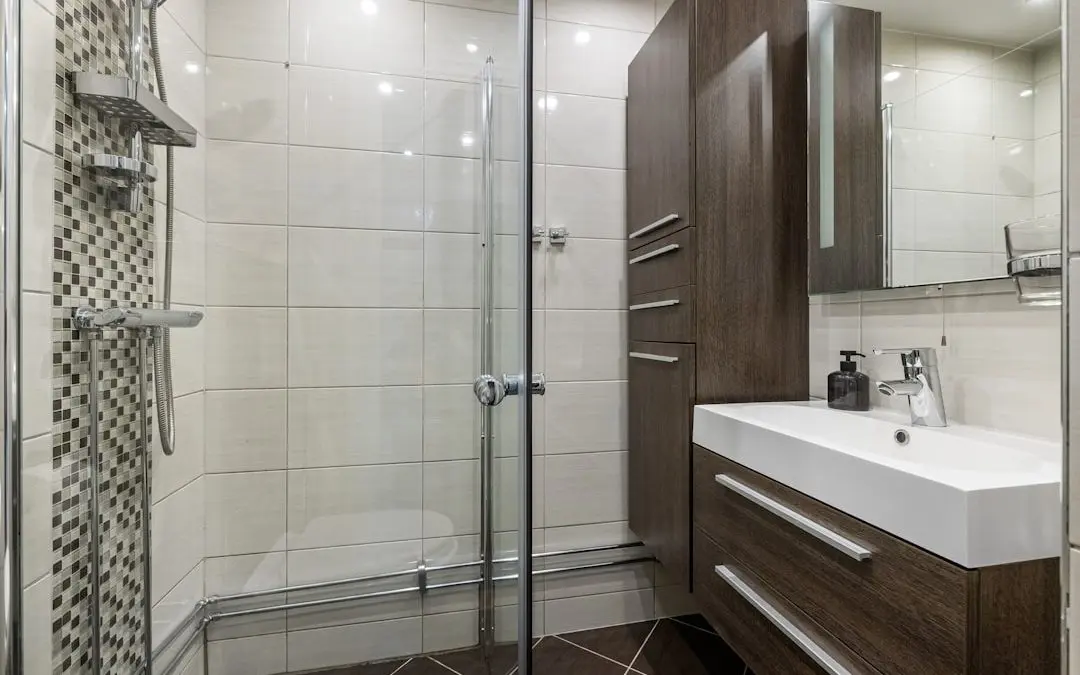
Replacing a jetted tub is rarely as simple as buying a new fixture. Standard alcove tubs measure 60 inches long, whereas many older Jacuzzi tubs feature custom dimensions—such as 70 inches long by 35 inches wide.
Removing a large jetted tub requires breaking down tile surrounds, cutting through drywall, altering supply plumbing, widening doorways, and rebuilding the subfloor. A replacement project that starts with a $300 tub shell can quickly balloon into a $3,000 to $8,000 bathroom overhaul.
If you choose to replace a 70-inch jetted unit with a standard 60-inch tub, you must build out built-in alcove shelving to fill the 10-inch void. Furthermore, removing the only bathtub in your house can lower real estate value.
Refinishing allows you to change the color of your almond, biscuit, or avocado green Jacuzzi tub to a crisp modern white at a fraction of the replacement cost. Explore the cheapest ways to jacuzzi refinishing to make an informed choice.
Frequently Asked Questions About Jacuzzi Refinishing
How long before I can use my jetted tub after refinishing?
You should wait at least 48 to 72 hours before running water or standing in the tub. While the surface may feel dry to the touch within a few hours, the chemical cross-linking of the topcoat requires a full 5 to 7 days to reach maximum hardness. Avoid turning on high-pressure water jets for a full week after refinishing.
Can you refinish the jet nozzles and trim rings?
We strongly advise against painting plastic or chrome jet nozzles and trim rings. High water pressure, frequent movement, and chemical exposure will cause paint on plastic nozzles to chip away quickly. The best approach is to mask or remove the nozzles, refinish the tub shell, and reinstall the cleaned original hardware or buy fresh replacement trim rings.
Why does paint peel around jacuzzi jets?
Paint peels around jets due to moisture getting underneath the coating. If the technician fails to scuff the tight ring perimeter or doesn’t score the masking tape line with a razor blade before peeling it away, water pressure will seep into microscopic gaps, causing the finish to lift.
Conclusion
Refinishing your Jacuzzi tub restores its appearance without the mess, extended downtime, and high cost of a full bathroom tear-out. While a DIY project is possible with careful preparation and attention to detail, working around complex jets, intake valves, and curved shells requires patience and precision.
If you want a flawless, factory-grade finish backed by a written warranty, contact our team at All Surface Refinishing. Serving homeowners across South and Southwest Florida—from Miami and Fort Lauderdale up to Boca Raton and West Palm Beach—we draw on over 30 years of experience and 14,000+ completed projects to complete your job in just one day.
Ready to transform your bathroom? Contact us today to learn more about our professional jacuzzi tub resurfacing services!
