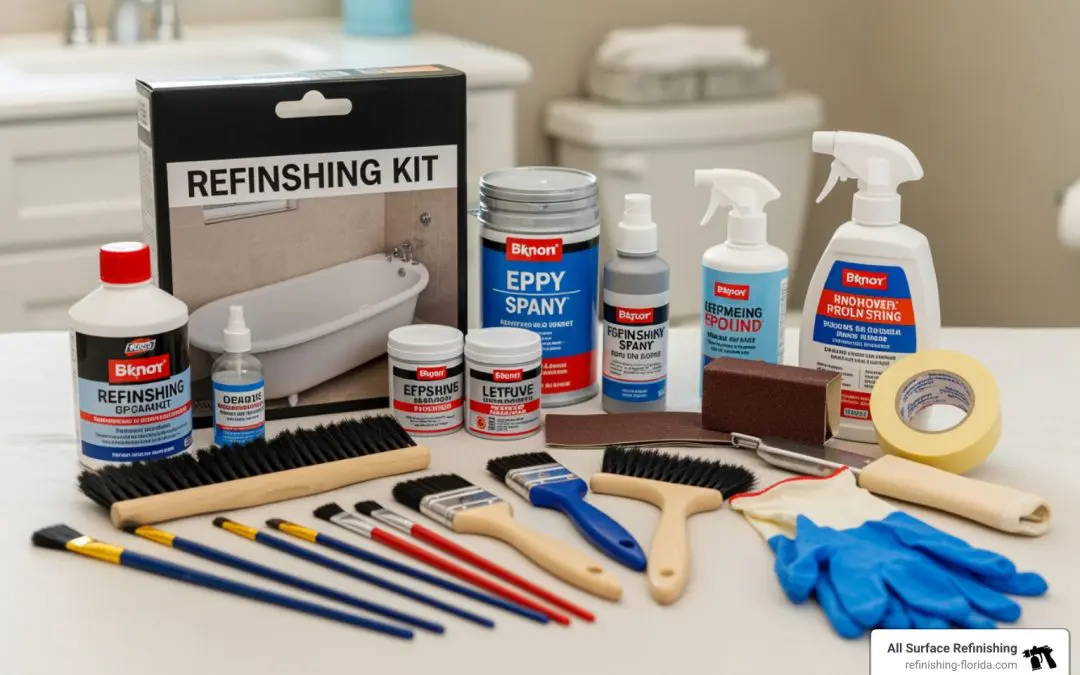
Why the Right DIY Bathtub Refinishing Supplies Make or Break Your Project
The DIY bathtub refinishing supplies you choose will determine whether your tub looks brand new — or starts peeling within months.
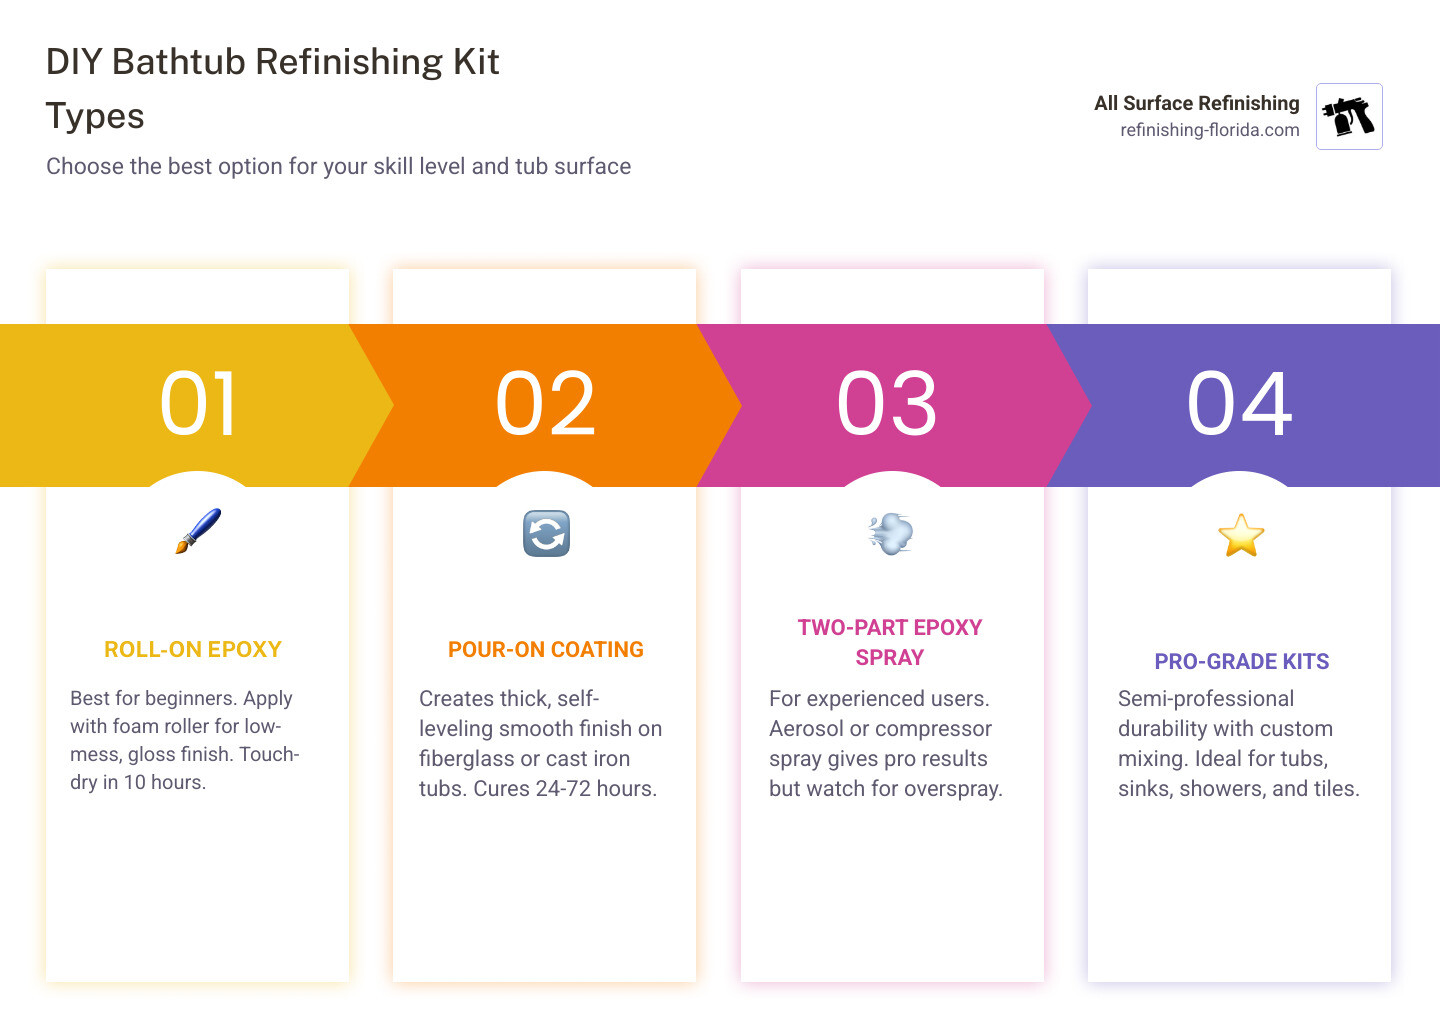
Here’s a quick look at the most common kit types to help you find the right one fast:
| Kit Type | Best For | Price Range | Dry Time |
|---|---|---|---|
| Roll-on epoxy (e.g., BATHWORKS) | Beginners | $69–$79 | Touch-dry in 10 hrs |
| Pour-on coating (e.g., Ekopel 2K) | Smooth, thick finish | $80–$120 | 24–72 hrs |
| Two-part epoxy spray (e.g., Rust-Oleum) | Experienced DIYers | $40–$80 | 24 hrs |
| Pro-grade supply kits (e.g., NAPCO) | Semi-pro results | $100+ | Varies |
Most homeowners can complete the job in a single weekend — with 3 to 5 hours of active work and a cure time of 24 to 72 hours before the tub is back in service.
But picking the right kit is only half the battle. Surface prep, ventilation, and the right extra tools matter just as much as the coating itself.
I’m Frank Hernandez, President of All Surface Refinishing, and I’ve spent over a decade working hands-on with professional refinishing coatings across South Florida — so I know exactly where DIY projects succeed and where they fall short when it comes to DIY bathtub refinishing supplies. In this guide, I’ll walk you through everything you need to get a lasting, professional-looking result without hiring a pro.
Glossary for DIY bathtub refinishing supplies:
Best DIY Bathtub Refinishing Supplies to Buy in 2026
When we look at the landscape of DIY bathtub refinishing supplies in May 2026, the options have become significantly more user-friendly. Whether you are in Miami, Boca Raton, or West Palm Beach, you can find high-quality two-part coatings that mimic the look of factory porcelain. These kits generally fall into three categories: roll-on, pour-on, and spray-on.
| Feature | Roll-On Kits | Pour-On Kits | Spray Kits |
|---|---|---|---|
| Difficulty | Beginner | Intermediate | Advanced |
| Odor | Moderate | Low | High |
| Finish | High Gloss | Thick/Glass-like | Factory-smooth |
| Cure Time | 24–48 Hours | 48–72 Hours | 24 Hours |
| Durability | High | Very High | High |
Most of these kits are designed for standard tub surfaces like porcelain, fiberglass, cast iron, and steel. Many can also be used for shower base and sink refinishing, and even ceramic tile surrounds.
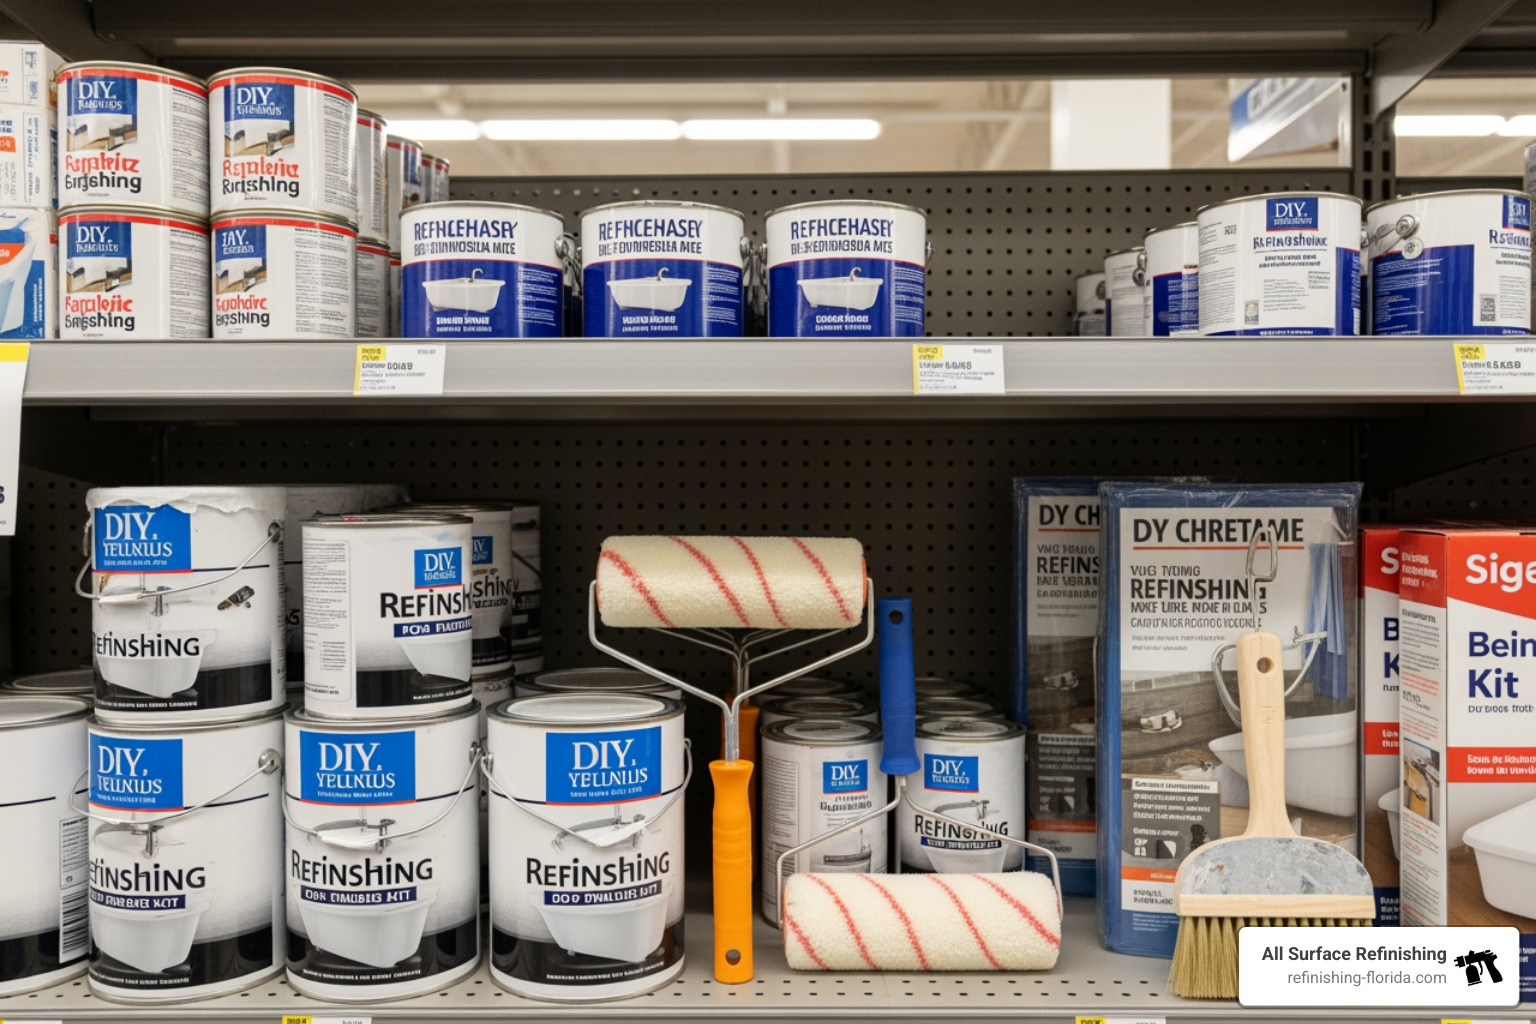
Best roll-on DIY bathtub refinishing supplies for beginners
For those tackling their first bathroom update, roll-on coatings are often the safest bet. They offer a self-leveling formula that helps minimize the appearance of brush or roller marks. We often see homeowners choose the 20 oz. DIY Bathtub and Tile Refinishing Kit- White because it is designed for ease of use and low mess.
These kits usually include a high-density foam roller and a specific resin-to-hardener ratio. A major benefit is the speed; many are touch-dry in about 10 hours and fully cured within 24 to 48 hours. Another popular choice is the Bathworks Roll-On Refinishing Kit – 22 fl oz, High Gloss White …, which is celebrated for its non-yellowing formula and commercial-grade durability.
DIY bathtub refinishing supplies for thicker pour-on finishes
If you want a finish that feels “thick” and substantial, the pour-on method is the way to go. The Ekopel 2K system, for example, has garnered thousands of reviews for providing a coating that is up to 20 times thicker than traditional spray-on “knockoff” kits.
The pour-on method involves slowly pouring the mixed epoxy over the top edges of the tub and allowing it to flow down the sides. It requires more patience during the leveling time and careful drip control at the drain, but the result is a incredibly smooth finish that hides many surface imperfections in fiberglass or cast iron tubs. Odor concerns are also typically lower with these high-solid epoxies compared to solvent-based sprays.
DIY bathtub refinishing supplies for spray-style and pro-grade results
For the DIYer who wants that perfect factory-smooth look, spray kits are an option. You can use aerosol cans or a professional compressor setup. However, this has the toughest learning curve. Overspray is a massive concern in small Florida bathrooms; you must mask off every single inch of the room that isn’t being painted.
Professional-grade materials, such as those from NAPCO (who have been in the industry for over 45 years), are often used by those seeking a commercial-grade result. While these provide the toughest finish, they often require more advanced safety equipment and precise mixing. If your tub is severely damaged, we often suggest weighing the cost of these high-end supplies against the price of professional replacement vs refinishing.
Which kit style works best for bathtubs, shower bases, sinks, and tile
Not all DIY bathtub refinishing supplies are created equal across all surfaces.
- Porcelain and Cast Iron: Most epoxy and acrylic-epoxy hybrids bond exceptionally well here, provided the surface is etched correctly.
- Fiberglass and Acrylic: These require kits with excellent flexibility to prevent cracking as the tub flexes under the weight of water and a person.
- Ceramic Tile: Look for kits specifically labeled for “Tub and Tile.” These need high moisture resistance to handle the constant runoff in a shower pan or around a sink basin.
What Comes in a Kit and What Extra Supplies You’ll Still Need
Standard kits are designed to be “all-in-one,” but there is almost always a gap between what’s in the box and what you actually need to finish the job without a midnight run to the hardware store in Fort Lauderdale or Hollywood.
Typical kit contents for bathtub and tile refinishing
A standard kit, like the 20 oz. DIY Bathtub and Tile Refinishing Kit- White, usually includes:
- Part A (Resin) and Part B (Hardener)
- A liquid primer or bonding agent
- A cleaning/etching powder or solution
- Stir sticks and sometimes a pair of basic gloves
- Step-by-step instructions
- Some premium kits, like those from Bathworks, also include a slip-resistant additive for the tub floor.
Extra DIY bathtub refinishing supplies most homeowners forget
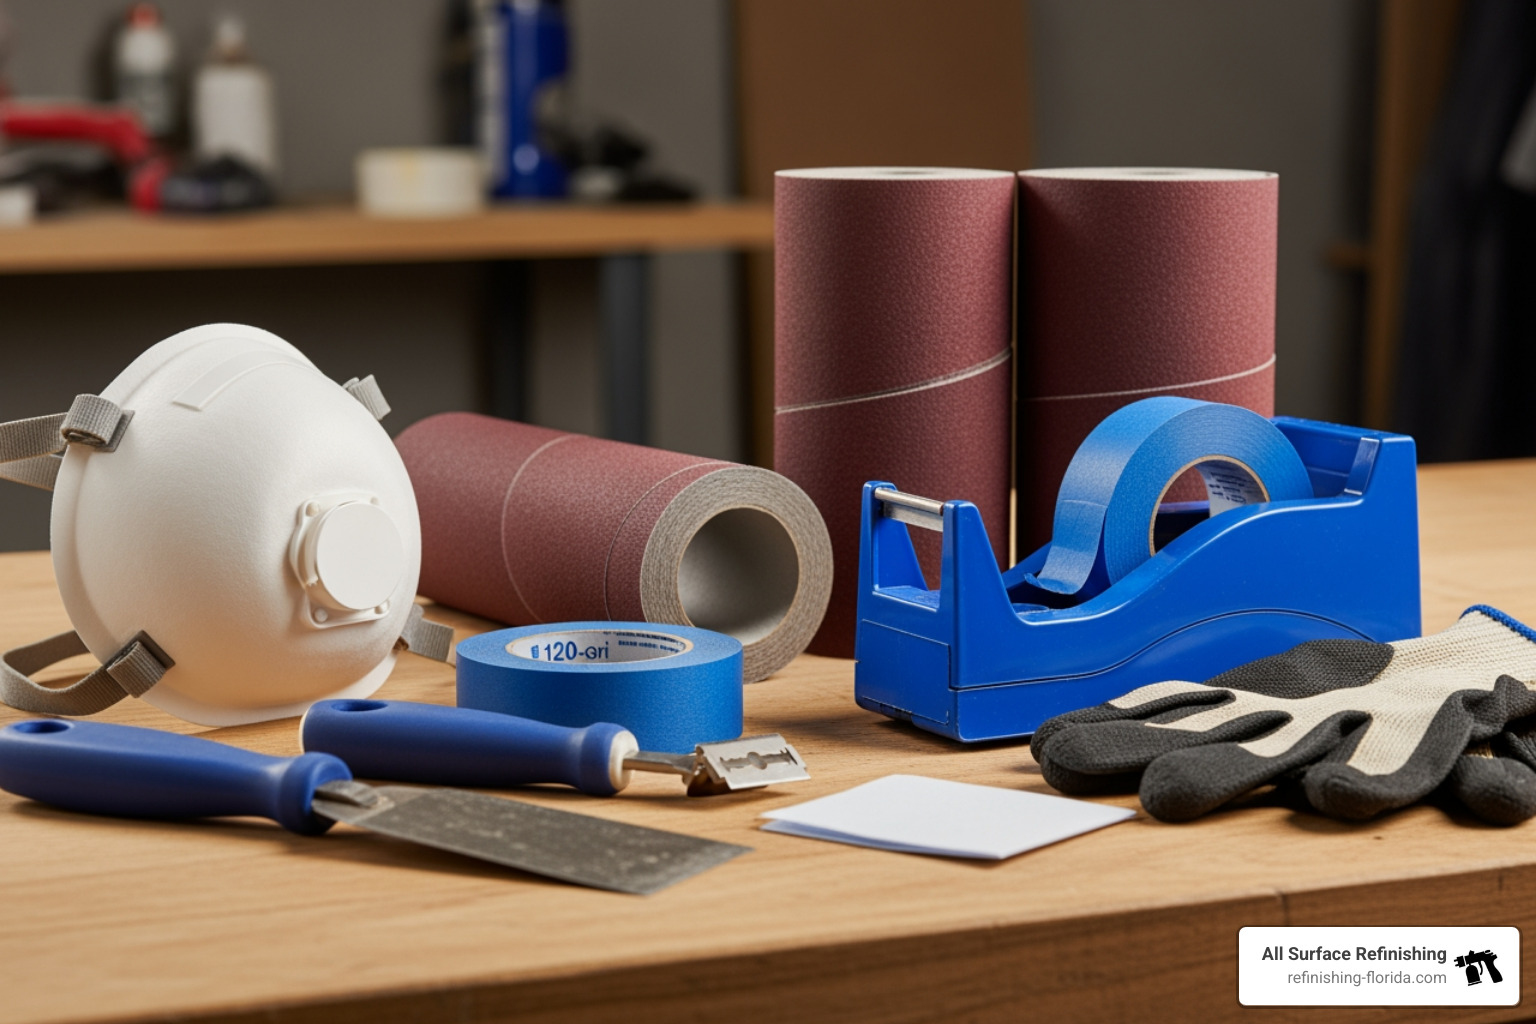
To do this right, you need a full arsenal of safety and prep gear. Do not rely on the flimsy gloves in the box. You will need:
- A high-quality respirator: Standard dust masks won’t block chemical fumes.
- Eye protection and heavy-duty chemical gloves.
- Painter’s tape and plastic sheeting: To protect your walls and floors from drips and overspray.
- Caulk remover and a razor scraper: All old silicone must be gone, or the new finish will peel.
- 120-grit sandpaper and a tack cloth: Essential for creating a “profile” for the paint to stick to and then removing every speck of dust.
- Exhaust fan: Vital for moving fumes out of the bathroom.
Optional supplies that improve finish quality and safety
In our humid Florida climate—from Miami to West Palm Beach—a dehumidifier can be a lifesaver. High humidity can cause the finish to turn cloudy or “blush.” A box fan helps with ventilation, while a high-quality sponge brush or foam brush is better for cutting in edges than the cheap ones often provided. For tubs with deep chips, you’ll also want a waterproof body filler or repair putty. For more details on these extras, check out our guide on DIY tub resurfacing supplies: everything you need to get the job done.
Surface Prep: The Make-or-Break Step for a Long-Lasting Finish
If you spend four hours on this project, three of them should be spent on prep. Adhesion is everything. If the surface isn’t perfect, the most expensive DIY bathtub refinishing supplies in the world will still peel.
Clean, strip, and remove anything that blocks adhesion
Start by removing all hardware—the drain cover, overflow plate, and spout trim. Next, tackle the caulk. Use a razor and a chemical caulk remover to ensure every bit of silicone residue is gone. Then, scrub. Use an abrasive cleaner or even a bleach wash to remove years of soap residue, body oils, and wax. Rinse the tub multiple times; any leftover soap will cause the finish to bubble.
Sanding, etching, and repairs before you coat
Once clean, you need to “kill the gloss.” Use the etch powder provided in your kit to chemically dull the surface. Follow this with a thorough sanding using 120-grit wet-dry sandpaper. You want the tub to feel slightly matte to the touch. If you have rust spots or chips, now is the time to use a filler repair kit. Finally, use a tack cloth to remove every microscopic dust nib. For a deeper dive into this process, see The ultimate DIY bathtub reglazing guide: from worn-out to wow.
Environmental conditions that affect curing and finish quality
In Florida, we have to fight the heat and humidity. Ideally, you want to work in a temperature-controlled environment. If it’s 90% humidity in your Coral Springs or Pembroke Pines home, wait for a drier day or run the A/C and a dehumidifier. High humidity can shorten your “pot life”—the amount of time you have to work with the mixed epoxy before it hardens in the tray. Never run water in the bathroom or take a steamy shower in an adjacent stall while the tub is curing.
How to Refinish a Bathtub Step by Step
Ready to start? This is a weekend project. Plan for prep on Saturday and coating/curing on Sunday.
Step 1–4: Prep the bathtub, shower base, or sink correctly
- Turn off the water supply to ensure no accidental drips ruin your wet coating.
- Remove hardware and caulk. This is the “dirty” work.
- Deep clean and etch. Scrub until your arms are tired, then scrub some more.
- Sand and mask. Sand the surface, wipe it clean with a tack cloth, and use painter’s tape and plastic to mask off the surrounding tile and floor.
Step 5–7: Mix and apply DIY bathtub refinishing supplies the right way
- Mix the coating. Follow the mix ratio exactly. Most kits require stirring for several minutes. You have a limited working time (usually 30–60 minutes).
- Apply the first coat. If using a foam roller, apply in thin, even strokes. Use a sponge brush for the edges.
- Apply additional coats. Most pros and high-quality kits recommend at least two coats, sometimes up to four for maximum durability. Wait the recommended 1–2 hours between coats. For a detailed walkthrough, read How to repaint a bathtub in 7 easy-to-follow steps.
Step 8–10: Dry, cure, recaulk, and return the tub to service
- Let it dry. The tub will be dry-to-touch in under 24 hours, but do not touch it! Dust can still stick to it.
- The full cure. Wait 24 to 72 hours (refer to your kit’s instructions) before exposing the surface to water.
- Recaulk and finish. Once fully cured, apply fresh silicone caulk to the edges and reinstall your hardware.
Durability, Maintenance, and Common Problems to Avoid
A DIY job can look great, but its lifespan depends on how you treat it. While professional refinishing can last 10-15 years, a DIY kit typically lasts 2 to 5 years depending on the prep quality.
How long DIY refinishing lasts and what affects lifespan
The durability of your DIY bathtub refinishing supplies is heavily influenced by the coating thickness and the surface type. Thick coatings like Ekopel 2K tend to resist chips better than thin aerosol sprays. Heavy use—like a family of four using one tub daily—will wear down the finish faster than a guest bathroom in Boca Raton.
Maintenance rules that help a refinished tub last longer
To protect your investment:
- Use non-abrasive cleaners only. No Comet, no Ajax, and no scrubbing pads. Use a soft cloth and mild dish soap.
- No bleach soaks. Prolonged exposure to bleach can dull the gloss.
- Skip the suction mats. Suction cups will pull the finish right off the tub floor. Use a kit with a built-in anti-slip texture instead.
- Wipe it dry. Preventing standing water helps prevent mineral buildup. Learn more about How to restore bathtub surface the right way.
Troubleshooting bubbles, roller marks, drips, peeling, and uneven finish
- Bubbles: Usually caused by overmixing (incorporating air) or high humidity.
- Roller Marks: Often the result of working too long as the paint begins to set, or not using enough material.
- Peeling: This is almost always a sign of poor prep—either soap scum was left behind or the surface wasn’t sanded/etched properly.
- Drips: Common with pour-on kits; they must be smoothed out while the material is still flowing.
Are low-odor, low-VOC, and eco-friendlier coatings worth it?
Many modern kits, like the Tub & Tile 2-Part Epoxy Refinishing Kit, White, 32 oz., focus on being low-VOC. These are much more pleasant to work with, especially in homes with children or pets. While some early eco-friendly versions weren’t as hard as traditional solvents, the 2026 formulations offer a great balance of user comfort and finish hardness.
Frequently Asked Questions about DIY Bathtub Refinishing Supplies
How much money can DIY tub refinishing save versus professional service or tub replacement?
A DIY kit costs between $40 and $120. When you add in the extra supplies (respirator, tape, tools), you’re likely looking at a $150–$200 total budget. Professional refinishing in South Florida typically costs significantly more, but comes with a warranty and professional-grade equipment. Full replacement is the most expensive route, often costing $3,000+ once you factor in plumbing and tile work. For a breakdown of the value, check out Is bathtub reglazing worth it? Your step-by-step DIY answer.
What surfaces can you refinish with DIY bathtub refinishing supplies?
These kits work on porcelain, fiberglass, cast iron, and steel. They are also excellent for ceramic tile. However, use caution with acrylic tubs, as they flex more and may require specialized primers. If your tub has structural damage like leaks or deep, through-and-through cracks, refinishing is just a temporary bandage—you likely need a replacement.
Where can you buy bathtub refinishing kits and when should you skip DIY?
You can find these kits at big-box stores like Home Depot and Lowe’s, or through online retailers like Amazon. If you are dealing with severe rust, widespread mold, or if this is a high-traffic commercial bathroom, it is usually better to skip the DIY and call in an expert.
Conclusion
Refinishing your tub is one of the most rewarding DIY projects you can tackle. By choosing the right DIY bathtub refinishing supplies—like a high-quality roll-on kit for beginners or a thick pour-on epoxy for a glass-like finish—you can save thousands of dollars. Just remember: the secret isn’t in the paint; it’s in the prep. Clean it, sand it, and etch it until it’s perfect, and your Florida bathroom will look like a million bucks.
If you decide the project is a bit more than you want to handle, or if you want that 30-year-experience finish, we’re here to help. At All Surface Refinishing, we’ve transformed over 14,000 bathrooms across South and Southwest Florida. More info about bathtub services.
