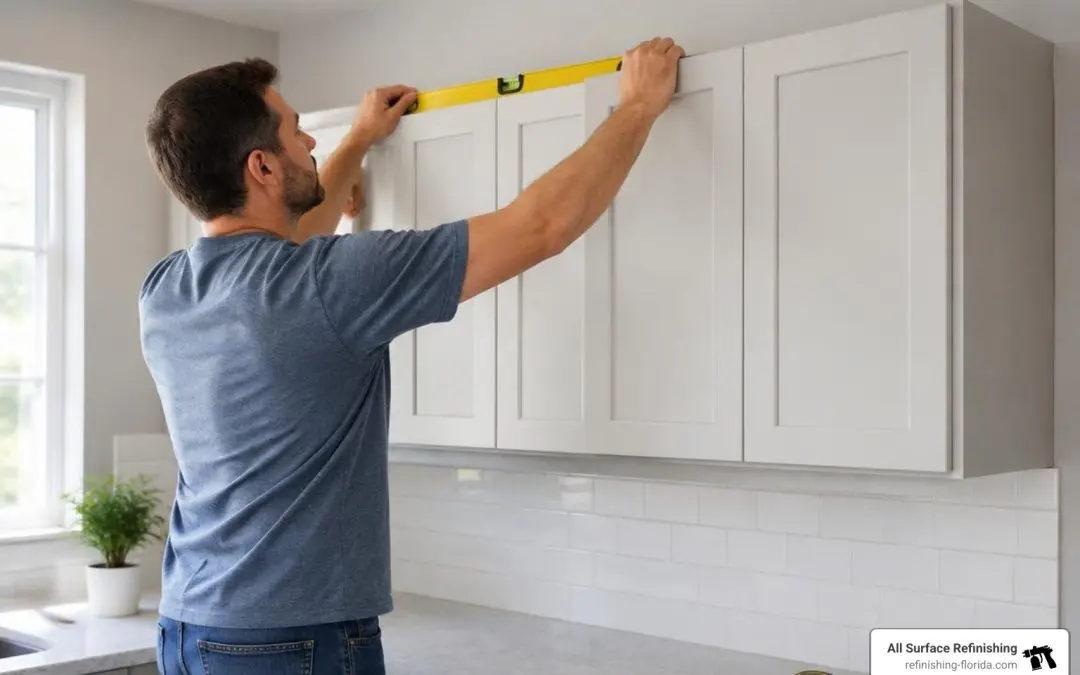
How to Hang Kitchen Cabinets Straight and Secure
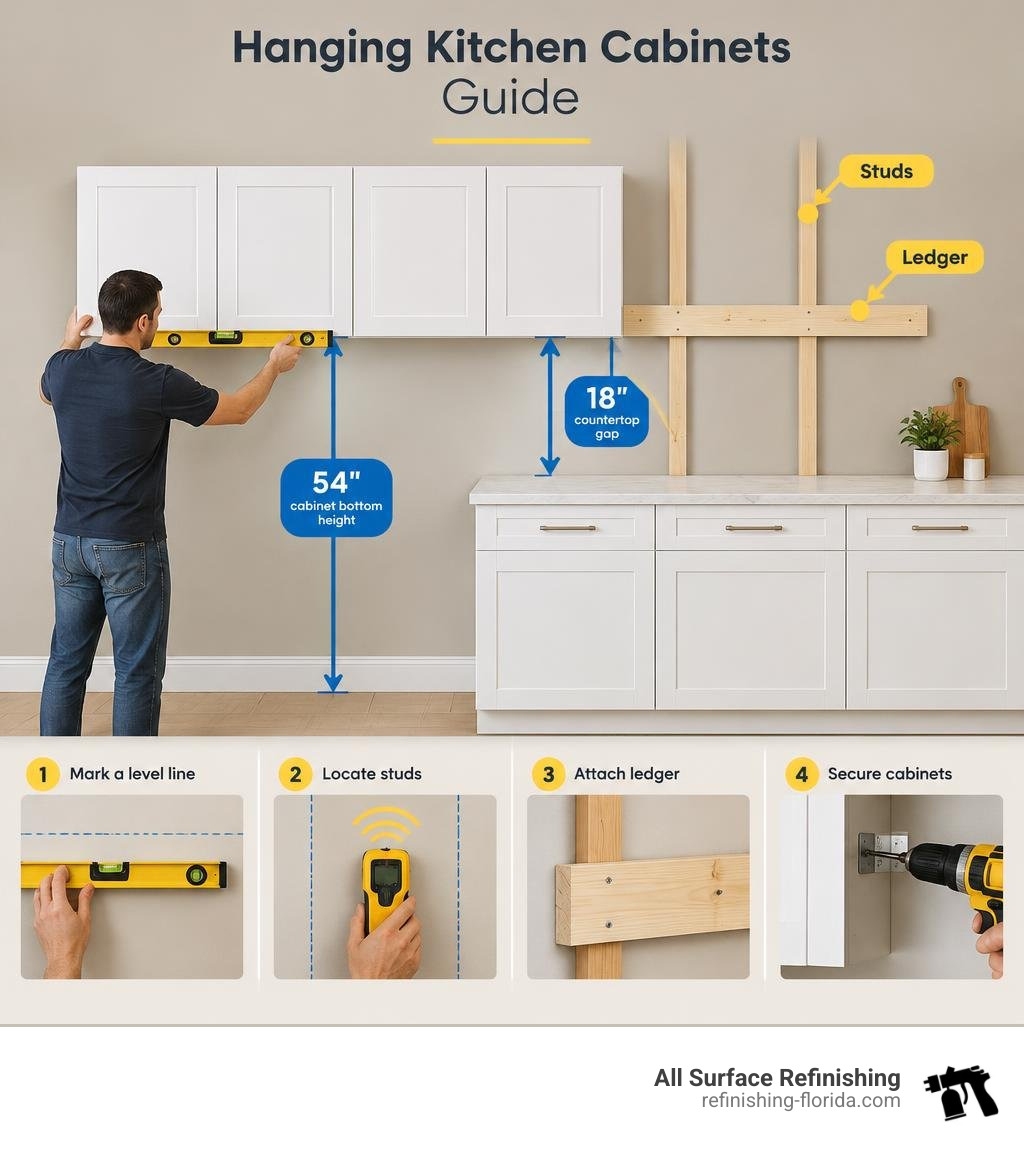
Start hanging kitchen cabinets by marking a level line for the cabinet bottoms, then locating the centers of the wall studs. In a typical kitchen, that line is 54 inches above the floor, leaving about 18 inches between the countertop and upper cabinets. Fasten a temporary ledger board below the line to support each cabinet while you shim it level and secure it to the studs with cabinet-mounting screws.
I’m Frank Hernandez, president of All Surface Refinishing, and I’ve worked in surface refinishing for more than 10 years. I care about the details that make a kitchen look right, so let’s walk through hanging kitchen cabinets with a steady layout and secure support.
Hanging kitchen cabinets definitions:
Planning and Measuring Upper Cabinet Layout
Precision in cabinet hanging begins long before you pick up a drill. The golden rule of kitchen ergonomics is calculating your layout from the highest point of your finished floor. Standard base cabinets stand at 34.5 inches tall, followed by a standard 1.5-inch countertop, and an 18-inch backsplash gap. Adding these together brings the bottom edge of your upper cabinets to exactly 54 inches above the floor. If you want to dive deeper into vertical clearances and accessibility heights, Bob Vila offers a great breakdown on calculating standard upper cabinet height.
We always advise our clients across South Florida—from Coral Gables to West Palm Beach—to install upper cabinets before setting base cabinets in place. Working in an empty room allows you to set up ladders, maneuver heavy boxes, and attach support ledgers without bending over pristine new base units or scratching expensive countertops.
To map your room, place a 6-foot level or a self-leveling cross-line laser across your floor to find the highest spot along the perimeter walls. Measure up 54 inches from that high point and snap a level horizontal reference line across all installation walls. If you are completing a full overhaul, reviewing step-by-step cabinet installation steps will keep your broader remodeling schedule perfectly synchronized.
Essential Tools and Hardware for Hanging Kitchen Cabinets
Having the right hardware on hand prevents mid-project panic and ensures your wall units never sag under heavy dinnerware loads:
- Electronic Stud Finder & Magnetic Level: For locating timber framework and verifying straight lines.
- Cordless Impact Driver & Drill: For driving heavy-gauge fasteners without stripping screw heads.
- Quick-Grip Face Frame Clamps: To pull adjoining cabinet face frames tight and flush.
- Tapered Hardwood or Composite Shims: Essential for correcting dips and bows in drywall.
- Dedicated Cabinet Screws: Never compromise here. Use #10 3-inch or 2.5-inch hardened steel star-drive (Torx) cabinet screws featuring wide washer heads.
| Fastener Type | Shear Strength | Head Style | Safe for Wall Cabinets? | Primary Risk |
|---|---|---|---|---|
| GRK / Washer-Head Cabinet Screws | High (Hardened Steel) | Built-in round washer | Yes (Recommended) | None when driven 1.5″+ into studs |
| Drywall Screws | Very Low (Brittle) | Bugle head | No (Never Use) | Snaps under shear weight; pulls through back rail |
| Standard Wood Screws | Moderate | Flat/Countersunk head | Conditional | Can countersink too deep and split hanging rails |
| Deck Screws | High | Flat/Bugle head | Acceptable in pinch | Lacks wide washer head; requires separate washers |
Marking Reference Lines and Wall Studs
Most residential homes feature wall framing with studs spaced 16 inches on-center. However, never assume studs are placed exactly on the 16-inch mark. Use your stud finder to locate both the left and right edges of each stud, then mark the exact center point. Verify the center by driving a small finish nail into the wall within the zone that will be hidden behind the cabinet box.
Once confirmed, extend vertical plumb lines down through your 54-inch horizontal reference mark using a 4-foot level. This gives you a clear visual target when driving screws through internal cabinet hanging rails. Check the wall for plumb from ceiling to floor as well; walls that tilt inward or outward will require progressive shimming during installation.
Step-by-Step Guide to Hanging Kitchen Cabinets
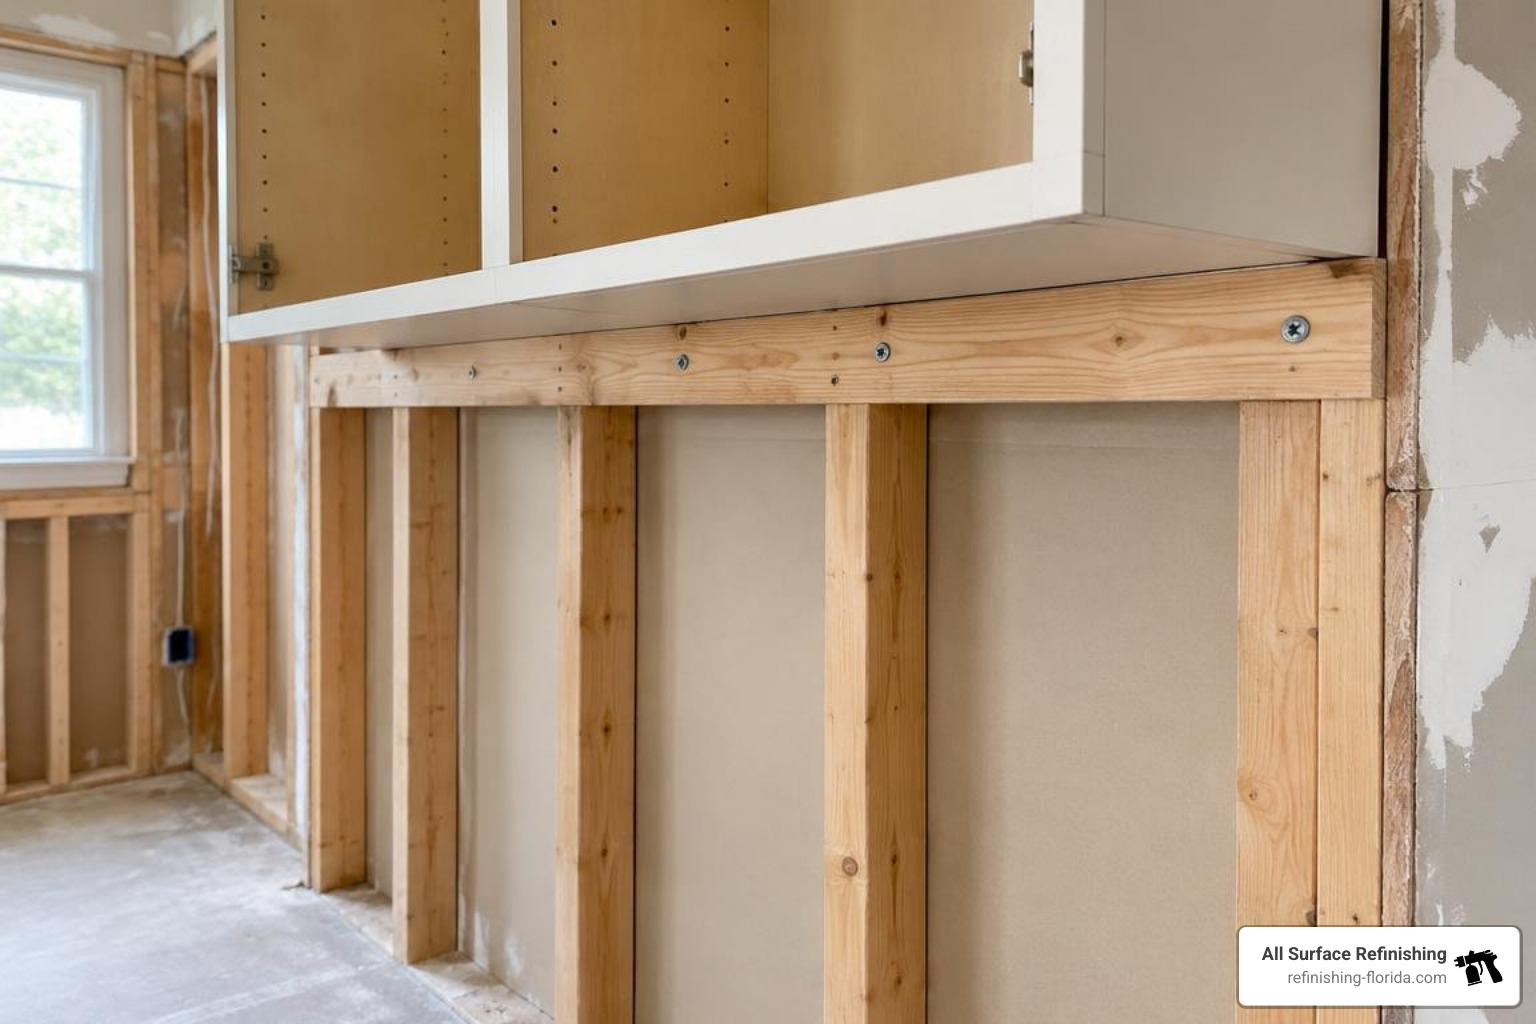
Before lifting any cabinet box onto the wall, remove all cabinet doors, decorative hardware, and adjustable interior shelves. This simple step cuts down the lifting weight by nearly 50%, prevents accidental hinge damage, and gives you wide-open access to clamp face frames together.
The secret to a stress-free installation is a temporary ledger board. Secure a straight 1×4 or 2×4 timber into your wall studs directly underneath your 54-inch baseline using 3-inch wood screws. This rigid ledge acts as an extra pair of hands, bearing the full weight of the cabinet boxes while you align and fasten them. Lowe’s provides a fantastic reference on installing kitchen wall cabinets with a ledger board that covers traditional rail setups.
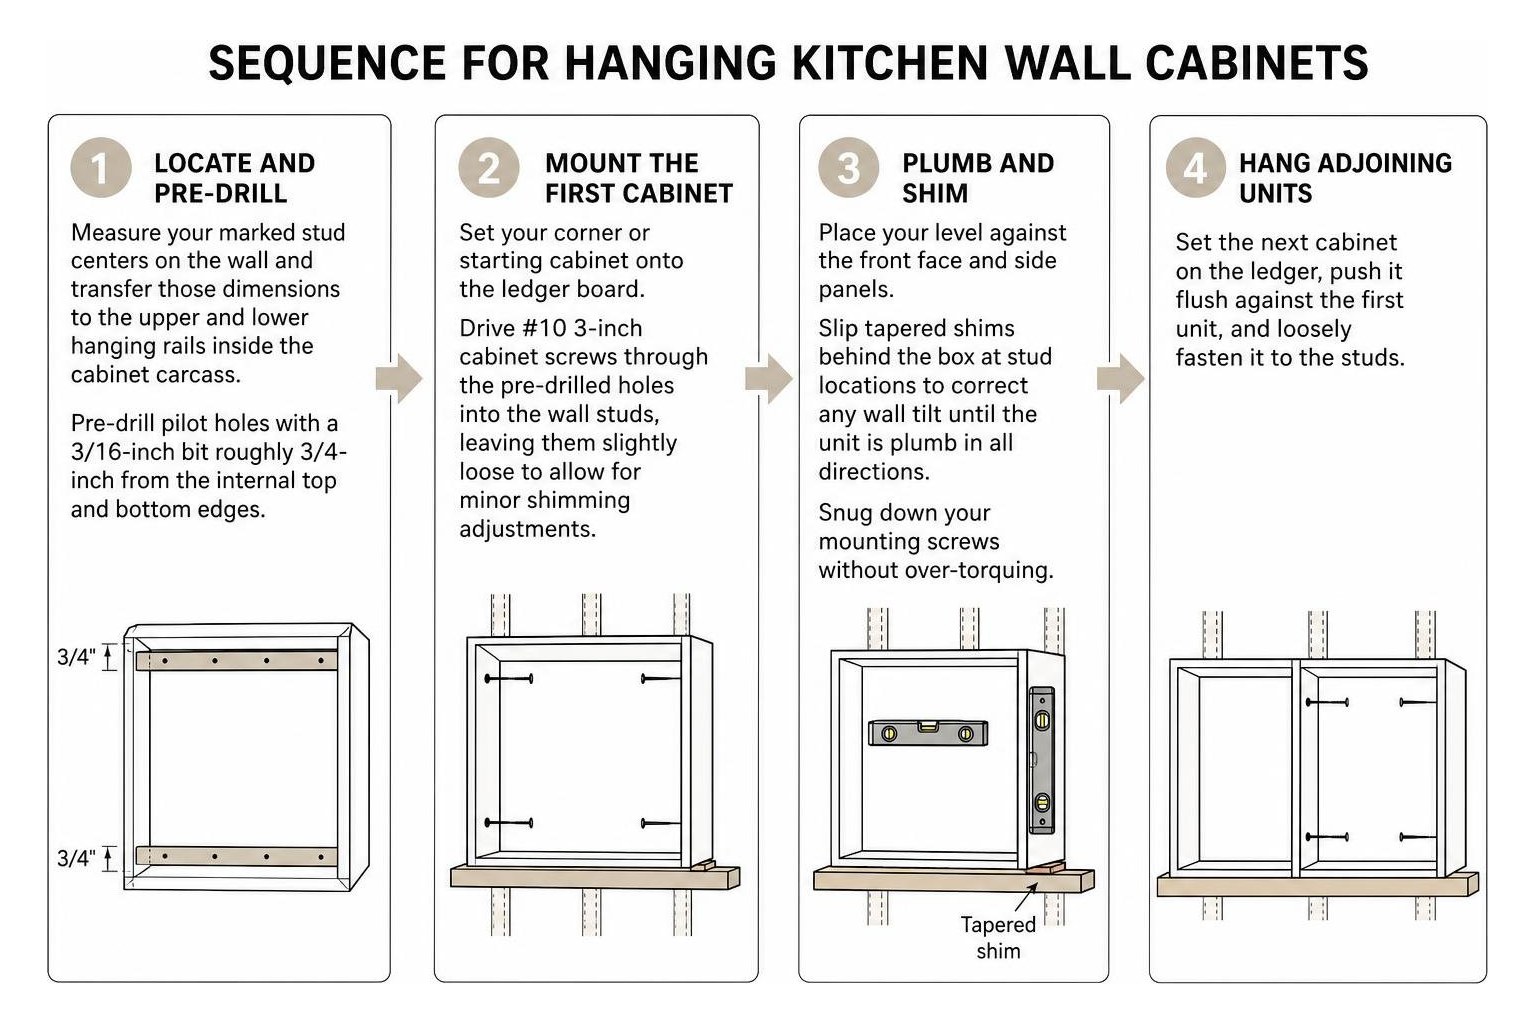
- Locate and Pre-Drill: Measure your marked stud centers on the wall and transfer those dimensions to the upper and lower hanging rails inside the cabinet carcass. Pre-drill pilot holes with a 3/16-inch bit roughly 3/4-inch from the internal top and bottom edges.
- Mount the First Cabinet: Set your corner or starting cabinet onto the ledger board. Drive #10 3-inch cabinet screws through the pre-drilled holes into the wall studs, leaving them slightly loose to allow for minor shimming adjustments.
- Plumb and Shim: Place your level against the front face and side panels. Slip tapered shims behind the box at stud locations to correct any wall tilt until the unit is plumb in all directions. Snug down your mounting screws without over-torquing.
- Hang Adjoining Units: Set the next cabinet on the ledger, push it flush against the first unit, and loosely fasten it to the studs.
If you are currently evaluating your kitchen layout or updating finishes, reading our guide comparing kitchen wall cabinet styles and materials will help you select boxes that match both your design goals and structural preferences.
Hanging Kitchen Cabinets by Yourself or with Cleats
If you are working solo without a helper, you have several reliable mechanical options. A heavy-duty aluminum or timber French cleat cut at matching 45-degree interlocking bevels allows you to hang each box onto the wall securely before driving permanent structural fasteners into your studs.
Alternatively, support systems like the Kreg 26″ Cabinet Installation System utilize modular steel wall brackets rated up to 60 pounds per two-foot section, holding your boxes rock-steady while you make fine adjustments. Telescoping cabinet jacks (third-hand poles) are another inexpensive tool that can brace boxes firmly against the ceiling or floor while you drive your screws.
Connecting and Shimming Adjoining Cabinets
Never rely solely on wall fasteners to hold adjacent cabinets straight. Your cabinets must be bound together face-frame to face-frame to form a unified, continuous run:
- Align the front stiles of adjacent cabinets so their faces are flush.
- Secure them firmly using two padded quick-grip clamps.
- Drill an 1/8-inch pilot hole through the side of one face frame into the adjoining frame, countersinking the hole slightly. Position these holes behind hinge mounting plates where possible to conceal the fasteners.
- Drive a 2.5-inch face-frame screw through the pilot hole to pull the wood together seamlessly.
- Check across the face frames with a long straightedge. If a dip in the wall causes the cabinets to pull backward, insert wood shims behind the boxes at the stud lines before final tightening. Score and snap off excess shim material flush with a utility knife.
Securing Corner Units, Heavy Storage, and Appliances
When laying out an L-shaped or U-shaped kitchen, always hang your corner wall cabinet first. Corner units establish the straight reference plane for both intersecting walls. Whether you are using a diagonal corner unit or a blind corner box, ensure it is anchored into studs on both adjoining walls before extending your cabinet run outward. If you want to optimize usable room in tricky junctions, check out our favorite corner kitchen cupboard storage solutions.
Range Hood and Refrigerator Clearances
Wall cabinets positioned above cooking surfaces and tall appliances require strict adherence to local building and fire safety codes:
- Electric Ranges: Maintain at least 30 inches of vertical clearance between the cooktop surface and the bottom of unprotected combustible cabinet materials.
- Gas Ranges: Maintain a minimum of 36 inches of clearance to prevent open flame heat from scorching cabinet finishes or creating fire hazards.
- Over-the-Range Microwaves: Install the metal mounting plate directly into solid wall studs, maintaining the manufacturer’s recommended 15-to-18-inch clearance above the stove grates.
- Deep Refrigerator Cabinets: Refrigerator wall units typically measure 24 inches deep rather than the standard 12 inches. Because the center of gravity extends further into the room, anchor these units directly into ceiling joists above or support them with heavy-duty side utility panels anchored to the floor.
Reinforcing Heavy Load Cabinets
Standard cabinet hanging rails are designed for everyday dishware, but overfilled pantry cabinets or stacks of heavy ceramic dinnerware create massive downward shear and outward rotational pull. To safeguard against catastrophic failure, timber framework advice from discussions on supporting heavy wall cabinets highlights the value of installing horizontal 2×6 timber backing between studs during drywall framing stages.
For finished walls where you cannot add internal framing, fasten a continuous 2×2 timber runner underneath the back edge of the cabinets directly into studs, or anchor heavy-duty steel angle iron brackets beneath shelf lines to spread the mechanical load evenly across multiple wall studs.
Finishing Touches: Molding, Alignment, and Troubleshooting
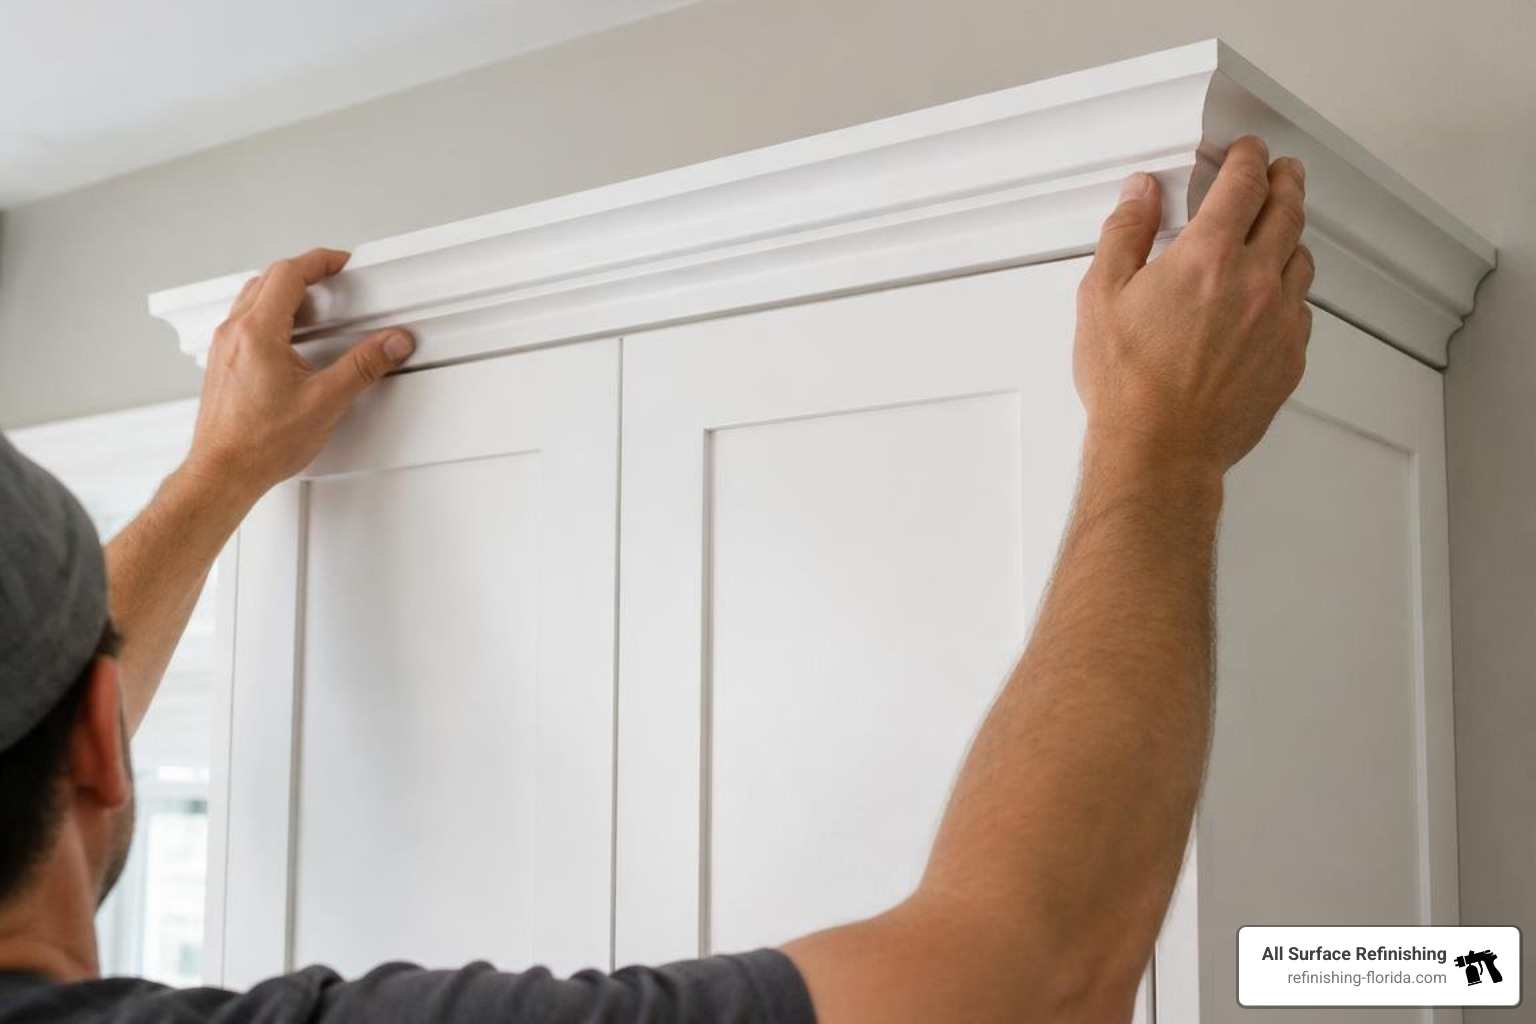
With all boxes securely anchored, remove your temporary ledger board and patch the small screw holes with spackle. Rehang your cabinet doors and adjust the three-way European concealed hinges to create uniform, professional door gaps:
- Depth Adjustment: Moves doors closer to or farther from the cabinet face to eliminate rubbing.
- Lateral Adjustment: Shifts doors left or right to equalize vertical gaps between door pairs.
- Vertical Adjustment: Aligns top and bottom door edges across the entire cabinet run.
To bridge gaps between your end cabinets and uneven drywall, measure the space and rip a cabinet filler strip to width, cutting a 7-to-10 degree back-bevel along the wall edge for a tight scribe fit. Fasten decorative crown molding across the cabinet tops to mask ceiling height variations, and install under-cabinet light rail molding to hide under-cabinet task fixtures. If you love seamless, high-end woodwork, our overview on built-in kitchen cabinets offers great inspiration for floor-to-ceiling integration. For additional carpentry guidance on leveling techniques, check out This Old House’s classic walkthrough on how to hang wall units properly.
Frequently Asked Questions About Hanging Kitchen Cabinets
Should upper cabinets be installed before base cabinets?
Yes, installing upper wall units before base cabinets is standard trade practice. It allows you to stand comfortably against the wall without straining your back over 24-inch base boxes, gives you direct ladder access, and eliminates the risk of dropping heavy tools onto brand-new countertops or base units.
What type of screws are safe for wall cabinet installation?
Always use dedicated #10 hardened steel cabinet-mounting screws with built-in washer heads (such as GRK cabinet screws). The wide washer head distributes clamping pressure across the internal wood rail without pulling through, and the hardened steel shank resists heavy shear forces. Never use drywall screws, which are brittle and can snap under load.
How do you fix gaps between cabinets and uneven walls?
Drywall is rarely flat. To fix gaps, insert tapered wood shims behind the cabinet back at stud locations to prevent the box from twisting when tightened. At the ends of a cabinet run, install a matching filler strip scribed to follow the exact contour of the drywall, or apply a slender scribe molding along the joint.
Conclusion
Hanging kitchen wall cabinets straight, plumb, and structurally sound requires patience, accurate baseline layout marks, and the right washer-head fasteners driven squarely into solid framing studs. Taking the time to support your boxes with a ledger board and properly clamping face frames together guarantees your kitchen will look immaculate and stay sturdy for decades.
If your existing cabinet boxes are already rock-solid and hanging perfectly straight, you do not need to spend tens of thousands of dollars on complete teardowns. At All Surface Refinishing, our family-owned team specializes in transforming kitchens across Miami-Dade, Broward, and Palm Beach counties—including communities like Boca Raton, Fort Lauderdale, and Hollywood, FL. Through our professional cabinet refinishing services, we can revitalize your solid wood or laminate cabinets with durable, factory-grade finishes at a fraction of the cost and downtime of replacement. Give us a call today to discuss your kitchen remodel!
— Frank Hernandez
